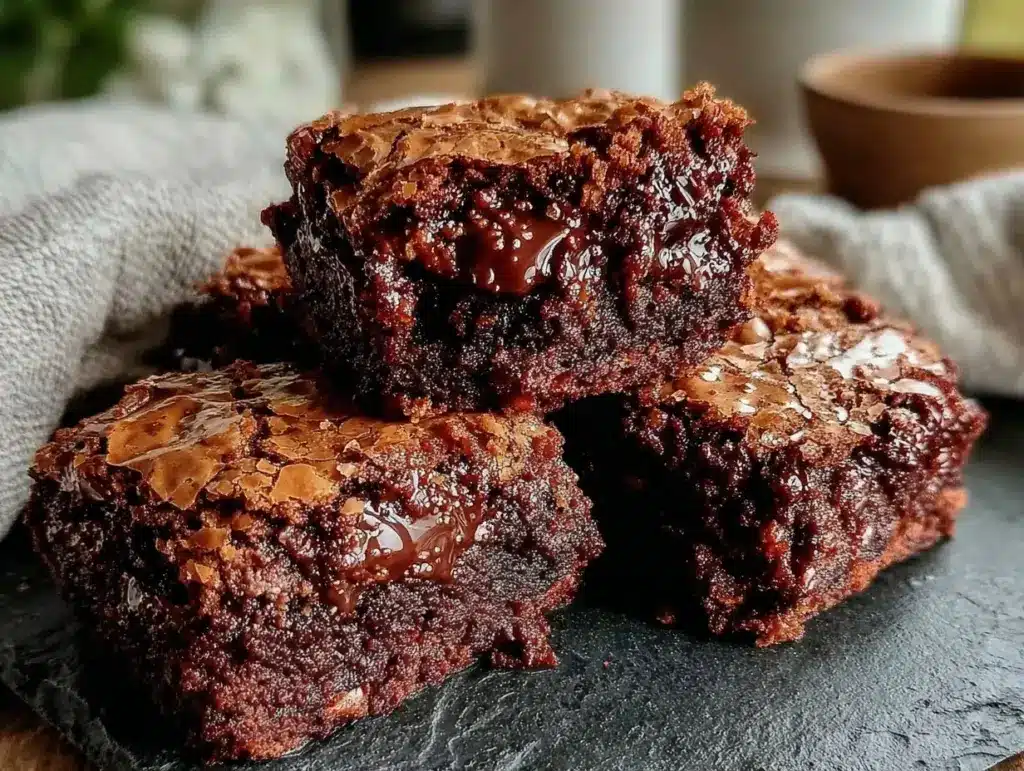
Last Tuesday, I came home from work feeling like my brain had been put through a woodchipper. You know that feeling? Where you’re physically home but mentally still stuck in traffic, replaying every awkward email and missed deadline from the day. I didn’t want a full-size cake. I didn’t want to convince anyone else to share a dessert. I just wanted something warm, something deeply chocolate, and something that would let me sit on my couch with a book and actually decompress.
So I made these small batch fudgy brownies. Just one 8×8 pan. Enough for maybe four or five squares. No leftovers to tempt me at 2 a.m., no guilt, just a quiet moment of sweetness that felt like a hug from the inside out.
I’ve made these small batch fudgy brownies probably twenty times since then. They’ve become my go-to ritual for those evenings when I need to slow down, breathe, and take care of myself without any fuss. And honestly? They’re the best thing I’ve baked in months.
There’s something deeply satisfying about making a dessert just for you. It’s not about impressing guests or prepping for a party. It’s about creating a moment of peace, a small act of self-care that’s as nourishing emotionally as it is deliciously chocolatey. These brownies are fudgy, rich, and have that perfect crackly top that makes you feel like you’ve done something special—even when you’re cooking alone on a Tuesday night.
If you’ve been looking for a way to treat yourself gently, without the stress of a big bake, these small batch fudgy brownies are it. They’re simple, forgiving, and taste like comfort. Let me show you how to make them.
Why You’ll Love This Recipe
These brownies have become my personal reset button. I keep coming back to them because they do exactly what I need them to do: they’re easy enough to make when I’m tired, but they still taste incredible. Here’s why they’ve earned a permanent spot in my kitchen:
- Made Just for You — This is an 8×8 pan recipe, meaning you get about 16 brownies. Perfect for solo evenings or sharing with one other person. No waste, no leftovers lingering in the fridge.
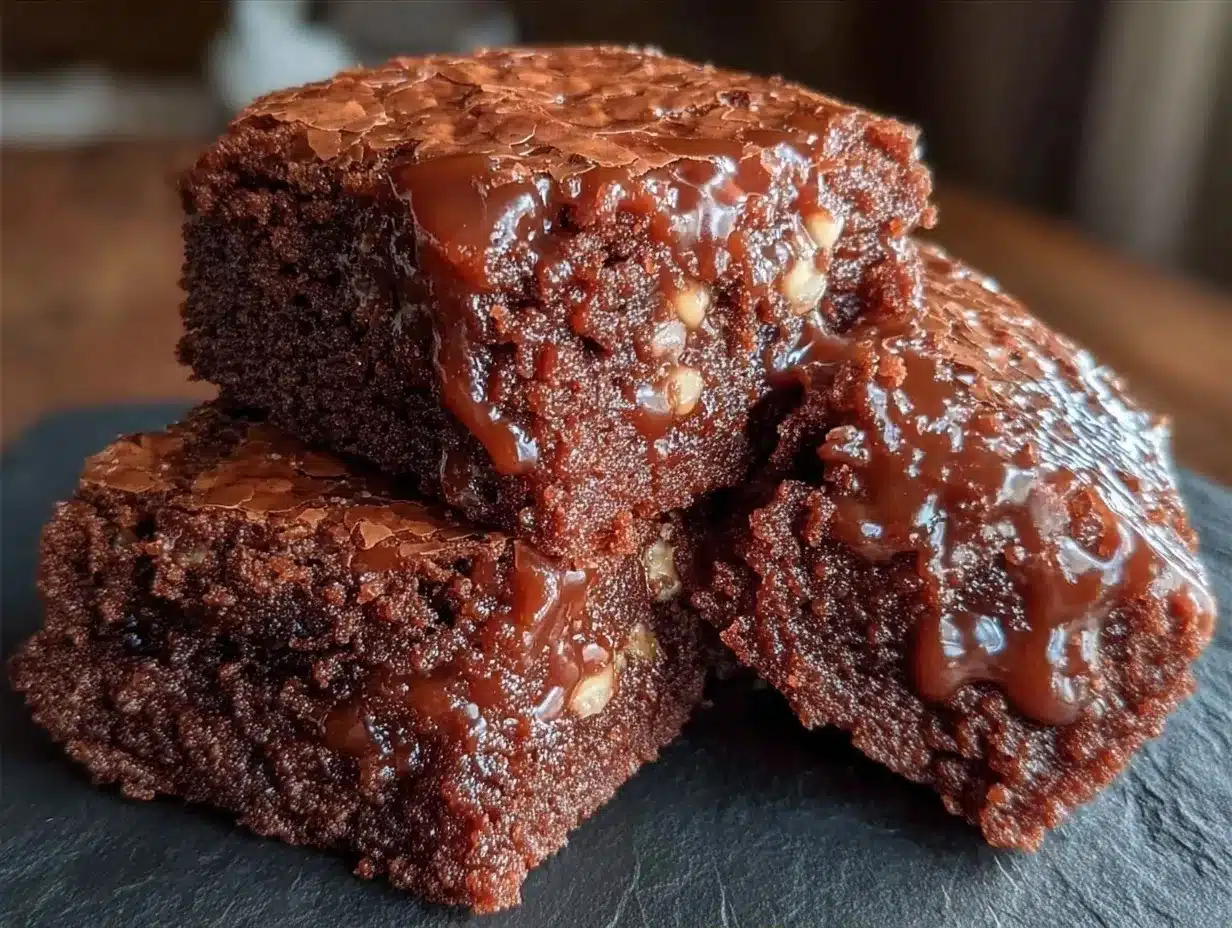
- Fudgy, Not Cakey — I’ve tried dozens of brownie recipes, and most lean too cakey or too dry. These are dense, moist, and deeply chocolatey. The kind that sticks to your teeth in the best way possible.
- Crackly Tops That Feel Fancy — I don’t know the science behind it, but when these brownies bake, they develop that thin, crinkly, shiny top layer. It’s the kind of detail that makes you feel like a real baker, even when you’re just following a recipe.
- One Bowl, Minimal Cleanup — Seriously, you only need one mixing bowl. Melt the butter and chocolate together, whisk in the sugar, eggs, and vanilla, fold in the flour, and pour it in. Done. No standing over a mixer, no dirty bowls piling up.
- Ready in Under an Hour — From start to finish, these take about 50 minutes. That includes cooling time, which you can skip if you’re impatient (I do). But I’d recommend waiting at least 20 minutes so they set properly.
- Comforting, Not Guilty — This isn’t diet food, and it doesn’t pretend to be. But making it just for yourself, in a small batch, feels different. It’s indulgence without excess. It’s self-care, not self-sabotage.
There are a lot of ways to take care of yourself, but few are as simple or as delicious as baking a small batch of brownies and eating them slowly while watching the rain. These small batch fudgy brownies are my answer to “what do I need right now?” when the answer is chocolate, quiet, and a little bit of sweetness.
Ingredients You’ll Need
Here’s the beautiful thing about these brownies: you probably have most of them already. They’re pantry staples, nothing fancy, nothing hard to find. I’m particular about three things here, and I’ll tell you exactly why.
For the Brownie Batter:
Unsalted butter (½ cup / 113g) — I use unsalted so I can control the salt level. If you only have salted, just reduce the added salt by half. I keep a stick of butter in the fridge at all times because, honestly, I’m always baking something.
Dark chocolate chips (1 cup / 170g) — This is the most important ingredient. I use semi-sweet or dark chocolate chips, not baking bars. Chips hold their shape better and give you those fudgy pockets of melted chocolate. I always use Ghirardelli or Guittard—they melt evenly and taste rich without being overly sweet.
Granulated sugar (¾ cup / 150g) — The sugar is what creates that crackly top. Don’t substitute with brown sugar here; it changes the texture entirely. Granulated sugar is key for that shiny, crinkly crust.
Eggs (2 large) — Room temperature works best, but cold eggs from the fridge are fine too. They bind everything together and add richness. I don’t overbeat them—just whisk until smooth.
Vanilla extract (1 teaspoon) — Pure vanilla makes a noticeable difference. I keep a bottle of Nielsen-Massey or McCormick’s pure vanilla on hand. Imitation vanilla tastes harsh in baked goods.
All-purpose flour (½ cup / 60g) — Just regular flour. No need for cake flour or bread flour. Spoon it into the measuring cup and level it off. Don’t pack it down.
Cocoa powder (2 tablespoons / 10g) — Unsweetened cocoa powder adds extra chocolate depth. I use Hershey’s or Droste. If you don’t have cocoa powder, you can skip it, but the brownies will be less chocolatey.
Salt (¼ teaspoon) — Even though the butter is unsalted, a pinch of salt balances the sweetness and makes the chocolate taste more intense. Don’t skip it.
Optional: Flaky sea salt — For finishing. I sprinkle a few crystals on top right after they come out of the oven. It’s the kind of detail that makes you feel fancy.
I also keep a cup of chocolate chips on hand for extra gooeyness. I fold them in at the end sometimes, or just drop them on top before baking. It’s optional, but I highly recommend it if you’re a chocolate lover like me.
Shopping Tips:
- Chocolate quality matters — Cheap chocolate chips can taste waxy. Spend the extra dollar on good chocolate. Your taste buds will thank you.
- Check your flour — If your flour is old or clumpy, sift it before using. It makes the batter smoother.
- Butter temperature — You’ll melt the butter, so it doesn’t matter if it’s cold or room temp. Just measure it accurately.
Equipment Needed
You don’t need fancy equipment for this. Here’s what I actually use:
8×8-inch baking pan — This is crucial. The recipe is designed for this size. If you use a larger pan, the brownies will be thin and overbake. If you use a smaller pan, they’ll overflow. I use a glass 8×8 pan because I can see the edges browning.
Microwave-safe bowl — For melting the butter and chocolate together. I use a large ceramic bowl. Glass works too. Just make sure it’s big enough to stir without spilling.
Mixing bowl — One medium bowl is all you need. I use a stainless steel bowl because it’s easy to clean and doesn’t stain.
Whisk — For mixing the eggs and sugar. A small balloon whisk works fine. Fork works too if that’s all you have.
Spatula — For folding in the flour and scraping the bowl. Silicone spatulas are best because they bend and get every bit of batter out.
Parchment paper — I line the pan with parchment for easy removal. It’s not strictly necessary, but it makes cleanup so much easier and helps the brownies lift out in one piece.
Wire cooling rack — For cooling the brownies after baking. I use a simple wire rack from the dollar store. It works perfectly.
I’m not obsessed with tools here. If you don’t have parchment paper, just grease the pan with butter. If you don’t have a whisk, a fork works. This recipe is forgiving, which is part of why I love it for quiet evenings when I’m not in the mood for perfection.
How to Make It: Step-by-Step
Alright, let’s make these small batch fudgy brownies! I’m walking you through exactly how I do it, including the little tricks I’ve picked up over time.
Step 1: Prep Your Pan (2 minutes)
Preheat your oven to 350°F (175°C). Line an 8×8-inch baking pan with parchment paper, leaving a little overhang on the sides so you can lift the brownies out later. If you don’t have parchment, just grease the pan generously with butter. I like the overhang because it makes removing the brownies so much easier. No more digging them out with a knife.
Step 2: Melt the Butter and Chocolate (3-4 minutes)
In a microwave-safe bowl, combine the butter and chocolate chips. Microwave in 30-second intervals, stirring between each, until everything is smooth and melted. This takes about 1-2 minutes total in my microwave. Don’t overheat it—the chocolate can seize if it gets too hot. Stir until glossy and smooth. If you’re melting on the stovetop, use a double boiler and keep the heat low.
Step 3: Mix the Wet Ingredients (2 minutes)
Let the melted chocolate mixture cool for a minute, then whisk in the sugar until well combined. The mixture should look like thick, glossy paste. Add the eggs one at a time, whisking after each addition until smooth. Stir in the vanilla extract. The batter should be shiny and slightly thickened. This step is where the crackly top starts to form, so don’t rush it.
Step 4: Add the Dry Ingredients (1-2 minutes)
Sift the flour, cocoa powder, and salt into the wet mixture. If you don’t have a sifter, just whisk the dry ingredients together in a separate bowl first, then pour them in. Fold gently with a spatula until just combined. Don’t overmix—the brownies will be tough if you stir too much. The batter will be thick and dense. That’s exactly what you want.
Step 5: Bake (25-30 minutes)
Pour the batter into the prepared pan and spread it evenly with the spatula. Bake for 25-30 minutes. You’ll know they’re done when the top is crackly and shiny, and a toothpick inserted into the center comes out with a few moist crumbs attached—not wet batter, but not completely clean either. Overbaking is the enemy of fudgy brownies. I pull mine out at 25 minutes and check.
Step 6: Cool and Slice (20-30 minutes)
Let the brownies cool in the pan for at least 20 minutes before slicing. They’ll continue to set as they cool. If you cut them too soon, they’ll be gummy and fall apart. I usually wait 30 minutes because I’m impatient, but patience pays off. Sprinkle flaky sea salt on top if you’re using it. Then slice into 16 squares.
Total time: About 50 minutes (10 minutes active, 40 minutes mostly hands-off)
Expert Tips & Tricks
Here’s everything I’ve learned from making these brownies dozens of times. These tips will save you from my mistakes.
Don’t Overmix the Batter
This is the #1 mistake people make. Once you add the flour, fold gently until just combined. Overmixing develops gluten, which makes the brownies cakey instead of fudgy. I learned this the hard way with a batch that tasted more like blondies. Now I stir only until the flour disappears.
Check Early, Not Late
Ovens vary. My oven runs hot, so I check at 25 minutes. If your oven runs cool, it might take 30-32 minutes. The toothpick test is your best friend. A few moist crumbs are perfect. Wet batter means more time. Clean toothpick means overbaked.
Cool Completely Before Slicing
I know it’s hard to wait, but cutting warm brownies is a recipe for disaster. They’ll be messy and gummy. Let them cool in the pan for at least 20 minutes. If you can wait an hour, even better. The texture improves as they cool.
Use Good Chocolate
I can’t stress this enough. The chocolate is the star of this recipe. Cheap chocolate chips taste waxy and artificial. Good chocolate tastes rich and complex. I always use Ghirardelli or Guittard semi-sweet chips. If you can find them, Callebaut chocolate chips are even better—but they’re harder to find.
Add Extra Chocolate Chips
If you’re a chocolate lover, fold in an extra ¼ cup of chocolate chips at the end, or drop them on top before baking. I do this almost every time. It creates those pockets of melted chocolate that make the brownies extra fudgy.
Pro Trick: The Crackly Top Secret
The crackly top comes from whisking the sugar and eggs thoroughly. Don’t just stir—really whisk for about 30 seconds. This incorporates air and creates that thin, shiny crust. I’ve tested this, and it makes a noticeable difference.
Variations & Substitutions
Once you’ve nailed the basic version, here’s how you can mix it up. I’ve tried all of these.
Nutella Swirl
Dollop 2 tablespoons of Nutella on top of the batter before baking, then swirl it in with a knife. It adds a hazelnut flavor that’s incredible. My partner loves this version.
Coffee Brownies
Add 1 teaspoon of instant espresso powder to the dry ingredients. It doesn’t make the brownies taste like coffee—it just deepens the chocolate flavor. I do this when I want a richer, more intense brownie.
White Chocolate Chip
Swap half the chocolate chips for white chocolate chips. It adds sweetness and creates a nice contrast with the dark chocolate. I like this version when I want something less intense.
Peanut Butter Swirl
Drop spoonfuls of peanut butter on top of the batter and swirl with a knife. It’s like a Reese’s cup in brownie form. I make this for my sister who’s obsessed with peanut butter.
Gluten-Free
Use gluten-free flour instead of all-purpose flour. I’ve used Bob’s Red Mill 1-to-1 flour and it works great. Everything else is naturally gluten-free.
Dairy-Free
Replace butter with dairy-free butter alternative and use dairy-free chocolate chips. I’ve used Earth Balance butter and dairy-free chocolate chips. They work, but the texture is slightly different. Still delicious.
Vegetarian
This recipe is already vegetarian. No modifications needed.
Serving & Storage
How to enjoy these small batch fudgy brownies at their best:
How to Serve:
I usually eat them warm, right out of the pan, with a cup of tea or coffee. But here are other ways I’ve enjoyed them:
- Served with a glass of cold milk (classic)
- Warmed in the microwave for 10 seconds and topped with vanilla ice cream
- Eaten cold, straight from the fridge, with a cup of herbal tea
- Paired with a glass of red wine for a cozy evening treat
Side Dishes:
These brownies are a dessert on their own, but if you want to round out the evening, I sometimes pair them with creamy wild rice and mushroom casserole for one earlier in the day, or a simple cup of brown butter rice crispy treats if I’m in the mood for something lighter.
Storage Instructions:
Refrigerator: Store in an airtight container for up to 5 days. They actually taste better the next day as the flavors meld.
Freezer: Yes, these freeze well! Wrap individual squares in plastic wrap, then place in a freezer bag. They’ll last up to 3 months. Thaw at room temperature for 30 minutes or microwave for 10 seconds.
Reheating: Warm in the microwave for 10-15 seconds. They’ll be soft and fudgy again. Don’t overheat them or they’ll get dry.
Pro tip: If you’re not eating them all at once, cut them into squares and store them separately. That way you can grab one at a time without exposing the whole batch to air.
Nutrition Information
I’m not a nutritionist, but here’s the breakdown if you’re tracking.
Per serving (based on 16 servings):
- Calories: 145
- Protein: 2g
- Carbs: 18g
- Fiber: 1g
- Sugar: 14g
- Fat: 8g
- Saturated Fat: 5g
- Cholesterol: 25mg
- Sodium: 45mg
What’s Good:
- Small portion size keeps calories in check
- No refined flour—just simple ingredients
- Chocolate has some antioxidant benefits
What to Know:
- Higher in sugar and fat from chocolate and butter
- Contains dairy and eggs
- Not suitable for vegans or dairy-free diets without modifications
My Take:
Look, this is dessert. It’s chocolate, butter, and sugar. It’s not a health food. But it’s a small batch, so the portion is controlled. When I make these, I eat one square slowly, savoring every bite. It’s about quality, not quantity. And honestly, that’s the whole point of self-care—mindful indulgence, not mindless eating.
Final Thoughts
So that’s my go-to small batch fudgy brownies! I’ve talked your ear off at this point, but when you make a recipe this often, you have a lot to say about it.
These brownies have saved quiet evenings more times than I can count. They’re my answer to “what do I need right now?” when the answer is chocolate, warmth, and a moment of peace. My partner loves them, my friends request them, but mostly, I love making them for myself when I need to slow down and take care of my own heart.
Make it yours! Try different add-ins, swap in your favorite chocolate, or just enjoy them plain. The best recipes are the ones you adapt to your own tastes. These small batch fudgy brownies are a blank canvas for comfort.
If you make these, drop a comment and let me know how they turned out! I love hearing how recipes work in your kitchen. And if something doesn’t go right, tell me that too—I’m here to help troubleshoot.
Happy baking! And I hope your kitchen smells as good as mine does right now.
Frequently Asked Questions
Can I use milk chocolate instead of dark chocolate?
You can, but the brownies will be sweeter and less chocolatey. Dark chocolate or semi-sweet gives you that rich, fudgy flavor I love. If you use milk chocolate, reduce the sugar by 2 tablespoons to balance the sweetness. I’ve tried it, and it’s good, but not as intense.
Why did my brownies turn out cakey instead of fudgy?
Usually means you overmixed the batter or overbaked them. For fudgy brownies, mix only until the flour is combined, and pull them out when the toothpick has moist crumbs. Also, using too much flour can make them cakey. Measure carefully.
Can I double this recipe?
Yes, but you’ll need a 9×13-inch pan and increase the baking time by 5-10 minutes. I usually don’t double them because I don’t want leftovers hanging around. But if you’re feeding a crowd, go for it.
Can I make these ahead for a dinner party?
Absolutely! Make them a day ahead and store in an airtight container. They taste even better the next day. I make these for dinner parties all the time because they’re easy to transport and always disappear.
Why didn’t my brownies have a crackly top?
The crackly top comes from whisking the sugar and eggs thoroughly. If you just stirred them together, you won’t get that shiny crust. Also, using brown sugar instead of granulated sugar will prevent the crackly top. Granulated sugar is key.
Can I use egg whites instead of whole eggs?
You can, but the brownies will be less rich and slightly drier. I’ve used egg whites once when I had too many yolks, and they were good but not as fudgy. Whole eggs add moisture and richness that you don’t get from whites alone.
How do I know when they’re done baking?
The toothpick test is your best friend. Insert a toothpick into the center—it should come out with a few moist crumbs, not wet batter. If it’s clean, they’re overbaked. If it’s wet, they need more time. I check at 25 minutes and adjust from there.
Pin This Recipe!
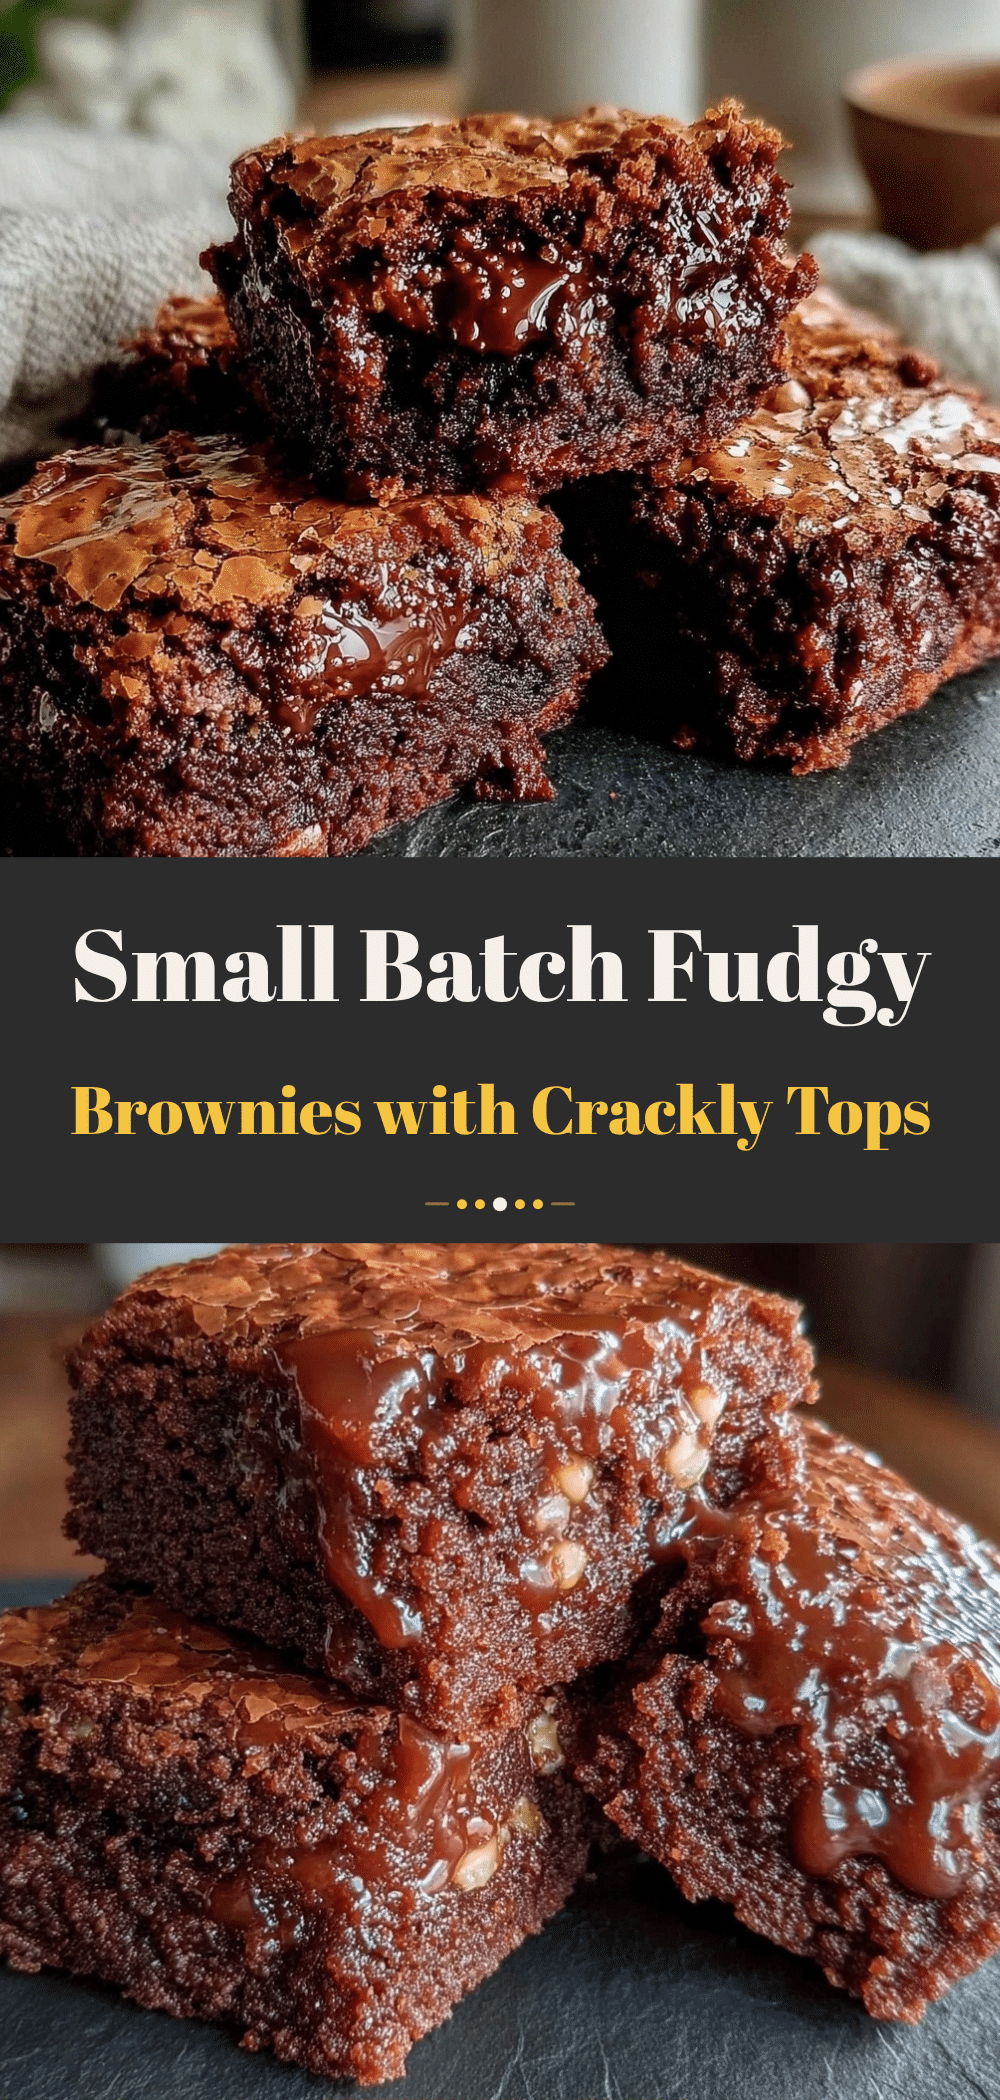
Small Batch Fudgy Brownies: Easy Treat for Self Care
- Total Time: 50 minutes
- Yield: 16 servings 1x
Description
These small batch fudgy brownies are a perfect self-care treat, yielding about 16 squares from a single 8×8 pan. They are dense, moist, and feature a signature crackly top, making them an easy, one-bowl dessert ready in under an hour.
Ingredients
- 1/2 cup (113g) unsalted butter
- 1 cup (170g) semi-sweet or dark chocolate chips
- 3/4 cup (150g) granulated sugar
- 2 large eggs
- 1 teaspoon pure vanilla extract
- 1/2 cup (60g) all-purpose flour
- 2 tablespoons (10g) unsweetened cocoa powder
- 1/4 teaspoon salt
- Flaky sea salt (optional, for topping)
Instructions
- Preheat oven to 350°F (175°C). Line an 8×8-inch baking pan with parchment paper, leaving an overhang on the sides for easy removal.
- In a microwave-safe bowl, combine butter and chocolate chips. Microwave in 30-second intervals, stirring between each, until smooth and melted. Alternatively, melt using a double boiler on the stovetop.
- Let the chocolate mixture cool slightly, then whisk in the sugar until well combined and glossy.
- Add eggs one at a time, whisking thoroughly after each addition until the batter is shiny and slightly thickened. Whisk for about 30 seconds to help create the crackly top. Stir in vanilla extract.
- Sift flour, cocoa powder, and salt into the wet mixture. Fold gently with a spatula until just combined; do not overmix.
- Pour batter into the prepared pan and spread evenly.
- Bake for 25-30 minutes. The brownies are done when the top is crackly and shiny, and a toothpick inserted into the center comes out with a few moist crumbs attached.
- Let brownies cool in the pan for at least 20-30 minutes before slicing to allow them to set properly.
- Sprinkle with flaky sea salt if desired, then slice into 16 squares.
Notes
Do not overmix the batter once flour is added to maintain a fudgy texture. Ensure you use granulated sugar, not brown sugar, for the crackly top. Cool completely before slicing to prevent gummy texture. Can be stored in the refrigerator for up to 5 days or frozen for up to 3 months.
- Prep Time: 10 minutes
- Cook Time: 30 minutes
- Category: Dessert
- Cuisine: American
Nutrition
- Serving Size: 1 square
- Calories: 145
- Sugar: 14
- Sodium: 45
- Fat: 8
- Saturated Fat: 5
- Carbohydrates: 18
- Fiber: 1
- Protein: 2
Keywords: small batch brownies, fudgy brownies, easy dessert, self care recipe, one bowl brownies, chocolate dessert, quick baking


