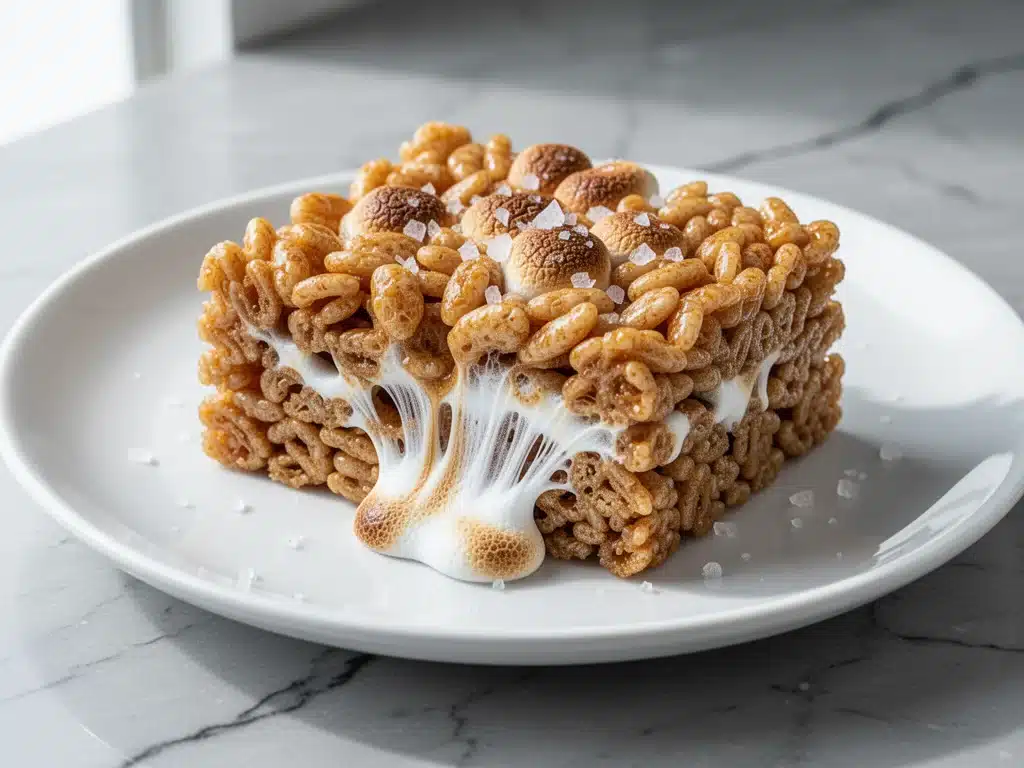
I have a confession to make. I used to think Rice Krispie Treats were the culinary equivalent of a nap—comforting, sure, but totally forgettable. They were the dessert you threw together at 9 PM because you had no other options, the kind of thing that tasted vaguely like sugar and regret if you didn’t eat it immediately.
Then, about six months ago, I was hosting a last-minute dinner party. My soft pink frosted sugar cookie bars were still cooling in the oven, but I needed something quick to serve alongside them for the kids. I grabbed the marshmallows, the cereal, and the butter. But this time, I didn’t just melt the butter. I let it sit in the pan. I watched it brown. I smelled that nutty, toasty aroma that makes your mouth water before you even take a bite.
I added that brown butter to the marshmallows, stirred in the cereal, pressed it into the pan, and finished it with a heavy sprinkle of flaky sea salt. I handed a piece to my pickiest guest, a college student who usually only eats pizza. He took one bite, stopped mid-chew, and said, “Wait. What is this?”
It wasn’t just a Rice Krispie Treat anymore. It was something richer, deeper, and infinitely more sophisticated. It was the kind of dessert that makes people ask for the recipe three times in one evening. These Brown Butter Rice Crispy Treats are better than takeout, better than store-bought, and honestly? They’re better than the ones I used to make. And they only take five ingredients.
Why You’ll Love This Recipe
There are about ten reasons I keep making these, but let’s be real: if it’s not easy, I’m not making it. Here’s why this version has completely replaced the classic box mix version in my rotation.
- Stupid Simple — Seriously, if you can melt butter and stir a pot, you can make this. I’ve made these while on a video call with my mom. No fancy techniques, just one pot.
- Lightning Fast — 15 minutes from start to finish. That’s faster than waiting for a delivery driver. I make these on weeknights when I need a sweet fix but don’t want to turn on the oven.
- Flavor Upgrade — Brown butter adds a nutty, caramel-like depth that regular butter just can’t compete with. It transforms a childhood classic into a grown-up treat.
- Texture Perfection — The key is in the press. These treats stay chewy for days if stored right. They don’t turn into rock-hard bricks like some versions do.
- Crowd-Pleaser — I’ve served these to food snobs and picky eaters alike. The sea salt makes everyone feel fancy, even if they’re eating cereal squares at 10 PM.
- Budget-Smart — Feeds 9-12 people for under $5. That’s cheaper than a single slice of cheesecake at a restaurant.
This is my go-to when I need dessert to just work. No complicated steps, no weird ingredients, just reliable, delicious food that makes everyone happy.
Ingredients You’ll Need
Here’s the best part: you probably have most of this already. This looks like a short list, but every ingredient plays a specific role in making these treats incredible.
For the Base
Unsalted Butter (6 tablespoons / 85g) — This is where the magic happens. You need enough fat to coat the marshmallows properly. I use unsalted so I can control the salt level, but if you only have salted, reduce the sea salt on top. I always keep a stick of high-quality butter in the fridge—like Kerrygold or Land O’Lakes. It makes a difference.
Marshmallows (10 ounces / 280g) — That’s one standard bag. Don’t skimp. Generic store brands work fine, but if you can find jet-puffed or a local bakery brand, the texture is often slightly better. Just make sure they’re fresh; old marshmallows get hard and don’t melt smoothly.
Rice Krispies Cereal (6 cups / approx. 190g) — Yes, six full cups. This is a lot of cereal, but these treats are meant to be airy and light. If you want chewier treats, you can reduce to 5 cups, but I like the classic crunch. Any crispy rice cereal works, but Kellogg’s is the gold standard for that specific snap.
For the Flavor
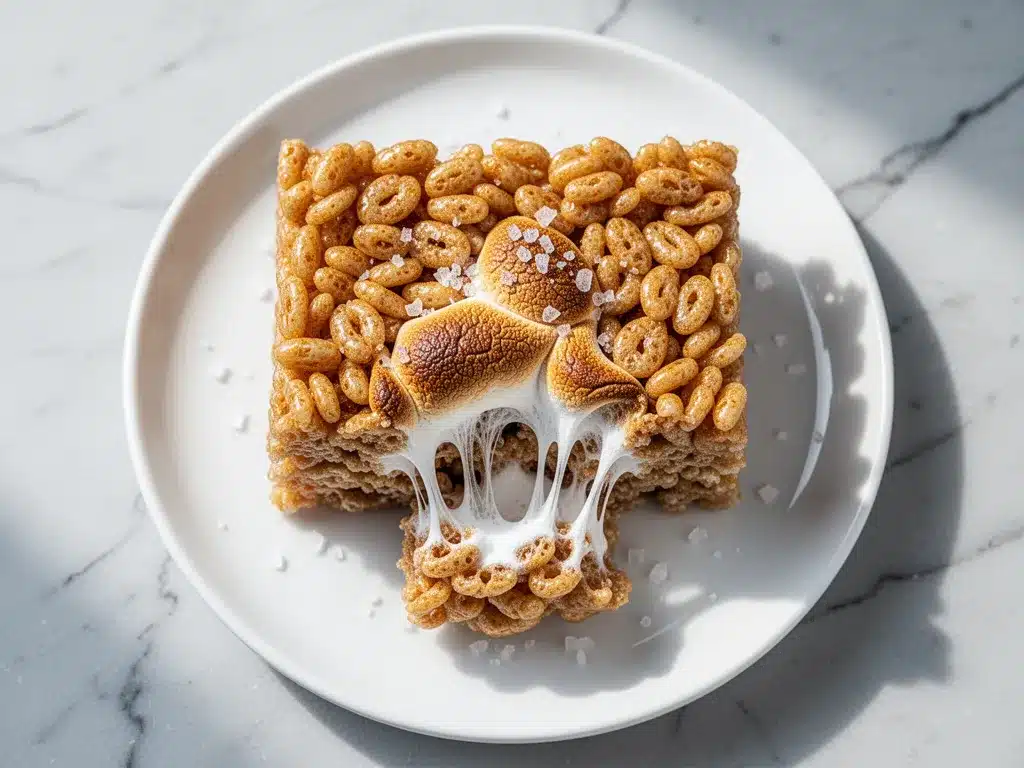
Vanilla Extract (1 teaspoon) — Pure vanilla only. I know it’s a small amount, but it rounds out the sweetness. If you’re in a pinch, you can skip it, but I don’t recommend it. The vanilla pairs beautifully with the nutty brown butter.
Flaky Sea Salt (1 teaspoon, plus more for topping) — This is non-negotiable. The salt cuts through the intense sweetness of the marshmallows. I use Maldon sea salt because the flakes are pretty and dissolve slowly. If you use table salt, use half the amount because it’s way more potent.
Optional Add-ins
Chocolate Chips (½ cup) — I like to drizzle melted chocolate over the top after they’re set. It adds a nice snap and makes them look fancy.
Pretzels (½ cup, crushed) — If you’re feeling adventurous, toss in some crushed pretzels for a sweet-and-salty crunch. It’s a game-changer if you like salty snacks.
Personal Tips:
- Brand Recommendations: I always use Kellogg’s Rice Krispies. The shape and density are consistent, which helps with even mixing.
- Shopping Shortcuts: Buy the large bag of marshmallows. You’ll use them for other things, and it’s cheaper per ounce.
- Substitutions: Can’t find Rice Krispies? Use Chex cereal or crispy wheat cereal. The texture will be slightly different, but it still works.
- Storage: Marshmallows harden in the fridge. Keep these at room temperature for the best texture.
Equipment Needed
You don’t need fancy equipment for this. Here’s what I actually use.
Large Saucepan (4-quart or bigger) — I use a stainless steel saucepan. It needs to be big enough to melt the marshmallows without overflowing. My ancient pot from college still works fine. A non-stick pan is easier for cleanup, but stainless steel gives better browning on the butter.
Silicone Spatula — For stirring. I prefer a heat-resistant silicone spatula because it scrapes the sides of the pan clean. Don’t use a wooden spoon if your pan is non-stick—it might scratch it. A metal spoon works but can get stuck in the sticky marshmallow.
8×8 Inch Baking Pan — Standard size. I line it with parchment paper for easy removal. If you don’t have parchment, grease it heavily with butter or cooking spray. I’ve made the mistake of not greasing it once, and it was a nightmare to get out. Don’t repeat my mistake.
Measuring Cups and Spoons — Pretty standard stuff. Dollar store versions work fine. Make sure your measuring cups are level for the cereal.
Small Bowl — For holding the sea salt while you work. Keeps your fingers clean.
Optional but nice:
- Parchment Paper — Essential for easy cleanup. I use a “sling” so I can lift the treats out of the pan once they’re set.
- Pastry Brush — If you’re worried about sugar crystals forming, you can brush the sides of the pan with water while melting marshmallows. I usually skip this step because I’m lazy, but it helps.
How to Make It: Step-by-Step
Alright, let’s make this! I’m walking you through exactly how I do it, including the little tricks I’ve picked up over the years.
Step 1: Prep Your Pan (2 minutes)
Line an 8×8 inch baking pan with parchment paper, leaving an overhang on two sides. This creates a “sling” so you can lift the treats out later. Grease the parchment lightly with butter or cooking spray. This prevents sticking. I know it seems like extra work, but it makes cutting and serving so much easier.
Step 2: Brown the Butter (5 minutes)
Place your butter in a large saucepan over medium heat. Let it melt, then keep cooking it. Stir frequently. You’ll see the butter foam up and then settle. Watch closely—it goes from golden to brown in seconds. You’re looking for a nutty aroma and a deep amber color. The brown bits at the bottom are flavor gold. Don’t burn it! If it smells like burnt toast, start over. This usually takes 4-5 minutes.
Step 3: Melt the Marshmallows (3 minutes)
Remove the pan from heat. Immediately add the marshmallows and vanilla extract. Stir constantly. The residual heat will melt them. Keep stirring until they are completely smooth and glossy. This takes about 2-3 minutes. Don’t rush this step. If there are unmelted marshmallows, your treats will be lumpy. If you’re worried about burning the bottom, put the pan back on low heat for 30 seconds, but stir like crazy.
Step 4: Combine with Cereal (2 minutes)
Pour the marshmallow mixture over the Rice Krispies. Use your spatula to gently fold the cereal into the marshmallows. You want to coat every piece evenly. Be gentle—if you stir too hard, you’ll crush the cereal and get dense treats. Just fold until no dry spots remain. This should take less than a minute.
Step 5: Press and Set (10 minutes)
Transfer the mixture to your prepared pan. Wet your hands with water or butter (this prevents sticking) and press the mixture firmly and evenly into the pan. Don’t be shy—press it down. If it’s too loose, the treats will fall apart. If it’s too hard, they’ll be like rocks. Aim for firm but not compressed. Sprinkle with flaky sea salt immediately while the surface is still sticky.
Step 6: Cool and Cut (30 minutes)
Let the treats cool at room temperature for at least 30 minutes. They need to set completely. Once cooled, use the parchment sling to lift them out of the pan. Cut into squares or rectangles with a sharp knife. Enjoy!
Total Time: About 45 minutes (15 minutes active, 30 minutes cooling)
Expert Tips & Tricks
Here’s everything I’ve learned from making these dozens of times. These tips will save you from my mistakes.
Don’t Burn the Butter
Brown butter is delicious, but burnt butter is bitter. Keep the heat at medium, not high. If you walk away, it will burn. I usually set a timer for 4 minutes and check every 30 seconds. The smell is your best indicator. When it smells like hazelnuts or brown popcorn, it’s done.
Work Fast
Marshmallow mixtures harden quickly. Once you add the cereal, you have about 2 minutes to get everything into the pan and pressed down. If you’re slow, it becomes a sticky mess to handle. Have your pan ready before you start melting the marshmallows.
Wet Hands
Marshmallows stick to everything. Wet your hands with cold water or grease them with butter before pressing the mixture into the pan. This keeps your hands clean and helps you get an even layer.
Press Firmly
This is the #1 mistake people make. They press too lightly, and the treats fall apart. Press down firmly with your palms. You want a compact, even layer. This ensures clean cuts and sturdy treats.
Sea Salt Timing
Add the sea salt while the treats are still warm. The slight stickiness helps the salt adhere. If you wait until they’re fully cooled, the salt will just fall off.
Common Mistakes (and how to avoid them):
- Mistake: Treats are too hard. Fix: You pressed too hard, or the butter was overcooked. Next time, press firmly but not like you’re trying to crush the cereal.
- Mistake: Treats are too soft/sticky. Fix: You didn’t let them cool long enough. Give them a full 30 minutes. If they’re still soft, refrigerate for 15 minutes.
- Mistake: Marshmallows burned. Fix: Heat was too high. Next time, use lower heat and stir more frequently.
Variations & Substitutions
Once you’ve nailed the basic version, here’s how you can mix it up. I’ve tried all of these.
Chocolate Drizzle Version
Melt ½ cup chocolate chips with 1 teaspoon coconut oil. Drizzle over the top after they’re set. It adds a nice snap and makes them look fancy. My kids love this version.
Peanut Butter Swirl
Add 2 tablespoons of peanut butter to the melted marshmallows. Stir until combined. It adds a savory note that pairs well with the salt. Great for peanut butter lovers.
Mini Marshmallows
Use 10 ounces of mini marshmallows. They melt faster and create a smoother texture. I use these when I’m in a hurry.
Gluten-Free
Use gluten-free crispy rice cereal. Everything else is naturally gluten-free. I’ve used Enjoy Life cereal and it works great.
Dairy-Free
Replace butter with vegan butter (like Miyoko’s or Earth Balance) and use vegan marshmallows (Dandies are the best). It’s not quite the same, but it’s still tasty.
Lower-Sugar
Use reduced-sugar marshmallows. They don’t melt quite as smoothly, so you might need to add a splash of milk to help them combine. The texture will be slightly less chewy.
Serving & Storage
I usually serve these straight from the pan at the dinner table—they look rustic and homemade. But here are other ways I’ve enjoyed them:
Side Dishes:
- Hot chocolate (obviously)
- Vanilla ice cream
- Fresh berries (the acidity cuts the sweetness)
Toppings Bar:
When I have guests, I put out: extra sea salt, crushed pretzels, chocolate chips, and sprinkles. Everyone customizes their square.
Storage Instructions:
Refrigerator:
Store in an airtight container for up to 1 week. However, I don’t recommend refrigerating them. The cold makes the marshmallows hard and the butter firm. Room temperature is best.
Freezing:
Yes, these freeze well! Layer them in an airtight container with parchment paper between layers. Freeze for up to 3 months. Thaw at room temperature for 30 minutes before eating. They taste just as good as fresh.
Pro tip:
If they get sticky, refrigerate them for 15 minutes before cutting. Cold treats are easier to slice cleanly.
Nutrition Information
I’m not a nutritionist, but here’s the breakdown if you’re tracking. Keep in mind that these are treats, so they’re high in sugar and carbs.
Per Serving (based on 12 servings):
- Calories: 180
- Protein: 2g
- Carbs: 32g
- Fiber: 1g
- Sugar: 22g
- Fat: 6g
- Saturated Fat: 3.5g
- Cholesterol: 10mg
- Sodium: 120mg
What’s Good:
- Quick energy boost
- Small portion size helps control intake
- Can add protein with nuts or peanut butter
What to Know:
- High in sugar from marshmallows
- Contains dairy
- Low in fiber and protein unless modified
My Take:
Look, these are dessert. They’re meant to be indulgent. But they’re way better than store-bought boxes, and you know exactly what’s in them. When I want to make it lighter, I use mini marshmallows and add some nuts for crunch. But usually? I just eat two squares and enjoy it.
Final Thoughts
So that’s my brown butter Rice Krispie Treat recipe! I’ve probably talked your ear off at this point, but when you make a recipe this often, you have a lot to say about it.
This has saved dessert nights more times than I can count. It’s my answer to “what’s for dessert?” when I’m tired, don’t want to bake, and still want something that tastes really good. My kids are happy, my husband’s happy, and I’m happy because I’m not stressed about cooking.
Make it yours! Try different add-ins, swap in your favorite cereal, adjust the salt (though more is always better in my opinion). The best recipes are the ones you adapt to your family’s tastes.
If you make this, drop a comment and let me know what you think! I love hearing how recipes turn out in your kitchen. And if something doesn’t work, tell me that too—I’m here to help troubleshoot.
Happy cooking! And I hope your kitchen smells half as good as mine does right now.
Frequently Asked Questions
Can I use margarine instead of butter?
You can, but the flavor won’t be as rich. Brown butter adds that nutty depth that makes these treats special. Margarine has a higher water content, so it might not brown as nicely. If you must use it, go for a high-fat stick margarine, not tub spread. But honestly, butter is worth the extra few cents.
Why did my marshmallows clump together?
Usually means the heat was too high, or you didn’t stir enough. Marshmallows need gentle, consistent heat to melt smoothly. If they clump, you can put the pan back on low heat and add a teaspoon of milk to help break them up. Stir vigorously until smooth.
Can I make this ahead for a party?
Absolutely! These are perfect for make-ahead desserts. Make them 1-2 days in advance and store in an airtight container at room temperature. They actually taste better after sitting for a few hours because the flavors meld together. Just add the sea salt right before serving if you want it to stay crisp.
Why did my treats fall apart when I cut them?
This happens if you didn’t press them down firmly enough, or if you cut them too soon. Make sure to press the mixture evenly into the pan. Let them cool completely (at least 30 minutes) before cutting. Use a sharp knife and wipe it clean between cuts for clean edges.
Can I use mini marshmallows?
Yes! Mini marshmallows melt faster and create a smoother, more uniform texture. I often use them when I’m in a hurry. Just make sure you use the same weight (10 ounces), not volume, as mini marshmallows pack differently.
How do I keep them from sticking to the knife?
Wipe your knife with a damp paper towel between cuts. The moisture prevents the sticky marshmallow from adhering to the blade. Alternatively, you can lightly grease the knife with butter.
Can I add nuts?
Definitely. Toasted pecans, walnuts, or almonds add a great crunch and pair beautifully with the brown butter. Add them with the cereal in Step 4. I usually add about ½ cup for a balanced nutty flavor.
Pin This Recipe!
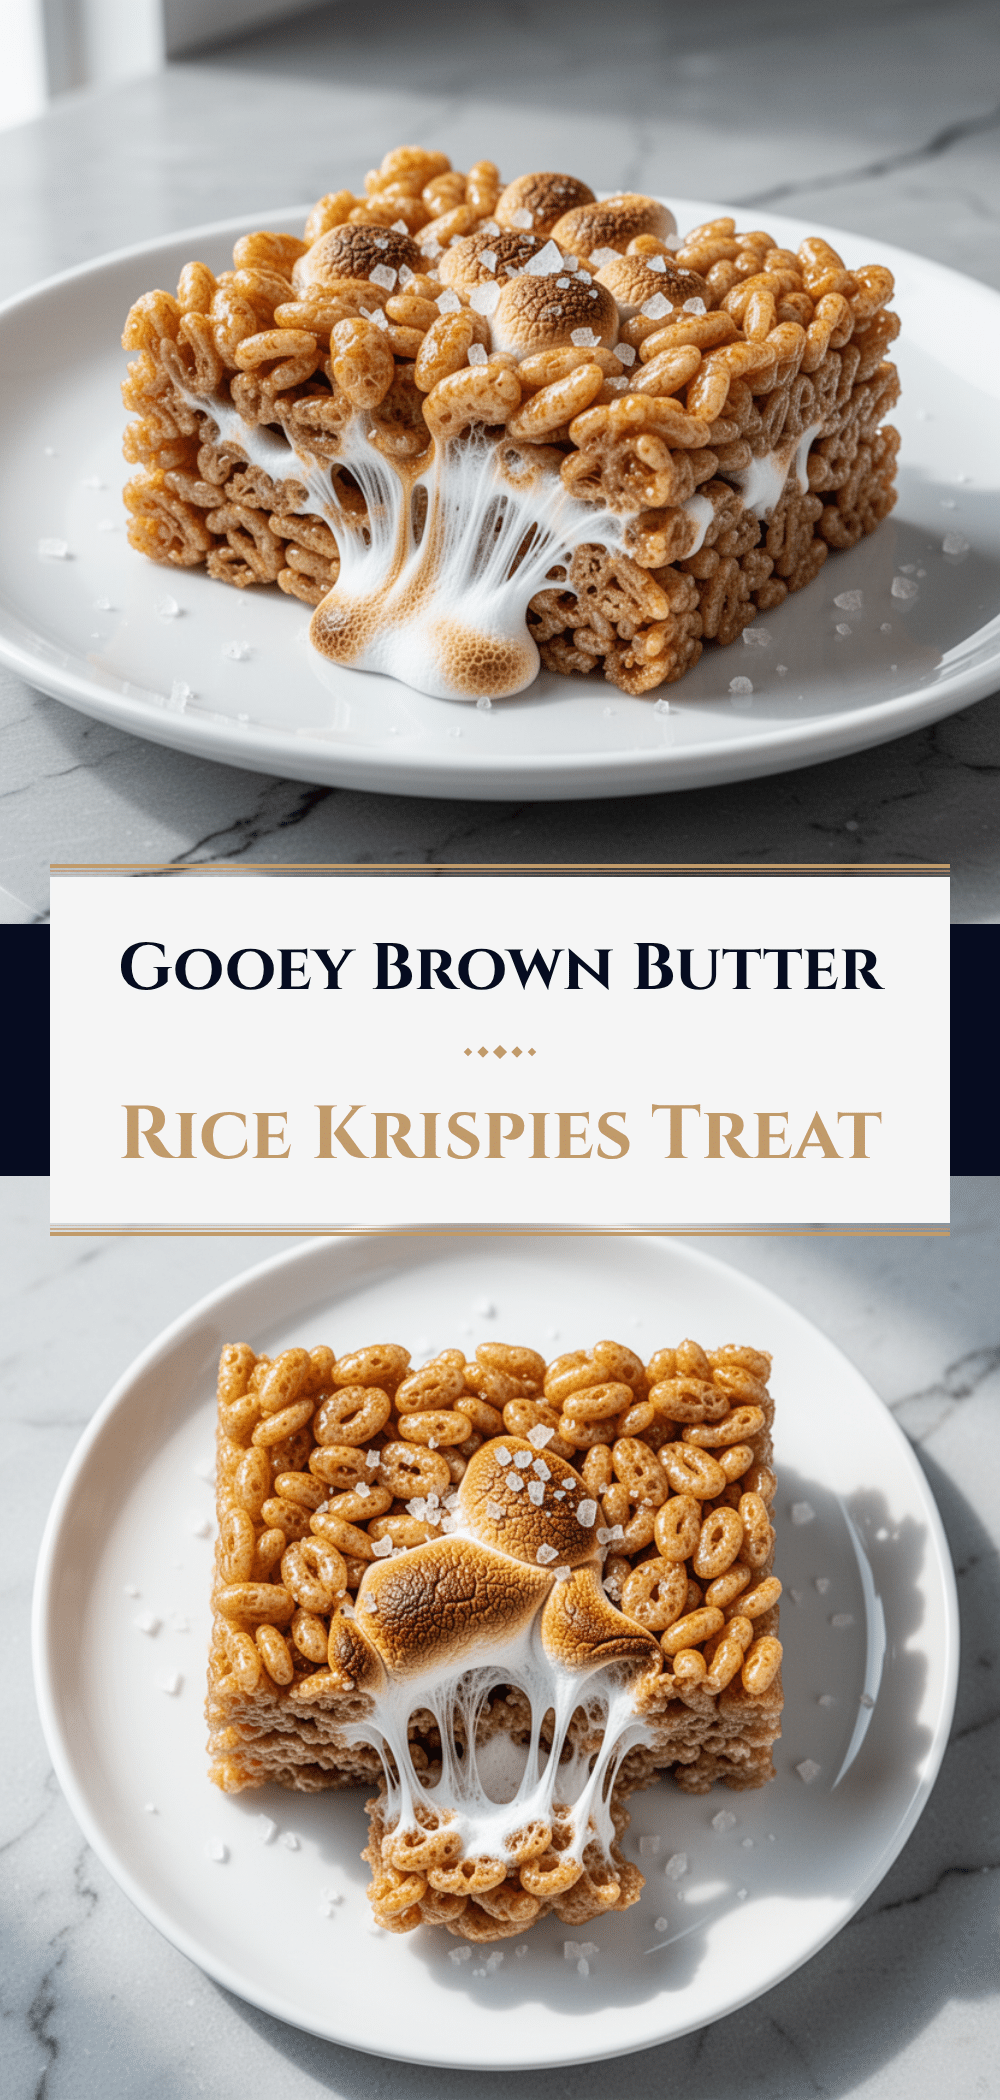
Brown Butter Rice Crispy Treats: 5-Ingredient No-Bake Dessert
- Total Time: 45 minutes
- Yield: 12 servings 1x
Description
A sophisticated twist on a classic childhood favorite, these no-bake treats use browned butter for a nutty, caramel-like depth, finished with flaky sea salt for the perfect sweet-and-salty balance.
Ingredients
- 6 tablespoons (85g) unsalted butter
- 10 ounces (280g) marshmallows (standard or mini)
- 6 cups (approx. 190g) Rice Krispies cereal
- 1 teaspoon vanilla extract
- 1 teaspoon flaky sea salt (plus more for topping)
- Optional: ½ cup chocolate chips
- Optional: ½ cup crushed pretzels
Instructions
- Line an 8×8 inch baking pan with parchment paper, leaving an overhang on two sides, and grease lightly with butter or cooking spray.
- Melt the butter in a large saucepan over medium heat. Cook, stirring frequently, until the butter foams, settles, and turns a deep amber color with a nutty aroma (about 4-5 minutes). Do not burn.
- Remove the pan from heat and immediately add the marshmallows and vanilla extract. Stir constantly until the marshmallows are completely melted and the mixture is smooth and glossy (2-3 minutes).
- Pour the marshmallow mixture over the Rice Krispies cereal. Gently fold the cereal into the mixture until every piece is evenly coated.
- Transfer the mixture to the prepared pan. Wet your hands with water or butter and press the mixture firmly and evenly into the pan.
- Sprinkle with flaky sea salt immediately while the surface is still sticky.
- Let the treats cool at room temperature for at least 30 minutes until set.
- Use the parchment sling to lift the treats out of the pan and cut into squares or rectangles.
Notes
Brown butter is delicious but burns easily; keep heat at medium and watch closely. Work quickly when combining cereal as the mixture hardens fast. Wet hands or grease them to prevent sticking when pressing the treats. Store at room temperature for best texture; refrigeration makes marshmallows hard. These freeze well for up to 3 months.
- Prep Time: 15 minutes
- Cook Time: 30 minutes
- Category: Dessert
- Cuisine: American
Nutrition
- Serving Size: 1 square
- Calories: 180
- Sugar: 22
- Sodium: 120
- Fat: 6
- Saturated Fat: 3.5
- Carbohydrates: 32
- Fiber: 1
- Protein: 2
Keywords: brown butter, rice crispy treats, no-bake dessert, easy dessert, sea salt, nutty flavor, quick treats, family favorite


