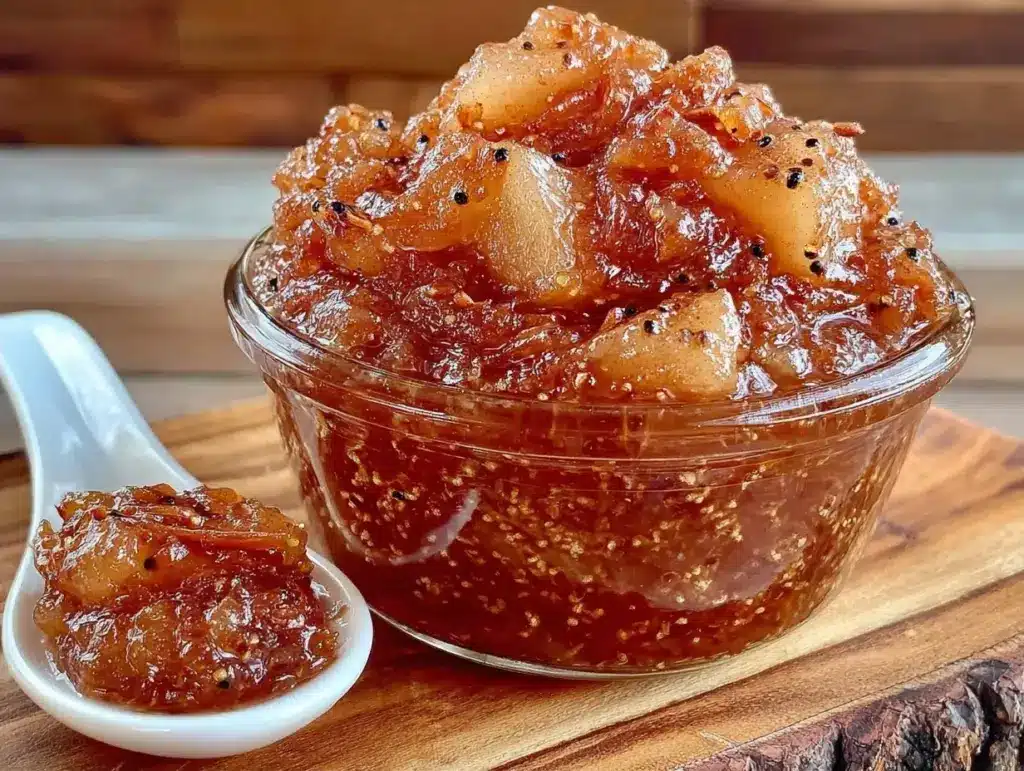
Last October, I stood in my kitchen holding a bag of bruised, slightly wrinkled pears that I’d bought on impulse because they were half-price. They weren’t pretty. They weren’t the crisp, perfect Gala apples you see in commercials. They were soft, sweet, and screaming to be used before they turned into mush. I didn’t have time for fancy canning projects. I didn’t have a crew of helpers. I just wanted something warm and comforting to put on toast the next morning.
So I threw them in a pot with vanilla bean, a splash of lemon, and a pinch of spice. I stirred it until it turned into this deep, amber-colored, spoonable gold. I didn’t even know if it would set. I just wanted to see what would happen.
Three days later, I was still eating it. And the week after that. And honestly? It’s been in my fridge ever since. This spiced pear preserves recipe is the kind of thing you make on repeat because it’s so stupidly simple that you forget it’s homemade until you taste it. It’s rich, it’s spiced, it’s got that deep vanilla warmth that makes you feel like you’re sitting by a fireplace, and it takes almost zero effort.
I’ve made this at least a dozen times now. Sometimes with Bartletts, sometimes with Bosc. Sometimes I get lazy and use vanilla extract. The result is always, consistently, amazing. If you have four ingredients and a pot, you can make this. You really can’t mess it up. And once you try it, you’ll never go back to store-bought jam again.
Why You’ll Love This Recipe
There are a lot of reasons to make preserves, but this one hits different. It’s not just sweet fruit; it’s complex. It’s cozy. Here’s why this spiced pear preserves has earned a permanent spot in my rotation:
Foolproof Simplicity — Seriously, if you can chop a pear and stir a pot, you can make this. There are no tricky gel tests, no complicated sugar ratios to memorize. You just cook it down. I’ve made this for friends who have never cooked a day in their lives, and they’ve produced jars better than any grocery store brand.
Uses Up Imperfect Fruit — Pears bruise easily. They get mealy. They’re too soft to eat raw. This recipe is the perfect rescue mission. The cooking process breaks them down completely, so the “ugly” spots don’t matter. In fact, the softer the pear, the faster it breaks down into a luscious preserve.
Deep, Complex Flavor — Store-bought jams taste like sugar and one note of fruit. This tastes like autumn. The vanilla bean adds a floral, creamy depth that pairs perfectly with the earthy spice of cinnamon and clove. It’s not just sweet; it’s savory-sweet. It’s the kind of flavor that makes people ask, “What is that secret ingredient?”
Endless Versatility — I’ve slathered this on cinnamon roll baked oatmeal for breakfast. I’ve swirled it into yogurt. I’ve paired it with sharp cheddar cheese on crackers for a late-night snack. I’ve even used it as a glaze for roasted chicken (yes, really). It’s a chameleon in the kitchen.
Make-Ahead Magic — You can make a batch when pears are cheap and fresh, store it in the fridge for weeks, and enjoy it whenever you need a pick-me-up. It keeps for up to three weeks in the fridge, which is basically forever for something this good.
This is my go-to when I want to feel like a gourmet cook without actually doing any work. No fancy equipment. No stress. Just pure, spoonable comfort.
Ingredients You’ll Need
Here’s the best part: you probably have most of this already. I’m not kidding. Four ingredients. That’s it. Let’s talk about what you need and why each one matters.
Pears (4-5 medium, about 2 lbs / 900g) — This is the star. I usually use Bartlett or Bosc. Bartletts are softer and sweeter, making them break down faster. Boscs hold their shape a bit more but have a nice, firm texture. You want ripe pears. If they’re rock hard, they’ll take longer to cook. If they’re mushy, they’ll cook instantly. Just chop them into small, uniform pieces—about half-inch cubes. Uniformity helps them cook evenly.
Sugar (½ cup / 100g) — I use granulated white sugar. It doesn’t overpower the delicate pear flavor like brown sugar would. Brown sugar adds molasses notes that can clash with the vanilla. You don’t need a ton of sugar here because pears are naturally sweet. This amount is enough to help the pears break down and create that jammy texture without making it cloying. If you’re watching sugar, you can reduce to ¼ cup, but it won’t set quite as thickly.
Vanilla Bean (1 whole bean) — This is non-negotiable for me. I know you can use extract, but a real vanilla bean changes the game. The seeds add those tiny black specks that look fancy, and the flavor is infinitely deeper and more aromatic. Scrape the seeds out and toss in the pod too. The pod infuses the preserves with even more vanilla flavor as it cooks. If you absolutely can’t find a fresh bean, use 1 tablespoon of high-quality vanilla extract, but add it at the very end so the flavor doesn’t cook off.
Spice Blend (½ teaspoon cinnamon, ¼ teaspoon ground cloves) — This is the “spiced” part. Cinnamon is the base, warm and familiar. Clove is the secret weapon. It’s strong, so don’t add more than ¼ teaspoon or it will taste medicinal. A pinch of nutmeg works too if you want to get fancy, but cinnamon and clove are the classic pairing. I keep these spices stocked because they make any fruit taste like a dessert.
Lemon Juice (1 tablespoon / 15ml) — This is the unsung hero. It brightens up the heavy sweetness of the pears and sugar. It also helps with the pectin release, which aids in setting. Don’t skip it. It’s just a splash, so it won’t make the preserves taste sour. Trust me.
Optional Add-ins: A splash of bourbon or brandy adds a nice kick for adult toast. A pinch of cardamom adds a floral, citrusy note. But honestly? The four ingredients above are perfect on their own.
Equipment Needed
You don’t need fancy canning equipment for this. Since we’re keeping this in the fridge (not canning for long-term shelf storage), the gear list is tiny.
Large Heavy-Bottomed Pot — I use a 4-quart Dutch oven. Heavy-bottomed is key because it distributes heat evenly and prevents the sugar from scorching on the bottom. If you’re using a thin saucepan, you’ll need to stir more often.
Knife and Cutting Board — For chopping the pears. A sharp knife makes this way easier. If your pears are hard, a dull knife will crush them. Sharp is better.
Wooden Spoon or Silicone Spatula — For stirring. You’ll be stirring quite a bit as it thickens. A wooden spoon is classic, but a silicone spatula is great for scraping the bottom of the pot to prevent sticking.
Measuring Spoons — For the sugar, spices, and lemon juice. Pretty standard stuff.
Blender or Immersion Blender (Optional) — If you want a smooth preserve, blend it at the end. If you like chunks, skip this. I personally love a little texture, so I leave it chunky. But smooth is easier to spread on toast.
Airtight Jars or Container — Glass jars with lids work best. Mason jars are classic, but any clean glass container with a tight lid will do. Plastic works too, but glass doesn’t stain or hold odors.
How to Make It: Step-by-Step
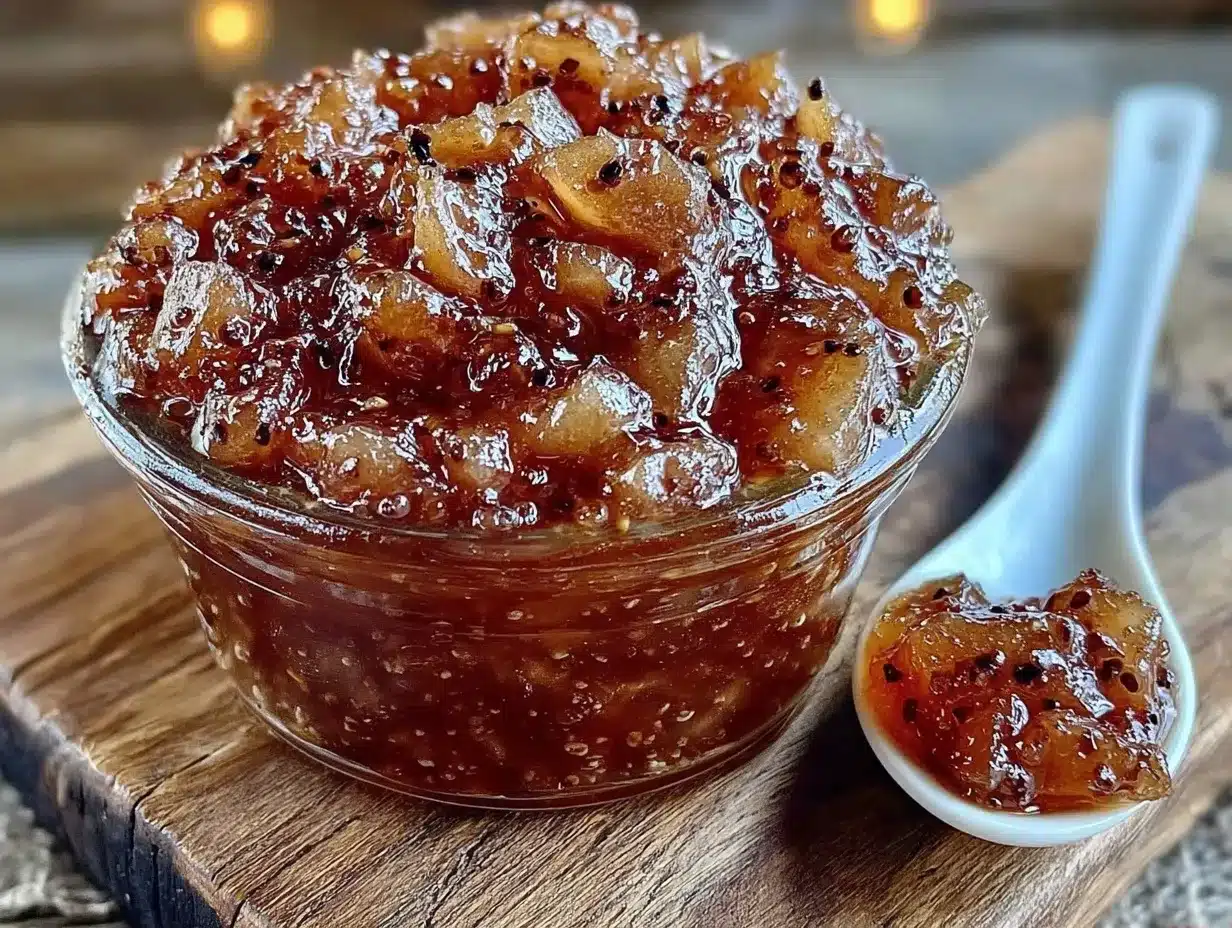
Alright, let’s make this! I’m walking you through exactly how I do it. It’s simple, but there are a few tricks to get that perfect texture.
Step 1: Prep the Pears (5 minutes)
Wash your pears. You don’t need to peel them—the skins add color and nutrients, and they soften enough to be unnoticeable. Core them and chop them into half-inch cubes. Try to keep them roughly the same size so they cook evenly. If you have any really soft spots, just chop those smaller; they’ll break down faster.
Step 2: Scrape the Vanilla (2 minutes)
Slice the vanilla bean lengthwise with a sharp knife. Use the back of the knife to scrape out the tiny black seeds. Toss both the seeds and the empty pod into your large pot. The pod will infuse flavor, so don’t throw it away yet.
Step 3: Combine and Wait (10 minutes)
Add the chopped pears, sugar, cinnamon, cloves, and lemon juice to the pot with the vanilla. Stir well to coat the pears in the sugar and spices. Let it sit for 10 minutes. This draws out the juices from the pears and starts the breakdown process. You’ll see liquid pooling at the bottom. This is good.
Step 4: Cook Low and Slow (20-30 minutes)
Place the pot over medium-low heat. Bring it to a gentle simmer. You want small bubbles, not a rolling boil. Stir occasionally—maybe every 5 minutes. As it cooks, the pears will start to soften and break down. The mixture will turn from distinct chunks into a thick, jammy consistency. This takes patience. Don’t rush it with high heat, or the sugar will burn.
Step 5: Check for Doneness (1 minute)
After about 20 minutes, check the texture. If you want a chunky preserve, it’s done when the pears are very soft and the mixture has thickened. If you want it smoother, blend it now. To test if it’s thick enough, put a spoonful on a cold plate and let it sit for a minute. If it doesn’t run off the plate, it’s ready.
Step 6: Blend (Optional) (1 minute)
If you’re using a blender, let the mixture cool for 5 minutes so it doesn’t splash. Blend until smooth. If using an immersion blender, just blitz it right in the pot. If you prefer chunks, skip this step.
Step 7: Cool and Store (30 minutes)
Remove the vanilla pod. It’s done its job. Discard it. Let the preserves cool to room temperature. They’ll thicken more as they cool. Once cool, transfer to airtight jars or a glass container. Refrigerate.
Total Time: About 45 minutes (10 minutes active, 35 minutes mostly hands-off)
Expert Tips & Tricks
Here’s everything I’ve learned from making this dozens of times. These tips will save you from my early mistakes.
Don’t Skimp on the Lemon
I know it’s just a tablespoon, but it’s crucial. The acid balances the sugar and helps the pectin activate. Without it, the preserves taste flat and overly sweet. It’s the difference between “jam” and “candy.”
Low Heat is Key
Sugar burns easily. If you see browning on the bottom of the pot, you’re cooking too hot. It’s better to cook it longer on low heat. The flavor develops better, and you avoid bitterness.
Use Ripe Pears
Underripe pears are hard and tart. They’ll take much longer to cook and might never get that soft, jammy texture. Wait until your pears yield slightly to pressure before using them.
Stir the Bottom
As the sugar dissolves and the mixture thickens, it sticks. Make sure you’re scraping the bottom of the pot every few minutes. Burnt sugar tastes awful and ruins the whole batch.
Blending Safety
If you blend hot preserves, steam can build up and blow the lid off. Always let it cool slightly, and fill the blender no more than halfway. Hold the lid down with a towel.
Common Mistakes
Mistake: It’s too runny.
Fix: Cook it longer. It needs to reduce further. Also, remember it thickens as it cools. If it’s still runny after cooling, simmer it again for 5-10 minutes.
Mistake: It’s too sweet.
Fix: Add a splash more lemon juice or a pinch of salt. Salt enhances flavor and cuts sweetness. Next time, reduce the sugar by 1-2 tablespoons.
Mistake: It’s grainy.
Fix: The sugar didn’t dissolve fully. Make sure you stir during the initial “wait” phase and the first few minutes of cooking until the sugar is gone.
Variations & Substitutions
Once you’ve nailed the basic version, here’s how you can mix it up. I’ve tried all of these.
Bourbon Pear Preserves
Add 2 tablespoons of bourbon during the last 5 minutes of cooking. The alcohol cooks off, leaving a rich, warm flavor. Perfect for holiday toast.
Ginger Pear Preserves
Add 1 teaspoon of ground ginger or 1 tablespoon of minced fresh ginger with the spices. Adds a spicy kick that pairs beautifully with vanilla.
Cardamom Pear Preserves
Swap the clove for ¼ teaspoon of ground cardamom. It’s floral and citrusy, making the preserves taste more exotic.
Apple-Pear Blend
Use 2 pears and 2 apples. Apples have more pectin, so this helps it set thicker. Great if your pears are underripe.
Gluten-Free & Vegan
This recipe is naturally gluten-free and vegan (assuming your sugar is vegan-processed, which most granulated sugars are). No changes needed.
Dairy-Free
It’s already dairy-free. Serve it with butter if you want, but the preserves themselves contain no dairy.
Serving & Storage
How to Serve:
I usually serve this straight from the fridge on thick slices of sourdough toast with a pat of butter. But here are other ways I’ve enjoyed it:
- Swirled into plain yogurt or oatmeal
- As a glaze for roasted pork or chicken
- Paired with sharp cheddar or gouda cheese on crackers
- As a topping for cheesecake or ice cream
Storage Instructions:
Refrigerator: Store in an airtight container for up to 3 weeks. It will thicken in the fridge—totally normal.
Freezing: This freezes well! Portion it into small containers or ice cube trays for easy use. Thaw in the fridge overnight. It might separate slightly, but a good stir fixes it.
Reheating: You don’t need to reheat it. Eat it cold or at room temperature. If you want it warm, microwave for 15 seconds.
Pro Tip: If you’re making this as a gift, label it with the date and ingredients. People love homemade gifts, and this is one of the easiest to make.
Nutrition Information
I’m not a nutritionist, but here’s the breakdown if you’re tracking. Note that this is per serving (about 2 tablespoons).
- Calories: 45
- Carbs: 11g
- Sugar: 9g
- Fiber: 1g
- Fat: 0g
- Protein: 0g
It’s basically fruit and sugar. It’s not a diet food, but it’s not a calorie bomb either. A little goes a long way. When I want to make it lighter, I reduce the sugar to ¼ cup, but it’s less sweet and thinner. Usually, I just enjoy a small portion and call it a treat.
Final Thoughts
So that’s my spiced pear preserves! I’ve probably talked your ear off at this point, but when you make a recipe this often, you have a lot to say about it.
This has saved me during pear season when I don’t know what to do with the abundance. It’s my answer to “what can I make with these soft pears?” when I’m tired, don’t want to cook a big meal, and still want something that tastes really good. It’s comforting, it’s easy, and it makes my kitchen smell like a bakery.
Make it yours! Try different spices, add a splash of alcohol, or blend it smooth. The best recipes are the ones you adapt to your tastes.
If you make this, drop a comment and let me know what you think! I love hearing how recipes turn out in your kitchen. And if something doesn’t work, tell me that too—I’m here to help troubleshoot.
Happy preserving! And I hope your kitchen smells half as good as mine does right now.
Frequently Asked Questions
Q: Can I use canned pears?
A: You can, but fresh pears have better flavor and texture. If you use canned, drain them well and pat them dry. They’re softer, so they’ll cook faster—check them after 10 minutes.
Q: Why did my preserves turn out watery?
A: Usually means you didn’t cook it long enough. Pears have high water content. Let it simmer until it visibly thickens. Also, remember it thickens as it cools. If it’s still runny after cooling, simmer it again.
Q: Can I make this without sugar?
A: You can use a sugar substitute, but it won’t thicken the same way. Sugar helps break down the fruit and create the jam texture. If you use a substitute, add a teaspoon of pectin to help it set.
Q: How long does this last in the fridge?
A: Up to 3 weeks in an airtight container. If you see mold or it smells off, toss it. Always use clean spoons to scoop it out to prevent contamination.
Q: Can I can this for long-term storage?
A: This recipe is designed for refrigerator storage. For canning, you’d need to adjust the sugar and acid levels and follow a tested canning recipe for safety. I stick to fridge storage for simplicity.
Q: Can I use vanilla extract instead of a bean?
A: Yes! Use 1 tablespoon of high-quality vanilla extract. Add it at the very end of cooking so the heat doesn’t evaporate the flavor. You won’t get the pretty black specks, but the flavor will be great.
Q: What kind of pears are best?
A: Bartletts are classic and sweet. Boscs are firmer and spicier. Anjou pears work well too. Avoid very hard, underripe pears. Look for fruit that smells fragrant and yields slightly to pressure.
Pin This Recipe!
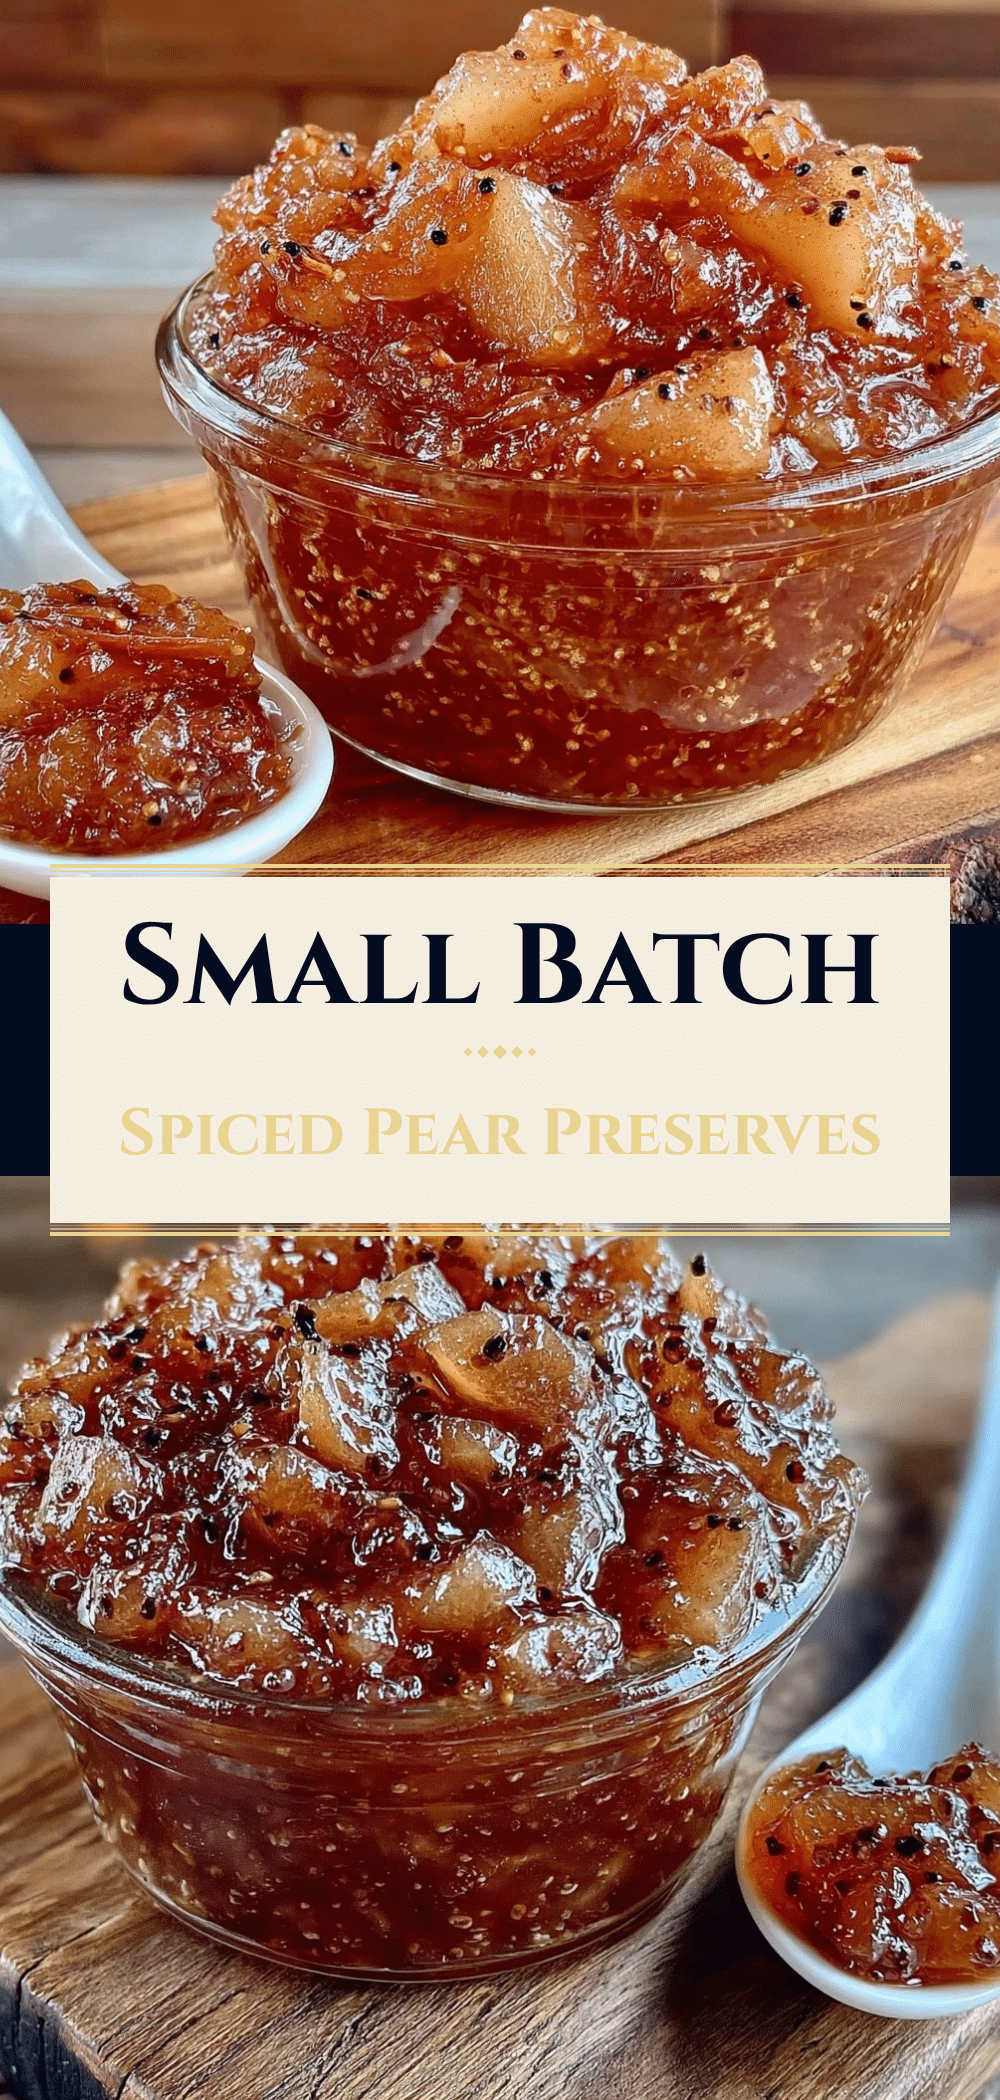
Spiced Pear Preserves
- Total Time: 45 minutes
- Yield: Approximately 2 cups (yields multiple servings) 1x
Description
A simple, foolproof recipe for spiced pear preserves using just four main ingredients. This cozy, amber-colored jam is perfect for toast, yogurt, or cheese boards and can be made with imperfect fruit.
Ingredients
- 4–5 medium pears (about 2 lbs / 900g), cored and chopped into half-inch cubes
- ½ cup granulated white sugar (100g)
- 1 whole vanilla bean, seeds scraped and pod added
- ½ teaspoon ground cinnamon
- ¼ teaspoon ground cloves
- 1 tablespoon lemon juice (15ml)
Instructions
- Wash, core, and chop the pears into half-inch cubes.
- Slice the vanilla bean lengthwise, scrape out the seeds, and add both the seeds and the pod to a large heavy-bottomed pot.
- Add the chopped pears, sugar, cinnamon, cloves, and lemon juice to the pot. Stir well to coat the pears.
- Let the mixture sit for 10 minutes to draw out juices.
- Place the pot over medium-low heat and bring to a gentle simmer. Stir occasionally (every 5 minutes) for 20-30 minutes until the pears are soft and the mixture has thickened to a jammy consistency.
- Remove the vanilla pod.
- Optional: Use a blender or immersion blender to smooth the preserves if desired.
- Let the preserves cool to room temperature, where they will thicken further.
- Transfer to airtight jars or containers and refrigerate.
Notes
This recipe is designed for refrigerator storage and keeps for up to 3 weeks. It is not intended for long-term shelf-stable canning without adjusting sugar and acid levels. Use ripe pears for best results. If the preserves are too runny, cook longer; if too sweet, add more lemon juice or a pinch of salt.
- Prep Time: 10 minutes
- Cook Time: 30 minutes
- Category: Condiments
- Cuisine: American
Nutrition
- Serving Size: 2 tablespoons
- Calories: 45
- Sugar: 9
- Carbohydrates: 11
- Fiber: 1
Keywords: pear preserves, spiced pear jam, homemade jam, easy preserves, vanilla pear jam, gluten-free, vegan, dairy-free, fruit spread


