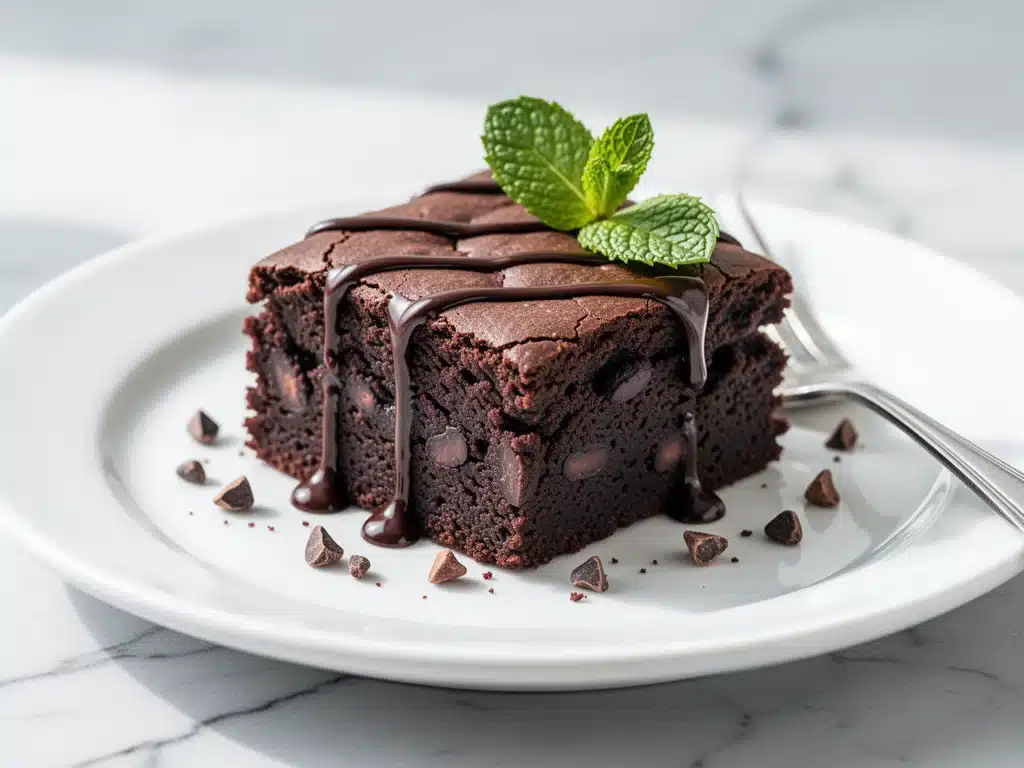
I need to confess something that might sound crazy: I used to think brownies were the enemy of healthy eating. You know the vibe—chocolatey, rich, fudgy, but definitely not something you’d serve to someone trying to watch their sugar intake. For years, I stuck to the standard rule: if it’s good for you, it tastes like cardboard. If it tastes like chocolate, it’s pure sugar and butter.
That changed last summer. I was hosting a barbecue, and I wanted to bring a dessert that everyone could enjoy, including my vegan cousin and my gluten-sensitive friend. I didn’t want to make two separate batches. I didn’t want to risk cross-contamination. So, I stumbled onto a recipe for black bean brownies. I’ll be honest with you—I was skeptical. Like, “really? Beans in my brownies?” skeptical.
I made them. I served them. And here’s the thing: nobody knew. Not my vegan cousin, not my sweet-toothed niece, and definitely not my husband, who thinks he can taste every single ingredient in everything I cook. They just asked, “Where did you get these?”
It turns out, black beans are the secret weapon for texture. They add moisture and density without any bean flavor, creating a brownie that is genuinely fudgy, dense, and better than takeout. I’ve tested this vegan fudgy black bean brownies better than takeout recipe at least a dozen times since that day. I’ve tweaked the chocolate ratio, adjusted the sweeteners, and finally nailed the one that makes people beg for the recipe. This isn’t just a “healthy hack.” It’s just really, really good brownies. And they take less than 10 minutes of active prep time.
Why You’ll Love This Black Bean Brownie Recipe
There are a lot of reasons to keep this recipe in your rotation, but let’s get straight to the point. These aren’t just “good for a health food blog.” They are legitimately delicious dessert that happens to be packed with protein and fiber.
Zero Bean Taste — Seriously. I’ve had people take a bite, chew thoughtfully, and ask if I hid any vegetables in there. The cocoa powder completely masks the beans. You get rich, dark chocolate flavor, period. If you like soft sugar cookie bars, you’ll love the soft, chewy texture here.
Stupid Simple Mixer Method — No melting chocolate. No double boilers. No standing over a stove stirring. You dump everything into a blender or food processor, hit pulse, and pour. It’s faster than ordering takeout. I’ve made these on weeknights after picking up kids from practice, and they’re ready for the oven in under 15 minutes.
Actually Fudgy, Not Dry — A lot of healthy brownies turn out dry or crumbly. These are dense and moist. The black beans create that fudgy texture that you usually only get from a lot of butter and oil. It’s the kind of brownie that sticks to your teeth in the best way possible.
Pantry-Friendly Ingredients — You probably already have most of this in your kitchen. Canned black beans (rinsed), cocoa powder, maple syrup, eggs (or flax eggs), and baking powder. No obscure superfoods you have to drive to three different stores to find.
Meal Prep Friendly — These freeze beautifully. I often make a batch on Sunday, cut them into squares, and freeze them in an airtight container. They thaw in about 10 minutes and taste fresh. It’s my secret weapon for after-school snacks or last-minute dinner parties.
This is the recipe I reach for when I want something sweet but don’t want to feel sluggish afterwards. It’s reliable, it’s fast, and it makes everyone happy.
Ingredients You’ll Need
Here’s the best part: this list is short. You don’t need fancy flours or expensive chocolates. Here’s what I use and why it matters.
The Base
Canned black beans (15 oz / 425g can) — Low sodium is best so you can control the salt. You must rinse and drain them thoroughly. If they’re wet, your brownies will be soggy. I use a fine-mesh strainer and give them a good shake to remove excess water.
Unsweetened cocoa powder (1 cup / 90g) — This is the main flavor driver. Use good quality Dutch-process cocoa if you can find it—it’s less bitter and has a deeper chocolate flavor. Regular unsweetened cocoa works too, but Dutch-process is richer.
Maple syrup (1/2 cup / 120ml) — I prefer maple syrup over agave or white sugar because it adds a subtle caramel note that pairs perfectly with chocolate. It also keeps the brownies moist. If you need to keep it refined-sugar-free, this is the way to go.
Neutral oil (1/3 cup / 80ml) — I use avocado oil or light olive oil. You don’t want a strong olive oil flavor here. Avocado oil is neutral and adds richness. Coconut oil works too, but make sure it’s melted, not solid.
The Binders and Leavening
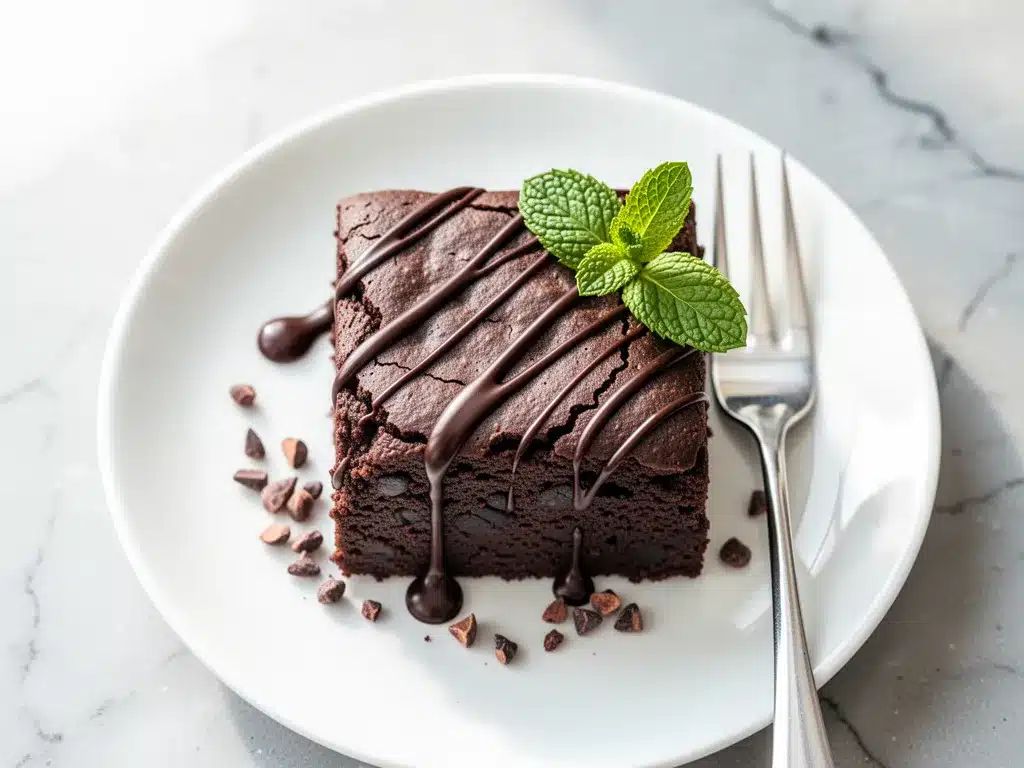
Eggs (2 large) — They bind the beans and cocoa together. If you want to make these vegan, use a flax egg (2 tablespoons ground flaxseed mixed with 5 tablespoons water, let sit for 5 minutes). I’ve tested both, and the eggs give a slightly more traditional brownie texture, but the flax egg works surprisingly well.
Vanilla extract (2 teaspoons) — Pure vanilla, not imitation. It brightens up the chocolate flavor. Don’t skip it.
Baking powder (1/2 teaspoon) — Just a little bit to help them rise slightly. We want them dense, not cakey.
Salt (1/2 teaspoon) — Essential. Salt makes chocolate taste like chocolate. If you skip the salt, the brownies will taste flat.
The Mix-Ins (Optional but Recommended)
Dark chocolate chips (1/2 cup) — I add these in at the end for pockets of melty chocolate. Use dairy-free chips if you’re keeping it fully vegan.
Walnuts or pecans (1/2 cup, chopped) — Adds crunch and breaks up the density. I like walnuts best because they have a slightly bitter edge that balances the sweetness.
Equipment Needed
You don’t need much for this. Here’s what I actually use.
Blender or Food Processor — This is non-negotiable. You need to puree the beans until they are completely smooth. A hand mixer won’t work here. A high-speed blender like a Vitamix or Ninja works best, but a standard blender works too. Just blend longer.
9×9 Inch Baking Pan — Standard size. Line it with parchment paper for easy removal. I like to leave an overhang on two sides so I can lift the brownies out like a loaf.
Spatula — For folding in the chocolate chips or nuts. Silicone works best.
Measuring cups and spoons — Standard stuff. Be precise with the baking powder.
How to Make It: Step-by-Step
Alright, let’s make these! I’m walking you through exactly how I do it, including the little tricks I’ve picked up.
Step 1: Prep Your Pan and Oven (2 minutes)
Preheat your oven to 350°F (175°C). Line your 9×9 inch baking pan with parchment paper, leaving an overhang on the sides. This is crucial for getting the brownies out intact. Spray the parchment with a little non-stick spray just to be safe.
Step 2: Rinse and Drain the Beans (3 minutes)
Open your can of black beans. Pour them into a fine-mesh strainer and rinse them thoroughly under cold water. This removes the starchy liquid (aquafaba) and any metallic taste from the can. Shake the strainer well to remove excess water. Wet beans = soggy brownies.
Step 3: Blend the Wet Ingredients (2 minutes)
Add the rinsed black beans, maple syrup, oil, eggs (or flax eggs), and vanilla extract to your blender. Pulse a few times to break up the beans, then blend on high for 1-2 minutes until the mixture is completely smooth and creamy. There should be no visible bean chunks. Scrape down the sides if needed. This step takes patience, but it’s the secret to the fudgy texture.
Step 4: Mix the Dry Ingredients (1 minute)
Pour the bean mixture into a large mixing bowl. Add the cocoa powder, baking powder, and salt. Stir with a spatula until just combined. Don’t overmix. The batter will be thick and glossy, like a dark chocolate mousse.
Step 5: Fold in Mix-Ins (1 minute)
If you’re using chocolate chips or nuts, fold them in now. Be gentle so you don’t break up the chips too much.
Step 6: Bake (20-25 minutes)
Pour the batter into your prepared pan and spread it out evenly. Bake for 20-25 minutes. The edges will be set, and the center should still look slightly soft. Do not overbake! These continue to cook as they cool. If you bake them until the center is firm, they’ll be dry. A toothpick inserted into the center should come out with a few moist crumbs, not wet batter.
Step 7: Cool Completely (30+ minutes)
This is the hardest part. Let the brownies cool in the pan on a wire rack for at least 30 minutes. They need to set. If you cut them hot, they’ll fall apart. Once cooled, lift them out using the parchment overhang and cut into squares.
Expert Tips & Tricks
Here’s everything I’ve learned from making these dozens of times. These tips will save you from my mistakes.
Blend Until Silky
The number one mistake people make is not blending long enough. If you can see bits of bean skin, blend more. The texture needs to be completely smooth for the brownies to be fudgy. It takes about 2 minutes in a high-speed blender.
Don’t Skip the Salt
I know it seems small, but salt is a flavor enhancer. Without it, the cocoa powder tastes flat and bitter. With it, the chocolate flavor pops. I use kosher salt, but table salt works too—just use half the amount.
Cool Completely Before Cutting
I know you want to eat them now. I get it. But if you cut them hot, they’ll be mushy. Let them cool in the pan. If you’re impatient, chill them in the fridge for 15 minutes to speed up the setting process.
Use Good Cocoa Powder
Since cocoa is the main flavor, bad cocoa makes bad brownies. Avoid “processed cocoa” or cheap brands. Look for “Dutch-processed” or “natural” cocoa powder from a reputable brand. It makes a huge difference in depth of flavor.
Common Mistakes (and how to avoid them)
Mistake: Brownies are dry.
Fix: You overbaked them. Take them out when the toothpick has moist crumbs, not when it’s clean. They continue to cook on the hot pan.
Mistake: Brownies are crumbly.
Fix: You didn’t blend the beans enough, or you used too much flour (if you added any). Stick to this recipe’s ratio. The beans provide the structure.
Mistake: Batter is too thin.
Fix: Your beans were too wet. Make sure you rinse and shake them dry. Or, you added too much maple syrup. Measure carefully.
Variations & Substitutions
Once you’ve nailed the basic version, here’s how you can mix it up. I’ve tried all of these.
Gluten-Free
This recipe is naturally gluten-free! Just make sure your baking powder and chocolate chips are certified gluten-free. I love that this works for everyone.
Refined Sugar-Free
Use pure maple syrup and dark chocolate chips that are labeled “no added sugar.” This keeps the glycemic load lower while still tasting indulgent.
Double Chocolate
Add 1/4 cup of cocoa powder to the dry ingredients and use chocolate chips. It’s intense, dark, and rich. Perfect for serious chocolate lovers.
Mint Chip
Add 1 teaspoon of peppermint extract to the wet ingredients and fold in 1/2 cup of dairy-free mint chips. It tastes like an Andes mint.
Espresso Boost
Add 1 tablespoon of instant espresso powder to the dry ingredients. It doesn’t make it taste like coffee; it just makes the chocolate taste more chocolatey. My husband adds this every time.
Coconut Version
Swap the oil for melted coconut oil and add 1/2 cup of shredded coconut to the batter. It adds a nice tropical twist.
Serving & Storage
How to Serve:
I usually serve these plain, but here are other ways I’ve enjoyed them:
- With a scoop of vanilla ice cream or coconut whipped cream
- Crumbled over a bowl of yogurt with fresh berries
- Warm, with a drizzle of peanut butter on top
- With a glass of cold almond milk or oat milk
Storage Instructions:
Refrigerator:
Store in an airtight container for up to 5 days. They actually get fudgier in the fridge. I often keep a batch in the fridge for quick snacks.
Freezer:
These freeze beautifully. Cut them into squares, place them in a single layer on a baking sheet to freeze, then transfer to a freezer bag. They last for up to 3 months. Thaw at room temperature for 10 minutes.
Pro tip:
If you’re taking them to a party, keep them in the fridge until you get there. They hold their shape better when cold.
Nutrition Information
I’m not a nutritionist, but here’s the breakdown if you’re tracking. Note that these are estimates.
Per Serving (based on 16 brownies):
- Calories: 140
- Protein: 4g
- Carbs: 22g
- Fiber: 4g
- Sugar: 12g
- Fat: 5g
- Saturated Fat: 2g
- Cholesterol: 25mg (if using eggs)
- Sodium: 110mg
What’s Good:
– High in fiber from the black beans
– Good source of plant-based protein
– Lower in fat than traditional brownies
– No refined flour
What to Know:
– Higher in sugar from the maple syrup
– Contains eggs (unless using flax)
– Moderately high in carbs due to beans and syrup
My Take:
Look, this is still a dessert. It has sugar and calories. But it’s packed with nutrients that traditional brownies lack. It’s a better choice if you’re watching your weight or eating vegan, but it’s not “diet food.” It’s just a smarter treat.
Final Thoughts
So that’s my go-to vegan fudgy black bean brownies better than takeout recipe! I’ve probably talked your ear off at this point, but when you make a recipe this often, you have a lot to say about it.
This has saved dinner parties more times than I can count. It’s my answer to “what can I bring that’s delicious for everyone?” when I’m tired, don’t want takeout, and still want something that tastes really good. My kids are happy, my vegan friends are happy, and I’m happy because I’m not stressed about cooking.
Make it yours! Try different mix-ins, swap in your favorite sweeteners, or add espresso for a kick. The best recipes are the ones you adapt to your family’s tastes.
If you make this, drop a comment and let me know what you think! I love hearing how recipes turn out in your kitchen. And if something doesn’t work, tell me that too—I’m here to help troubleshoot.
Happy baking! And I hope your kitchen smells half as good as mine does right now.
Frequently Asked Questions
Q: Do black bean brownies taste like beans?
A: No! Not at all. The cocoa powder and sweeteners completely mask the flavor of the beans. You get a rich, chocolatey taste with a fudgy texture. If you blend the beans thoroughly, you won’t detect any bean flavor whatsoever.
Q: Can I use dry black beans instead of canned?
A: You can, but it’s more work. You’d need to cook 1 cup of dry beans until tender, then drain and rinse them. The canned beans are just convenient and work perfectly fine. I always keep cans on hand for this reason.
Q: Why did my brownies turn out cakey instead of fudgy?
A: This usually happens if you overblend (incorporating too much air) or overbake. Make sure you don’t blend longer than 2 minutes, and take them out of the oven when the center is still slightly soft. Also, ensure you’re using the right ratio of wet to dry ingredients.
Q: Can I make these without eggs?
A: Yes! Use a flax egg. Mix 2 tablespoons of ground flaxseed with 5 tablespoons of water and let it sit for 5 minutes until gelatinous. Replace the 2 eggs in the recipe with this mixture. They set slightly differently but still work well.
Q: How do I store leftover brownies?
A: Store them in an airtight container at room temperature for up to 3 days, or in the fridge for up to 5 days. They freeze well for up to 3 months. I prefer them slightly chilled because the texture becomes even fudgier.
Q: Can I double this recipe?
A: Absolutely! Double all ingredients and use a 9×13 inch baking pan. The baking time will increase by about 5-10 minutes. Check for doneness at 25 minutes.
Pin This Recipe!
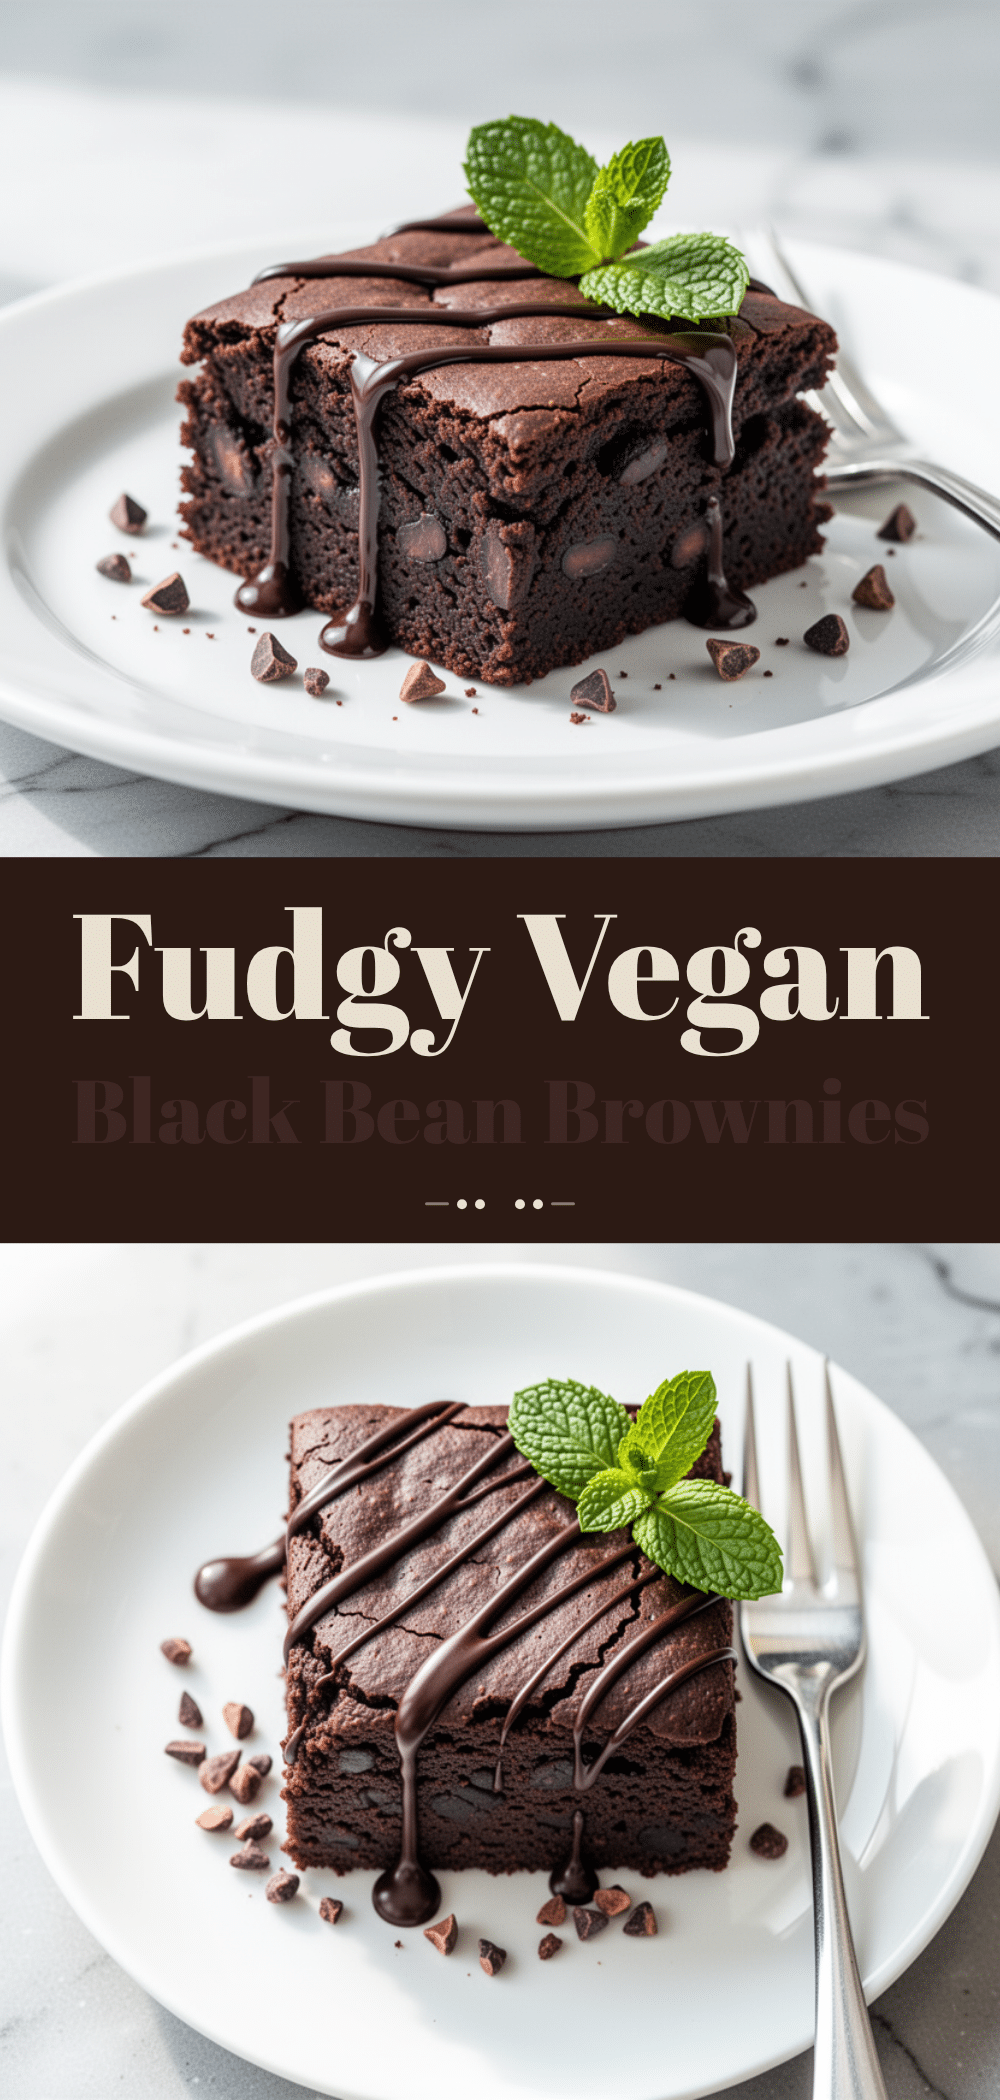
Vegan Fudgy Black Bean Brownies: Best 10-Min Recipe
- Total Time: 35-45 minutes
- Yield: 16 servings 1x
Description
These vegan fudgy black bean brownies are a delicious, healthy dessert that takes less than 10 minutes of prep. They are dense, moist, and packed with protein and fiber, with zero bean taste.
Ingredients
- 15 oz (425g) canned black beans, rinsed and drained thoroughly
- 1 cup (90g) unsweetened cocoa powder
- 1/2 cup (120ml) maple syrup
- 1/3 cup (80ml) neutral oil (avocado or light olive oil)
- 2 large eggs (or 2 flax eggs: 2 tbsp ground flaxseed + 5 tbsp water)
- 2 teaspoons vanilla extract
- 1/2 teaspoon baking powder
- 1/2 teaspoon salt
- 1/2 cup dark chocolate chips (optional)
- 1/2 cup walnuts or pecans, chopped (optional)
Instructions
- Preheat oven to 350°F (175°C). Line a 9×9 inch baking pan with parchment paper, leaving an overhang on two sides, and spray with non-stick spray.
- Rinse and drain the black beans thoroughly in a fine-mesh strainer to remove excess water.
- Add the rinsed black beans, maple syrup, oil, eggs (or flax eggs), and vanilla extract to a blender or food processor. Blend on high for 1-2 minutes until completely smooth and creamy.
- Pour the bean mixture into a large mixing bowl. Add the cocoa powder, baking powder, and salt. Stir with a spatula until just combined.
- Fold in chocolate chips or nuts if using.
- Pour the batter into the prepared pan and spread evenly.
- Bake for 20-25 minutes. The edges should be set, but the center should still look slightly soft. A toothpick inserted should come out with moist crumbs.
- Let the brownies cool completely in the pan on a wire rack for at least 30 minutes before cutting into squares.
Notes
Ensure beans are rinsed and shaken dry to prevent soggy brownies. Blend until completely smooth for the best fudgy texture. Do not overbake; they continue to cook as they cool. Cool completely before cutting to ensure they hold their shape.
- Prep Time: 10 minutes
- Cook Time: 20-25 minutes
- Category: Dessert
- Cuisine: American
Nutrition
- Serving Size: 1 brownie square
- Calories: 140
- Sugar: 12
- Sodium: 110
- Fat: 5
- Saturated Fat: 2
- Carbohydrates: 22
- Fiber: 4
- Protein: 4
Keywords: vegan brownies, black bean brownies, healthy dessert, gluten-free brownies, fudgy brownies, quick dessert, dairy-free


