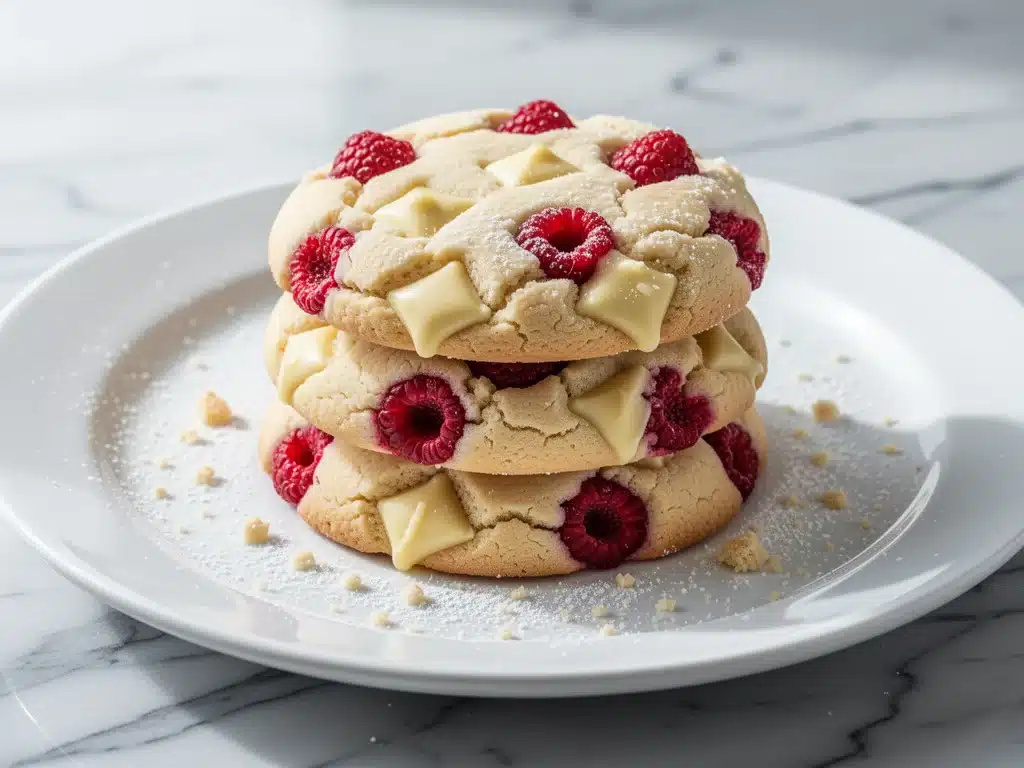
Last November, I was having one of those “what am I doing with my life?” moments. It was 9 PM, I was staring at a half-empty pantry, and I had exactly five ingredients left that weren’t expired. Flour. Butter. Sugar. Some sad-looking dried raspberries from last summer. And a bar of white chocolate that had been sitting in my baking drawer for three months, judging me.
I didn’t want to bake anything complicated. I didn’t want to whip up a soufflé or attempt a layered cake. I just wanted something warm, something that smelled like comfort, and something that would make my husband stop scrolling through his phone long enough to ask what was cooking. So, I threw everything into a bowl. I creamed the butter and sugar until it looked like pale sand. I mixed in the flour until it came together. Then, in a moment of pure laziness, I chopped that white chocolate bar into chunks and tossed them in, along with the dried raspberries, because why not?
I baked them. They spread. They browned at the edges. I took one bite out of the oven while they were still warm (rude, I know, but necessary) and I nearly cried. The buttery, crumbly texture of a classic shortbread cookie, punctuated by the tangy burst of raspberry and the sweet, creamy melt of white chocolate? It was perfect. It was simple. It was addictive.
That accidental batch turned into my go-to dessert for everything. I’ve made these Raspberry White Chocolate Shortbread Cookies for book club, for last-minute holiday gifts, and just because I wanted a treat with my morning coffee. They are stupid simple—no mixer required, no fancy techniques, just honest, real food that tastes like you spent hours in the kitchen (when it actually takes 25 minutes).
If you’ve ever felt intimidated by baking, or if you’re just looking for a reliable cookie recipe that delivers every single time, this is it. These cookies are tender, melt-in-your-mouth, and have that perfect balance of sweet and tart. I’ve tested this recipe dozens of times, tweaking the ratios until the dough was just right, and I’m sharing the exact method that guarantees success. No dry cookies. No flat cookies. Just pure, buttery bliss.
Why You’ll Love This Recipe
There are a million cookie recipes out there, but this one has earned a permanent spot in my rotation. Here’s why I keep making these raspberry white chocolate shortbread cookies, and why I think you will too.
Minimal Ingredients — Seriously, you only need five core ingredients. Flour, butter, sugar, white chocolate, and dried raspberries. That’s it. No eggs, no vanilla extract, no baking powder, no salt (well, maybe a pinch, but the butter does the work). If you can count to five, you can make this. I made these once while holding my toddler, and they turned out fine. Actually, they turned out great.
No Mixer Required — One of my biggest pet peeves is setting up the stand mixer just to make a simple batch of cookies. With this recipe, you can do it all by hand. A wooden spoon or even your hands will get the dough mixed up in about two minutes. Less cleanup, less noise, less stress. It’s perfect for when you’re tired or just don’t feel like fighting with appliances.
Perfect Texture Every Time — Shortbread can be tricky. Too much flour and it’s like eating a brick. Too little and it’s a puddle. I’ve nailed the ratio so that these cookies are tender and crumbly, with a slight crisp on the edges and a soft center. They hold their shape beautifully but dissolve on your tongue. It’s that magical shortbread texture that makes you close your eyes when you take a bite.
Make-Ahead Friendly — These cookies actually taste better the next day. The flavors meld together, the white chocolate softens just a tiny bit, and the raspberry tang becomes more pronounced. I often make the dough on Sunday, slice the logs, and bake them throughout the week. They keep well in the fridge for up to a week or in the freezer for up to three months. I freeze the dough logs so I can bake fresh cookies on demand. It’s a game-changer for busy weeknights.
Impressive but Effortless — Don’t let the simplicity fool you. These look and taste like they came from a high-end bakery. The contrast of the red raspberries against the white chocolate chunks in the golden cookie is visually stunning. I’ve served these at dinner parties and had people ask for the recipe within five minutes. They’re elegant enough for gifts but casual enough for a Tuesday night snack.
So basically, if you want cookies that are easy, delicious, and reliable, this is your recipe. It’s my answer to “I want something sweet but I don’t want to spend all night baking.”
Ingredients You’ll Need
Here’s the best part: you probably have most of these ingredients already. This recipe relies on high-quality basics because there are so few of them. The flavor of the butter and the white chocolate really shines through, so don’t skimp on quality where it counts.
Unsalted Butter (1 cup / 226g) — This is the star. Use good quality butter. I prefer European-style butter if I can find it because it has a higher fat content and richer flavor, but standard American butter works fine too. It needs to be softened to room temperature. Not melted! Softened. If you push it and it leaves a slight indent, you’re good. If it’s shiny and oily, it’s too soft. Chill it for 15 minutes if you mess up.
All-Purpose Flour (2 cups / 250g) — Standard AP flour is perfect here. I use Gold Medal because it’s consistent and easy to find. Don’t use cake flour or pastry flour; you need that bit of protein to give the cookies structure. Spoon and level your flour—don’t scoop it straight from the bag, or you’ll pack in too much and end up with dry cookies.
Granulated Sugar (½ cup / 100g) — Just plain white sugar. It helps the cookies spread slightly and gives them that classic shortbread sweetness. I’ve tried using brown sugar, but it makes them too chewy and dense. Stick to white sugar for that tender, crumbly texture.
White Chocolate Chips or Chunks (1 cup / 170g) — I recommend buying a bar of good white chocolate and chopping it yourself. Chips often have stabilizers that keep them from melting fully, so you get these waxy little blobs. Chopping a bar gives you uneven pieces that melt into pockets of creamy goodness. Ghirardelli or Lindt are my go-to brands. Look for ones with real cocoa butter, not vegetable oil.
Dried Raspberries (½ cup / 60g) — This is the secret weapon. The tartness of the dried raspberries cuts through the sweetness of the white chocolate and the richness of the butter. I buy organic dried raspberries because they’re plumper and chewier. If you can’t find dried raspberries, dried cranberries work too, but they’re sweeter. Fresh raspberries will make the dough too wet, so stick to dried.
Salt (½ teaspoon) — Even though we’re using unsalted butter, a little salt is crucial to balance the sweetness. It enhances the flavor of the chocolate and the butter. Don’t skip it.
Optional: Vanilla Extract (1 teaspoon) — I usually skip this because I want the pure butter and raspberry flavor to shine, but if you’re a vanilla fan, a teaspoon adds a nice warmth. Just don’t add too much, or it’ll overpower the delicate shortbread taste.
Pro Tip: I keep a stash of chopped white chocolate and dried raspberries in my pantry specifically for these cookies. It makes them so easy to throw together on a whim. If you’re buying fresh white chocolate bars, chop them into small, bite-sized pieces. You want a good distribution of chocolate in every cookie.
Equipment Needed
You don’t need fancy gadgets for this. Here’s what I actually use in my kitchen.
Large Mixing Bowl — I use a 4-quart stainless steel bowl. It’s big enough to mix the dough comfortably. A glass bowl works too, but stainless steel is easier to clean.
Wooden Spoon — For creaming the butter and sugar. It’s sturdy and gives you good control. A silicone spatula works too, but a spoon feels more traditional for shortbread.
Measuring Cups and Spoons — Standard stuff. I have a set from OXO that I love, but any basic set works. Make sure you have a 1-cup measure and a ½-cup measure.
Baking Sheets — I use two half-sheet pans. Dark metal pans are great because they conduct heat well and give those cookies a nice golden edge. Light-colored pans work too, but the cookies might spread more.
Parchment Paper — Line your baking sheets with parchment. It prevents sticking and makes cleanup a breeze. I never bake shortbread directly on the pan because the butter content is high, and it will stick. Trust me.
Knife or Bench Scraper — If you’re making the dough log method (which I recommend), you’ll need a sharp knife to slice the cookies. A bench scraper helps clean up the counter.
Refrigerator — This is crucial. You need space in your fridge to chill the dough. If your fridge is packed, plan ahead. Chilling the dough is what ensures the cookies keep their shape and don’t spread into flat discs.
How to Make It: Step-by-Step
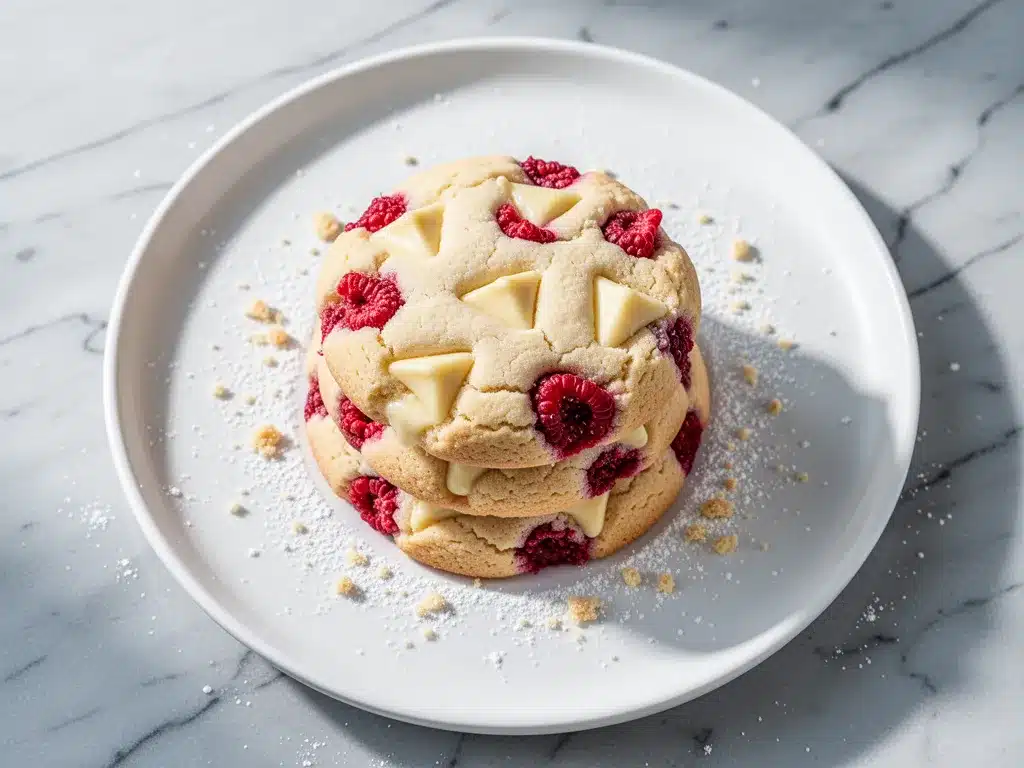
Alright, let’s make these cookies! I’m walking you through exactly how I do it, including the little tricks I’ve picked up over the years.
Step 1: Soften the Butter
Start by taking your butter out of the fridge. It needs to be softened to room temperature. This usually takes about 30-60 minutes, depending on how warm your kitchen is. If you’re in a hurry, you can microwave it on low power in 5-second bursts, but be careful not to melt it. Melted butter changes the texture of shortbread entirely, making it more like a sugar cookie. You want it soft and pliable, not liquid.
Step 2: Cream the Butter and Sugar
In your large mixing bowl, combine the softened butter and granulated sugar. Using a wooden spoon, mix them together vigorously. You’re not looking for airiness here like you would with a cake; you’re just combining them until the mixture looks smooth and slightly creamy. This should take about 2-3 minutes. If you have a hand mixer, you can use it on low, but by hand works perfectly fine and saves you cleanup.
Step 3: Add the Flour and Salt
Add the all-purpose flour and salt to the butter mixture. Switch to using your hands or a sturdy spatula. Mix until the dough starts to come together. It will look a bit crumbly at first, but keep pressing it together. Once it forms a cohesive mass, stop mixing. Overmixing can develop gluten and make the cookies tough. You want them tender and crumbly, so handle the dough gently.
Step 4: Fold in the Mix-ins
Add the chopped white chocolate chunks and dried raspberries to the dough. Gently fold them in until they are evenly distributed. Be careful not to crush the raspberries too much; you want them to stay intact for those beautiful red bursts in the final cookie. The dough will be stiff and easy to handle.
Step 5: Form the Dough Log
This is my preferred method for shortbread cookies because it ensures uniform size and easy slicing. Place a large sheet of parchment paper or plastic wrap on your counter. Scoop the dough onto the center. Using the parchment to help you, shape the dough into a log about 1.5 inches in diameter. It doesn’t need to be perfect, but try to keep it cylindrical. Roll it tightly in the parchment, twisting the ends like a candy wrapper. This helps it hold its shape.
Step 6: Chill the Dough
Place the wrapped dough log in the refrigerator. You need to chill it for at least 2 hours, but overnight is best. Chilling firms up the butter, which prevents the cookies from spreading too much in the oven. It also allows the flavors to meld. If you skip this step, your cookies might spread into flat, greasy discs. Don’t rush this part.
Step 7: Preheat and Prep
When you’re ready to bake, preheat your oven to 350°F (175°C). Line two baking sheets with parchment paper. Take the dough log out of the fridge. Let it sit at room temperature for 5-10 minutes if it’s too hard to slice. This makes cutting easier.
Step 8: Slice the Cookies
Using a sharp knife, slice the log into rounds about ½ inch thick. You’ll get about 20-24 cookies from one log. Place them on the prepared baking sheets, spacing them about 2 inches apart. They will spread slightly, so give them room. If you want decorative tops, you can press a few extra white chocolate chunks or a dried raspberry onto the top of each cookie before baking.
Step 9: Bake
Bake the cookies for 12-15 minutes. You want the edges to be lightly golden, but the centers should still look soft and pale. They will firm up as they cool. Don’t overbake them! Shortbread continues to cook on the hot pan after you take it out of the oven. If they look fully set in the oven, they’ll be overdone on the counter.
Step 10: Cool
Let the cookies cool on the baking sheet for 5 minutes. Then transfer them to a wire rack to cool completely. This is the hardest part—waiting for them to cool. But if you try to move them while they’re hot, they’ll break. Be patient. Once cooled, store them in an airtight container.
Total Time: About 25 minutes active, plus 2 hours chilling time.
Expert Tips & Tricks
Here’s everything I’ve learned from making this recipe dozens of times. These tips will save you from my mistakes.
Chill the Dough
I can’t stress this enough. Chilling the dough is non-negotiable for shortbread. It prevents spreading and ensures the cookies hold their shape. If you’re short on time, you can freeze the log for 30 minutes, but the fridge is better for flavor development. I usually make the dough the night before I want to bake.
Don’t Overmix
Shortbread is all about texture. Overmixing the flour develops gluten, which leads to tough cookies. Mix just until the dough comes together. It’s okay if it looks a bit shaggy. The butter will bind it during baking.
Use Real White Chocolate
Avoid white chocolate chips if you can. They contain stabilizers that prevent them from melting smoothly. Chopping a bar of real white chocolate gives you those gooey, melted pockets that make these cookies special. Look for bars with cocoa butter as the first ingredient.
Room Temperature Butter
Make sure your butter is properly softened. If it’s too cold, it won’t mix well with the sugar. If it’s too warm, the cookies will spread too much. The “finger test” is your friend: you should be able to press a finger into the butter and leave an indent without it sinking all the way in.
Slice with a Sharp Knife
A dull knife will squish the dough and make uneven slices. Use a sharp chef’s knife or a serrated bread knife. Clean the knife between cuts if the dough gets sticky. This ensures clean edges and uniform cookies.
Watch the Oven
Ovens vary. Keep an eye on your cookies around the 10-minute mark. You want them just starting to turn golden at the edges. If they’re browning too fast, lower the temperature by 25°F. If they’re not browning at all, check your oven temperature with an oven thermometer.
Variations & Substitutions
Once you’ve nailed the basic version, here’s how you can mix it up. I’ve tried all of these variations.
Dark Chocolate Version
Swap the white chocolate for dark chocolate chunks (70% cocoa). The bitterness of the dark chocolate pairs beautifully with the tart raspberries. It’s a more sophisticated flavor profile, less sweet, and very elegant.
Matcha White Chocolate
Add 1 teaspoon of culinary-grade matcha powder to the flour mixture. The earthy green tea flavor contrasts amazingly with the sweet white chocolate. It’s visually striking too—pale green cookies with white chocolate and red raspberries.
Lemon Raspberry
Add the zest of one lemon to the butter and sugar mixture. The citrus brightens up the rich dough and enhances the raspberry flavor. It’s like a summer twist on the classic recipe.
Macadamia Nut
Add ½ cup of chopped macadamia nuts along with the white chocolate. The buttery nutty flavor complements the white chocolate perfectly. It adds a nice crunch to the soft shortbread.
Gluten-Free Option
You can substitute the all-purpose flour with a 1:1 gluten-free flour blend. I’ve used Bob’s Red Mill 1-to-1 and it works great. Just make sure the blend contains xanthan gum, or add ½ teaspoon yourself to help the dough hold together.
Vegan Version
Replace the butter with a high-quality vegan butter stick (not tub margarine). Use dairy-free white chocolate chips. The texture might be slightly different, but it’s still delicious. I’ve made this for vegan friends and they loved it.
Serving & Storage
These cookies are versatile and travel well. Here’s how to enjoy and store them.
How to Serve
I usually serve these with a cup of black coffee or tea. The bitterness of the coffee balances the sweetness of the cookies. They’re also great with a glass of cold milk. For a fancy touch, serve them on a platter with a dusting of powdered sugar. They make a beautiful addition to a dessert table or a holiday cookie exchange.
Pairing Ideas
These cookies pair well with fruit tarts or cheesecake if you’re making a larger dessert spread. They also go great with my fresh raspberry lemonade spritzer for a light, refreshing treat. If you’re looking for other dessert ideas, check out these fall salted caramel pear crumble bars for a warm, spiced option.
Storage Instructions
Store the cookies in an airtight container at room temperature for up to 5 days. They stay fresh and soft. If your kitchen is humid, they might soften faster, so keep them in a cool, dry place. You can also layer them with parchment paper to prevent sticking.
Freezing
These cookies freeze beautifully. You can freeze the baked cookies in a freezer-safe container for up to 3 months. Thaw them at room temperature before serving. Alternatively, you can freeze the dough logs. Slice them when you’re ready to bake, and bake from frozen, adding 1-2 minutes to the baking time.
Nutrition Information
I’m not a nutritionist, but here’s the breakdown if you’re tracking. Keep in mind that these are rich, buttery cookies, so moderation is key.
Per Cookie (based on 24 cookies):
- Calories: 140
- Fat: 8g
- Saturated Fat: 5g
- Carbs: 16g
- Fiber: 1g
- Sugar: 9g
- Protein: 2g
These cookies are higher in fat and sugar because of the butter and white chocolate, but they’re also lower in carbs than many other cookies since they don’t use eggs or leaveners. They’re a treat to enjoy, not a daily snack. Pair them with a unsweetened beverage to balance the sweetness.
Final Thoughts
So that’s my recipe for Raspberry White Chocolate Shortbread Cookies! I’ve probably talked your ear off at this point, but when you make a recipe this often, you have a lot to say about it. These cookies have saved me more times than I can count. They’re my answer to “I want something sweet but I don’t want to bake a cake.” They’re simple, delicious, and always a crowd-pleaser.
Make it yours! Try different mix-ins, adjust the sweetness, or use different types of chocolate. The best recipes are the ones you adapt to your tastes. If you make these, drop a comment and let me know what you think! I love hearing how recipes turn out in your kitchen. And if something doesn’t work, tell me that too—I’m here to help troubleshoot.
Happy baking! And I hope your kitchen smells half as good as mine does right now.
Frequently Asked Questions
Can I use fresh raspberries instead of dried?
I don’t recommend it. Fresh raspberries have a high water content, which will make the dough wet and sticky. This can cause the cookies to spread too much and become cakey rather than crumbly. Dried raspberries provide that chewy texture and concentrated flavor without adding excess moisture. If you must use fresh, freeze them first and pat them dry, but dried is still better.
Why did my cookies spread too much?
This usually happens if the butter was too warm when you mixed the dough, or if you didn’t chill the dough long enough. Make sure your butter is only softened, not melted. Also, chill the dough log for at least 2 hours, or overnight if possible. This firms up the fat and prevents spreading in the oven.
Can I freeze the dough?
Yes! This is one of the best ways to make these cookies. Shape the dough into a log, wrap it tightly in plastic wrap, and freeze it for up to 3 months. When you’re ready to bake, let it thaw in the fridge for a few hours, slice, and bake as directed. You can also bake from frozen, just add 1-2 minutes to the baking time.
Can I use milk chocolate instead of white chocolate?
You can, but the flavor profile will change. Milk chocolate is sweeter and less creamy than white chocolate, and it might overpower the delicate shortbread taste. White chocolate pairs best with the tart raspberries. If you prefer milk chocolate, try adding a bit of sea salt on top to balance the sweetness.
How do I know when the cookies are done?
The cookies are done when the edges are lightly golden and the centers still look slightly soft. They will firm up as they cool on the baking sheet. Don’t wait for them to look fully set in the oven, or they’ll be overdone. Shortbread continues to cook after you take it out of the oven.
Can I make these cookies gluten-free?
Yes, simply substitute the all-purpose flour with a 1:1 gluten-free flour blend. Make sure the blend contains xanthan gum, or add ½ teaspoon yourself. The texture might be slightly more crumbly, but they’ll still be delicious. I’ve tested this with Bob’s Red Mill and King Arthur blends, and both work well.
Pin This Recipe!
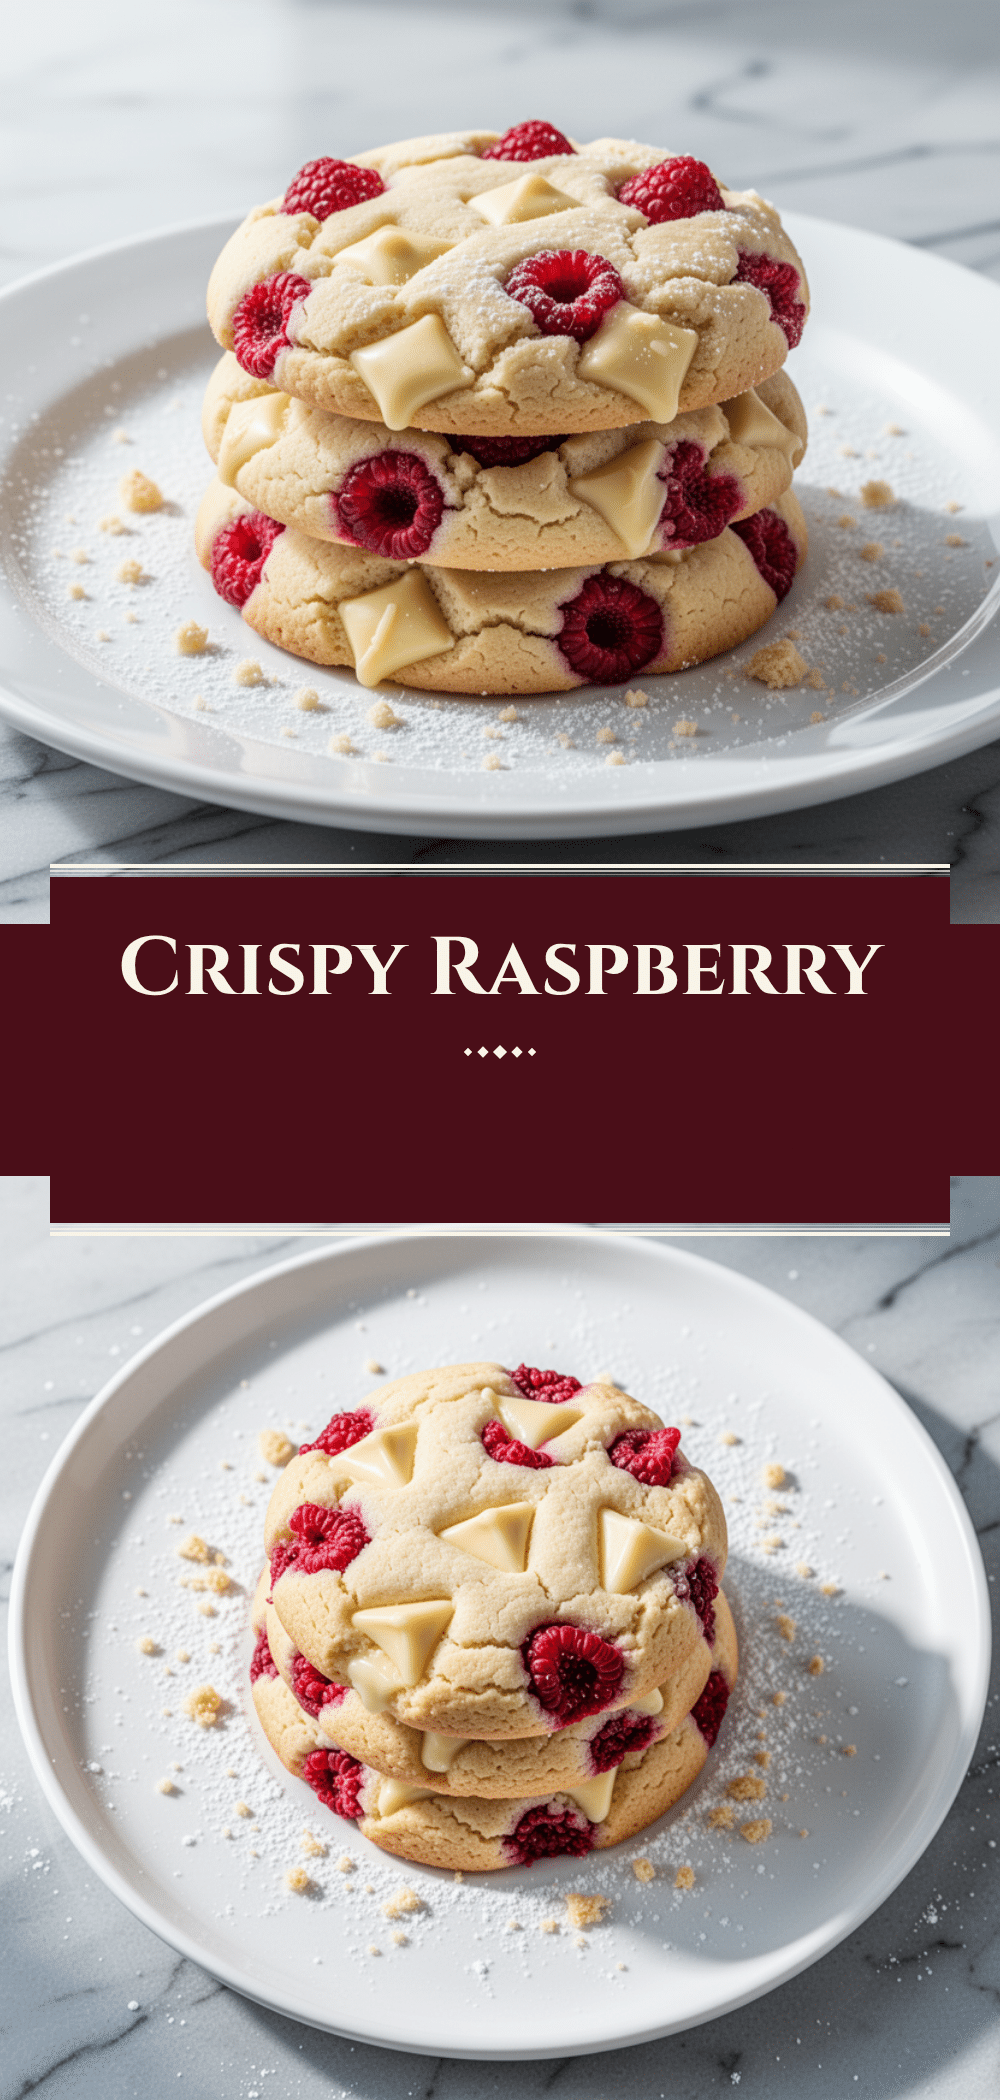
Raspberry White Chocolate Shortbread Cookies
- Total Time: 2 hours 40 minutes
- Yield: 24 servings 1x
Description
These tender, melt-in-your-mouth shortbread cookies are made with just five core ingredients: butter, sugar, flour, white chocolate, and dried raspberries. No mixer required, and they offer a perfect balance of sweet, tart, and buttery flavors.
Ingredients
- 1 cup (226g) unsalted butter, softened to room temperature
- 2 cups (250g) all-purpose flour
- ½ cup (100g) granulated sugar
- 1 cup (170g) white chocolate chunks or chips
- ½ cup (60g) dried raspberries
- ½ teaspoon salt
- 1 teaspoon vanilla extract (optional)
Instructions
- Soften the butter to room temperature (30-60 minutes). It should be pliable but not melted.
- In a large mixing bowl, cream the softened butter and granulated sugar together using a wooden spoon or hand mixer until smooth and slightly creamy (2-3 minutes).
- Add the all-purpose flour and salt to the butter mixture. Mix by hand or with a spatula until the dough comes together. Do not overmix.
- Gently fold in the white chocolate chunks and dried raspberries until evenly distributed.
- Place the dough on a large sheet of parchment paper or plastic wrap. Shape it into a log approximately 1.5 inches in diameter.
- Wrap the log tightly in the parchment or plastic, twisting the ends like a candy wrapper.
- Chill the dough log in the refrigerator for at least 2 hours, or overnight for best results.
- Preheat the oven to 350°F (175°C). Line two baking sheets with parchment paper.
- Remove the dough log from the fridge and let it sit for 5-10 minutes if too hard to slice. Slice into rounds about ½ inch thick.
- Place cookies on the prepared baking sheets, spacing them 2 inches apart.
- Bake for 12-15 minutes, or until the edges are lightly golden but centers still look soft.
- Let cookies cool on the baking sheet for 5 minutes, then transfer to a wire rack to cool completely.
Notes
Chilling the dough is crucial to prevent spreading. Use real white chocolate bars chopped into chunks for better melting than chips. Ensure butter is softened, not melted. Cookies can be frozen as dough logs for up to 3 months.
- Prep Time: 25 minutes
- Cook Time: 15 minutes
- Category: Dessert
- Cuisine: American
Nutrition
- Serving Size: 1 cookie
- Calories: 140
- Sugar: 9
- Fat: 8
- Saturated Fat: 5
- Carbohydrates: 16
- Fiber: 1
- Protein: 2
Keywords: shortbread cookies, raspberry white chocolate cookies, easy cookie recipe, no mixer cookies, holiday cookies, make-ahead dessert


