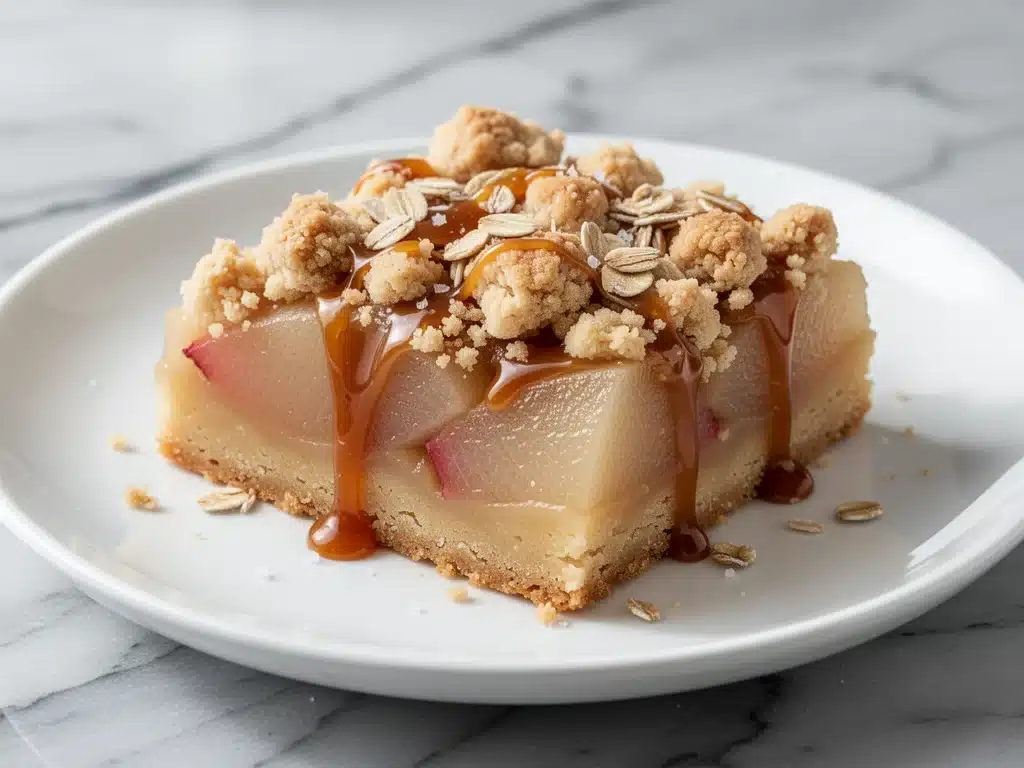
Last November, I was standing in my kitchen at 10 PM, staring at a bag of pears that had gone from firm to mushy in about forty-eight hours. I’d bought them because they looked perfect—golden skin, faint blush, smelling faintly of honey. But life got busy. Work ran late. The dog needed walking. And suddenly, those beautiful fruits were on the verge of composting. I refused to let them go to waste, so I did what I always do when I’m stressed and slightly desperate: I threw them into a crumble.
I didn’t have a plan. I just grabbed some brown sugar, threw in a pinch of sea salt (because I was feeling fancy), and topped it with a messy crumble mixture. I popped it in the oven and let the smell fill the house. When I pulled it out, the kitchen smelled like a high-end bakery in Vermont. My husband came home, took one bite, and didn’t even ask what was for dinner. He just kept eating.
That accidental disaster became the best dessert I’ve made all year. Those Fall Salted Caramel Pear Crumble Bars aren’t just a way to save overripe fruit; they’re a cozy hug in bar form. They’re chewy, crisp, buttery, and deeply flavored with caramel notes that taste like you spent hours making a sauce, but actually take less than thirty minutes of active time. I’ve made these three times in the last month, tweaking the spice blend each time until it was just right. This isn’t just another fruit bar. It’s the ultimate autumn comfort food.
Why You’ll Love This Recipe
There are about a dozen reasons I keep making these bars, but here are the big ones that keep me coming back to the oven every fall.
Stupid Simple
There’s no complex crust to roll out. No tempering chocolate. No complicated caramel sauce that might burn if you look at it wrong. You just mix a few dry ingredients, mash a few pears, and press it into a pan. If you can make a basic coffee cake, you can make these.
Lightning Fast
From start to finish, these take about an hour, but only 15 minutes is active work. I make these on weeknights when I want something sweet but don’t have the energy to bake a whole pie. The prep is essentially just chopping and mixing. It’s the perfect “I want to bake but I’m tired” recipe.
Uses Up Those “Ugly” Pears
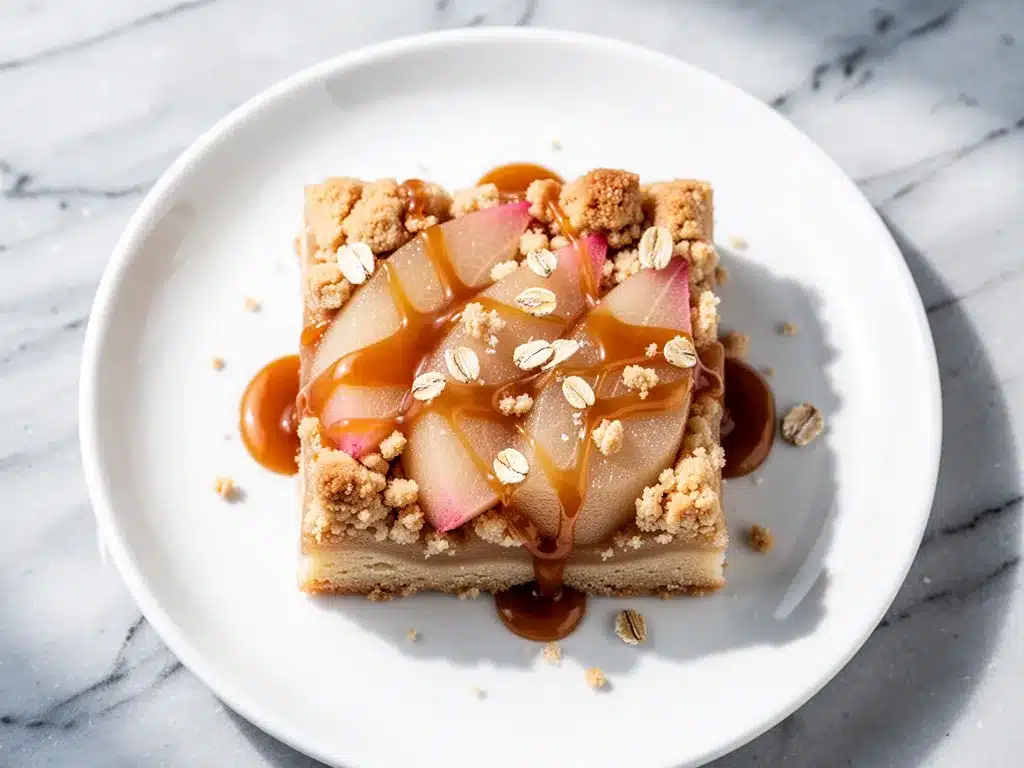
This is the secret weapon. You don’t need perfect, store-bought, wax-shiny pears for this. In fact, I prefer slightly softer ones because they break down into that jammy, caramelized center faster. It’s the perfect way to use up fruit that’s starting to get a little soft on the edges.
Makes Amazing Leftovers
These actually taste better the next day. The flavors meld together, the caramel gets stickier, and the crumble topping softens just enough to be chewy. I deliberately make a double batch on weekends because I know they’ll be the highlight of my Monday morning coffee.
Cozy Vibes Only
There is something deeply satisfying about warm fruit desserts in the fall. The smell of cinnamon and caramelized sugar drifting through the house sets the mood for the season. It’s nostalgic, warm, and feels like a treat without being overly heavy like a slice of cheesecake.
So basically, if you want a dessert that’s easy, forgiving, and smells amazing, these are it. No complicated techniques, no weird ingredients, just reliable, delicious food that makes everyone happy.
Ingredients You’ll Need
Here’s the best part: you probably have most of this already in your pantry. The beauty of these bars is how simple the ingredient list is. I’m particular about three things here, and I’ll tell you exactly why.
For the Pear Layer
Ripe Pears (3-4 medium, about 600g) — This is the star. I recommend Bosc or Anjou pears because they hold their shape a bit better than Bartlett, but honestly, any ripe pear works. If they’re super soft, chop them smaller so they break down into a jam. If they’re firm, leave them in larger chunks.
Granulated Sugar (½ cup / 100g) — Just plain white sugar. It helps draw out the moisture from the pears and creates that syrupy base. Don’t skip this, or they’ll be too dry.
Lemon Juice (1 tablespoon / 15ml) — A splash of acid cuts through the sweetness and keeps the pears from turning brown. It also brightens up the flavor so it doesn’t taste flat.
Cinnamon (1 teaspoon) — The classic fall spice. I use ground cinnamon, not sticks, so it disperses evenly into the pear mixture.
For the Salted Caramel Drizzle
Brown Sugar (½ cup / 100g) — Packed tight. The molasses in brown sugar is what gives you that deep caramel flavor. Light brown is fine, but dark brown is richer.
Heavy Cream (2 tablespoons / 30ml) — This is what makes it “salted caramel.” It adds richness and helps dissolve the sugar into a sauce. Don’t use milk; it’s too thin.
Butter (2 tablespoons / 30g) — Unsalted is best so you can control the saltiness. Let it soften slightly so it mixes easily.
Sea Salt Flakes (½ teaspoon) — This is non-negotiable. The salt cuts the sweetness and makes the caramel taste like candy. If you don’t have flakes, kosher salt works, but flakes look pretty.
For the Crumble Topping
All-Purpose Flour (1 cup / 125g) — Standard flour. No need for fancy pastry flour here.
Old-Fashioned Rolled Oats (½ cup / 40g) — This adds texture and chew. Quick oats turn to mush; old-fashioned oats stay distinct. Don’t substitute unless you want a cake-like texture.
Butter (½ cup / 115g, cold and cubed) — This is crucial. The butter needs to be cold so it creates little pockets of flakiness in the crumble. If your butter is soft, put it in the freezer for 10 minutes first.
Brown Sugar (½ cup / 100g) — For the topping, this gives that crunchy, toffee-like bite.
Cinnamon (1 teaspoon) — More spice never hurts in fall baking.
Optional Add-ins
Chopped Pecans or Walnuts (¼ cup) — I love adding nuts for extra crunch. Toast them first if you have time, but raw is fine too.
Vanilla Extract (1 teaspoon) — A splash of vanilla in the pear layer adds depth. I always keep a bottle on hand.
Equipment Needed
You don’t need fancy equipment for this. Here’s what I actually use.
8×8 Inch Baking Pan — I use a glass Pyrex pan because it browns the bottom nicely. Metal works too, but glass gives me better control over the bottom crust. Line it with parchment paper for easy removal.
Mixing Bowls — Two medium bowls. One for the pears, one for the crumble. I keep it simple.
Fork or Pastry Cutter — For cutting the butter into the flour. A fork works fine; you don’t need a fancy cutter.
Saucepan — Small, for melting the caramel sauce. I use my smallest saucepan, about 6 inches wide.
Sharp Knife and Cutting Board — For peeling and chopping the pears. I use a chef’s knife for everything.
Measuring Cups and Spoons — Standard stuff. Dollar store versions work fine.
Whisk — For mixing the caramel sauce smoothly.
Optional but nice:
– Parchment Paper: Essential for clean-ups. I leave an overhang on two sides to lift the bars out like a sling.
How to Make It: Step-by-Step
Alright, let’s make this! I’m walking you through exactly how I do it, including the little tricks I’ve picked up.
Step 1: Prep Your Oven and Pan (5 minutes)
Preheat your oven to 350°F (175°C). Line your 8×8 inch baking pan with parchment paper, leaving an overhang on the long sides. This is your handle for lifting the bars out later. Spray it lightly with cooking spray. Trust me, you’ll thank me when it’s time to clean up.
Step 2: Make the Pear Layer (10 minutes)
Peel and core your pears. Chop them into ½-inch cubes. You want them small enough to cook through quickly but large enough to still taste like fruit. Toss the chopped pears with the granulated sugar, lemon juice, cinnamon, and vanilla (if using) in a medium bowl. Let them sit for 10 minutes. This draws out the juices and infuses the flavor. Then, spread the pears and all their juices evenly into the bottom of your prepared pan. Press them down gently.
Step 3: Make the Crumble Topping (5 minutes)
In a separate bowl, whisk together the flour, oats, brown sugar, and cinnamon. Add the cold, cubed butter. Use a fork or your fingers to mix it in. You’re looking for a coarse, sandy texture with some pea-sized clumps. Don’t overmix it into a paste; those clumps are what make it crumbly and crunchy. Sprinkle this mixture evenly over the pears. Press down lightly so it sticks.
Step 4: Bake the Base (25-30 minutes)
Place the pan in the oven and bake for 25-30 minutes. You’ll know it’s done when the topping is golden brown and the pears are bubbling up through the crumble. The edges should look slightly caramelized. If the top is browning too fast, cover it loosely with foil.
Step 5: Make the Salted Caramel Sauce (5 minutes)
While the bars are baking, make the sauce. In a small saucepan over medium heat, combine the brown sugar, heavy cream, and butter. Whisk constantly. It will bubble up and look weird for a second. Keep whisking until it smooths out and thickens slightly, about 2-3 minutes. Remove from heat and stir in the sea salt. Be careful—it’s hot and sticky.
Step 6: Drizzle and Finish (5 minutes)
Take the bars out of the oven. While they’re still hot, drizzle the caramel sauce evenly over the top. Use a spatula to gently swirl it in if you want a marbled effect, or just leave it on top for a sticky finish. Let the bars cool completely in the pan. This is the hardest part, but it’s necessary so they set and can be cut cleanly.
Step 7: Cut and Serve
Once completely cool, lift the bars out using the parchment paper. Cut into squares or rectangles. Serve with a dollop of whipped cream or a scoop of vanilla ice cream if you’re feeling indulgent.
Total Time: About 1 hour (15 minutes active, 45 minutes mostly hands-off)
Built-in Troubleshooting:
- Pears too watery? If your pears release a lot of liquid, let the bars bake for an extra 5-10 minutes to evaporate the excess.
- Sauce too thick? Warm it up for 10 seconds in the microwave. It should pour easily but still coat the back of a spoon.
- Topping not crunchy? Make sure your butter was cold when you mixed it. Warm butter makes a soggy topping.
Expert Tips & Tricks
Here’s everything I’ve learned from making this dozens of times. These tips will save you from my mistakes.
Don’t Skip the Salt
This is the #1 tip. The salt in the caramel sauce cuts the sweetness and makes the pear flavor pop. I forgot it once and the bars were just… okay. Now I always have sea salt flakes ready. If you don’t have flakes, a pinch of kosher salt works, but flakes look beautiful.
Cold Butter is Key
For the crumble, keep your butter cold. If it gets too soft, put the bowl in the fridge for 10 minutes before sprinkling it over the pears. This ensures you get those crunchy, distinct crumble bits instead of a soggy crust.
Let Them Cool Completely
I know, I know. You want to eat them now. But if you cut them while warm, they’ll fall apart. The caramel needs to set, and the pears need to firm up. I usually bake them in the morning and eat them for dessert after dinner. Patience pays off.
Toast Your Nuts
If you’re adding pecans or walnuts, toast them in a dry pan for 3-4 minutes before adding them to the crumble. It releases their oils and makes them taste way better. I learned this from my sweet and spicy candied pecans recipe—it’s a game-changer for texture.
Use Ripe Pears
Don’t use rock-hard pears. They won’t soften enough in the baking time. Look for pears that give slightly to pressure. If they’re too soft, chop them smaller so they turn into a jammy layer.
Common Mistakes (and how to avoid them):
- Mistake: Sauce is too runny. Fix: Let it simmer a minute longer. It thickens as it cools.
- Mistake: Topping is burnt. Fix: Cover with foil if it’s browning too fast. Ovens vary wildly.
- Mistake: Bars are dry. Fix: Don’t overbake. Pull them out when the center is just set.
Variations & Substitutions
Once you’ve nailed the basic version, here’s how you can mix it up. I’ve tried all of these.
Apple Version
Swap pears for apples. I use Honeycrisp or Gala. Chop them slightly larger so they hold their shape. Add a pinch of nutmeg to the spice blend.
Berry Twist
Use mixed berries (blueberries, raspberries) instead of fruit. You’ll need less sugar because berries are sweeter. Add a tablespoon of cornstarch to the berries to thicken the juices.
Gluten-Free
Use a 1:1 gluten-free flour blend in the crumble. Make sure your oats are certified gluten-free. Everything else is naturally GF.
Dairy-Free
Use coconut oil instead of butter in the crumble. For the caramel, use coconut cream and maple syrup. It’s different but still tasty.
Nut-Free
Simply omit the nuts from the crumble. The texture is still great without them.
Spice It Up
Add a pinch of cardamom or allspice to the pear layer for a more complex flavor profile. I love cardamom with pears.
Serving & Storage
I usually serve these straight from the pan at the dinner table—it looks rustic and stays warm. But here are other ways I’ve enjoyed them:
How to Serve
- With a dollop of whipped cream
- With a scoop of vanilla bean ice cream
- With a slice of sharp cheddar cheese (trust me, it’s amazing)
- Warm, straight out of the oven
Side Dishes
These are desserts, so they don’t need much else. But if you’re having a cozy dinner, pair them with a simple creamy wild rice and mushroom casserole for a full meal.
Storage Instructions
Refrigerator: Store in an airtight container for up to 5 days. The caramel will harden in the fridge, so let them sit at room temperature for 10 minutes before eating.
Freezing: These freeze well! Wrap individual bars in plastic wrap and then foil. Freeze for up to 3 months. Thaw at room temperature.
Reheating: Microwave for 20-30 seconds to soften the caramel. Or warm in the oven at 300°F for 10 minutes.
Nutrition Information
I’m not a nutritionist, but here’s the breakdown if you’re tracking. This is a rich dessert, so portion control is key.
Per Serving (based on 16 bars):
- Calories: 180
- Protein: 2g
- Carbs: 28g
- Fiber: 1g
- Sugar: 18g
- Fat: 8g
- Saturated Fat: 5g
- Sodium: 120mg
What’s Good:
– Provides some fiber from the oats and pears
– Uses real fruit
– No artificial ingredients
What to Know:
– Higher in sugar from the caramel and pears
– Contains dairy and gluten
– Moderate calories for a dessert bar
My Take:
“Look, this is comfort food with caramel and butter. It’s not a diet recipe. But it’s way better than store-bought bars, and I know exactly what’s in it. When I want to make it lighter, I reduce the sugar in the pear layer and skip the caramel drizzle. But usually? I just eat one bar and enjoy it.”
Final Thoughts
So that’s my go-to Fall Salted Caramel Pear Crumble Bars! I’ve probably talked your ear off at this point, but when you make a recipe this often, you have a lot to say about it.
This has saved weeknight desserts more times than I can count. It’s my answer to “what’s for dessert” when I want something sweet but don’t have the energy to bake a whole pie. My kids are happy, my husband’s happy, and I’m happy because I’m not stressed about cooking.
Make it yours! Try different spices, swap in your favorite nuts, or adjust the caramel sweetness. The best recipes are the ones you adapt to your family’s tastes.
If you make this, drop a comment and let me know what you think! I love hearing how recipes turn out in your kitchen. And if something doesn’t work, tell me that too—I’m here to help troubleshoot.
Happy baking! And I hope your kitchen smells half as good as mine does right now.
Frequently Asked Questions
Can I use frozen pears?
You can, but they’ll be softer and release more water. Thaw them first and drain off excess liquid before adding sugar. You might need to bake them 5-10 minutes longer to evaporate the extra moisture.
Why did my caramel sauce separate?
This usually happens if the heat was too high. Keep it on medium-low and whisk constantly. If it starts to separate, remove from heat and whisk in a teaspoon of warm water to bring it back together.
Can I make this ahead for a party?
Absolutely. Bake the bars a day ahead and store them covered at room temperature. Make the caramel sauce fresh on the day of serving and drizzle it on right before bringing them out. It’s the best of both worlds.
Why are my bars soggy?
Usually means the pears released too much liquid. Make sure to use ripe pears, but not mushy ones. Also, ensure the crumble topping is thick enough to act as a barrier. If your pears are very juicy, let them sit with sugar for 15 minutes and drain off half the liquid before baking.
Can I use maple syrup instead of brown sugar?
You can try it, but the texture will be different. Maple syrup is thinner, so you might need to add a tablespoon of flour to the crumble to absorb the moisture. It’s not a direct 1:1 swap.
How do I cut them cleanly?
Use a sharp knife and wipe it clean between cuts. If the caramel is too sticky, dip the knife in hot water and dry it before each cut. This prevents sticking and gives you neat squares.
Can I double this recipe?
Yes, but you’ll need a 9×13 inch pan. The baking time might increase by 5-10 minutes. Keep an eye on the edges to make sure they don’t burn.
Pin This Recipe!
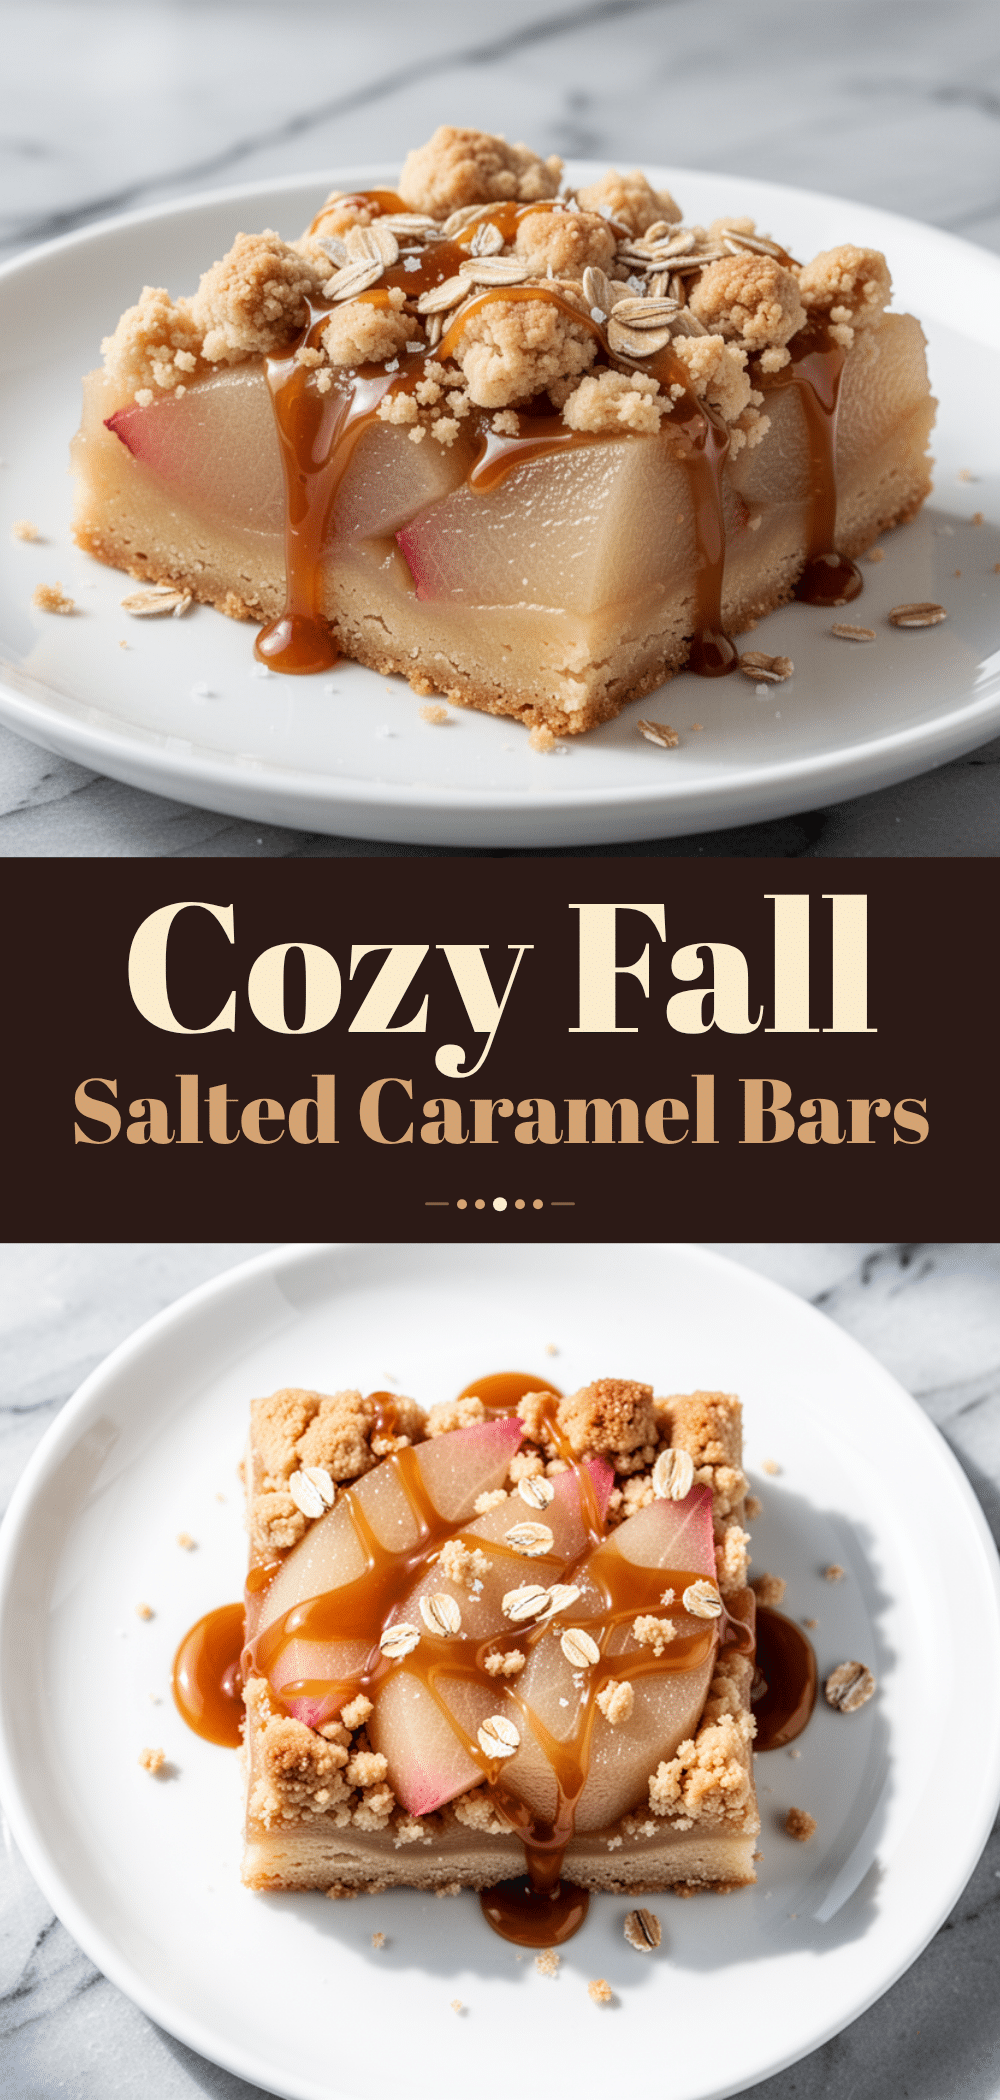
Fall Salted Caramel Pear Crumble Bars
- Total Time: 45 minutes
- Yield: 16 servings 1x
Description
These cozy, chewy, and crisp bars are the ultimate autumn comfort food. They use overripe pears for a jammy center, topped with a buttery oat crumble and a rich salted caramel drizzle.
Ingredients
- 3–4 medium ripe pears (about 600g), peeled, cored, and chopped into ½-inch cubes
- ½ cup granulated sugar (100g)
- 1 tablespoon lemon juice
- 1 teaspoon ground cinnamon
- 1 teaspoon vanilla extract (optional)
- ½ cup packed brown sugar (100g) for caramel
- 2 tablespoons heavy cream
- 2 tablespoons unsalted butter, softened
- ½ teaspoon sea salt flakes
- 1 cup all-purpose flour (125g)
- ½ cup old-fashioned rolled oats (40g)
- ½ cup cold unsalted butter, cubed (115g)
- ½ cup brown sugar (100g) for topping
- 1 teaspoon ground cinnamon
- ¼ cup chopped pecans or walnuts (optional)
Instructions
- Preheat oven to 350°F (175°C). Line an 8×8 inch baking pan with parchment paper, leaving an overhang on the long sides, and spray lightly with cooking spray.
- In a medium bowl, toss chopped pears with granulated sugar, lemon juice, cinnamon, and vanilla (if using). Let sit for 10 minutes to draw out juices.
- Spread the pears and all their juices evenly into the bottom of the prepared pan, pressing down gently.
- In a separate bowl, whisk together flour, oats, ½ cup brown sugar, and 1 teaspoon cinnamon. Add the cold, cubed butter and mix with a fork or fingers until the texture is coarse and sandy with pea-sized clumps.
- Sprinkle the crumble mixture evenly over the pears and press down lightly.
- Bake for 25-30 minutes until the topping is golden brown and pears are bubbling. If the top browns too fast, cover loosely with foil.
- While bars bake, make the caramel: In a small saucepan over medium heat, combine ½ cup brown sugar, heavy cream, and 2 tablespoons butter. Whisk constantly until smooth and slightly thickened (2-3 minutes). Remove from heat and stir in sea salt.
- Remove bars from oven. While still hot, drizzle the caramel sauce evenly over the top. Swirl gently if desired.
- Let bars cool completely in the pan to allow the caramel to set and bars to firm up.
- Lift bars out using parchment paper and cut into squares or rectangles. Serve with whipped cream or ice cream if desired.
Notes
Use ripe pears that give slightly to pressure for the best texture. Ensure butter is cold for the crumble topping to maintain crunch. Let bars cool completely before cutting to ensure clean slices. The caramel sauce can be made ahead and reheated.
- Prep Time: 15 minutes
- Cook Time: 30 minutes
- Category: Dessert
- Cuisine: American
Nutrition
- Serving Size: 1 bar
- Calories: 180
- Sugar: 18
- Sodium: 120
- Fat: 8
- Saturated Fat: 5
- Carbohydrates: 28
- Fiber: 1
- Protein: 2
Keywords: fall dessert, pear crumble, salted caramel, easy baking, autumn recipes, comfort food, fruit bars


