Last year, I was the designated “dessert person” for my in-laws’ Thanksgiving gathering. You know the pressure. You show up with a store-bought pie, and there’s that polite, pitying smile. You show up with a burnt mess, and the air leaves the room. I decided to try making a traditional pumpkin pie from scratch. Big mistake. My crust was soggy, the filling was curdled, and I spent three hours sweating over my oven while everyone else was just trying to enjoy appetizers.
That night, I went back to my own kitchen, kicked off my shoes, and threw together something completely different. I didn’t have an oven free, and I definitely didn’t have the patience for a fussy crust. I grabbed some gingersnap cookies, some cream cheese, canned pumpkin, and a few spices from the back of my cupboard. I mixed it all up, dumped it into a pan, and shoved it in the fridge.
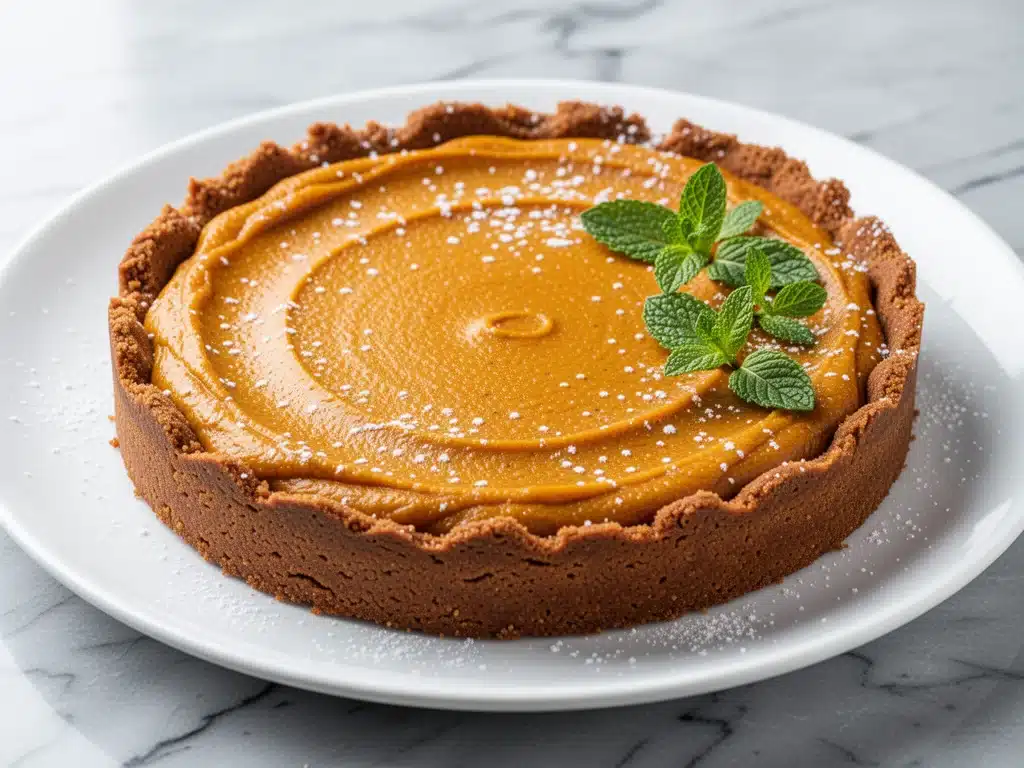
The next day, my mother-in-law took one bite of this no-bake fall pumpkin pie with gingersnap crust and actually stopped talking mid-sentence. She looked at me, then at the pie, and said, “This is better than any bakery version I’ve ever had.” It was creamy, spiced perfectly, and that crust? It was crunchy, buttery, and tasted like holiday magic without the effort.
I’ve made this dessert at least twelve times since that fateful Thanksgiving. It’s my secret weapon. It’s my go-to when I want to impress guests without spending my entire day in the kitchen. It’s the kind of dessert that feels fancy but is actually stupid simple. If you’re looking for a way to end your fall meals on a high note without the stress, this is it.
Why You’ll Love This No-Bake Pumpkin Pie
There are about ten reasons I keep making this, but here are the big ones. This isn’t just “easy”; it’s strategically easy. It solves the biggest problem with holiday baking: time.
- Zero Oven Required — Seriously, you don’t need to turn on your oven at all. This is huge when your oven is already full of turkey, stuffing, and maybe a few casseroles. I love that I can keep my kitchen cool while this sets up in the fridge.
- The Gingersnap Crust is a Game-Changer — Forget making pie dough from scratch. We’re using crushed gingersnap cookies. They’re sweet, spicy, and crunchy. It’s basically a cookie crust that pairs perfectly with the smooth pumpkin filling. It’s easier than no-bake key lime pie cups and just as satisfying.
- Make-Ahead Friendly — This pie needs to chill, which means you can make it two days in advance. I usually make it on Tuesday for a Sunday dinner. It gets better as it sits, allowing the flavors to meld. No last-minute panic.
- Gluten-Free Option — If you’re hosting guests with dietary restrictions, this is a lifesaver. Just swap the regular gingersnaps for a gluten-free brand (I use Gluten Free Plain Cookies or specific GF ginger snaps). The texture holds up surprisingly well.
- Restaurant-Quality Taste — The addition of cream cheese gives it that rich, cheesecake-like texture that regular pumpkin pie just doesn’t have. It’s denser, creamier, and more indulgent.
This is my go-to when I need a dessert that just works. No complicated techniques, no weird ingredients, just reliable, delicious food that makes everyone happy. Plus, it looks stunning with a dollop of whipped cream and a sprinkle of cinnamon on top.
Ingredients You’ll Need
Here’s the best part: you probably have most of this already. The ingredient list is short, sweet, and focused on big flavors. I’m particular about three things here, and I’ll tell you exactly why.
For the Crust
Gingersnap cookies (24 cookies, about 3 cups crumbs) — This is the star of the show. Don’t use ginger snaps that are super hard and old; you want ones that are still slightly chewy so they crush easily. If you can’t find gingersnaps, homemade crackers won’t work here, but you could try shortbread cookies for a milder flavor. Stick to gingersnaps for that classic fall spice.
Unsalted butter (6 tablespoons, melted) — This binds the crumbs. Use real butter, not margarine. The flavor difference is noticeable in a crust with no other strong flavors masking it.
Granulated sugar (2 tablespoons) — Just a little bit to help them crisp up. You can reduce this to 1 tablespoon if your cookies are already very sweet.
Cinnamon (½ teaspoon) — Boosts the ginger flavor. Optional, but I recommend it.
For the Filling
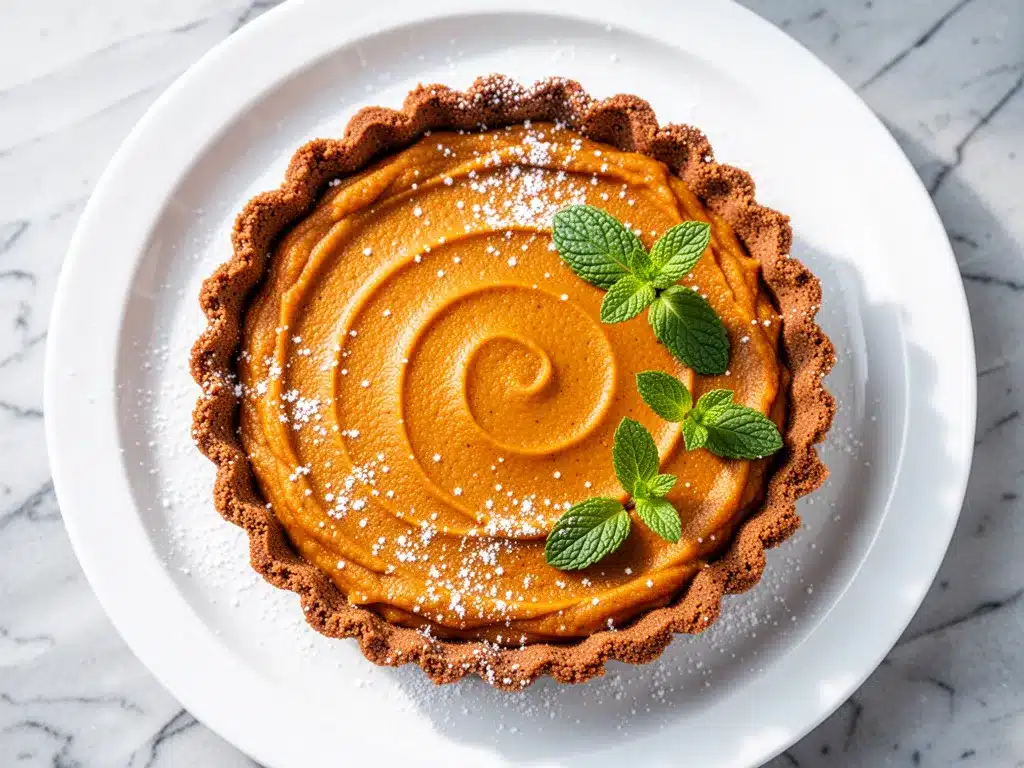
Full-fat cream cheese (16 ounces, softened) — This is what makes it no-bake and cheesecake-like. It must be softened to room temperature. If you try to mix cold cream cheese, you’ll get lumps. I leave it on the counter for an hour before starting. Do not skip this step.
Heavy cream (1 cup, cold) — Full-fat only. Whipping cream gives the filling its airy, light texture. Half-and-half is too thin and will result in a dense, heavy pie.
Granulated sugar (½ cup) — Adjust to taste. If you prefer less sweet, go down to ⅓ cup, but the spice needs some sweetness to balance.
Pure pumpkin puree (15 ounces, one 13-16 oz can) — Important: Use 100% pure pumpkin puree, NOT pumpkin pie filling. Pie filling has sugar and spices already added, which will throw off the balance. Puree is unsweetened and unspiced.
Vanilla extract (1 teaspoon) — Pure vanilla, not imitation. It adds depth.
Pumpkin pie spice (1 ½ teaspoons) — Or make your own: mix cinnamon, ginger, nutmeg, and cloves. I always keep a jar of this in the fall.
For the Topping
Whipped cream — Homemade is best, but store-bought works in a pinch. I like to whip my own with a little powdered sugar and vanilla.
Crushed gingersnaps — For garnish. It looks professional and adds a nice crunch.
Whole nutmeg — Freshly grated on top. It smells incredible.
Equipment Needed
You don’t need fancy equipment for this. Here’s what I actually use.
- 9-inch springform pan — This is essential. It allows you to remove the pie cleanly. If you don’t have one, a regular 9-inch pie plate works, but serving slices will be messier. I use a springform because I like the clean edges for photos.
- Food processor — For crushing the cookies. It takes 10 seconds. If you don’t have one, put cookies in a zip-top bag and crush them with a rolling pin. It takes longer and your arms get tired, but it works.
- Stand mixer or hand mixer — You need to whip the cream and beat the cream cheese. Doing this by hand is possible but requires serious arm strength. I use my stand mixer on medium speed.
- Spatula — A large silicone spatula is perfect for folding the whipped cream into the pumpkin mixture without deflating it.
- Measuring cups and spoons — Standard stuff.
Optional but nice: A piping bag for the whipped cream. It makes it look like it came from a high-end bakery. If you don’t have one, just dollop it on with a spoon.
How to Make It: Step-by-Step
Alright, let’s make this! I’m walking you through exactly how I do it, including the little tricks I’ve picked up.
Step 1: Prepare the Crust (5 minutes)
Crush your gingersnap cookies into fine crumbs. If using a food processor, pulse until they look like wet sand. If crushing by hand, keep going until there are no large chunks left. In a medium bowl, mix the cookie crumbs, melted butter, sugar, and cinnamon until the mixture resembles wet sand. Press this mixture firmly into the bottom and slightly up the sides of your springform pan. Use the bottom of a glass to pack it down tight. If the crust is loose, your pie will fall apart. Chill this in the fridge while you make the filling.
Step 2: Beat the Cream Cheese (3 minutes)
In a large bowl, beat the softened cream cheese, sugar, pumpkin puree, vanilla, and pumpkin pie spice with your mixer on medium-high speed. Beat until completely smooth and creamy. This is crucial. If there are any lumps of cream cheese, they will be visible in the final pie. Scrape down the sides of the bowl halfway through. This should take about 2-3 minutes.
Step 3: Whip the Heavy Cream (2 minutes)
In a separate cold bowl, whip the cold heavy cream on high speed until you form stiff peaks. This means when you lift the beaters, the cream stands up straight. Don’t over-whip it into butter, but don’t under-whip it either. Soft peaks will make the pie runny. Stiff peaks give it structure.
Step 4: Fold It Together (2 minutes)
Gently fold one-third of the whipped cream into the pumpkin mixture to lighten it up. Then, gently fold in the remaining whipped cream. Use a spatula and cut down the middle and fold over. Be gentle! You want to keep as much air in the mixture as possible. This is what makes the pie light and fluffy, not dense like a brick.
Step 5: Assemble and Chill (4+ hours)
Pour the filling into the prepared crust. Smooth the top with your spatula. Cover loosely with plastic wrap or foil. Refrigerate for at least 4 hours, but overnight is best. The longer it chills, the firmer it sets and the better the flavors meld. I usually make this the night before, so it’s ready when I am.
Step 6: Serve
Before serving, run a knife around the edge of the springform pan and release the ring. Top with dollops of whipped cream, a sprinkle of crushed gingersnaps, and a fresh grating of nutmeg. Slice with a sharp knife dipped in hot water for clean cuts.
Expert Tips & Tricks
Here’s everything I’ve learned from making this dozens of times. These tips will save you from my mistakes.
Room Temperature Cream Cheese is Non-Negotiable
I cannot stress this enough. If your cream cheese is cold, it won’t blend smoothly. You’ll end up with tiny white lumps in your beautiful orange pie. Cut it into chunks and leave it out for at least an hour. If you’re short on time, microwave it in 5-second bursts, checking often. It should be soft enough to press a finger into easily.
Don’t Skip the Stiff Peaks
The whipped cream provides the structure for this no-bake pie. If it’s too soft, the pie will be soupy. If you’re in a humid environment, add a tablespoon of powdered sugar to the cream while whipping—it helps stabilize it.
Use a Springform Pan
I know they can be tricky to seal, but for this pie, it’s worth it. Trying to get a no-bake pie out of a regular pan without it breaking is a nightmare. If you don’t have a springform pan, line a regular pie plate with parchment paper, leaving an overhang. You can lift the whole thing out once it’s set.
Taste the Filling Before Chilling
Before you pour it in, taste a little bit of the filling. Does it need more spice? More sugar? Remember, cold dulls sweetness and spice slightly. If it tastes perfect at room temperature, it might taste bland after chilling. Adjust now.
Cutting Clean Slices
No-bake pies can be sticky. Dip your knife in hot water and wipe it dry between every cut. This ensures you get those beautiful, clean slices that look like they came from a bakery.
Variations & Substitutions
Once you’ve nailed the basic version, here’s how you can mix it up. I’ve tried all of these.
Chocolate Pumpkin Pie
Add ¼ cup of unsweetened cocoa powder to the pumpkin mixture. It’s weirdly delicious and looks like a pumpkin-chocolate swirl. Great for Halloween.
Maple Pecan Swirl
Melt ½ cup of maple syrup with ½ cup of chopped pecans. Drizzle this over the pumpkin filling before chilling, then swirl it gently with a knife. It adds a caramel-like depth.
Coconut Version
Replace the heavy cream with full-fat coconut cream. Use coconut extract instead of vanilla. Top with toasted coconut flakes. It’s dairy-free and tastes like a tropical fall pie.
Gluten-Free
Use gluten-free gingersnap cookies. Most major brands make them now. The crust holds together just as well. I’ve used gluten-free almond flour cookies as a base before, but gingersnaps are the traditional choice.
Lighter Version
Use light cream cheese and whip the heavy cream with a little Greek yogurt folded in at the end. It’s tangier and lighter, but still creamy.
Serving & Storage
How to Serve:
I usually serve this straight from the fridge. It’s best when it’s cold and firm. Pair it with a warm cup of coffee or tea. It also goes great with brown butter rice crispy treats if you’re doing a dessert bar, though the flavors are different enough that you don’t need to pair them specifically.
Toppings Bar:
When I have guests, I put out: extra whipped cream, crushed gingersnaps, candied pecans (try my sweet and spicy candied pecans recipe), and fresh mint leaves. Everyone customizes their slice.
Refrigerator:
Store in an airtight container or covered with plastic wrap for up to 5 days. It actually tastes better on day 2 as the spices meld.
Freezing:
This pie does not freeze well. The texture of the whipped cream and cream cheese changes when thawed—it can become grainy or watery. Make it fresh or store in the fridge.
Meal Prep:
Make the crust and filling separately. Store them in the fridge for up to 2 days. Assemble and chill right before serving. This is great if you’re hosting a dinner party and want to minimize day-of stress.
Nutrition Information
I’m not a nutritionist, but here’s the breakdown if you’re tracking. Keep in mind this is a rich dessert, so portions matter.
Per Serving (based on 12 slices):
- Calories: 380
- Protein: 6g
- Carbs: 32g
- Fiber: 1g
- Sugar: 22g
- Fat: 24g
- Saturated Fat: 14g
What’s Good:
It has some protein from the cream cheese. It’s lower in carbs than a traditional flour-crust pumpkin pie.
What to Know:
Higher in saturated fat and sugar due to the cream cheese, heavy cream, and cookies. It’s an indulgent treat, not a health food. But it’s way better than takeout, costs less, and I know exactly what’s in it.
Final Thoughts
So that’s my no-bake fall pumpkin pie with gingersnap crust! I’ve probably talked your ear off at this point, but when you make a recipe this often, you have a lot to say about it. This has saved my dessert game more times than I can count. It’s my answer to “what’s for dessert” when I’m tired, don’t want to bake, and still want something that tastes really good.
Make it yours! Try different add-ins, swap in your favorite spices, or just enjoy it as is. The best recipes are the ones you adapt to your family’s tastes. If you make this, drop a comment and let me know what you think! I love hearing how recipes turn out in your kitchen. And if something doesn’t work, tell me that too—I’m here to help troubleshoot.
Happy cooking! And I hope your kitchen smells half as good as mine does right now.
Frequently Asked Questions
Can I use pumpkin pie filling instead of puree?
You can, but you’ll need to adjust the sugar and spices. Pumpkin pie filling is already sweetened and spiced. If you use it, reduce the sugar in the recipe by half and skip the pumpkin pie spice. Taste the mixture before chilling to see if it needs more seasoning. But honestly, pure pumpkin puree gives you more control over the flavor.
Why is my pie runny?
Usually, this happens for two reasons: the cream cheese wasn’t fully blended, or the whipped cream wasn’t whipped to stiff peaks. Make sure you beat the cream cheese until it’s completely smooth before adding the pumpkin. And when whipping the cream, wait until it holds stiff peaks. If the pie is still runny after 4 hours, you can try chilling it overnight.
Can I make this ahead of time?
Yes! This pie actually benefits from being made ahead. It needs at least 4 hours to set, but 24 hours is ideal. You can make it up to 2 days in advance. Just keep it covered in the fridge.
Do I have to use a springform pan?
It’s highly recommended. A springform pan allows you to remove the pie cleanly without damaging it. If you don’t have one, you can use a regular pie plate lined with parchment paper, but slicing and serving will be more difficult. The crust might crumble more when you try to get it out.
Can I use coconut cream instead of heavy cream?
Absolutely. Chill a can of full-fat coconut cream overnight, scoop out the solidified cream, and whip it just like heavy cream. It will whip up nicely and give the pie a rich, tropical flavor. This makes the pie dairy-free (assuming your cookies are dairy-free or you use a dairy-free brand).
How do I store leftovers?
Store leftovers in an airtight container in the refrigerator for up to 5 days. The crust may soften slightly over time, but the flavor remains great. Do not freeze this pie, as the texture of the dairy will change upon thawing.
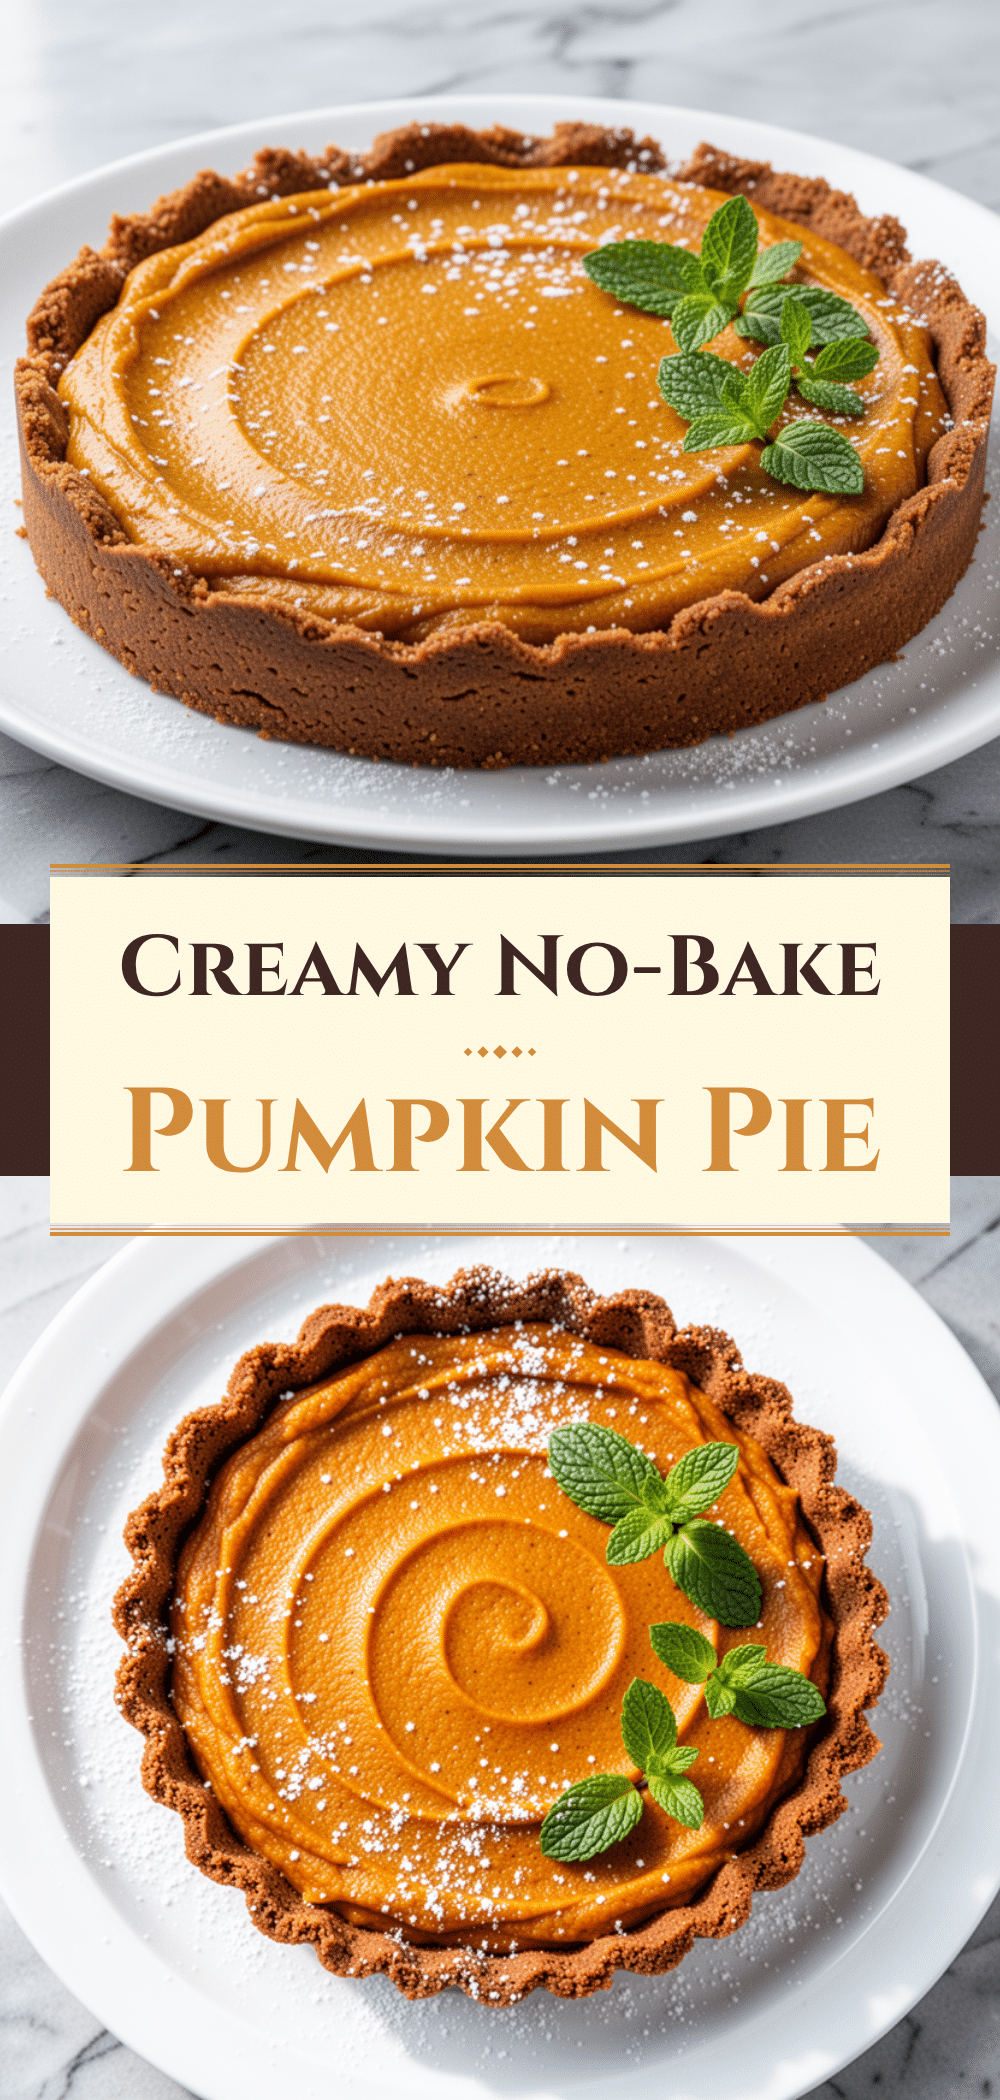
Pin This Recipe!
No-Bake Fall Pumpkin Pie: Easy 5-Step Gingersnap Dessert
- Total Time: 4 hours 15 minutes
- Yield: 12 servings 1x
Description
A creamy, no-bake pumpkin pie with a crunchy gingersnap crust that requires no oven. This make-ahead dessert is perfect for Thanksgiving or any fall gathering, offering restaurant-quality taste with minimal effort.
Ingredients
- 24 gingersnap cookies (about 3 cups crumbs)
- 6 tablespoons unsalted butter, melted
- 2 tablespoons granulated sugar
- 1/2 teaspoon cinnamon
- 16 ounces full-fat cream cheese, softened to room temperature
- 1/2 cup granulated sugar
- 1 cup cold heavy cream
- 15 ounces pure pumpkin puree (one 13–16 oz can)
- 1 teaspoon vanilla extract
- 1 1/2 teaspoons pumpkin pie spice
- Whipped cream for topping
- Crushed gingersnaps for garnish
- Whole nutmeg for grating
Instructions
- Crush gingersnap cookies into fine crumbs. Mix crumbs with melted butter, 2 tablespoons sugar, and cinnamon until resembling wet sand. Press firmly into the bottom and slightly up the sides of a 9-inch springform pan. Chill in the fridge.
- In a large bowl, beat softened cream cheese, 1/2 cup sugar, pumpkin puree, vanilla, and pumpkin pie spice on medium-high speed until completely smooth and creamy. Scrape down sides halfway through.
- In a separate cold bowl, whip cold heavy cream on high speed until stiff peaks form.
- Gently fold one-third of the whipped cream into the pumpkin mixture to lighten it. Then, gently fold in the remaining whipped cream using a spatula, cutting down the middle and folding over to keep air in the mixture.
- Pour filling into the prepared crust and smooth the top. Cover loosely with plastic wrap or foil and refrigerate for at least 4 hours, or overnight for best results.
- Before serving, release the springform ring. Top with dollops of whipped cream, crushed gingersnaps, and freshly grated nutmeg. Slice with a knife dipped in hot water for clean cuts.
Notes
Ensure cream cheese is softened to room temperature to avoid lumps. Whip heavy cream to stiff peaks for proper structure. For a gluten-free option, use gluten-free gingersnap cookies. Do not freeze this pie as the texture may become grainy or watery upon thawing. Store leftovers in the refrigerator for up to 5 days.
- Prep Time: 15 minutes
- Cook Time: 0 minutes
- Category: Dessert
- Cuisine: American
Nutrition
- Serving Size: 1 slice
- Calories: 380
- Sugar: 22
- Fat: 24
- Saturated Fat: 14
- Carbohydrates: 32
- Fiber: 1
- Protein: 6
Keywords: no-bake pumpkin pie, gingersnap crust, fall dessert, Thanksgiving dessert, easy pumpkin pie, cream cheese pumpkin pie, make-ahead dessert


