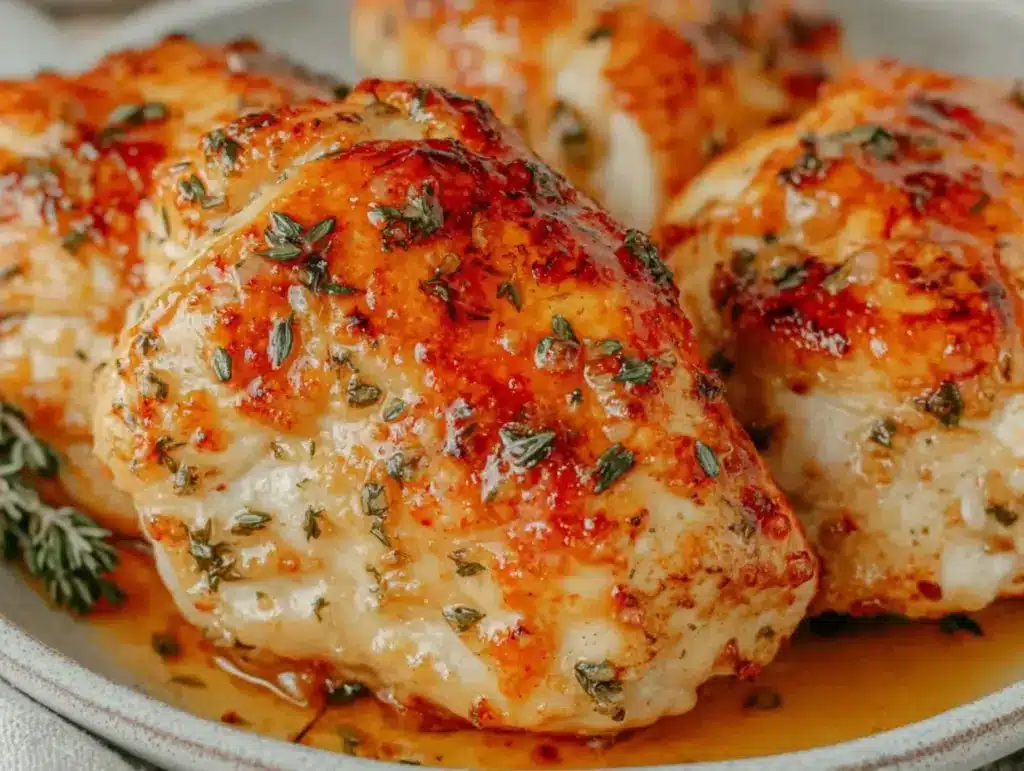
I still remember the sound of the oven timer in my grandmother’s kitchen. It wasn’t the digital beep of the smart ovens we have now, but a mechanical, rattling *clack-clack-clack* that signaled dinner was almost ready. Grandmère didn’t do anything fast. She didn’t do “quick and easy” unless we were running late for church, and even then, she rushed with grace, not chaos. Her oven-baked chicken breasts were never dry. They were never tough. They were tender, juicy, and always, always perfumed with garlic and herbs.
For years, I struggled with this. Chicken breast is the hardest protein to master if you want it to be anything other than cardboard. I’ve bought the expensive organic ones, the pre-marinated ones, the ones from the fancy butcher shop. I’ve tried brining, I’ve tried pounding them flat, I’ve tried sous vide. And yet, every time I pulled a tray out of the oven, the center was pale, the edges were rubbery, or worst of all, it was dry enough to choke on.
Then, last summer, I went back to her house for the holidays. I watched her make it. She didn’t use a thermometer (though she should have). She didn’t pound the meat. She didn’t brine it overnight. She just rubbed the chicken with a mixture of softened butter, minced garlic, fresh thyme, and a little bit of salt. Then she put it in the oven. When I took the first bite, I closed my eyes. It tasted exactly like I was seven years old again, sitting at that chipped blue table, waiting for the rest of the family to finish their soup so we could get to the main course.
This is that recipe. It’s my attempt to capture the way my grandmother made chicken, but adapted for our busy modern lives. It’s the never-dry oven baked chicken breast with garlic herb butter that has saved my weeknight dinners more times than I can count. It’s simple, it’s comforting, and it tastes like love. If you’ve ever thrown out a dry chicken breast in frustration, this is the one you need to try.
Why You’ll Love This Recipe
There are about a million chicken recipes out there. Why make this one? Because it solves the biggest problem we have with chicken breast: dryness. But it does it in a way that feels indulgent, not like a diet food. Here’s why this garlic herb butter chicken has earned a permanent spot in my rotation:
- It’s Actually Juicy — The butter baste creates a seal that keeps the moisture inside. I’ve tested this method against bare-baked chicken, and the difference is night and day. This version stays succulent even if you leave it in the oven for five extra minutes.
- Minimal Cleanup — Seriously, it’s a sheet pan job. You rub the chicken, put it on the pan, bake it, and wash one pan. No stirring, no sautéing, no standing over the stove. I make this on nights when I’m exhausted and just want to sit down.
- Flavor That Doesn’t Need Sauce — The garlic and herbs infuse the meat as it cooks. You don’t need a gravy or a heavy sauce on top. The butter mixture caramelizes slightly on the edges, creating a savory crust that’s irresistible. It’s the kind of flavor that makes you lick your fingers.
- Pantry Staples — You probably already have the butter, garlic, and herbs. You don’t need to run to the store for special ingredients. This is a “what’s in my fridge” recipe that feels fancy enough for guests.
- Family Approved — My picky eater husband loves it. My kids love it. Even my mother-in-law, who has strong opinions about how chicken “should” be cooked, asked for the recipe. It’s universally liked.
This isn’t just dinner; it’s peace of mind. It’s the confidence that no matter how tired you are, you can throw this in the oven and come back to a meal that tastes like it took hours to make.
Ingredients You’ll Need
One of the best things about this never-dry oven baked chicken breast with garlic herb butter is how few ingredients it uses. I’m particular about quality here, especially with the butter and the garlic, because there’s nowhere to hide. If the ingredients are good, the chicken will be good.
For the Chicken
Chicken breasts (about 2 pounds / 900g) — I prefer boneless, skinless breasts because they cook evenly and quickly. But here’s a tip: try to buy breasts that are similar in size. If one is tiny and one is huge, the small one will dry out before the big one is done. If you can’t find uniform ones, just trim the thick ends of the larger breasts with a knife to make them even.
High-quality unsalted butter (½ cup / 113g) — This is non-negotiable. Do not use margarine. Do not use light butter. Use real, good butter. I use European-style butter if I can find it because it has a higher fat content, which makes the sauce richer. Salted butter works too, but you’ll need to reduce the added salt in the recipe.
For the Garlic Herb Butter Rub
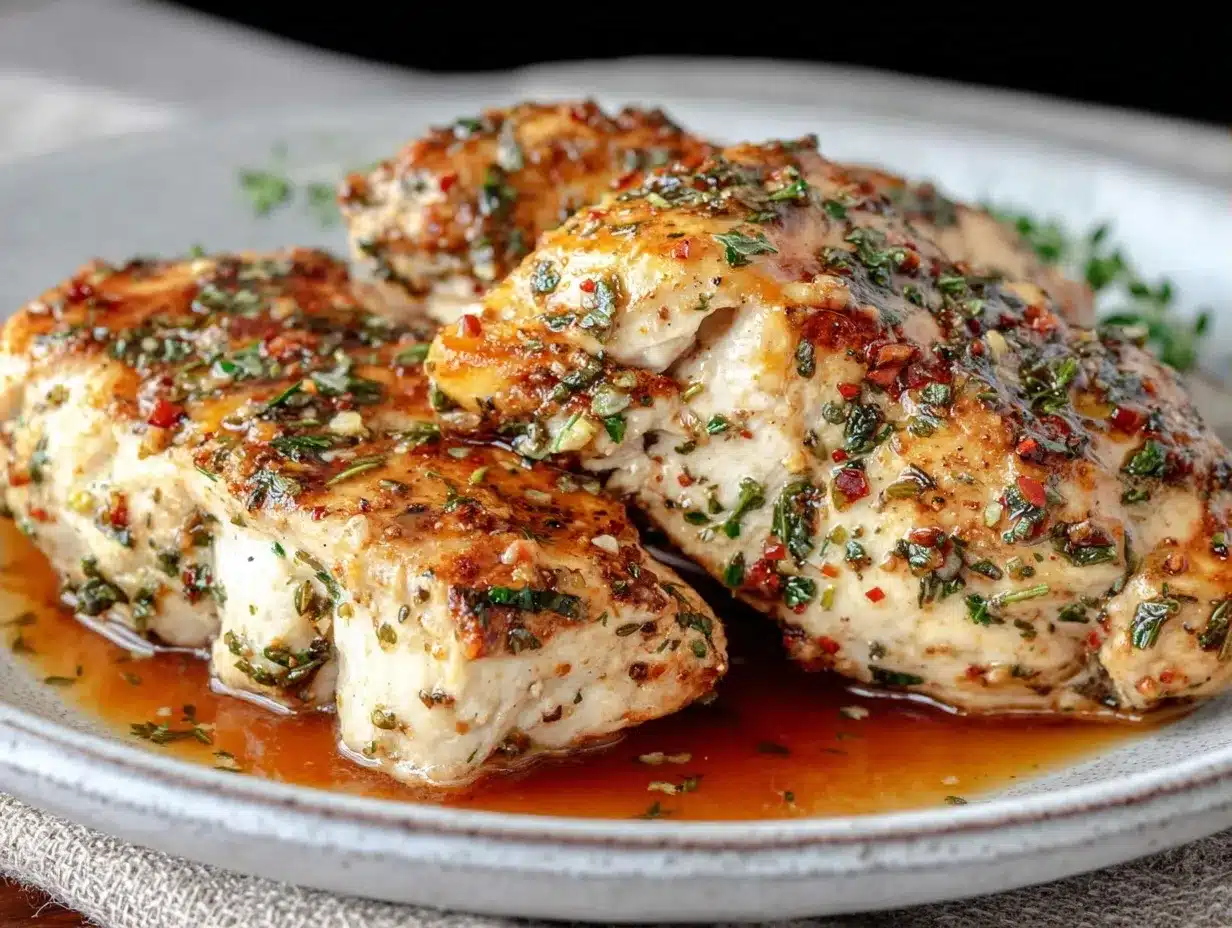
Garlic (4-5 cloves, minced) — Yes, that’s a lot of garlic. But since it’s baked, it loses its sharp bite and becomes sweet and mellow. Use fresh garlic. I’ve tried the jarred stuff, and it just doesn’t have that bright, clean flavor. If you’re worried about garlic breath, don’t be. It mellows out completely during baking.
Fresh thyme (2 tablespoons, chopped) — Thyme is the classic partner for chicken. It’s earthy and subtle. If you don’t have fresh thyme, you can use dried, but cut the amount in half. Dried thyme is potent. Fresh rosemary also works beautifully if you prefer a piney flavor, but stick to one herb so the flavors don’t clash.
Fresh parsley (2 tablespoons, chopped) — This adds a fresh, grassy note that cuts through the richness of the butter. Flat-leaf parsley is better than curly for flavor, but either works.
Salt and black pepper — I use kosher salt because it’s easier to control. Use about 1 teaspoon of salt and ½ teaspoon of freshly cracked black pepper. Taste the butter mixture before you put it on the chicken; it should taste pretty good on its own.
Optional but recommended: A pinch of red pepper flakes if you like a tiny kick. Or a little bit of lemon zest if you want to brighten it up. But the classic version is perfect as is.
For Serving
You’ll want something to soak up that delicious garlic butter. I usually serve this with garlic herb skillet flatbread or crusty bread. It’s also great with roasted vegetables, like the sheet pan sausage and root veggies, or a simple green salad.
Equipment Needed
You don’t need anything fancy. Here’s what I actually use in my kitchen:
Sheet pan or baking dish — I use a half-sheet pan (13×18 inches) because it gives the chicken enough space. If the pieces are crowded, they steam instead of bake, and you lose that nice texture. A 9×13 baking dish works too, just make sure the chicken isn’t touching too much.
Small mixing bowl — For combining the butter and herbs. A ramekin works well if you don’t want to use a bowl.
Measuring spoons — Standard stuff. I keep a basic set in a drawer.
Sharp knife and cutting board — For mincing the garlic and chopping the herbs. A dull knife makes mincing garlic a nightmare and hurts your hands. Learn to sharpen your knives.
Spatula — Just a regular one for spreading the butter mixture over the chicken.
Instant-read thermometer — I know, I said Grandmère didn’t use one. But I do. It takes the guesswork out. It’s worth the $10 investment to never overcook chicken again.
How to Make It: Step-by-Step
Alright, let’s get cooking. This is straightforward, but there are a few tricks to ensure that never-dry oven baked chicken breast with garlic herb butter turns out perfect every time.
Step 1: Prep the Chicken (5 minutes)
Take your chicken breasts out of the fridge. I know it’s tempting to throw them straight in, but let them sit for 10-15 minutes while you prep the oven. Cold chicken hits a hot oven and cooks unevenly. Pat them dry with paper towels. This sounds minor, but dry surface = better browning. If they’re wet, they’ll steam. Place them on your sheet pan in a single layer. Don’t crowd them.
Step 2: Make the Garlic Herb Butter (5 minutes)
While the chicken rests, soften your butter. If you forgot to take it out, you can microwave it for 10 seconds just until it’s soft enough to mash, not melted. In a small bowl, mix the softened butter, minced garlic, chopped thyme, chopped parsley, salt, and pepper. Mash it all together with a fork until it’s a uniform green-gold paste. Taste it. Adjust salt if needed. It should smell amazing.
Step 3: Coat the Chicken (2 minutes)
Take generous dollops of the butter mixture and spread it over the top of each chicken breast. I like to use my fingers to press it in, making sure to get some under the edges if possible. You want every bite to have that garlic herb flavor. Don’t be shy with the butter. This is the secret to the juiciness.
Step 4: Bake (18-20 minutes)
Preheat your oven to 400°F (200°C). This is hot enough to cook the chicken quickly without drying it out. Place the pan in the center of the oven. Bake for 18-20 minutes. The exact time depends on the thickness of your breasts. A 6-ounce breast might take 15 minutes; a 10-ounce breast might take 22. Do not guess. Use a thermometer.
Step 5: Check Temperature (1 minute)
Insert an instant-read thermometer into the thickest part of the chicken. You want to pull it out at 160°F (71°C). The residual heat will carry it up to 165°F (74°C) while it rests. If you wait until it hits 165°F in the oven, it will likely be overcooked and dry. Trust me on this. Pull it at 160°F.
Step 6: Rest (5 minutes)
This is the hardest step, but the most important. Take the pan out of the oven and let the chicken rest for 5 minutes before cutting into it. If you cut it immediately, all the juices run out onto the pan, and your meat is dry. Resting lets the juices redistribute. Pour any extra butter from the pan over the chicken while it rests.
Expert Tips & Tricks
Here’s everything I’ve learned from making this dozens of times. These tips will save you from my mistakes.
Butter Temperature Matters
If your butter is melted, it will run off the chicken and pool on the pan. You want it soft, like playdough. This way it sticks to the meat and creates a barrier. If you melt it, you’re just basting, which is fine, but the rub method is superior for flavor adherence.
Don’t Skip the Resting
I’ve rushed this step before and regretted it. The chicken looks done, but when you cut it, it’s dry. Give it those 5 minutes. It’s not like it’s going to get cold that fast. The oven is off, and the pan is warm.
Uniform Thickness
If your breasts are weirdly shaped, pound the thick end lightly with a rolling pin or meat mallet. This ensures even cooking. No more thin, rubbery ends and raw middles.
Garlic Burn Prevention
Garlic can burn at 400°F if it’s exposed directly to the heat for too long. By mixing it into the butter, the butter protects the garlic. However, if you notice the garlic darkening too quickly, cover the pan loosely with foil for the last 5 minutes.
Leftover Butter
If you have extra garlic herb butter, freeze it in ice cube trays. You can toss a cube into a hot skillet for veggies or melt it over steamed broccoli later. Don’t waste good flavor.
Variations & Substitutions
Once you’ve mastered the basic version, here’s how you can mix it up. I’ve tried all of these.
Lemon Garlic Herb
Add the zest of one lemon to the butter mixture. It adds a bright, citrusy note that cuts through the richness. Perfect for spring and summer.
Spicy Garlic Butter
Add ½ teaspoon of red pepper flakes or a dash of cayenne to the butter. It gives a subtle heat that pairs well with the herbs. My husband loves this version.
Herb Swap
Don’t like thyme? Use rosemary and sage. Or use Italian seasoning. Basil is great too, but add it after baking so it doesn’t burn. Fresh dill is also delicious with chicken.
Dairy-Free Option
You can use olive oil instead of butter, but it won’t be as rich. For a dairy-free butter substitute, use a high-quality vegan butter stick. It behaves similarly to dairy butter.
Gluten-Free
This recipe is naturally gluten-free. Just make sure your spices and herbs are certified gluten-free if you have celiac disease, as cross-contamination can happen in bulk bins.
Serving & Storage
How to Serve
I usually serve this straight from the pan at the table. It looks rustic and stays warm. Pair it with roasted root vegetables or a simple green salad with vinaigrette. The garlic butter is so good, you might want to serve it with bread to soak it up.
Storage
Store leftovers in an airtight container in the fridge for up to 3 days. The chicken will keep well, but it’s best reheated gently.
Reheating
Avoid the microwave if you can. It tends to make chicken breast rubbery. Instead, reheat in a skillet over low heat with a splash of chicken broth or water. Cover the pan to trap steam. This brings the moisture back. If you must use the microwave, do it in 30-second intervals and add a drop of water to the plate.
Freezing
You can freeze cooked chicken, but the texture changes slightly. It’s best to freeze the raw, butter-coated chicken breasts on a baking sheet, then transfer to a freezer bag. When ready to cook, thaw in the fridge overnight and bake as directed. This preserves the texture better.
Nutrition Information
I’m not a nutritionist, but here’s the breakdown if you’re tracking. Keep in mind that this is a protein-rich, relatively low-carb meal, thanks to the healthy fats from the butter.
| Per Serving (1 breast) | Amount |
|---|---|
| Calories | ~380 |
| Protein | 35g |
| Carbs | 1g |
| Fat | 22g |
| Saturated Fat | 11g |
| Sodium | 320mg |
This is a hearty meal. If you’re watching calories, you can reduce the butter to ¼ cup, but you’ll sacrifice some of that signature juiciness. I say, enjoy it. It’s better than takeout, and you know exactly what’s in it.
Final Thoughts
So that’s my never-dry oven baked chicken breast with garlic herb butter. It’s a recipe that connects me to my grandmother, to my childhood, and to the simple joy of a good meal. It’s not fancy. It’s not trendy. It’s just really, really good chicken.
I hope this recipe becomes a staple in your kitchen, too. Make it on a busy Tuesday. Make it when you have guests. Make it when you just need something comforting. And when you take that first bite, I hope you taste the love, just like I do.
If you make this, let me know how it turns out! I love hearing your stories. And if you have questions, drop them in the comments. Happy cooking!
Frequently Asked Questions
Can I use frozen chicken breasts?
It’s not recommended. Frozen chicken cooks unevenly and releases a lot of water, which can make the butter mixture slide off. If you must use frozen, thaw it completely in the fridge overnight first. The texture will be better, and the butter will stick.
Why did my chicken turn out dry?
Most likely, it was overcooked. Chicken breast cooks very quickly. If you baked it for 30 minutes at 400°F, it’s probably dry. Use a thermometer and pull it at 160°F. Also, make sure you didn’t skip the resting step. Resting is crucial for juiciness.
Can I make this in an air fryer?
Yes! Cook at 375°F for 10-12 minutes, flipping halfway through. Keep an eye on it because air fryers vary. The butter might drip away, so you can brush with a little extra butter halfway through.
What herbs can I substitute for thyme?
Rosemary, sage, oregano, or Italian seasoning all work well. Just remember that rosemary and sage are strong, so use them sparingly. Parsley is mostly for flavor and color, so you can swap it with cilantro if you prefer.
How do I prevent the garlic from burning?
By mixing it into the butter, you protect it. But if your oven runs hot, keep an eye on it. If the garlic starts to brown too quickly, cover the pan with foil. You can also use fresh garlic cloves that are finely minced, rather than large chunks, to ensure even cooking.
Can I meal prep this?
Absolutely. Make a batch on Sunday, store in the fridge, and reheat portions throughout the week. It’s great for lunch bowls or salads. Just reheat gently to maintain moisture.
Pin This Recipe!
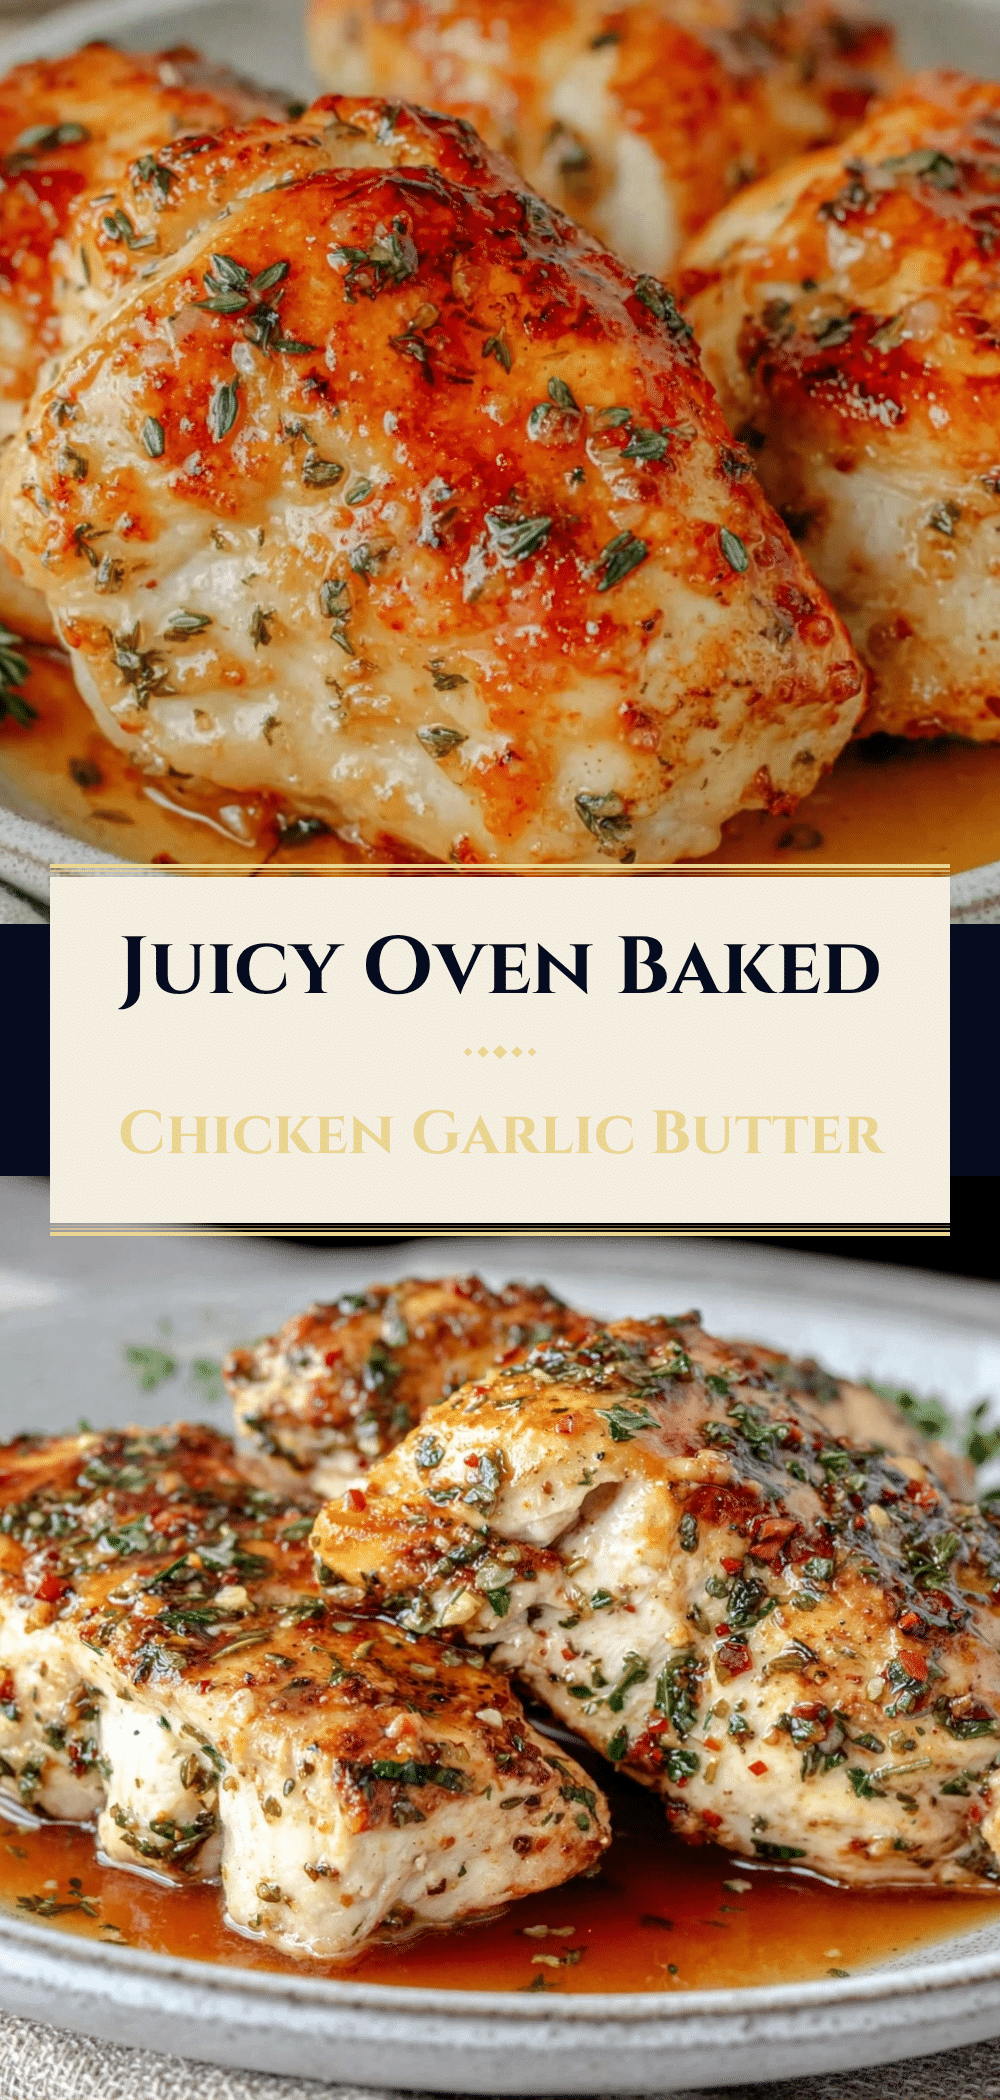
Never-Dry Oven Baked Chicken Breast: Grandma’s Garlic Herb Way
- Total Time: 30 minutes
- Yield: 4 servings 1x
Description
A simple, comforting recipe for juicy oven-baked chicken breasts coated in a savory garlic herb butter rub. This method ensures tender, flavorful meat without the dryness, using minimal ingredients and cleanup.
Ingredients
- 2 pounds (900g) boneless, skinless chicken breasts
- ½ cup (113g) high-quality unsalted butter, softened
- 4–5 cloves garlic, minced
- 2 tablespoons fresh thyme, chopped
- 2 tablespoons fresh parsley, chopped
- 1 teaspoon kosher salt
- ½ teaspoon freshly cracked black pepper
- Optional: pinch of red pepper flakes or lemon zest
Instructions
- Preheat oven to 400°F (200°C).
- Remove chicken breasts from the fridge and let them sit for 10-15 minutes to come to room temperature. Pat them dry with paper towels and place in a single layer on a sheet pan.
- In a small bowl, mix the softened butter, minced garlic, chopped thyme, chopped parsley, salt, and pepper until a uniform paste forms. Taste and adjust seasoning if needed.
- Spread the garlic herb butter mixture generously over the top of each chicken breast, pressing it in to ensure it adheres.
- Bake for 18-20 minutes, or until the internal temperature reaches 160°F (71°C).
- Remove from the oven and let the chicken rest for 5 minutes before cutting. Pour any remaining butter from the pan over the chicken during resting.
- Serve immediately with crusty bread, roasted vegetables, or a green salad.
Notes
Ensure butter is softened, not melted, to create a barrier that keeps moisture in. Do not skip the resting step, as it allows juices to redistribute. If chicken breasts vary in size, trim the thick ends of larger pieces to ensure even cooking. Use an instant-read thermometer to avoid overcooking; pull chicken at 160°F as residual heat will bring it to 165°F.
- Prep Time: 10 minutes
- Cook Time: 20 minutes
- Category: Main Course
- Cuisine: American
Nutrition
- Serving Size: 1 chicken breast
- Calories: 380
- Sodium: 320
- Fat: 22
- Saturated Fat: 11
- Carbohydrates: 1
- Protein: 35
Keywords: chicken breast, oven baked chicken, garlic herb butter, juicy chicken, easy dinner, weeknight meals, gluten-free, family friendly


