Last Tuesday night, I was staring into the oven at 8:30 PM, watching a lasagna bubble away, and suddenly realized I had zero side dishes. No salad. No bread. Nothing. My husband looked at me with that specific expression people get when they know dinner is going to be a disaster. We had ten minutes before the main course was ready, and the fridge was mostly empty except for some flour, butter, and a sad-looking bunch of dried herbs.
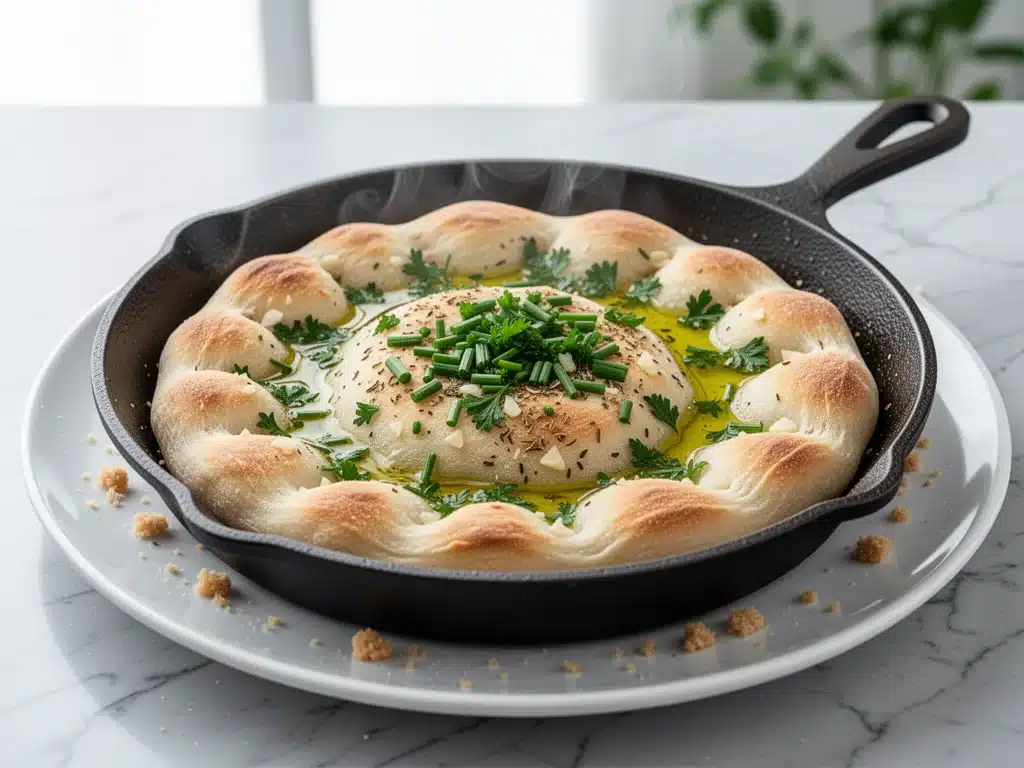
I could have ordered pizza. I could have eaten the lasagna plain (don’t judge me, it happens). But I didn’t. Instead, I grabbed a cast-iron skillet and threw together what I thought would be a sad, dense disc of dough. Ten minutes later, I pulled this golden, garlicky, herb-flecked masterpiece out of the pan. It smelled like a bakery. It looked like something you’d pay $8 for at a trendy restaurant. And honestly? It was better than any store-bought roll I’ve ever bought.
That night changed my weeknight routine. This no-yeast garlic herb skillet flatbread has become my go-to rescue plan. It’s the recipe I make when I’m tired, when I don’t have time to wait for dough to rise, and when I just need something warm and comforting to share with my family. I’ve made it at least fifteen times in the last month alone. Sometimes with rosemary, sometimes with thyme, sometimes with just extra garlic. It’s reliable, it’s fast, and it’s stupidly good.
If you’ve ever felt defeated by bread recipes that require hours of rising or fancy equipment, put your worries to rest. You don’t need a stand mixer. You don’t need yeast. You don’t need patience. You just need a skillet and ten minutes. This is hands-down the easiest bread recipe I’ve ever mastered, and once you try it, you’ll wonder why you ever bought those sad, plastic-wrapped loaves from the grocery store.
Why You’ll Love This Recipe
There are about ten reasons I keep coming back to this skillet flatbread, but here are the big ones that make it a permanent fixture in my rotation.
- Lightning Fast — Seriously, if you can mix batter and flip a pancake, you can make this. From measuring to the first bite is exactly 10 minutes. I make this on weeknights when I get home late and the kids are hangry.
- No Waiting Required — Most bread recipes make you wait 30 minutes to an hour for rising. This one skips that entirely. It’s a quick bread, meaning the leavening comes from baking powder and baking soda. It puffs up, it browns, it’s done. No yeast, no stress.
- One Pan Cleanup — You mix it in a bowl (or even directly in the skillet if you’re feeling lazy) and cook it in the skillet. That’s it. One bowl, one pan. My husband thinks I’m a genius because he only has to wash two dishes.
- Flavor Explosion — This isn’t plain flatbread. We’re talking roasted garlic, fresh herbs, melted butter, and a crispy exterior with a soft, pillowy interior. It’s savory, aromatic, and addictive. I’ve served this to picky eaters who usually hate “weird” bread, and they asked for seconds.
- Pantry Staples — You probably have 90% of these ingredients already. Flour, butter, garlic, herbs, baking powder. If you have a basic kitchen, you can make this. I keep these items stocked specifically so I can whip this up on a whim.
- Perfect Pairing — This flatbread is the ultimate sidekick. It’s fantastic with creamy garlic tuscan salmon because you can use it to soak up that rich sauce. It’s also amazing with soups, stews, or even just slathered with extra butter as a snack.
This is my answer to “what’s for sides?” when I’m overwhelmed. It’s reliable, delicious, and makes everyone at the table happy. No complicated techniques, no weird ingredients, just good, honest bread that comes together in the time it takes to boil water.
Ingredients You’ll Need
Here’s the best part: this ingredient list is shorter than most coffee orders. I’m particular about a few things here, but mostly, this is simple, accessible stuff.
For the Dough
All-purpose flour (2 cups / 250g) — This is your base. Don’t try to swap in whole wheat unless you want a dense brick. All-purpose gives that light, fluffy texture we’re after. I always use King Arthur if I can find it, but any brand works.
Baking powder (1 teaspoon) — The magic ingredient. This is what makes the bread rise without yeast. Make sure it’s fresh! Old baking powder won’t give you that lift. If yours has been sitting in the back of the cupboard for two years, toss it and buy new. It’s worth it.
Baking soda (½ teaspoon) — Works with the baking powder to create a tender crumb and help with browning. It also reacts with the buttermilk (or milk + vinegar) to activate.
Salt (½ teaspoon) — Essential for flavor. Don’t skip it, or the bread will taste flat. I use kosher salt, but table salt works too—just be careful not to over-salt.
Buttermilk (¾ cup / 180ml) — This is the secret weapon. The acidity tenderizes the gluten, making the bread soft instead of tough. If you don’t have buttermilk, make a quick substitute: add 1 tablespoon of lemon juice or white vinegar to regular milk and let it sit for 5 minutes. It’s not perfect, but it works in a pinch.
Melted butter (2 tablespoons) — Adds richness and flavor. I use unsalted butter so I can control the salt level. If you’re dairy-free, you can use olive oil, but the flavor profile changes slightly.
For the Garlic Herb Butter Topping
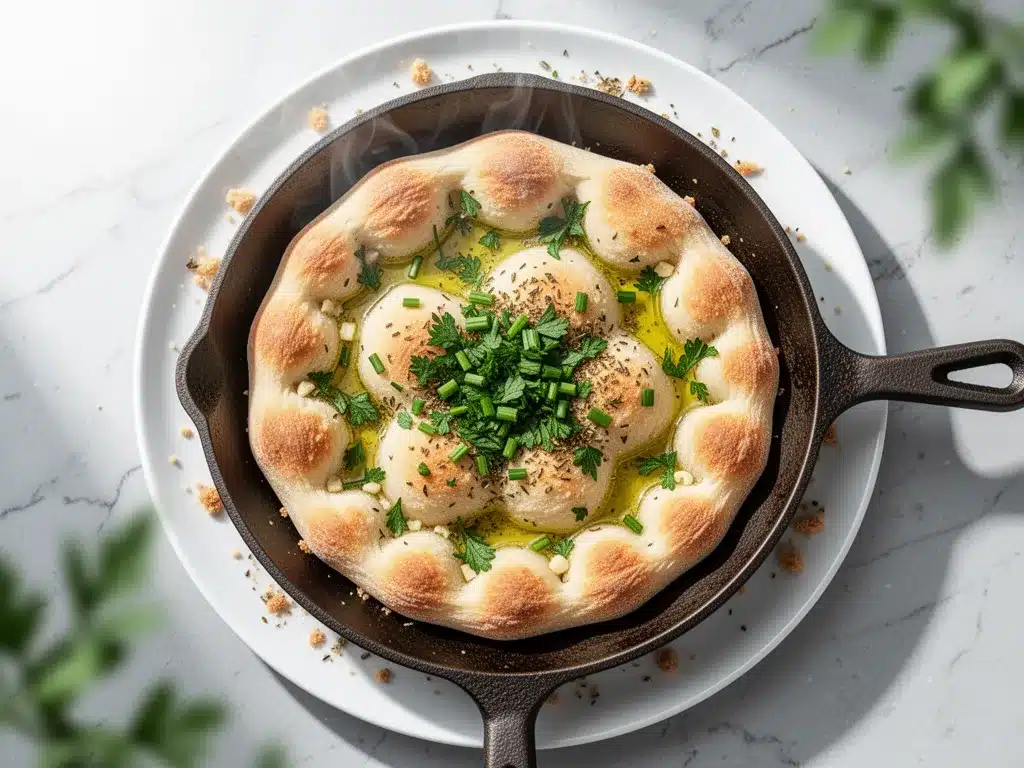
Unsalted butter (4 tablespoons / 60g) — This is the star of the show. We melt this with garlic and herbs and brush it over the hot bread. Use good quality butter if you can. It makes a huge difference in flavor.
Garlic (4-5 cloves, minced) — Yes, five cloves. This is garlic bread, after all. Fresh garlic only. Do not use jarred garlic here; the flavor is too metallic and weak. Fresh minced garlic gives that sharp, aromatic punch that defines this recipe.
Dried herbs (1 teaspoon each of rosemary, thyme, and oregano) — Dried herbs work better here than fresh because they toast in the butter and release their oils. I use a mix, but you can customize. If you love rosemary, double it. If you’re not a fan of thyme, leave it out. I’ve made this with just parsley and it’s still good.
Parmesan cheese (2 tablespoons, grated) — Optional, but I highly recommend it. It adds a salty, umami kick and helps the topping crisp up. Use freshly grated parmesan from the block, not the shaker-can stuff. It melts better and tastes sharper.
Red pepper flakes (¼ teaspoon) — Optional. Just a pinch adds a subtle warmth that cuts through the richness. I add it because my family likes a little kick, but leave it out for a milder flavor.
Green onions or chives (2 tablespoons, chopped) — For garnish. Adds a fresh, bright note to balance the heavy garlic and butter. I chop these while the bread cooks so they’re ready to go.
Equipment Needed
You don’t need fancy equipment for this. Here’s what I actually use.
8 or 9-inch Cast Iron Skillet — This is ideal. Cast iron holds heat beautifully and gives you that crispy, golden crust. I use my well-seasoned Lodge skillet. If you don’t have cast iron, an oven-safe skillet works too. Just make sure it fits in your broiler.
Mixing Bowl — A medium bowl is perfect for mixing the dry and wet ingredients. I use a simple ceramic bowl. You could mix directly in the skillet if you’re lazy, but a bowl is easier to clean.
Whisk or Fork — For mixing the batter. You don’t need an electric mixer. Hand mixing is actually better here because it prevents overworking the dough, which keeps the bread tender.
Pastry Brush — For brushing the garlic butter on top. I have a cheap silicone brush from the dollar store that works perfectly. A spoon works too, but a brush gives more even coverage.
Measuring Cups and Spoons — Standard stuff. For flour, I prefer weighing it if I have a scale, but scooping and leveling works fine too. Don’t pack the flour down!
Small Saucepan or Microwave-Safe Bowl — For melting the butter and garlic mixture. I usually do this in the microwave for 30 seconds, but a small pan on the stove works too.
How to Make It: Step-by-Step
Alright, let’s make this! I’m walking you through exactly how I do it, including the little tricks I’ve picked up.
Step 1: Prep Your Oven and Skillet (2 minutes)
Preheat your oven to 425°F (220°C). If you have a convection setting, use it, but regular bake works fine. Place your cast-iron skillet in the oven while it preheats. Getting the skillet hot before the dough goes in helps create that immediate rise and crispy bottom. While it heats, get your mixing bowl ready.
Step 2: Mix the Dry Ingredients (2 minutes)
In your mixing bowl, whisk together the flour, baking powder, baking soda, and salt. Make sure there are no lumps of baking powder. If you see white clumps, sift them out. This ensures even rising. I usually do this with a fork, which doubles as my whisk for this recipe.
Step 3: Combine Wet and Dry (2 minutes)
Add the buttermilk and melted butter to the dry ingredients. Stir gently with a fork or your hand until just combined. The batter will be sticky and shaggy—that’s exactly what you want. Do not overmix! If you mix it until smooth, the bread will be tough. Lumps are okay. In fact, they’re desired. Stop mixing as soon as you don’t see dry flour.
Step 4: Spread the Dough (2 minutes)
Remove the hot skillet from the oven (careful, it’s hot!). Carefully pour the sticky batter into the center of the skillet. Wet your hands slightly with water and gently press the dough out to the edges. You want an even layer, about ½-inch thick. Don’t worry if it’s not perfect; it’s rustic bread. The heat from the skillet will start cooking the bottom immediately.
Step 5: Bake the Base (5 minutes)
Return the skillet to the oven and bake for 5 minutes. This sets the bottom and starts the rise. The bread should look puffy and set on top. It won’t be fully cooked yet, but it should hold its shape.
Step 6: Add Garlic Herb Butter (1 minute)
While the bread bakes, make the topping. In a small bowl or saucepan, melt the 4 tablespoons of butter. Stir in the minced garlic, dried herbs, parmesan cheese, and red pepper flakes. You want the garlic to sizzle slightly but not burn. If the butter is too hot, let it cool for 30 seconds so the garlic doesn’t turn bitter.
Step 7: Broil to Golden Perfection (2-3 minutes)
Take the skillet out of the oven. Brush the garlic herb butter generously over the top of the partially baked bread. Make sure you get it to the edges. Switch your oven to broil (high). Put the skillet back in the oven, about 6 inches from the heating element. Watch it closely! Broil for 2-3 minutes until the top is golden brown and bubbly. The edges should be crisp, and the garlic should smell amazing. Do not walk away—broilers burn things fast.
Step 8: Garnish and Serve
Remove from the oven immediately. Sprinkle with fresh green onions or chives. Let it cool for 2 minutes in the pan (it’s very hot inside), then slide it onto a cutting board or serve straight from the skillet. Slice into wedges like a pizza and dig in.
Total Time: 10 minutes (2 minutes prep, 8 minutes cooking)
Expert Tips & Tricks
Here’s everything I’ve learned from making this dozens of times. These tips will save you from my mistakes.
Don’t Overmix the Batter
This is the #1 mistake people make. Overmixing develops gluten, which makes the bread chewy and dense instead of tender and fluffy. Mix until just combined. Lumps are your friend here.
Hot Skillet is Crucial
If your skillet isn’t hot enough, the bottom won’t crisp, and the bread might stick. Let it preheat for the full time. The shock of cold batter hitting hot iron is what helps it rise quickly.
Watch the Broiler Like a Hawk
Broilers vary wildly. Some are gentle, some are intense. Check your bread at 2 minutes. If it’s browning too fast, pull it out. Burnt garlic tastes bitter and ruins the whole dish. Golden brown is the goal, not charred black.
Use Fresh Garlic
I can’t stress this enough. Jarred garlic has a chemical taste that clashes with the sweet, rich butter. Fresh minced garlic gives that authentic, savory aroma that makes people ask what you’re making. It takes 30 seconds to mince. Do it.
Buttermilk Substitute Works
If you don’t have buttermilk, the milk + vinegar trick works perfectly. Just make sure you let it sit for 5 minutes to curdle slightly. It’s not exactly buttermilk, but it has the acidity needed for the recipe.
Pro Trick: Add Cheese to the Dough
For extra flavor, stir ¼ cup of shredded cheddar or mozzarella into the batter before spreading it in the skillet. It melts into the bread and adds a cheesy pull. I do this when I want to feel fancy.
Variations & Substitutions
Once you’ve nailed the basic version, here’s how you can mix it up. I’ve tried all of these.
Rosemary Sea Salt
Skip the garlic and dried herbs. Brush with olive oil and sprinkle with coarse sea salt and fresh rosemary leaves. Simple, elegant, great with soup.
Jalapeño Cheddar
Add 1 diced jalapeño and ½ cup shredded cheddar to the batter. Top with a little more cheese before broiling. Spicy and cheesy—perfect for game day.
Sweet Cinnamon Sugar
Make a sweet version! Use cinnamon instead of herbs, and brush with melted butter and cinnamon sugar after broiling. Great for dessert or with coffee. Add a glaze of powdered milk and milk for a frosting-like finish.
Veggie-Packed
Sauté some spinach and mushrooms, chop them up, and mix them into the batter. Adds moisture and nutrients. I do this when I want to sneak vegetables into my family’s diet.
Dairy-Free
Use olive oil instead of butter in the dough and topping. Use coconut milk or almond milk with vinegar for the buttermilk substitute. Use nutritional yeast instead of parmesan. It’s different but still tasty.
Gluten-Free
Use a 1:1 gluten-free flour blend. Note that GF flour can absorb liquid differently, so you might need a splash more buttermilk. The texture will be slightly denser, but it still works.
Serving & Storage
How to Serve:
I usually serve this straight from the skillet at the dinner table—it looks rustic and stays warm. But here are other ways I’ve enjoyed it:
- With Soup — This is my favorite combo. Dip the crispy edges into tomato soup or roasted red pepper soup. It’s like eating a gourmet meal.
- With Pasta — If you’re having creamy garlic tuscan salmon or any rich pasta dish, this flatbread is the perfect vehicle for soaking up the sauce.
- As a Snack — Slice it up and serve with hummus or marinara for dipping. The kids love this as an after-school snack.
- Breakfast Bread — Yes, breakfast! I sometimes eat this warm with butter and jam for a quick, savory breakfast. It’s surprisingly good.
Storage Instructions:
Refrigerator:
Store leftovers in an airtight container for up to 2 days. The bread will lose some crispness, but it’s still good. I usually reheat it in the toaster oven to restore the crunch.
Reheating:
Best method: Toaster oven or air fryer at 350°F for 3-4 minutes. This brings back the crisp exterior.
Microwave: Works in a pinch, but the bread will be soft and chewy. Not ideal for texture lovers.
Freezing:
You can freeze this! Wrap individual slices or the whole loaf in plastic wrap, then foil. Freeze for up to 1 month. Thaw at room temperature and reheat in the toaster oven. It’s almost as good as fresh.
Pro Tip:
If you’re meal prepping, make the batter the night before and store it in the fridge in a covered bowl. In the morning, just pour it into the hot skillet and bake. It saves even more time. I do this on busy mornings.
Nutrition Information
I’m not a nutritionist, but here’s the breakdown if you’re tracking. These are estimates per serving (based on 8 wedges).
| Nutrient | Amount |
|---|---|
| Calories | 210 |
| Protein | 5g |
| Carbs | 24g |
| Fiber | 1g |
| Fat | 10g |
| Saturated Fat | 6g |
| Cholesterol | 25mg |
| Sodium | 350mg |
What’s Good:
Low in sugar, decent protein from the flour and cheese, and uses real ingredients. It’s a much better choice than store-bought bread rolls, which often have preservatives and added sugars.
What to Know:
It’s moderate in calories due to the butter and flour. If you’re watching calories, you can reduce the butter in the topping or use less cheese. But honestly, this is comfort food. Enjoy a reasonable portion and savor it.
Final Thoughts
So that’s my no-yeast garlic herb skillet flatbread! I’ve probably talked your ear off at this point, but when you make a recipe this often, you have a lot to say about it.
This has saved weeknight dinners more times than I can count. It’s my answer to “what’s for sides?” when I’m tired, don’t want takeout, and still want something that tastes really good. My kids are happy, my husband’s happy, and I’m happy because I’m not stressed about cooking.
Make it yours! Try different herbs, add cheese, make it spicy. The best recipes are the ones you adapt to your family’s tastes. If you make this, drop a comment and let me know what you think! I love hearing how recipes turn out in your kitchen. And if something doesn’t work, tell me that too—I’m here to help troubleshoot.
Happy cooking! And I hope your kitchen smells half as good as mine does right now.
Frequently Asked Questions
Can I make this without a cast-iron skillet?
Yes! Any oven-safe skillet works. Stainless steel or ceramic work fine. Just make sure it fits in your oven and under the broiler. The crust might not be as crispy as with cast iron, but it will still be delicious. Avoid non-stick if you’re broiling, as high heat can damage the coating.
Why did my flatbread turn out dense?
This usually happens for two reasons: overmixing the batter or old baking powder. If you mix the batter until smooth, you develop gluten, which makes it tough. Stop mixing when it’s just combined. Also, check your baking powder. If it’s old, it won’t rise properly. Squeeze a little into hot water—if it fizzes, it’s still good.
Can I use fresh herbs instead of dried?
You can, but use about three times the amount. So if the recipe calls for 1 teaspoon dried, use 1 tablespoon fresh. Fresh herbs have more water content, so they won’t toast in the butter the same way. I prefer dried for that concentrated, toasted flavor, but fresh works if you add them at the end.
How do I reheat leftovers without it getting dry?
Avoid the microwave if you can. Use a toaster oven or air fryer at 350°F for 3-4 minutes. This restores the crispness. If you must use the microwave, do it in 15-second bursts and cover with a damp paper towel to keep it moist. It won’t be crispy, but it won’t be rock hard.
Can I double this recipe?
Yes, but you’ll need a larger skillet (10-12 inch) or two smaller skillets. The cooking time might increase by 1-2 minutes. Keep an eye on it. Doubling in one pan might make the bread too thick, so it’s better to split it into two batches if you have a small skillet.
Is this recipe gluten-free friendly?
Not naturally, but you can make it gluten-free. Use a 1:1 gluten-free flour blend. Note that GF flour can be more absorbent, so you might need a splash more buttermilk. The texture will be slightly denser, but it still holds together well. I’ve tested this with Bob’s Red Mill 1:1 blend, and it works.
Can I freeze the raw batter?
I don’t recommend it. The baking powder starts working as soon as it mixes with the liquid, so the batter loses its leavening power if you wait too long. It’s best to mix and bake immediately. If you need to prep ahead, mix the dry ingredients and store them separately, then add the wet ingredients right before baking.
Pin This Recipe!
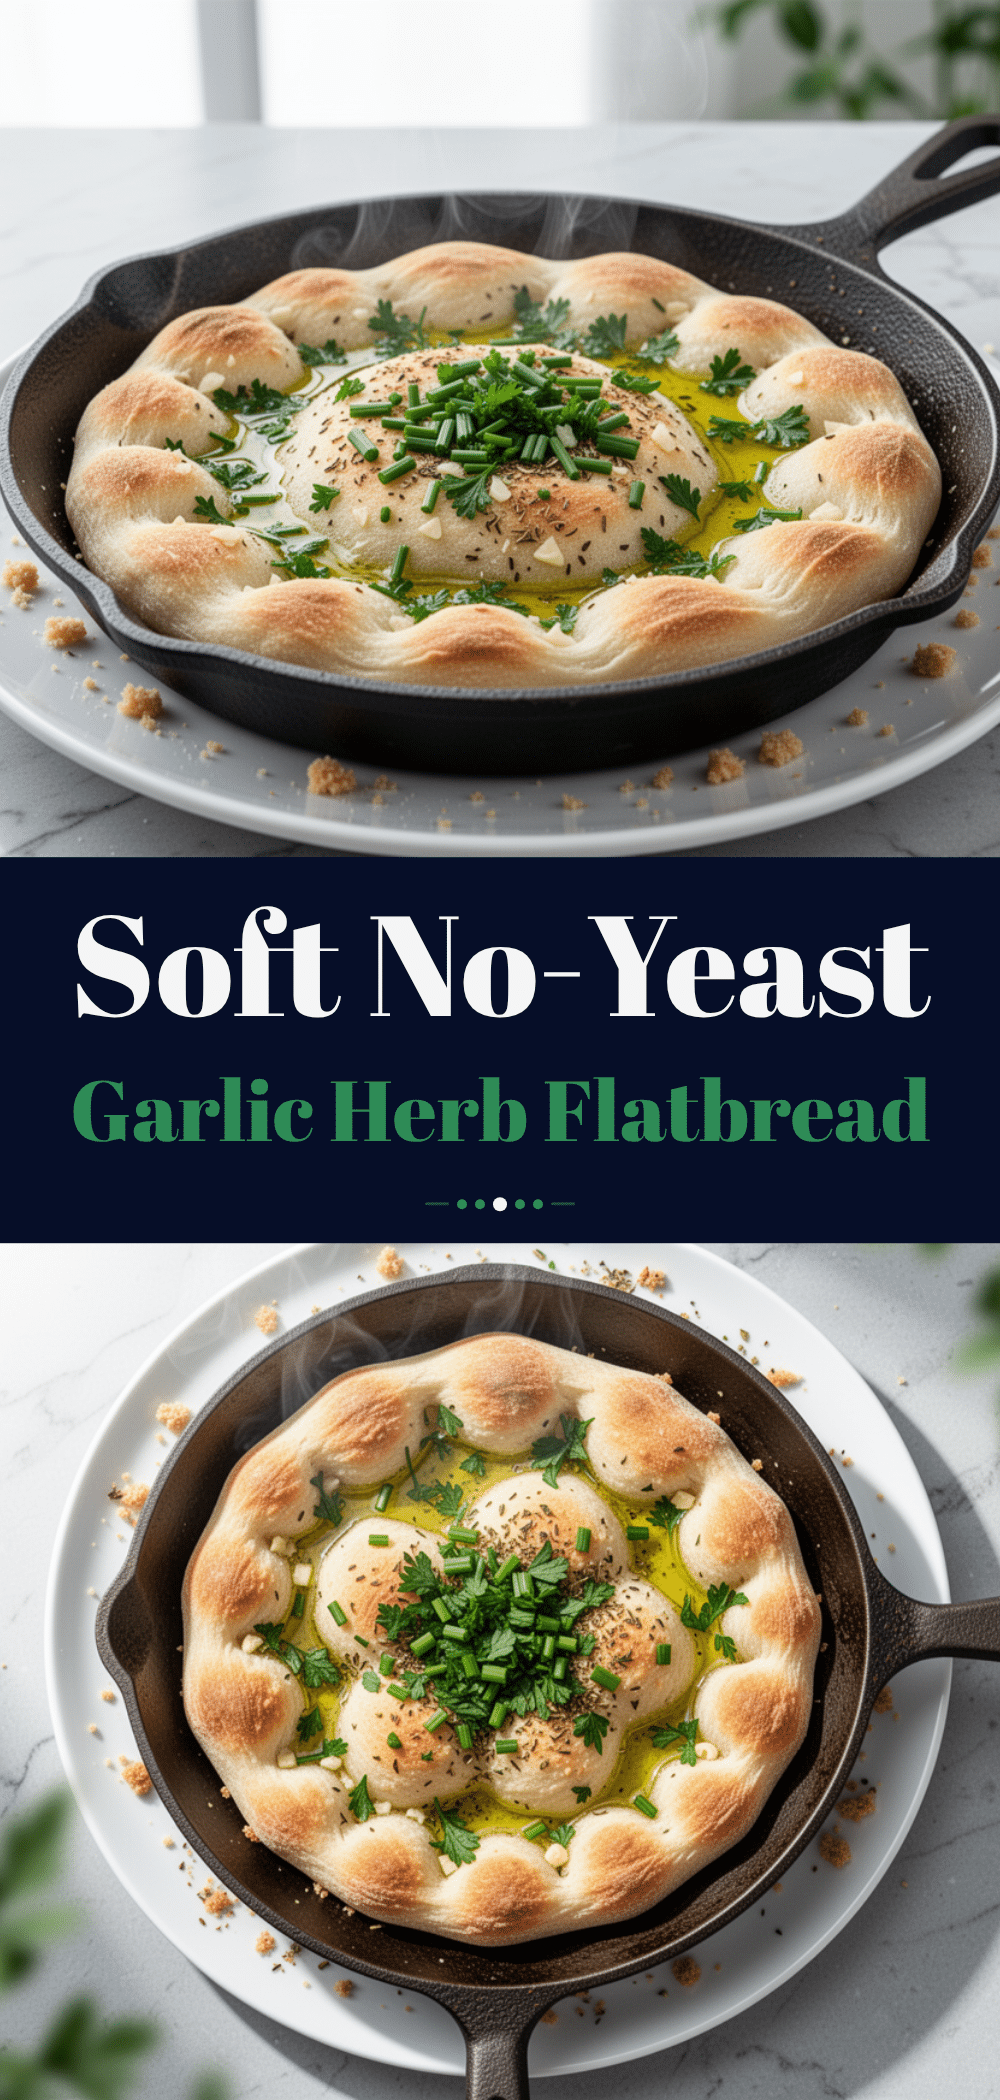

No-Yeast Garlic Herb Skillet Flatbread
- Total Time: 10 minutes
- Yield: 8 servings 1x
Description
A lightning-fast, 10-minute no-yeast flatbread made in a cast-iron skillet. This easy recipe uses pantry staples like flour, buttermilk, and baking powder to create a golden, garlicky, and herb-flecked side dish perfect for weeknight dinners.
Ingredients
- 2 cups all-purpose flour
- 1 teaspoon baking powder
- ½ teaspoon baking soda
- ½ teaspoon salt
- ¾ cup buttermilk
- 2 tablespoons melted butter
- 4 tablespoons unsalted butter (for topping)
- 4–5 cloves garlic, minced
- 1 teaspoon dried rosemary
- 1 teaspoon dried thyme
- 1 teaspoon dried oregano
- 2 tablespoons grated Parmesan cheese
- ¼ teaspoon red pepper flakes
- 2 tablespoons green onions or chives, chopped
Instructions
- Preheat oven to 425°F (220°C). Place an 8 or 9-inch cast-iron skillet in the oven to preheat.
- In a mixing bowl, whisk together the flour, baking powder, baking soda, and salt.
- Add the buttermilk and 2 tablespoons of melted butter to the dry ingredients. Stir gently until just combined; the batter should be sticky and shaggy. Do not overmix.
- Carefully remove the hot skillet from the oven. Pour the batter into the center and gently press it out to the edges to form an even layer about ½-inch thick.
- Return the skillet to the oven and bake for 5 minutes.
- While the bread bakes, melt the 4 tablespoons of topping butter in a small saucepan or microwave. Stir in the minced garlic, dried herbs, Parmesan cheese, and red pepper flakes.
- Remove the skillet from the oven. Brush the garlic herb butter generously over the top of the partially baked bread.
- Switch the oven to broil. Place the skillet back in the oven, about 6 inches from the heating element, and broil for 2-3 minutes until the top is golden brown and bubbly. Watch closely to prevent burning.
- Remove from the oven and sprinkle with chopped green onions or chives. Let cool for 2 minutes before slicing into wedges and serving.
Notes
Do not overmix the batter to ensure a tender texture. Ensure the skillet is hot before adding dough for a crispy crust. Use fresh garlic for best flavor. If you don’t have buttermilk, substitute with milk plus 1 tablespoon of lemon juice or vinegar. For a cheesy variation, stir shredded cheddar into the batter.
- Prep Time: 2 minutes
- Cook Time: 8 minutes
- Category: Side Dish
- Cuisine: American
Nutrition
- Serving Size: 1 wedge
- Calories: 210
- Sodium: 350
- Fat: 10
- Saturated Fat: 6
- Carbohydrates: 24
- Fiber: 1
- Protein: 5
Keywords: no yeast bread, skillet flatbread, garlic bread, quick bread, cast iron recipes, weeknight dinner, easy side dish, herb bread


