
There is a specific kind of panic that sets in around 5:30 PM when you realize you forgot to thaw the chicken, the kids are hangry, and the only thing in the fridge is a sad-looking carrot and half a stick of butter. I’ve been there. More times than I care to admit.
But last month, I had another crisis. We were expecting my in-laws for an impromptu Sunday dinner, and I had promised “homemade rolls.” Now, I’m a budget-conscious parent, not a professional pastry chef. I don’t have time for three-hour rise cycles or fancy techniques that require a stand mixer and patience I simply don’t possess on a Tuesday. I needed something that looked impressive, smelled like heaven, and actually tasted better than the frozen stuff from the grocery store—but didn’t require me to buy a dozen ingredients I’d never use again.
So, I improvised. I grabbed some basic pantry staples—flour, yeast, butter, garlic, and a pinch of sugar—and threw together a batch of homemade garlic butter dinner rolls. I was skeptical. I expected dense, bread-like biscuits at best. What I got was soft, pillowy, golden-brown perfection that my father-in-law asked for the recipe for before he even finished his second roll. (He’s not an easy guy to impress.)
Since then, I’ve made these homemade garlic butter dinner rolls at least once a week. They’re my secret weapon. They’re cheap, they’re fast, and they turn any simple meal—like my fall sheet pan sausage and root veggies or even just a bowl of butternut squash soup—into a proper feast. If you’ve been intimidated by bread, put the fear away. These are easier than making toast, and they taste like a hug.
Why You’ll Love This Recipe
Look, I’m not going to lie to you. Baking bread can be tricky. But this version? It’s forgiving. It’s designed for real life, where things go wrong and timers get forgotten. Here’s why these homemade garlic butter dinner rolls have earned a permanent spot in my rotation:
- Stupid Simple Ingredients — You probably have everything you need right now. Flour, yeast, butter, garlic, milk. No weird flours or expensive imports. It’s budget-friendly cooking at its finest.
- Lightning Fast — From start to finish, these are ready in about an hour. That’s it. While they rise, you can help with homework or start dinner. It’s the perfect make-ahead side dish.
- Kid-Approved — My kids usually turn their noses up at “new” foods, but these? They vanish. Soft, buttery, garlicky bread is a universal language. I’ve even packed them in lunchboxes for school snacks.
- Freezer Friendly — I often double the batch. The extras freeze beautifully. I pull them out when I need a quick side for a last-minute guest or just want breakfast toast that feels fancy.
- Impressive Without the Effort — They look like they came from a bakery. They smell incredible. But really, you just mixed dough and brushed on butter. It’s a win.
Real talk: These rolls make you feel like a culinary genius without the stress. You get the praise, I get the credit, and we all get to eat warm bread. Win-win.
Ingredients You’ll Need
Here’s the best part: this is a pantry-staple recipe. I don’t need to run to the store for this one. Here’s what you need to make the best homemade garlic butter dinner rolls.
For the Dough
Warm Milk (1 cup / 240ml) — This activates the yeast. It needs to be warm, like a baby’s bath temperature (about 110°F/45°C). Too hot, and you kill the yeast. Too cold, and it won’t rise. I just microwave it for 45 seconds and stir it.
Active Dry Yeast (2 packets / 4.5g) — Standard packet size. I keep a box in my pantry at all times. It’s cheap and reliable. Instant yeast works too, but active dry is what I always have.
Sugar (2 tablespoons) — Feeds the yeast and adds a hint of sweetness. I use white sugar, but brown sugar works if you want a deeper flavor. Don’t skip this; it helps with browning.
All-Purpose Flour (3 to 3.5 cups / 375-435g) — This is your base. I don’t use bread flour for these because I want them soft and tender, not chewy like a bagel. Spoon the flour into your measuring cup and level it off. Don’t scoop directly from the bag, or you’ll pack it down and get dense rolls.
Salt (1 teaspoon) — Essential for flavor. It balances the sweetness and enhances the garlic.
Egg (1 large) — Adds richness and helps bind the dough. Room temperature is best, but cold works if you’re in a rush.
Vegetable Oil or Melted Butter (3 tablespoons) — I use oil because it’s cheaper and keeps the rolls softer for longer. Butter tastes great but can make them slightly denser. Either works.
For the Garlic Butter Topping
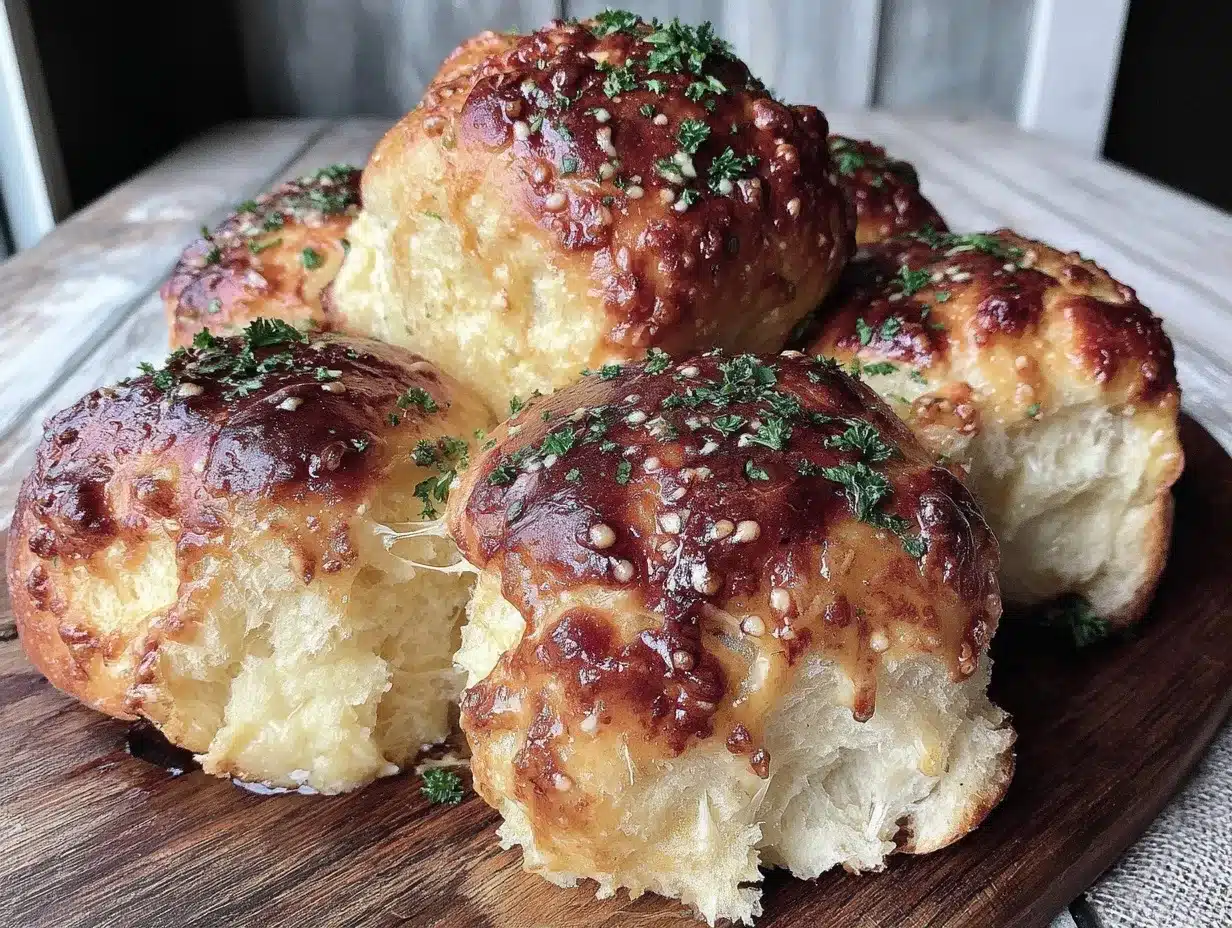
Unsalted Butter (½ cup / 115g, melted) — This is the star. Use good quality butter if you can, but regular store brand is fine. We’re melting it, so texture matters less.
Garlic (4-5 cloves, minced) — Yes, four or five. Don’t be shy. Fresh garlic is non-negotiable here. Jarred garlic has a weird metallic taste that ruins the delicate butter flavor. If you’re lazy, use a garlic press, but mince it fine so you don’t get giant chunks.
Dried Parsley (1 teaspoon) — For color. It makes them look professional and green. Fresh parsley is nice, but dried holds up better in the butter without burning.
Paprika (½ teaspoon) — Just a pinch for that golden-red hue. It’s optional, but it makes them look like they’re from a fancy restaurant.
Equipment Needed
You don’t need fancy gadgets. Here’s what I actually use in my home kitchen.
Large Mixing Bowl — I use a big ceramic bowl. Needs to be big enough to knead in if you want to go old school.
Measuring Cups and Spoons — Standard stuff. Accuracy matters with yeast, so measure carefully.
Stand Mixer or Hand Mixer — Optional. I used to knead by hand for years. It’s fine! But a stand mixer with a dough hook saves your arms. If you’re doing it by hand, just use your hands. It’s therapeutic.
Baking Sheet — A standard 13×9 inch sheet. I line it with parchment paper for easy cleanup. Grease is my enemy when it comes to sticky dough.
Silicone Brush — For brushing the garlic butter. It’s cheap, durable, and doesn’t shed bristles like natural brushes.
Clean Dish Towel — To cover the dough while it rises. I use an old tea towel. It needs to be breathable.
How to Make It: Step-by-Step
Alright, let’s make these homemade garlic butter dinner rolls. I’m walking you through exactly how I do it, including the little tricks I’ve picked up so you don’t end up with brick-like biscuits.
Step 1: Activate the Yeast (5 minutes)
In a large bowl, combine the warm milk and sugar. Sprinkle the yeast on top and stir gently. Let it sit for 5-10 minutes. You’ll see it get foamy and bubbly. If it doesn’t foam, your yeast is dead. Throw it out and start over—don’t waste the rest of the ingredients. This is the most common mistake beginners make.
Step 2: Mix the Dough (5 minutes)
Once the yeast is bubbly, add the egg, salt, and oil (or melted butter). Mix until combined. Now, add the flour. If using a mixer, start on low speed. If mixing by hand, stir with a wooden spoon until it gets too thick to stir. Then, it’s time for the fun part.
Step 3: Knead the Dough (5-8 minutes)
Turn the dough out onto a lightly floured surface. Knead it by pushing it away from you with the heel of your hand, folding it back over, and turning it. Add a sprinkle of flour if it’s sticky, but try not to add too much. You want a soft, slightly tacky dough, not a dry ball. It should spring back when you poke it. If it sticks to your hand, knead a bit more. If it cracks, it needs more moisture.
Step 4: First Rise (30-45 minutes)
Lightly grease a clean bowl with oil. Place the dough inside and turn it once to coat it in oil (this prevents a skin from forming). Cover with a damp towel or plastic wrap. Let it sit in a warm, draft-free spot. I just leave it on the counter. It should double in size. This takes about 30-45 minutes depending on how warm your kitchen is. Don’t rush it! If it doesn’t double, it won’t be fluffy.
Step 5: Shape the Rolls (10 minutes)
Punch the dough down gently to release air bubbles. Divide it into 12 equal pieces. I use a kitchen scale for precision, but eyeballing it works too. Roll each piece into a smooth ball by tucking the edges underneath. Place them on your prepared baking sheet, leaving about 2 inches of space between them. They need room to expand.
Step 6: Second Rise (15-20 minutes)
Cover the rolls again and let them rise while you preheat your oven to 375°F (190°C). They should look puffy and soft. This step is crucial for texture. If you skip this, you’ll get dense rolls.
Step 7: Bake (15-18 minutes)
While the rolls rise, melt the butter and mix in the minced garlic, parsley, and paprika. Once the rolls have risen, brush them generously with the garlic butter. Bake for 15-18 minutes, or until they are golden brown on top. If they’re browning too fast, tent them with foil.
Step 8: Serve
Remove from the oven and brush with a little extra butter if you want them extra shiny. Serve warm. They’re best eaten fresh, but leftovers are great toasted.
Expert Tips & Tricks
Here’s everything I’ve learned from making these dozens of times. These tips will save you from my early mistakes.
Don’t Kill the Yeast
The #1 reason homemade garlic butter dinner rolls fail is dead yeast. That milk MUST be warm, not hot. Test it on your wrist—it should feel warm, not hot. If it burns your wrist, it’s too hot for the yeast.
Flour Amount Varies
Humidity affects flour. Your 3 cups might be different from mine. Add flour gradually. Stop when the dough is soft and tacky, not sticky. It’s better to add a little more flour than to make the dough too dry.
Garlic Fineness Matters
Mince that garlic as fine as you can. If you have big chunks, they’ll burn in the oven and taste bitter. A microplane or garlic press is your friend here.
Brush While Warm
Brush the garlic butter on the rolls right when they come out of the oven. The heat helps the butter soak in, creating that soft, flavorful crust. If you brush before baking, some of the garlic might burn.
Double the Batch
These freeze incredibly well. I always make two batches. One for dinner, one for freezing. They thaw and reheat beautifully in the microwave or toaster oven.
Variations & Substitutions
Once you’ve nailed the basic version, here’s how you can mix it up. I’ve tried all of these.
Herb Infused
Swap the parsley for dried rosemary or thyme. Adds a nice earthy note.
Cheese Garlic
Add ½ cup of shredded cheddar or parmesan to the garlic butter before brushing. Cheesy rolls are a hit with kids.
Whole Wheat
Substitute half the all-purpose flour with whole wheat flour. It adds fiber and a nuttier flavor. The rolls will be slightly denser but still delicious.
Gluten-Free
Use a 1-to-1 gluten-free flour blend. The texture will be slightly different, but the flavor is still great. You might need a bit more liquid.
Vegan
Use plant-based milk (soy or almond works best), vegan butter, and omit the egg (or use a flax egg). The garlic butter topping is already vegan.
Serving & Storage
How to Serve:
I usually serve these straight from the pan at the dinner table. They look rustic and stay warm. They pair perfectly with my creamy wild rice and mushroom casserole for a cozy meal. Or just slather them with extra butter and enjoy them plain.
Leftovers:
Store leftovers in an airtight container at room temperature for up to 2 days. They’ll stay soft. If they start to dry out, microwave them for 10 seconds with a damp paper towel.
Freezing:
These freeze beautifully. Let them cool completely, then wrap them tightly in plastic wrap and place them in a freezer bag. They’ll last for up to 3 months. Thaw at room temperature or warm in the oven.
Reheating:
Reheat in a 350°F oven for 5-10 minutes to restore freshness. Microwave for 10-15 seconds if you’re in a hurry.
Nutrition Information
I’m not a nutritionist, but here’s the breakdown if you’re tracking. Keep in mind, these are rich in carbs and butter, so enjoy in moderation.
Per Roll (makes 12):
- Calories: 220
- Protein: 5g
- Carbs: 32g
- Fat: 8g
- Fiber: 1g
- Sugar: 3g
These are a treat, not a health food. But they’re made with simple ingredients, and homemade is always better than processed store-bought rolls.
Final Thoughts
So that’s my go-to homemade garlic butter dinner rolls! I’ve probably talked your ear off at this point, but when you make a recipe this often, you have a lot to say about it.
This has saved weeknight dinners more times than I can count. It’s my answer to “what’s for dinner” when I’m tired, don’t want takeout, and still want something that tastes really good. My kids are happy, my husband’s happy, and I’m happy because I’m not stressed about cooking.
Make it yours! Try different herbs, add cheese, or double the garlic. The best recipes are the ones you adapt to your family’s tastes. If you make these, drop a comment and let me know what you think! I love hearing how recipes turn out in your kitchen.
Happy cooking! And I hope your kitchen smells half as good as mine does right now.
Frequently Asked Questions
Can I make these ahead of time?
Yes! You can shape the rolls, let them rise, then cover and refrigerate overnight. In the morning, let them come to room temperature and rise for another 30-45 minutes before baking. This is great for busy mornings.
Why are my rolls dense?
This usually happens if you add too much flour during kneading or if the yeast was dead. Make sure your milk was warm, not hot, and don’t pack the flour into your measuring cup. Also, ensure the dough doubled in size before baking.
Can I use instant yeast?
Yes, instant yeast works perfectly. You can mix it directly with the flour instead of activating it in milk first. The rise time might be slightly faster, so keep an eye on it.
How do I store leftover garlic bread?
Store in an airtight container at room temperature for up to 2 days. For longer storage, freeze them. Reheat in the oven or toaster oven to keep them crispy. Avoid the microwave if you want them crispy.
Can I double the recipe?
Absolutely! Double everything and use two baking sheets. The cooking time stays the same. I often double this recipe for family gatherings because they disappear so fast.
What if I don’t have a stand mixer?
You can definitely make these by hand. Kneading takes about 8-10 minutes of active effort. It’s a good workout! Just be patient and add flour gradually.
Can I use margarine instead of butter?
You can, but real butter tastes so much better. Margarine has a higher water content and can affect the flavor and texture. If you must use margarine, choose a high-fat version.
Pin This Recipe!
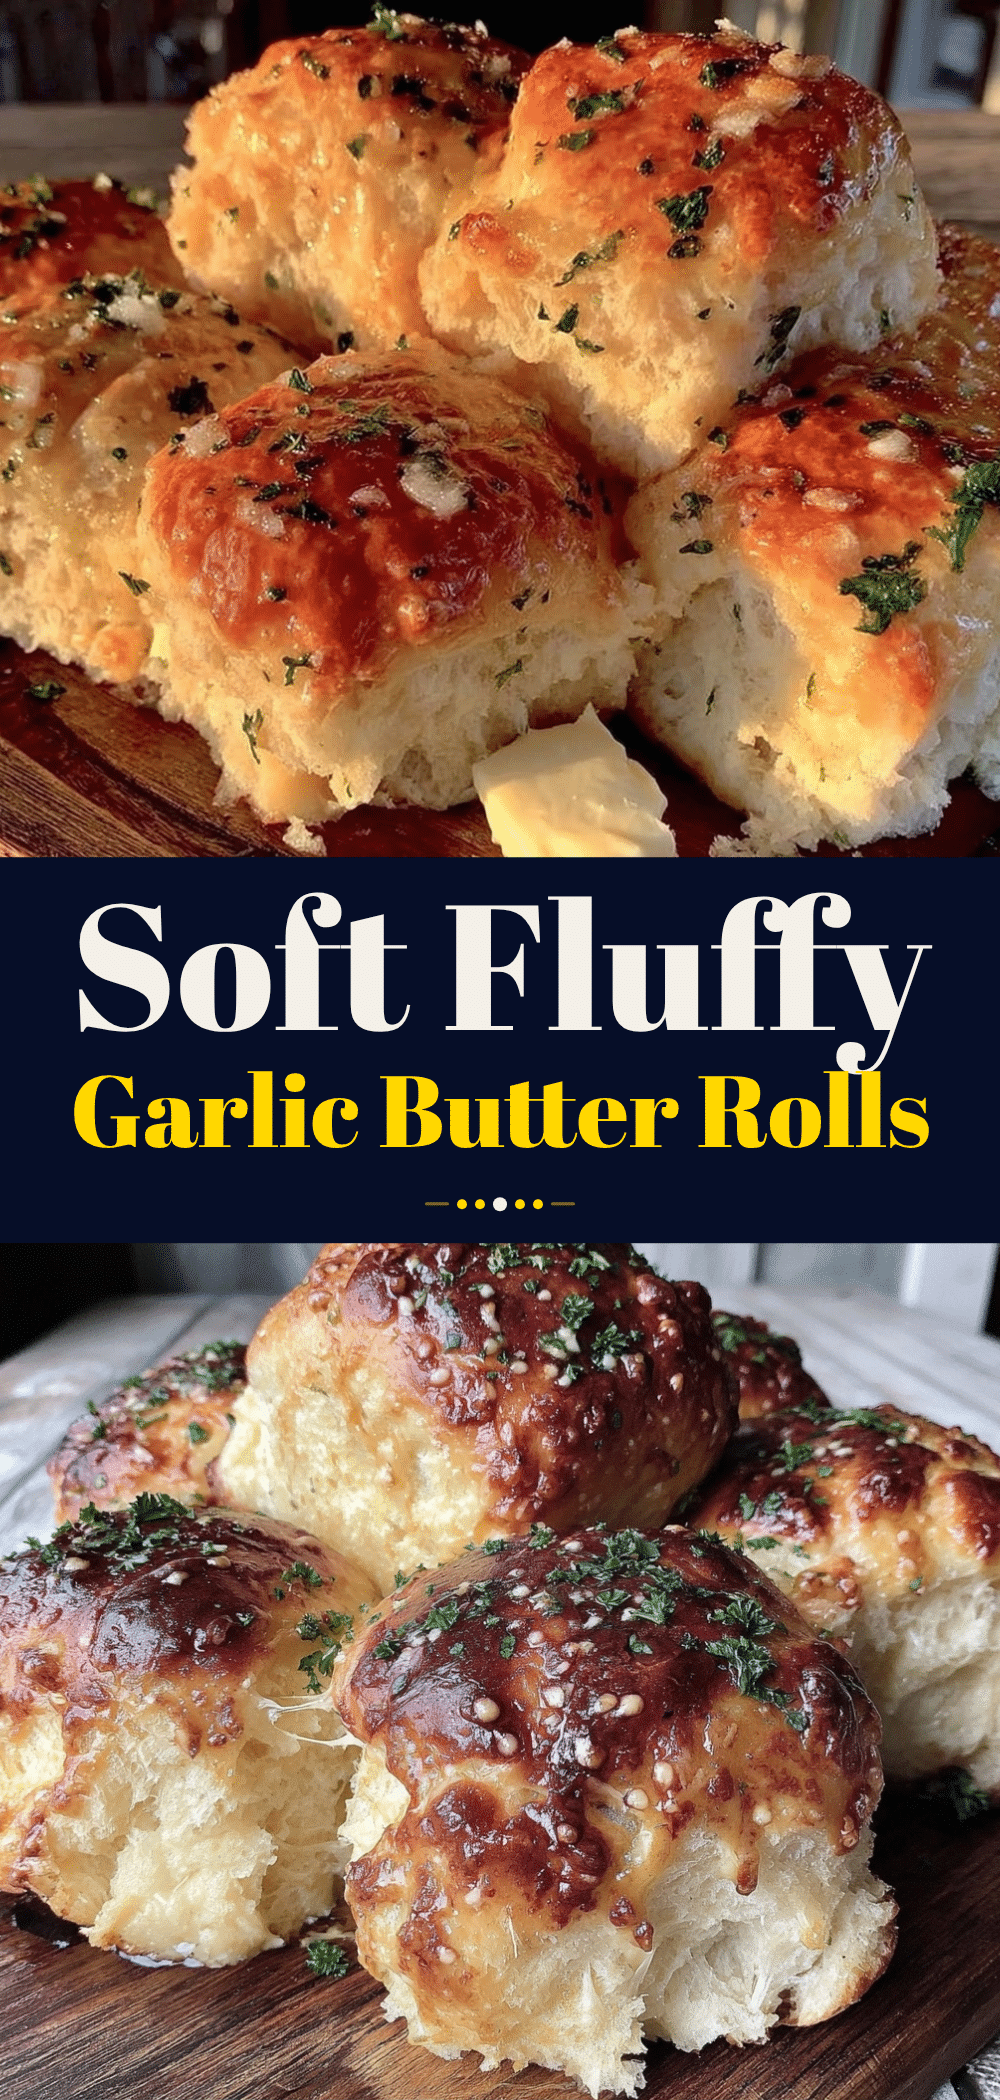

Homemade Garlic Butter Dinner Rolls: 5-Ingredient Budget Side
- Total Time: 48 minutes
- Yield: 12 servings 1x
Description
Soft, pillowy, and golden-brown homemade garlic butter dinner rolls made with simple pantry staples. These budget-friendly rolls are ready in about an hour and are perfect for weeknight dinners or special occasions.
Ingredients
- 1 cup warm milk (about 110°F/45°C)
- 2 packets active dry yeast (4.5g)
- 2 tablespoons sugar
- 3 to 3.5 cups all-purpose flour
- 1 teaspoon salt
- 1 large egg
- 3 tablespoons vegetable oil or melted butter
- ½ cup unsalted butter, melted (for topping)
- 4–5 cloves garlic, minced
- 1 teaspoon dried parsley
- ½ teaspoon paprika
Instructions
- In a large bowl, combine warm milk and sugar. Sprinkle yeast on top and stir gently. Let sit for 5-10 minutes until foamy.
- Add egg, salt, and oil (or melted butter) to the yeast mixture. Mix until combined.
- Add flour gradually. If using a mixer, start on low speed. If mixing by hand, stir with a wooden spoon until too thick, then knead.
- Knead the dough on a lightly floured surface for 5-8 minutes until soft and slightly tacky. It should spring back when poked.
- Place dough in a lightly greased bowl, turning to coat. Cover with a damp towel or plastic wrap and let rise in a warm spot for 30-45 minutes until doubled.
- Punch dough down gently. Divide into 12 equal pieces. Roll each into a smooth ball and place on a prepared baking sheet, leaving 2 inches of space.
- Cover rolls and let rise again for 15-20 minutes while preheating oven to 375°F (190°C).
- Melt topping butter and mix with minced garlic, parsley, and paprika.
- Brush rolls generously with garlic butter mixture.
- Bake for 15-18 minutes until golden brown. Tent with foil if browning too quickly.
- Remove from oven and brush with extra butter if desired. Serve warm.
Notes
Ensure milk is warm but not hot to avoid killing the yeast. Add flour gradually as humidity affects absorption. Mince garlic finely to prevent burning. Rolls can be frozen for up to 3 months. For vegan version, use plant-based milk, vegan butter, and omit egg or use flax egg.
- Prep Time: 30 minutes
- Cook Time: 18 minutes
- Category: Side Dish
- Cuisine: American
Nutrition
- Serving Size: 1 roll
- Calories: 220
- Sugar: 3
- Sodium: 350
- Fat: 8
- Saturated Fat: 5
- Carbohydrates: 32
- Fiber: 1
- Protein: 5
Keywords: garlic butter rolls, dinner rolls, homemade bread, budget recipes, easy yeast rolls, side dish, garlic bread, family friendly


