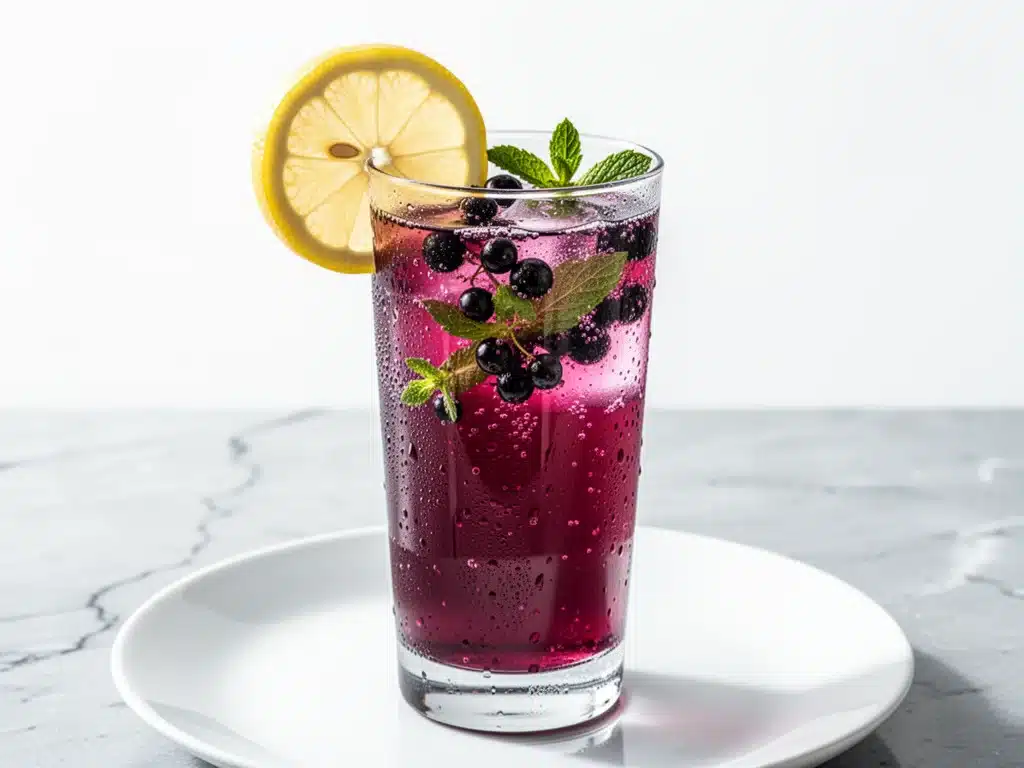
Last Tuesday, I came home from work feeling completely drained. You know that specific kind of tired where your brain feels like it’s wrapped in cotton wool, but your mouth is begging for something sweet? Usually, I’d cave and raid the pantry for whatever chocolate bar was hiding in the back of the cupboard. But this time, I spotted a bottle of deep purple liquid sitting on my counter—the homemade elderberry syrup I’d made over the weekend while listening to a podcast.
I didn’t have the energy to bake anything. I didn’t even want to heat up the kitchen. So I did the simplest thing possible: I spooned two tablespoons of that tart, jammy syrup into a glass, topped it with sparkling water, added a squeeze of lime, and watched the bubbles dance. It was instant. It was refreshing. And honestly? It tasted like I’d spent hours crafting a fancy cocktail, when really, it took me less time than it takes to boil water.
This homemade elderberry syrup sparkler has quickly become my go-to “reset drink” on busy weeknights. It’s not just a beverage; it’s a moment of calm in a chaotic evening. I’ve been making this syrup for about six months now, tweaking the ratios until I hit that perfect balance of tartness and sweetness. And now that I’ve mastered the syrup, I’m sharing the exact method with you. Whether you’re looking for a kid-friendly treat (minus the caffeine) or a sophisticated mocktail for hosting, this recipe is a game-changer.
I’ve tested this sparkler version dozens of times, adjusting the amount of syrup, the type of sparkling water, and the garnishes. Some versions are too sweet, others too tart. But this one? It’s the Goldilocks zone. It’s vibrant, it’s healthy(ish), and it makes your kitchen smell like a high-end juice bar. Let me walk you through exactly how to make it, why I’m obsessed, and how you can customize it to fit your taste buds.
Why You’ll Love This Homemade Elderberry Syrup Sparkler
There are a dozen reasons I keep making this drink, but let’s be real—you’re here because you want something delicious that doesn’t require a degree in mixology. Here’s why this homemade elderberry syrup sparkler has taken over my weeknight routine:
- Stupid Simple — Seriously, if you can open a bottle of sparkling water, you can make this. The syrup takes about 10 minutes to simmer on the stove, and once it’s in the fridge, assembling the drink is literally just pouring and stirring. I’ve made this for my teenage daughter while helping her with her math homework. No distractions needed.
- Lightning Fast — 5 minutes from start to finish for the drink itself. The syrup makes ahead, so when you’re ready for a drink, it’s already waiting. I make this on weeknights when I get home at 7pm and need a quick energy boost or a wind-down ritual.
- Immune-Boosting Vibes — Elderberries are packed with antioxidants and vitamin C. I know, I’m not a doctor, but I love feeling like my “treat” is actually doing my body some good. It’s like drinking a little immune shield. Plus, it’s naturally caffeine-free, so it’s perfect for evening sipping.
- Customizable Flavor — Want it tart? Add more lime. Want it sweet? Add a touch of honey. Want it fancy? Muddle some fresh mint. This recipe is a canvas. I’ve made it with ginger beer for a spicy kick, and with plain seltzer for a clean, crisp finish.
- Kid-Approved — My kids think this is “fancy lemonade.” They love the purple color and the bubbles. It’s a great way to get them to drink something that isn’t soda or juice. I make a batch of the syrup on Sunday, and they’ve been asking for “purple fizz” every night since.
- Budget-Smart — Dried elderberries are cheap, especially if you buy them in bulk. A little goes a long way. This syrup lasts for weeks in the fridge, making each drink cost pennies compared to buying fancy shrubs or syrups at the grocery store.
This is my go-to when I need a drink to just work. No complicated techniques, no weird ingredients, just reliable, delicious flavor that makes everyone happy. It’s the perfect companion to a quiet evening or a fun weekend gathering.
Ingredients You’ll Need
Here’s the best part: you probably have most of this already, or it’s something you’ll want to keep stocked just for this. I’m particular about three ingredients here, and I’ll tell you exactly why. This homemade elderberry syrup sparkler relies on the deep, complex flavor of the berries, so quality matters a bit.
For the Elderberry Syrup
Dried elderberries (1 cup / 110g) — This is the star. Use organic if you can find it, as elderberries are often sprayed if not grown organically. Dried berries have a more concentrated flavor than fresh. I buy mine in bulk online—it’s cheaper and lasts forever in the pantry.
Water (4 cups / 960ml) — Just standard tap water is fine. If your water tastes weird, use filtered. You want a neutral base so the berry flavor shines.
Whole allspice berries (1 teaspoon) — This is my secret weapon. Allspice adds a warm, clove-like depth that pairs perfectly with the tart berries. If you don’t have whole allspice, you can use ground, but whole is better because you strain it out later. Don’t skip this; it makes the syrup taste sophisticated.
Fresh ginger (1-inch piece, sliced) — Adds a nice zing. If you’re not a fan of ginger, you can skip it, but I highly recommend it. It gives the syrup a little kick that keeps it from being too flat.
Honey or maple syrup (½ cup / 170ml) — I use raw honey for its floral notes, but pure maple syrup works great too and keeps it vegan. Adjust this based on how tart your berries are. Taste the syrup while it’s warm (carefully!) and add more if needed.
Whole black peppercorns (½ teaspoon) — Yes, pepper. It sounds weird, but it enhances the fruitiness of the berries. It’s subtle, I promise. Think of it like salt in chocolate chip cookies.
For the Sparkler Drink
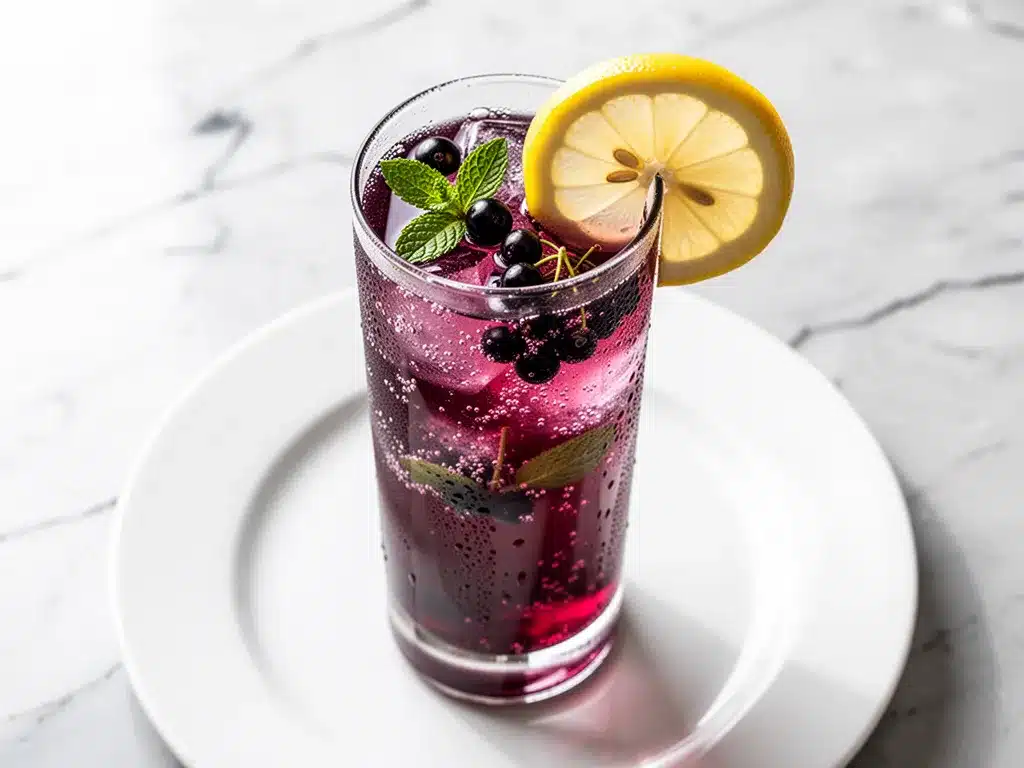
Sparkling water or club soda (1 cup / 240ml per serving) — I prefer plain, unsweetened sparkling water. Lemon-lime flavored works if you want extra citrus, but plain lets the elderberry shine. Keep it cold!
Fresh lime juice (1 tablespoon per serving) — Acid is crucial. It cuts through the sweetness of the syrup and makes the drink taste bright. Fresh is non-negotiable here. Bottled juice tastes dull.
Lime wedges or slices — For garnish. It looks pretty and adds a burst of aroma when you squeeze it.
Ice cubes — Essential for a refreshing drink. If you want to keep the drink from getting watery, freeze some elderberry syrup into ice cubes instead. That’s a pro move.
Optional garnishes — Fresh mint sprigs, rosemary needles, or even a few fresh elderberries if you can find them. I love adding a sprig of mint for color contrast against the purple.
Substitution Tips: If you can’t find elderberries, blackberries or blueberries work as a substitute, though the flavor will be slightly different. For a lower-sugar version, reduce the honey to ¼ cup or use a sugar-free sweetener like monk fruit, though it might change the texture.
Equipment Needed
You don’t need fancy equipment for this. Here’s what I actually use. Most of this is stuff you already have in your kitchen.
Saucepan (2-quart) — I use a medium saucepan with a heavy bottom. It helps prevent the sugar from burning. My old stainless steel pot works perfectly. You don’t need a fancy Dutch oven for this.
Mesh strainer or cheesecloth — To strain the berries and spices. A fine-mesh strainer is easiest. If you want crystal-clear syrup, line it with cheesecloth, but it’s not strictly necessary. I just use a strainer and press the berries a bit.
Mashing tool — A potato masher or the back of a spoon. You’ll use this to crush the berries after cooking to get all that good juice out.
Glass jars for storage — I use mason jars or any clean glass jar with a lid. Glass is best because the acidity in the syrup can sometimes interact with metal over time.
Tall glasses — For serving. Highball glasses look great for this, but any glass works.
Measuring cups and spoons — Standard stuff. Dollar store versions work fine.
Knife and cutting board — For slicing the ginger. A dull knife makes ginger slicing a nightmare, so sharp is better.
Optional: Citrus juicer — If you juice limes often, a handheld juicer saves wrist strain. But squeezing by hand works too.
How to Make It: Step-by-Step
Alright, let’s make this! I’m walking you through exactly how I do it, including the little tricks I’ve picked up. We’re starting with the syrup, which takes about 20 minutes, then we’ll assemble the sparkler.
Step 1: Combine the Base (5 minutes)
In your saucepan, combine the dried elderberries, water, allspice, sliced ginger, and peppercorns. Stir it all together. You want the berries to be fully submerged in the water. If they float up a bit, that’s okay—they’ll sink down as they simmer. This is the easy part. Just throw it all in.
Step 2: Simmer the Syrup (15 minutes)
Bring the mixture to a boil over medium-high heat. Once it boils, reduce the heat to low. Let it simmer gently for about 15 minutes. You’ll see the water turning a deep, dark purple. The berries will puff up and start to burst. The house will start to smell earthy and warm. Don’t let it boil vigorously, or you might burn the sugar when we add it.
Step 3: Mash and Steep (10 minutes)
Remove the pot from the heat. Now, use your potato masher or the back of a spoon to crush the berries against the side of the pot. You want to release as much juice and color as possible. This is satisfying, by the way. Let the mixture sit in the pot for 10 minutes to steep. This allows the flavors to meld. The longer it sits, the stronger the flavor.
Step 4: Sweeten and Strain (5 minutes)
While the mixture is steeping, measure out your honey or maple syrup. Once the 10 minutes are up, stir in the sweetener. Taste it now (let it cool slightly first!). If it’s too tart, add a little more honey. If it’s perfect, move on. Now, set your strainer over a bowl or directly into your storage jar. Pour the liquid through, pressing down on the berries and spices to get every drop of flavor. Discard the solids. You should have about 2 cups of dark, fragrant syrup.
Step 5: Cool and Store
Let the syrup cool to room temperature, then cover it tightly and refrigerate. It will keep for up to 3 weeks in the fridge. Pro tip: Pour it into a nice glass bottle with a pour spout if you plan to use it often. It looks beautiful on the counter.
Step 6: Assemble the Sparkler
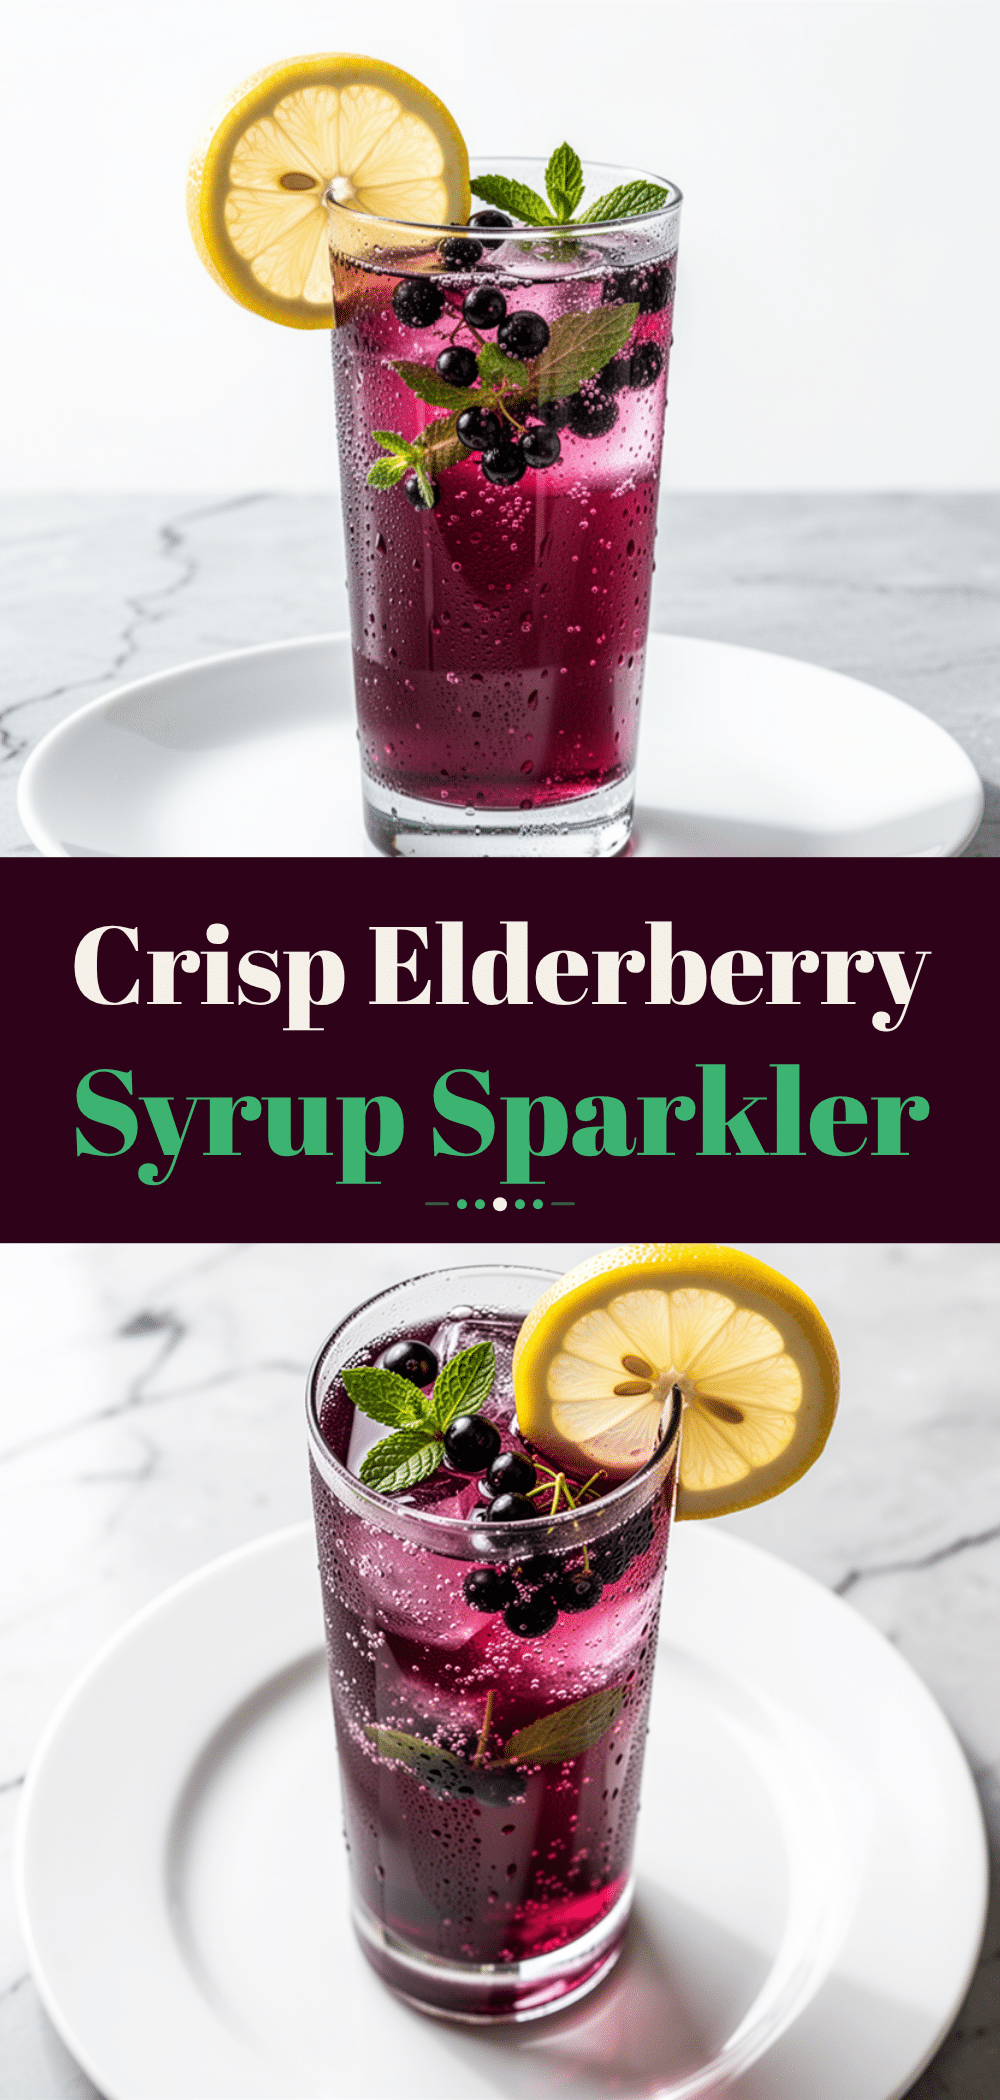
Fill a tall glass with ice cubes. Add 2 tablespoons of your homemade elderberry syrup. Squeeze in the juice of half a lime (about 1 tablespoon). Top with 1 cup of cold sparkling water. Stir gently to combine. Garnish with a lime wedge or a sprig of mint. Serve immediately. The bubbles will fizz and mix with the syrup, creating that beautiful marbled effect.
Total Time: About 30 minutes for the syrup (plus cooling time), and 2 minutes per drink.
Troubleshooting: If the syrup is too thick, add a splash of water. If it’s too thin, simmer it longer next time. If the flavor is too weak, use more berries or steep for longer. Consistency is key!
Expert Tips & Tricks
Here’s everything I’ve learned from making this syrup dozens of times. These tips will save you from my mistakes.
Don’t Skip the Mashing
The flavor is in the pulp. If you just strain it without mashing, you’re leaving all that good stuff in the sink. Press hard! Get every bit of purple juice out.
Adjust Sweetness to Taste
Elderberries can vary in tartness depending on the brand and batch. Always taste the syrup after adding the honey. I’ve had batches where I needed ½ cup, and others where ⅓ cup was enough. Trust your palate.
Use Cold Sparkling Water
Warm soda goes flat fast. Keep your sparkling water in the fridge until the moment you pour it. The colder the drink, the longer the bubbles last, and the more refreshing it feels.
Make Elderberry Ice Cubes
If you’re worried about dilution, freeze the syrup into ice cube trays. Use these cubes in your drink instead of regular ice. As they melt, they add more flavor instead of watering it down. Genius, right?
Strain Twice for Clarity
If you’re hosting and want the prettiest presentation, strain the syrup through cheesecloth or a coffee filter. It removes the tiny bits of berry skin and makes the syrup look like a high-end commercial product.
Common Mistakes:
Mistake: Syrup is too runny. Fix: Simmer it longer to reduce. It should coat the back of a spoon slightly.
Mistake: Syrup is too sweet. Fix: Add more lemon or lime juice to balance it out, or dilute with water next time you make a batch.
Pro Trick: Add a pinch of salt to the syrup while it simmers. It sounds counterintuitive, but a tiny pinch of salt enhances the fruit flavors, just like in baking.
Variations & Substitutions
Once you’ve nailed the basic version, here’s how you can mix it up. I’ve tried all of these, and they’re all winners.
Elderberry Ginger Zinger
Double the ginger slices and add a pinch of cayenne pepper. This version is spicy and warming—great for cold winter nights. It feels like a medicinal tonic but tastes like a treat.
Elderberry Lemonade Sparkler
Swap the lime juice for fresh lemon juice and add a splash of regular lemonade. It’s sweeter and more classic. My kids prefer this version because it tastes more like a soda.
Elderberry Mint Cooler
Muddle 4-5 fresh mint leaves in the bottom of the glass before adding the ice. Add the syrup, lime, and soda. Stir gently. The mint adds a fresh, cooling element that pairs beautifully with the earthy berries.
Elderberry Rosemary Fizz
Add a small sprig of fresh rosemary to the glass. Let it sit for a minute to release the oils. It adds a piney, sophisticated aroma. This is my favorite for dinner parties.
Sparkling Elderberry Mocktail
Add a splash of cranberry juice to the mix. It deepens the color and adds another layer of tartness. It looks stunning in a clear glass.
Dietary Modifications:
Vegan: Use maple syrup or agave nectar instead of honey. The rest is naturally vegan.
Low-Sugar: Reduce the honey to ¼ cup or use a zero-calorie sweetener. Note: The texture might be slightly thinner.
Gluten-Free: This is naturally gluten-free. Just ensure your sparkling water and sweetener are certified GF if you have celiac disease.
Serving & Storage
How to Serve
I usually serve this straight from the skillet at the dinner table—it looks rustic and stays warm. But here are other ways I’ve enjoyed it:
Side Dishes:
This drink pairs well with light meals. I love it with the creamy wild rice and mushroom casserole for a cozy fall dinner. It also goes great with fall harvest roasted chicken because the acidity cuts through the rich skin.
Toppings Bar:
When I have guests, I put out: extra lime wedges, fresh mint sprigs, rosemary, and a small pitcher of the syrup. Everyone customizes their drink. It’s fun and interactive.
Wine Pairing:
If you’re adding a splash of wine to make it a cocktail, Pinot Grigio or Prosecco works great. The bubbles complement the soda, and the acidity matches the lime.
Storage Instructions
Refrigerator:
Store the syrup in an airtight glass jar for up to 3 weeks. It will thicken slightly in the fridge—totally normal. Give it a good shake before using.
Freezing:
Yes, you can freeze the syrup! Pour it into ice cube trays or freezer-safe bags. It keeps for up to 6 months. Thaw in the fridge before using. This is great for making the syrup in bulk during elderberry season.
Reheating:
You don’t need to reheat it. It’s served cold. But if you want a warm elderberry tea, just heat 2 tablespoons of syrup with 1 cup of hot water. Delicious!
Pro tip: Label your jar with the date. I’ve forgotten when I made a batch before, and it’s best to be safe. If it smells off or gets moldy, toss it. But with proper storage, it lasts a long time.
Nutrition Information
I’m not a nutritionist, but here’s the breakdown if you’re tracking. This is per serving (1 sparkler with 2 tbsp syrup).
| Nutrient | Amount |
|---|---|
| Calories | 65 |
| Protein | 0g |
| Carbs | 16g |
| Fiber | 1g |
| Sugar | 14g |
| Fat | 0g |
| Sodium | 15mg |
What’s Good:
It’s low in calories and fat-free. Elderberries are high in antioxidants and vitamin C. It’s a much healthier alternative to sugary sodas or store-bought juices.
What to Know:
The sugar content comes from the honey/maple syrup. If you’re watching sugar, reduce the sweetener in the syrup recipe. The sparkling water adds no calories.
My Take:
Look, this is a sweet drink with syrup. It’s not a diet food. But it’s way better than soda, costs less, and I know exactly what’s in it. When I want to make it lighter, I use less syrup and more lime. But usually? I just enjoy it for the flavor and the ritual.
Final Thoughts
So that’s my go-to homemade elderberry syrup sparkler! I’ve probably talked your ear off at this point, but when you make a recipe this often, you have a lot to say about it.
This has saved weeknight evenings more times than I can count. It’s my answer to “what’s for a drink?” when I’m tired, don’t want alcohol, and still want something that tastes really good. My kids are happy, my husband’s happy, and I’m happy because I’m not stressed about making a complicated cocktail.
Make it yours! Try different garnishes, swap in your favorite herbs, adjust the sweetness. The best recipes are the ones you adapt to your family’s tastes. I can’t wait to hear what variations you come up with.
If you make this, drop a comment and let me know what you think! I love hearing how recipes turn out in your kitchen. And if something doesn’t work, tell me that too—I’m here to help troubleshoot.
Happy drinking! And I hope your kitchen smells half as good as mine does right now.
Frequently Asked Questions
Can I use fresh elderberries instead of dried?
You can, but the flavor will be different. Fresh elderberries have more water content, so you’ll need about 3-4 cups of fresh berries for the same amount of syrup. You’ll also need to cook them longer to break them down. Dried berries are more concentrated and easier to store, which is why I prefer them for this recipe. If you do use fresh, make sure they are cooked thoroughly, as raw elderberries can be toxic.
My syrup is too sweet—what happened?
Elderberries vary in tartness. If your batch was less tart than usual, you might have added too much honey. Next time, start with ¼ cup of honey and add more only if needed. You can also balance the sweetness by adding more lime juice to the syrup itself, or just use less syrup in your sparkler.
Can I make this ahead for a party?
Absolutely! Make the syrup up to 3 weeks ahead and store in the fridge. For a party, I recommend mixing the syrup with a little water to thin it out, then keeping it in a dispenser. Let guests add their own sparkling water and ice. This prevents the drink from getting flat before it’s served.
Why did my syrup look cloudy?
This is normal! Elderberry syrup naturally has some pulp and pectin in it, which can make it cloudy. If you want it crystal clear, strain it through cheesecloth or a coffee filter. But cloudy syrup tastes just as good. It’s not a sign of spoilage.
Can I use club soda instead of sparkling water?
Yes! Club soda has a slightly salty taste, which can actually complement the tart berries nicely. Sparkling water (seltzer) is more neutral. Both work great. Just make sure it’s unsweetened.
How do I reheat leftovers without it getting dry?
You don’t reheat the sparkler. You serve it cold. But if you have leftover syrup, you can heat it up to make a warm elderberry tea. Just mix 2 tablespoons of syrup with 1 cup of hot water. It’s soothing and great for colds.
Can I double this recipe?
Yes! Double everything and use a larger pot. The cooking times stay the same. I do this when I want to make a big batch for the week. Just make sure your storage jars are clean and dry.
Pin This Recipe!
Homemade Elderberry Syrup Sparkler: Easy 5-Min Drink
- Total Time: 30 minutes
- Yield: 1 serving (makes approx. 2 cups syrup) 1x
Description
A refreshing, immune-boosting mocktail made with homemade elderberry syrup, sparkling water, and lime. This drink is ready in 5 minutes and offers a sophisticated flavor without the caffeine or alcohol.
Ingredients
- 1 cup dried elderberries (110g)
- 4 cups water
- 1 teaspoon whole allspice berries
- 1-inch piece fresh ginger, sliced
- 1/2 cup honey or maple syrup
- 1/2 teaspoon whole black peppercorns
- 1 cup sparkling water or club soda (per serving)
- 1 tablespoon fresh lime juice (per serving)
- Lime wedges or slices for garnish
- Ice cubes
- Optional garnishes: fresh mint sprigs, rosemary needles
Instructions
- In a 2-quart saucepan, combine dried elderberries, water, allspice, sliced ginger, and peppercorns. Ensure berries are submerged.
- Bring the mixture to a boil over medium-high heat, then reduce heat to low and simmer gently for 15 minutes until the liquid turns deep purple.
- Remove from heat and mash the berries against the side of the pot using a potato masher or spoon to release juice. Let steep for 10 minutes.
- Stir in honey or maple syrup. Taste and adjust sweetness if needed.
- Strain the mixture through a fine-mesh strainer or cheesecloth into a bowl or jar, pressing on solids to extract all flavor. Discard solids.
- Let syrup cool to room temperature, then refrigerate in an airtight glass jar for up to 3 weeks.
- To serve, fill a tall glass with ice cubes.
- Add 2 tablespoons of elderberry syrup and 1 tablespoon of fresh lime juice.
- Top with 1 cup of cold sparkling water and stir gently.
- Garnish with lime wedge or mint and serve immediately.
Notes
Elderberries vary in tartness, so taste the syrup after adding sweetener and adjust accordingly. For a clearer syrup, strain through cheesecloth or a coffee filter. To avoid dilution, freeze elderberry syrup into ice cubes. The syrup keeps for up to 3 weeks in the fridge or 6 months in the freezer.
- Prep Time: 5 minutes
- Cook Time: 25 minutes
- Category: Beverage
- Cuisine: American
Nutrition
- Serving Size: 1 tall glass
- Calories: 65
- Sugar: 14
- Sodium: 15
- Carbohydrates: 16
- Fiber: 1
Keywords: elderberry syrup, mocktail, homemade syrup, immune boosting drink, caffeine-free, healthy drink, elderberry sparkler, non-alcoholic cocktail


