It was 6 AM on a rainy Saturday, and I was staring into the abyss of my fruit bowl. There, hiding in the back, were three bananas that had turned from “perfectly ripe” to “black and squishy.” You know the look. They’re too far gone for a smoothie, way too mushy for a cake, and frankly, eating them raw feels like a mistake.
Most people throw them out. I’ve thrown them out. But then I remembered the half-empty jar of Nutella sitting on my counter, the one I bought on a whim three months ago and have been using sparingly ever since because, well, it’s expensive. I had flour, sugar, eggs, and butter. I had nothing else to lose.
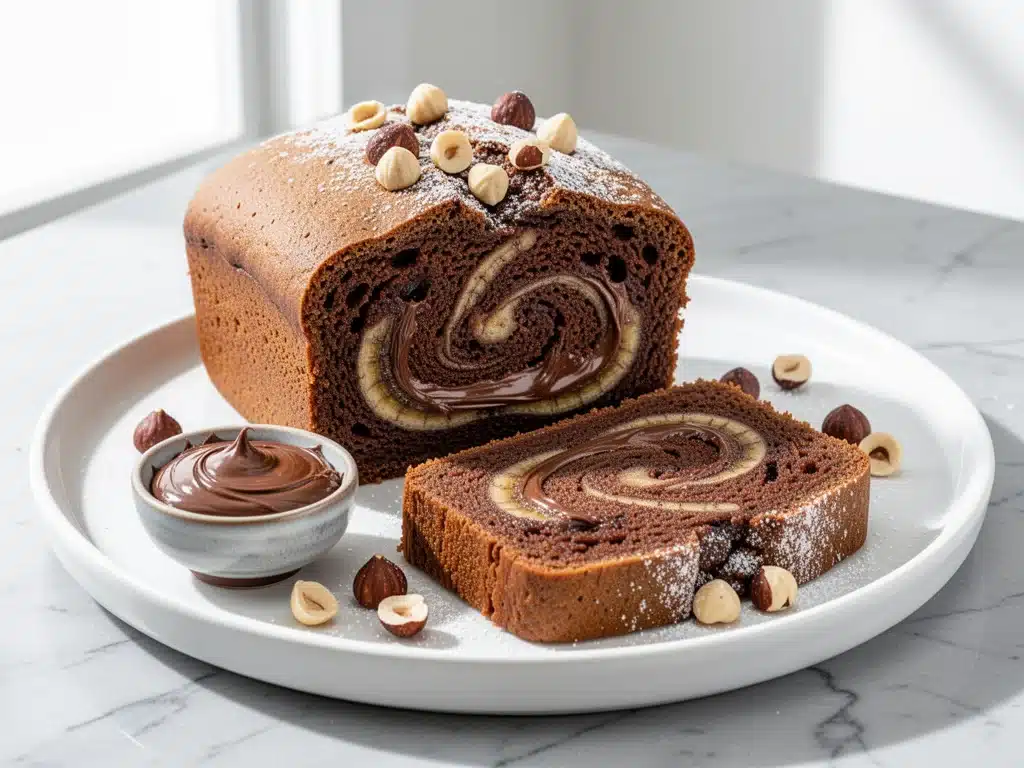
I threw everything into a bowl, swirled in that chocolate-hazelnut spread, and baked it. What came out of the oven wasn’t just banana bread. It was warm, gooey, and smelled like a bakery window display. My husband walked in, sniffed the air, and asked if I’d ordered takeout. When I told him it was from the fruit bowl, he didn’t believe me until he saw the chocolate center.
This Fudgy Nutella Swirl Banana Bread has been on my weekly rotation ever since. It’s not your standard, dry, oat-heavy banana bread. This version is dense, moist, and incredibly rich. The key is the simple ingredients—you likely have them all right now—and the technique of swirling the Nutella in before it bakes, which creates those irresistible fudgy pockets of chocolate.
I’ve tested this recipe at least a dozen times, tweaking the ratio of bananas to flour and experimenting with different swirl techniques. The result is a bread that’s easy enough for a Tuesday morning but indulgent enough for a weekend brunch. It’s comfort food in loaf form, and I’m sharing exactly how to make it without any fuss.
Why You’ll Love This Recipe
Let’s be real: banana bread is the ultimate comfort bake. But this version? It takes that classic and turns up the volume. Here’s why this Fudgy Nutella Swirl Banana Bread keeps me coming back to the kitchen:
- It Uses Overripe Bananas — This is the perfect solution for those black, spotty bananas you’ve been ignoring. It transforms what would be trash into something delicious. I keep a bag of ripe bananas in the freezer specifically for this bread.
- Minimal Cleanup — One bowl. One loaf pan. That’s it. No electric mixer required. I mix this by hand with a wooden spoon in about five minutes. If you can whisk eggs, you can make this.
- The Fudgy Factor — Most banana breads are cake-like. This one has a dense, moist crumb, and the Nutella swirls create pockets of warm, gooey chocolate that melt in your mouth. It’s essentially dessert for breakfast.
- Simple Ingredients — No weird flours, no exotic spices. Just bananas, butter, sugar, eggs, flour, and Nutella. You don’t need to go to the store to make this. It’s pantry-friendly.
- Kids Love It — My kids think this is fancy cake. The chocolate swirl is a huge hit with picky eaters who usually refuse to eat anything “healthy” like banana bread. It’s a sneaky way to get fruit into their diet.
- Freezes Like a Dream — I often bake two loaves at once. One for now, one for later. This bread freezes beautifully for up to three months. Grab a slice straight from the freezer and microwave it for 30 seconds, and it tastes fresh-baked.
This isn’t just a recipe; it’s a lifesaver for busy mornings, lazy weekends, or when you need a quick gift for a neighbor. It’s reliable, delicious, and always a crowd-pleaser.
Ingredients You’ll Need
Here’s the best part: you probably have 90% of these ingredients already. I’m particular about a few things here, mostly because they make the difference between okay and amazing.
For the Banana Bread Base
Ripe Bananas (3 large / about 1 ½ cups mashed) — This is the most important ingredient. They need to be very ripe, with black spots or entirely black peels. The riper they are, the sweeter and more flavorful the bread will be. If they’re yellow, leave them on the counter for a few days. I’ve tested this with green bananas, and it just doesn’t work.
Unsalted Butter (½ cup / 115g, melted) — I use butter for the rich flavor. Melted butter makes the batter moist and tender. You can use oil, but the texture will be different, and you’ll miss out on that buttery richness. Let it cool slightly before adding so it doesn’t cook the eggs.
Granulated Sugar (¾ cup / 150g) — This adds sweetness and helps create a slightly crisp top. I’ve tried using only brown sugar, but it makes the bread too dense. The mix of white sugar gives it the right structure. If you prefer less sweet, reduce to ½ cup, but I recommend sticking with the full amount for that fudgy texture.
Eggs (2 large) — Room temperature eggs are best. They help bind the batter and add structure. Don’t skip them; they’re essential for the rise.
Vanilla Extract (1 teaspoon) — Pure vanilla extract, not imitation. It enhances the banana flavor and adds depth. Just a little goes a long way.
All-Purpose Flour (1 ½ cups / 190g) — Standard all-purpose flour works perfectly. I’ve tried self-rising flour, but you have to adjust the baking soda and salt, which can get confusing. Stick with AP flour for consistent results.
Baking Soda (1 teaspoon) — This is what makes the bread rise. Make sure it’s not expired! I keep a fresh box in my pantry specifically for baking.
Salt (½ teaspoon) — Salt is crucial. It balances the sweetness and enhances the banana flavor. Don’t skip it, even if you’re watching sodium.
For the Nutella Swirl
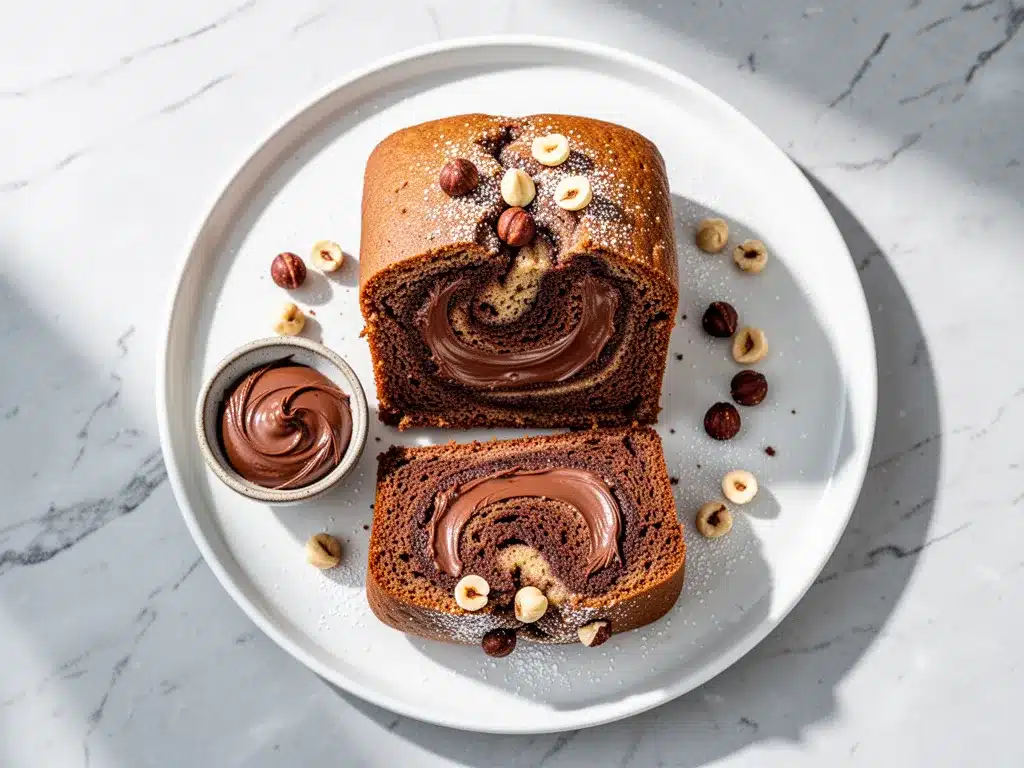
Nutella (½ cup / 120g) — Yes, the brand name. It’s the gold standard for chocolate-hazelnut spread. You can use a store-brand chocolate hazelnut spread, but Nutella has a specific texture and flavor that works best here. Warm it up slightly if it’s too thick to swirl.
Optional Add-ins
Chopped Walnuts or Pecans (½ cup) — If you like crunch, add these to the batter. I sometimes skip them because I love the smooth fudgy texture, but they add a nice contrast. Toast them first for extra flavor.
Dark Chocolate Chips (¼ cup) — For chocolate lovers, toss these in with the batter. It doubles the chocolate impact.
Equipment Needed
You don’t need fancy gadgets for this. Here’s what I actually use:
Loaf Pan (9×5 inch) — A standard metal loaf pan works best. Glass or ceramic pans take longer to bake and might result in a darker crust. I use a heavy-duty metal pan that I’ve had for years. It distributes heat evenly.
Mixing Bowl (Medium) — Something large enough to whisk the eggs and sugar, then fold in the flour. I use a glass bowl because I can see through it.
Whisk and Spatula — A simple whisk for the wet ingredients and a rubber spatula for folding in the flour. Overmixing is the enemy, so a spatula is essential.
Paring Knife — For peeling bananas and cutting the loaf.
Aluminum Foil — Optional, but I recommend it. If your oven runs hot, the top might brown too quickly. Covering it with foil halfway through baking prevents burning.
Cooling Rack — Essential for letting the bread cool properly. If you leave it in the pan, it can get soggy on the bottom.
How to Make It: Step-by-Step
Alright, let’s make this! It’s incredibly simple, but there are a few tricks to get that perfect fudgy texture.
Step 1: Prep Your Oven and Pan (5 minutes)
Preheat your oven to 350°F (175°C). Grease your 9×5 inch loaf pan with butter or non-stick spray. I like to line it with parchment paper for easy removal, but greasing is fine if you’re in a hurry. Having your pan ready before you start mixing saves stress.
Step 2: Mash the Bananas
Peele your ripe bananas and put them in a large mixing bowl. Use a fork or potato masher to mash them until smooth. I prefer smooth bananas in the batter for a uniform texture, but some chunks are fine if you like it rustic. You should have about 1 ½ cups of mashed banana.
Step 3: Mix the Wet Ingredients
Add the melted butter, sugar, eggs, and vanilla extract to the mashed bananas. Whisk everything together vigorously for about a minute. The mixture should look smooth and slightly glossy. This step incorporates air and ensures the sugar is dissolved.
Step 4: Add the Dry Ingredients
Add the flour, baking soda, and salt to the wet mixture. Use a rubber spatula to gently fold the ingredients together. Stop as soon as the flour disappears. Overmixing develops gluten, which makes the bread tough and dense. You want a thick, slightly lumpy batter. It’s okay if there are small streaks of flour.
Step 5: Pour Half the Batter
Pour about half of the batter into the prepared loaf pan. Spread it out evenly with your spatula. This forms the base layer.
Step 6: Swirl in the Nutella
Dollop spoonfuls of Nutella over the batter. Use a knife or a skewer to swirl the Nutella into the batter. Don’t over-swirl; you want distinct ribbons of chocolate, not a uniform brown color. Drag the knife in a figure-eight pattern a few times, then lift it out. This creates those beautiful fudgy swirls.
Step 7: Add the Remaining Batter
Pour the remaining batter over the Nutella swirls. Gently spread it to cover the chocolate. You can add another dollop of Nutella on top for extra flair, but it’s optional.
Step 8: Bake
Bake for 55-65 minutes. After 30 minutes, check the top. If it’s getting too dark, loosely tent it with aluminum foil. The bread is done when a toothpick inserted into the center comes out with moist crumbs (not wet batter) and a few chocolate streaks. The top should be golden brown and spring back when lightly touched.
Step 9: Cool
Let the bread cool in the pan for 10 minutes, then transfer it to a wire rack to cool completely. This is the hardest part, I know. Cutting into it warm is tempting, but the structure needs to set. If you cut it too soon, it might fall apart.
Expert Tips & Tricks
Here’s everything I’ve learned from making this dozens of times. These tips will save you from my mistakes.
Use the Ripest Bananas Possible
I can’t stress this enough. The riper the banana, the sweeter and more flavorful the bread. If your bananas are yellow, put them in a paper bag with an apple for a few days to speed up ripening. Black peels are your friend.
Don’t Overmix the Batter
Overmixing is the #1 reason banana bread turns out dense and tough. Mix until just combined. It’s okay if the batter looks a bit lumpy. The folding motion is gentle and shouldn’t take long.
Warm the Nutella
If your Nutella is cold and thick, it’s hard to swirl. Microwave it for 10-15 seconds to loosen it up. This makes it easier to create beautiful ribbons without breaking the batter.
Check for Doneness Early
Ovens vary. Start checking at 55 minutes. If the toothpick comes out clean, it’s done. If it has wet batter, give it 5 more minutes. If it has moist crumbs, it’s perfect. Remember, carryover cooking will continue as it cools.
Store Properly
Wrap the cooled loaf tightly in plastic wrap, then in foil. Store at room temperature for up to 3 days, or in the fridge for up to a week. For longer storage, freeze it for up to 3 months. Thaw overnight in the fridge or at room temperature.
Variations & Substitutions
Once you’ve nailed the basic version, here’s how you can mix it up. I’ve tried all of these.
Gluten-Free Option
Use a 1:1 gluten-free flour blend. It works perfectly in this recipe. Just make sure your baking soda is fresh, as GF flours can absorb moisture differently.
Dairy-Free Version
Replace the butter with coconut oil or a dairy-free butter alternative. Note that Nutella contains milk, so this won’t be dairy-free unless you use a dairy-free chocolate hazelnut spread.
Lower Sugar
Reduce the sugar to ½ cup. The bananas provide natural sweetness, so it won’t be too dry. However, the crust won’t be as crisp.
Extra Crunch
Add ½ cup of chopped walnuts or pecans to the batter. Toast them in a dry pan for 2-3 minutes before adding for extra flavor.
Double Chocolate
Add ¼ cup of dark chocolate chips to the batter along with the Nutella swirl. It’s intense and delicious.
Mini Loaves
This batter makes two mini loaves or about 12 muffins. Bake mini loaves for 35-40 minutes and muffins for 20-25 minutes. They’re great for gifting!
Serving & Storage
How to Serve: I usually serve this warm, sliced thick. A pat of butter on top melts into the warm bread, making it even richer. It’s also amazing with a cup of coffee or tea.
Side Dishes: This stands alone well, but I like pairing it with fresh berries or a simple Greek yogurt bowl. It’s sweet enough that you don’t need much else.
Reheating: Microwave slices for 20-30 seconds to soften them up. The Nutella swirls will become gooey and delicious.
Storage: Wrap tightly in plastic wrap and foil. Store at room temperature for 3 days, fridge for 1 week, or freezer for 3 months. It freezes beautifully!
Pro Tip: If you’re meal prepping, slice the bread and freeze individual portions. Grab one, microwave it, and you have a quick breakfast all week.
Nutrition Information
I’m not a nutritionist, but here’s the breakdown if you’re tracking. Keep in mind that this is a rich, indulgent bread, so portion control is key.
Per Serving (based on 10 slices):
- Calories: 280
- Protein: 4g
- Carbs: 42g
- Fiber: 2g
- Sugar: 28g
- Fat: 12g
- Saturated Fat: 5g
- Cholesterol: 35mg
- Sodium: 180mg
What’s Good: It provides some energy from the bananas and has a decent amount of carbs for a morning boost. The banana adds potassium.
What to Know: It’s higher in sugar and calories due to the Nutella and butter. It’s not a diet food, but it’s a treat. When I want to make it lighter, I reduce the sugar and use less Nutella, but I usually just enjoy a slice and move on.
Final Thoughts
So that’s my go-to Fudgy Nutella Swirl Banana Bread! I’ve probably talked your ear off at this point, but when you make a recipe this often, you have a lot to say about it.
This bread has saved me on mornings when I didn’t know what to make for breakfast. It’s my answer to “what’s for brunch?” when I want something special but don’t want to spend hours in the kitchen. My kids are happy, my husband’s happy, and I’m happy because it’s so easy.
Make it yours! Try different nuts, swap the Nutella for peanut butter, or add chocolate chips. The best recipes are the ones you adapt to your family’s tastes.
If you make this, drop a comment and let me know what you think! I love hearing how recipes turn out in your kitchen. And if something doesn’t work, tell me that too—I’m here to help troubleshoot.
Happy baking! And I hope your kitchen smells half as good as mine does right now.
Frequently Asked Questions
Can I use frozen bananas?
Yes! Frozen bananas work great. Just thaw them completely and drain any excess liquid before mashing. The texture will be even softer, which is perfect for this bread. I often freeze ripe bananas specifically for baking.
Why did my banana bread turn out dense?
Usually, this happens from overmixing the batter. Once you add the flour, mix gently until just combined. Also, using underripe bananas can result in a denser loaf because they have less natural sugar and moisture.
Can I use peanut butter instead of Nutella?
Absolutely! Peanut butter swirl banana bread is delicious. Just make sure to warm the peanut butter slightly so it swirls easily. You might want to add a tablespoon of honey or maple syrup to the peanut butter to help it spread.
How do I know when the bread is done?
Insert a toothpick into the center. If it comes out clean or with a few moist crumbs, it’s done. If it has wet batter, bake for 5 more minutes. The top should be golden brown and spring back when touched.
Can I make this ahead of time?
Yes! This bread freezes beautifully. Wrap it tightly in plastic wrap and foil, and freeze for up to 3 months. Thaw overnight in the fridge or at room temperature. You can also make the batter the night before and bake it in the morning, but I prefer baking fresh.
Why did my Nutella sink to the bottom?
If you swirl the Nutella too deeply or use too much, it can sink. Try dolloping it on top and swirling gently, or save half the Nutella for a topping after baking. Also, ensure your batter isn’t too thin.
Can I double this recipe?
Yes, you can double it and bake in two loaf pans or a 9×13 inch pan. If using a 9×13 pan, reduce the baking time by about 10-15 minutes. Check for doneness early.
Pin This Recipe!
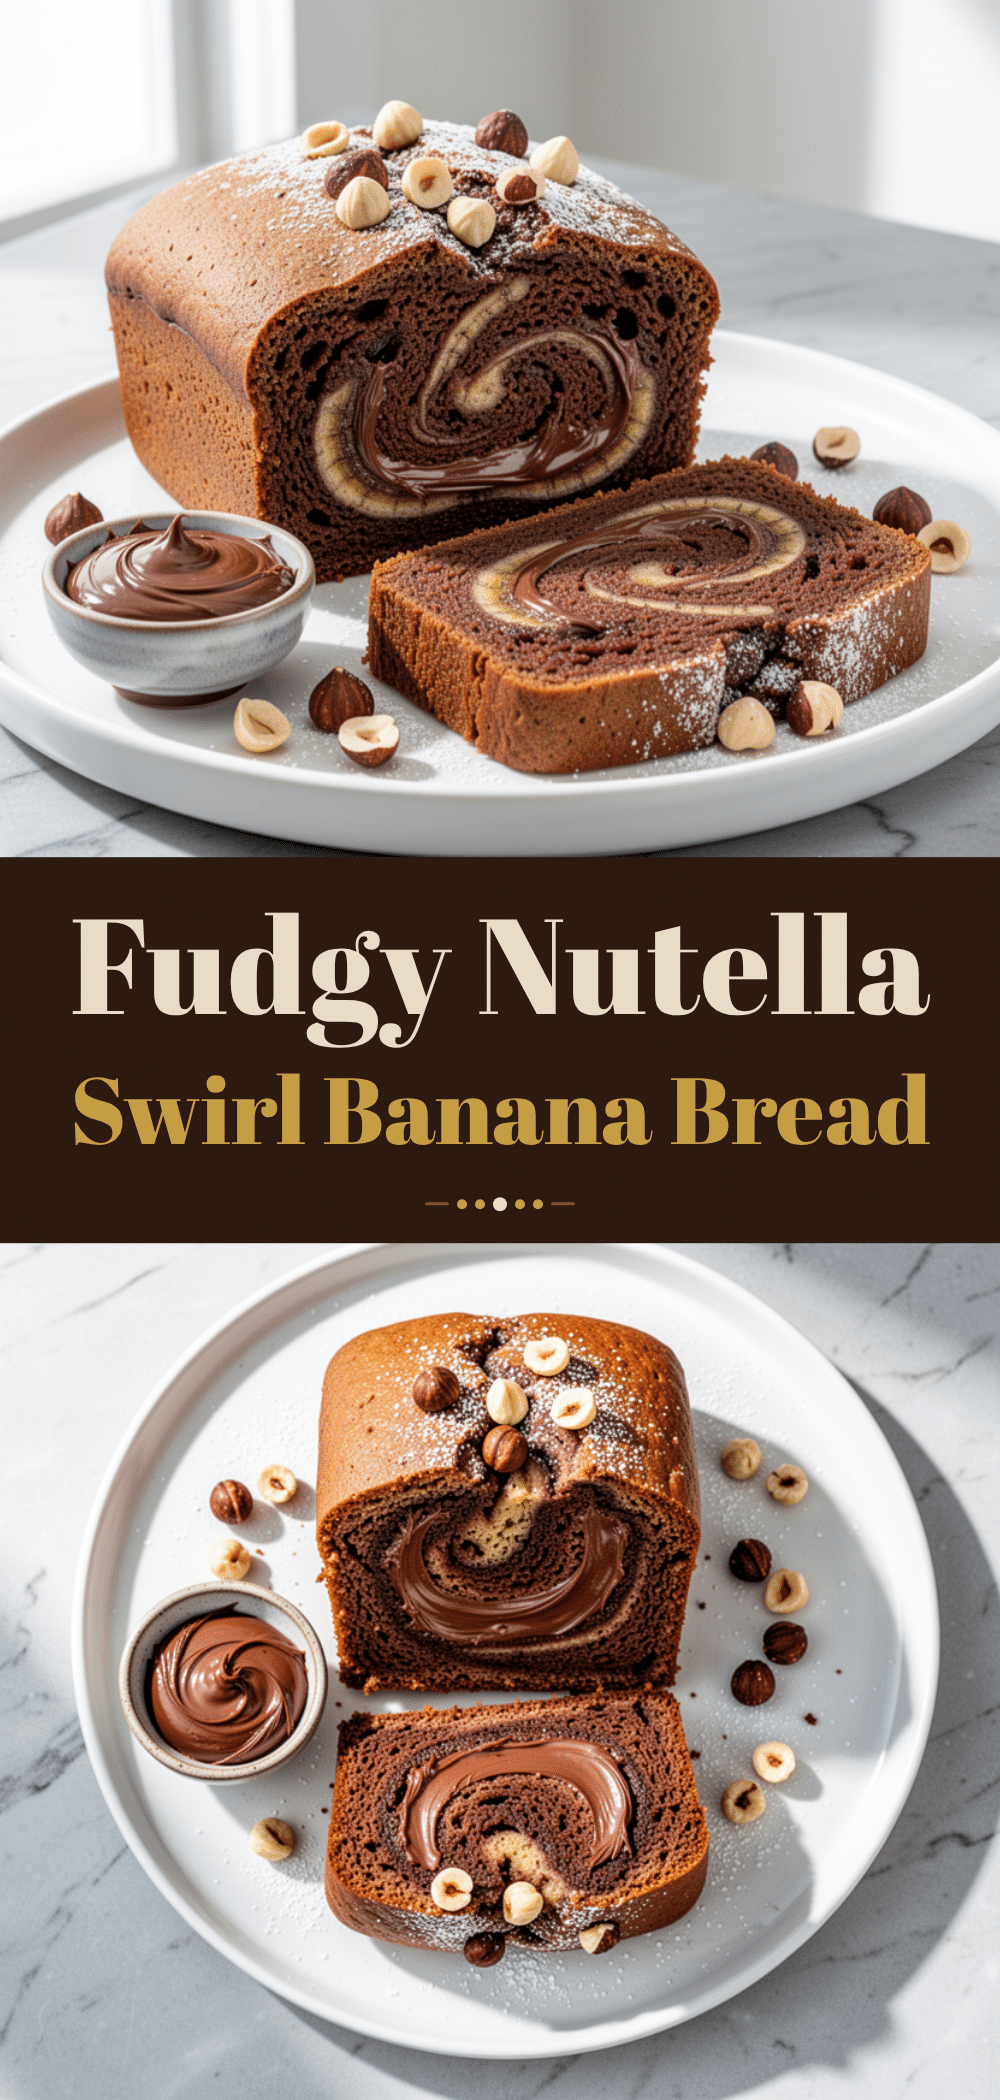
Fudgy Nutella Swirl Banana Bread
- Total Time: 75 minutes
- Yield: 10 servings 1x
Description
A dense, moist, and incredibly rich banana bread featuring irresistible fudgy pockets of chocolate hazelnut spread. This easy, one-bowl recipe uses simple pantry ingredients and overripe bananas for a comforting breakfast or brunch treat.
Ingredients
- 3 large ripe bananas (about 1 ½ cups mashed)
- ½ cup (115g) unsalted butter, melted
- ¾ cup (150g) granulated sugar
- 2 large eggs, room temperature
- 1 teaspoon vanilla extract
- 1 ½ cups (190g) all-purpose flour
- 1 teaspoon baking soda
- ½ teaspoon salt
- ½ cup (120g) Nutella
- Optional: ½ cup chopped walnuts or pecans
- Optional: ¼ cup dark chocolate chips
Instructions
- Preheat oven to 350°F (175°C). Grease a 9×5 inch loaf pan with butter or non-stick spray, optionally lining with parchment paper.
- Mash the ripe bananas in a large mixing bowl until smooth.
- Add the melted butter, sugar, eggs, and vanilla extract to the bananas. Whisk vigorously for about a minute until smooth and glossy.
- Add the flour, baking soda, and salt. Gently fold the dry ingredients into the wet mixture with a rubber spatula until just combined. Do not overmix.
- Pour about half of the batter into the prepared loaf pan.
- Dollop spoonfuls of Nutella over the batter. Use a knife or skewer to swirl the Nutella into the batter in a figure-eight pattern to create ribbons.
- Pour the remaining batter over the Nutella swirls and spread gently to cover.
- Bake for 55-65 minutes. If the top browns too quickly, tent loosely with aluminum foil after 30 minutes.
- The bread is done when a toothpick inserted into the center comes out with moist crumbs (not wet batter) and the top is golden brown.
- Let the bread cool in the pan for 10 minutes, then transfer to a wire rack to cool completely before slicing.
Notes
Use the ripest bananas possible for maximum sweetness and flavor. Do not overmix the batter to avoid a dense texture. Warm the Nutella slightly if it is too thick to swirl. Store wrapped tightly at room temperature for 3 days, in the fridge for 1 week, or freeze for up to 3 months.
- Prep Time: 15 minutes
- Cook Time: 60 minutes
- Category: Breakfast
- Cuisine: American
Nutrition
- Serving Size: 1 slice
- Calories: 280
- Sugar: 28
- Sodium: 180
- Fat: 12
- Saturated Fat: 5
- Carbohydrates: 42
- Fiber: 2
- Protein: 4
Keywords: banana bread, Nutella, chocolate swirl, easy recipe, breakfast, brunch, comfort food, baking, one bowl


