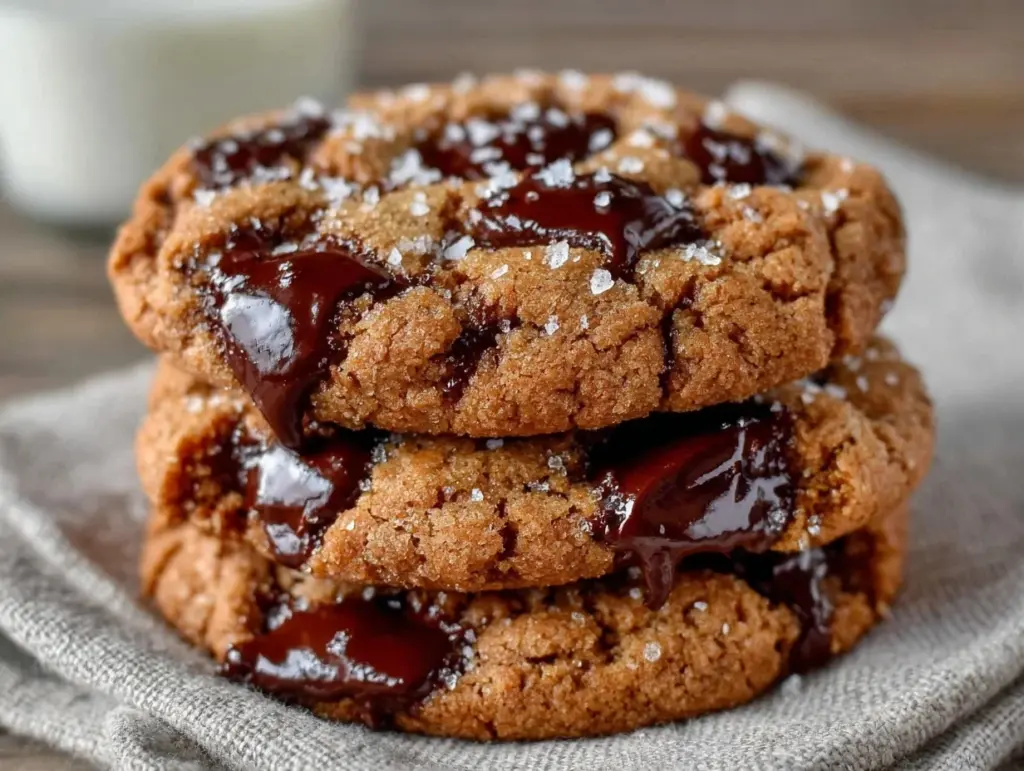
I still remember the first time I made brown butter chocolate chip cookies with chewy centers. It was a Tuesday, I was running on three hours of sleep, and I had a pantry full of basics and a craving for something that felt like a bakery treat but cost pennies. I’d seen the brown butter trend everywhere, but I was skeptical. It sounded like extra work for a cookie. But I was desperate. So I melted that butter until it smelled like hazelnuts and toasted caramel, and I waited for it to cool (the hardest part). The result? A cookie that was crisp at the edges, gooey in the middle, and tasted like I’d spent hours perfecting it.
That was two years ago. Since then, I’ve made these brown butter chocolate chip cookies with chewy centers at least a dozen times. They’ve become my go-to for school bake sales, last-minute dinner guests, and just because I needed a sugar fix. The best part? They’re incredibly cheap to make. You don’t need fancy ingredients or expensive equipment. Just butter, flour, sugar, and chocolate chips. That’s it.
What makes these cookies special isn’t just the flavor—it’s the texture. I’ve tested dozens of recipes, and most ended up cakey or flat. These have that perfect chew. They hold their shape but stay soft inside. My kids argue over the last one (seriously, they negotiate), and my husband says they’re better than anything from the store. If you’ve been looking for a cookie recipe that actually works, this is it. It’s easy, it’s affordable, and it’s going to become a staple in your kitchen.
Why You’ll Love This Recipe
There are about ten reasons I keep making these brown butter chocolate chip cookies with chewy centers, but here are the big ones that keep them in our regular rotation.
Stupid Simple — Seriously, if you can melt butter and mix ingredients, you can make this. I’ve walked my teenage son through it over FaceTime while I was at work. There’s no complex technique, just a few steps that take about 30 minutes of active time.
Lightning Fast — From start to finish, you’re looking at about 45 minutes. That includes the time to chill the dough (which I do while I’m doing other things). If you’re in a rush, you can bake them right away, though they’ll spread more. But for a weeknight treat? It’s faster than ordering delivery.
Pantry-Friendly — You probably have 80% of these ingredients already. Butter, flour, sugar, eggs, baking soda, salt, and chocolate chips. I keep the key items stocked just so I can make these on a whim when the sweet tooth hits. It’s cheaper than buying cookies at the grocery store, too.
Crowd-Pleaser — I’ve served these to my vegetarian sister, my gluten-free neighbor (with gluten-free flour), and my I-only-eat-chocolate-chip-cookies dad. Everyone loved them. They’re not too sweet, not too rich, just perfect. I’ve made them for school bake sales and they always sell out first.
Makes Amazing Leftovers — Actually, these taste even better the next day. The flavors meld together, and the chewiness intensifies. I deliberately make extra for lunch or afternoon snacks. They keep well in an airtight container for up to a week.
Budget-Smart — Feeds 4-6 people for under $10. That’s less than one meal at a fast-food place, and it makes for a whole batch of cookies. I buy bulk chocolate chips and store-bought butter to keep costs down. It’s a win for your wallet and your taste buds.
This is my go-to when I need dessert to just work. No complicated techniques, no weird ingredients, just reliable, delicious food that makes everyone happy. And honestly, the smell of brown butter filling the house is worth it alone.
Ingredients You’ll Need
Here’s the best part: you probably have most of this already. I’m particular about a few things here, and I’ll tell you exactly why. This looks like a short list, but every ingredient plays a role.
Unsalted Butter (1 cup / 226g) — This is the star. You need to brown it. Use good quality butter if you can, but standard store brands work fine. I use salted butter sometimes, but then I reduce the added salt in the recipe. Unsalted gives you more control.
All-Purpose Flour (2 ¼ cups / 280g) — The standard. Cake flour makes them too tender, bread flour makes them too chewy. All-purpose is the sweet spot. Spoon it into the cup and level it off. Don’t scoop and pack, or you’ll end up with dry cookies.
Granulated Sugar (½ cup / 100g) — This helps create the crisp edges. I use regular white sugar. Don’t swap for brown sugar here if you want that specific texture, though you can add some for chewiness.
Brown Sugar (1 ½ cups / 300g, packed) — This is what gives them the chew and the moisture. Dark brown sugar has more molasses and makes them chewier. I prefer dark, but light works too. Pack it tightly into the cup.
Eggs (2 large) — Room temperature eggs mix better into the dough. If you forget, just drop them in a bowl of warm water for 5 minutes. Don’t use cold eggs; they’ll seize up the butter.
Vanilla Extract (2 teaspoons) — Use real vanilla, not imitation. It makes a noticeable difference in flavor. I keep a bottle of pure vanilla in my pantry at all times. It’s worth the few extra dollars.
Baking Soda (1 teaspoon) — This helps them spread and brown. Make sure it’s not old. If it’s been in your cupboard for years, replace it. It won’t work if it’s stale.
Salt (1 teaspoon) — Even though we’re using unsalted butter, salt is crucial for flavor. It balances the sweetness. Don’t skip it. I use kosher salt, but table salt works too.
Chocolate Chips (2 cups / 340g) — I use semi-sweet chocolate chips. Some people prefer chunks, but chips hold their shape better. I buy the store brand in bulk to save money. It tastes just as good as the expensive stuff.
Optional: Flaky Sea Salt — For sprinkling on top after baking. It adds a nice contrast to the sweet cookies. I love this touch, but it’s not necessary.
Personal Tips:
- Chill the Dough: I know it’s tempting to bake them right away, but chilling the dough for at least 30 minutes (or up to 3 days) prevents spreading and concentrates the flavor. It’s the secret to those bakery-style cookies.
- Measure Flour Correctly: I’ve made these with too much flour and they were dry. Spoon and level is your friend. Or weigh your flour if you have a scale.
- Brown the Butter Properly: It should smell nutty and look amber. If it smells burnt, start over. It’s not worth ruining the batch.
Equipment Needed
You don’t need fancy equipment for this. Here’s what I actually use.
Medium Saucepan — I use a stainless steel saucepan. It lets you see the color of the butter clearly. A light-colored pan is best so you can spot the browning. My old saucepan works fine.
Mixing Bowls — One large bowl for the wet ingredients and one medium for the dry. I use glass bowls because they’re easy to clean and don’t retain odors.
Wooden Spoon or Spatula — For mixing. A wooden spoon is great for stirring the butter. A spatula is better for folding in the chocolate chips.
Baking Sheets — I use two half-sheet pans. Dark pans bake faster, so keep an eye on them. Light pans are more forgiving. I line them with parchment paper for easy cleanup. No sticky cookies here.
Parchment Paper — Essential. It prevents sticking and makes cleanup a breeze. I buy it in bulk rolls to save money.
Cooling Rack — For cooling the cookies. If you don’t have one, just let them cool on the baking sheet for 5 minutes, then move them to a plate. But a rack keeps them from getting soggy.
Measuring Cups and Spoons — Standard stuff. Dollar store versions work fine. Just make sure they’re accurate.
Whisk — For mixing the dry ingredients. Or just use a fork. It doesn’t need to be fancy.
How to Make It: Step-by-Step
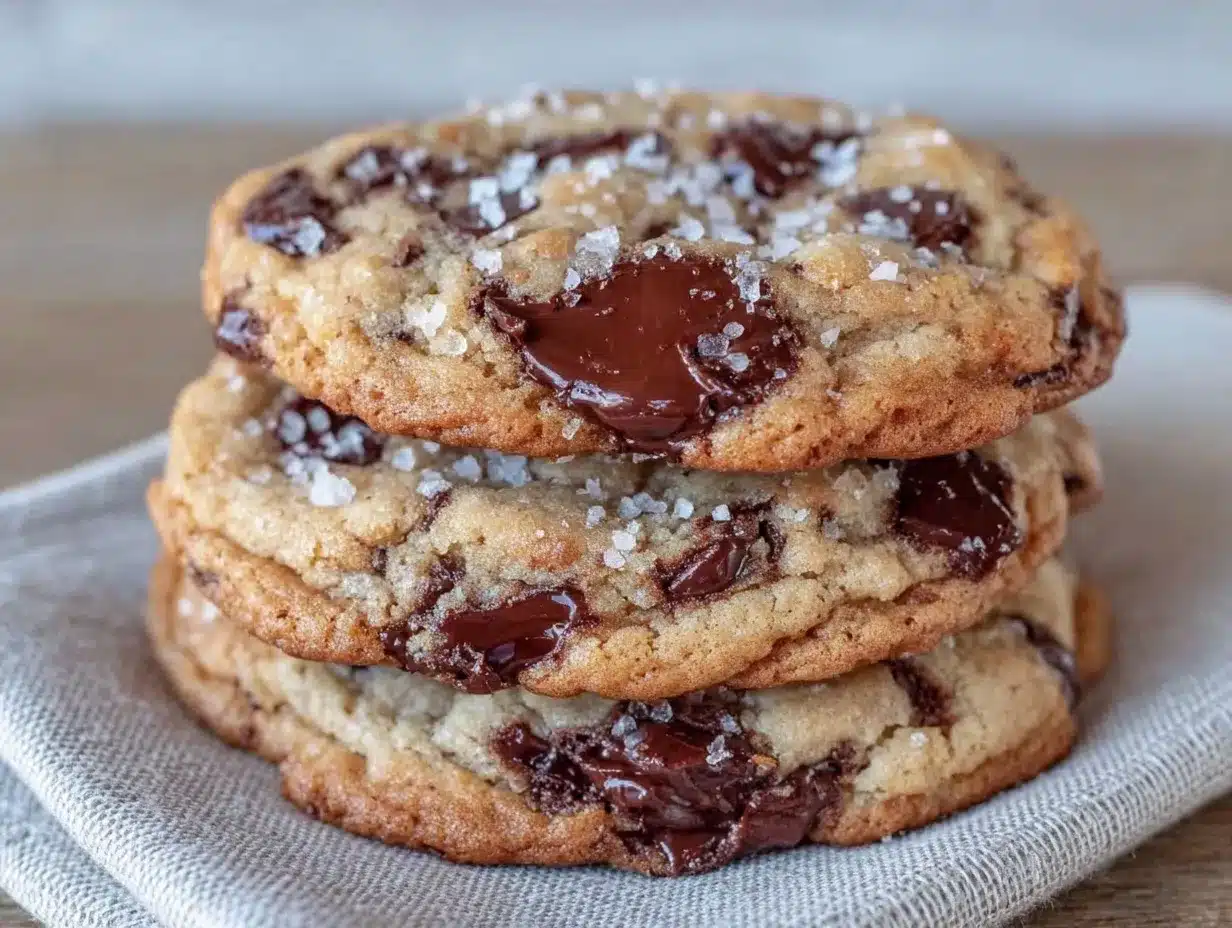
Alright, let’s make this! I’m walking you through exactly how I do it, including the little tricks I’ve picked up.
Step 1: Brown the Butter (5-8 minutes)
Melt the butter in a medium saucepan over medium heat. Stir it constantly. It will foam up, then settle. Keep stirring. You’ll see the milk solids turn golden brown at the bottom. It will smell nutty and amazing. This takes about 5-7 minutes. Don’t walk away! If it smells burnt, you’ve gone too far. Remove from heat immediately and pour into a heatproof bowl to cool.
Step 2: Mix the Wet Ingredients (2 minutes)
Once the butter is cool enough to handle (but still liquid), add the granulated sugar and brown sugar. Whisk vigorously for about a minute. This helps dissolve the sugar slightly and creates that crisp edge. Add the eggs one at a time, whisking after each. Then add the vanilla extract. Whisk until smooth.
Step 3: Combine Dry Ingredients (1 minute)
In a separate bowl, whisk together the flour, baking soda, and salt. Make sure there are no lumps. This ensures even distribution of leavening.
Step 4: Form the Dough (2 minutes)
Gradually add the dry ingredients to the wet ingredients. Mix until just combined. Do not overmix! Fold in the chocolate chips. The dough will be thick. If it’s too soft, chill it in the fridge for 30 minutes. This is crucial for chewy centers.
Step 5: Scoop and Chill (30 minutes – 3 days)
Scoop the dough into balls (about 2 tablespoons each) and place them on a parchment-lined baking sheet. Chill in the fridge for at least 30 minutes, or up to 3 days. This step prevents spreading and concentrates flavor. I usually scoop them all at once and store them in the fridge in a container.
Step 6: Bake (10-12 minutes)
Preheat your oven to 350°F (175°C). Place the chilled dough balls on a baking sheet, spaced 2 inches apart. Bake for 10-12 minutes. They should look set on the edges but still soft in the center. They will firm up as they cool. Don’t overbake!
Step 7: Cool and Serve (5 minutes)
Let the cookies cool on the baking sheet for 5 minutes. Then transfer to a wire rack to cool completely. Sprinkle with flaky sea salt if using. Eat warm for the best texture.
Expert Tips & Tricks
Here’s everything I’ve learned from making these dozens of times. These tips will save you from my mistakes.
Don’t Skip the Chill
This is the #1 tip. Chilling the dough prevents the cookies from spreading into flat discs. It also allows the flavors to meld, resulting in a deeper, richer taste. I’ve made batches without chilling, and they’re just okay. With chilling, they’re amazing. Now I always chill them.
Room Temperature Eggs
Cold eggs can cause the butter to solidify, leading to a lumpy dough. If you forget to take them out, just drop them in warm water for 5 minutes. It’s a small step that makes a big difference.
Underbake Slightly
These cookies continue to cook on the hot baking sheet after you take them out of the oven. If they look fully done in the pan, they’ll be overdone on the plate. Pull them out when the edges are golden but the centers still look slightly underdone. They’ll set as they cool.
Use Parchment Paper
It’s not just for cleanup. Parchment paper promotes even baking. If you use a silicone mat, it might bake too quickly. Parchment is your friend.
Common Mistakes (and how to avoid them):
Mistake: Cookies are too flat. Fix: Chill the dough longer. Or check your baking soda. If it’s old, it won’t help them rise.
Mistake: Cookies are too cakey. Fix: You probably used too much flour. Spoon and level, don’t scoop. Or you overmixed the dough.
Mistake: Butter burned. Fix: Use a light-colored pan so you can see the color. Stir constantly. Remove from heat as soon as it smells nutty.
Variations & Substitutions
Once you’ve nailed the basic version, here’s how you can mix it up. I’ve tried all of these.
Chewy Chocolate Chunk Version
Instead of chips, use chopped chocolate bars. It creates pockets of melted chocolate throughout. I love this version for a more rustic look. It’s also cheaper if you buy chocolate bars in bulk and chop them yourself.
White Chocolate Macadamia
Swap the chocolate chips for white chocolate chips and macadamia nuts. It’s a classic combo. I make this for holidays. It’s sweet and nutty.
Peanut Butter Swirl
Add a tablespoon of peanut butter to the dough before baking. Or swirl a little on top. It adds a savory note that balances the sweetness. My husband’s favorite.
Gluten-Free
Use a 1:1 gluten-free flour blend. Everything else stays the same. I’ve used Bob’s Red Mill and it works great. The texture is slightly different but still delicious.
Dairy-Free
Use dairy-free butter and dairy-free chocolate chips. It’s not quite the same, but it’s still good. I make this for my lactose-intolerant friend.
Vegan
Use flax eggs (1 tablespoon ground flaxseed + 3 tablespoons water per egg) and vegan butter. It works, but the texture is slightly different. Still tasty though.
Serving & Storage
I usually serve these straight from the cooling rack, warm and gooey. But here are other ways I’ve enjoyed them:
Side Dishes:
- A cold glass of milk (classic)
- A scoop of vanilla ice cream
- A cup of coffee or tea
Storage Instructions:
Refrigerator: Store in an airtight container for up to 1 week. They stay chewy if you put a slice of bread in the container. The bread keeps the moisture in the cookies.
Freezer: Yes, these freeze well! Scoop the dough balls and freeze them on a baking sheet. Once solid, transfer to a freezer bag. Bake straight from frozen, adding 1-2 minutes to the bake time. Or freeze baked cookies for up to 3 months.
Reheating: Microwave for 10-15 seconds to warm them up. They’ll be soft and gooey again.
Pro tip: If you’re making these for a bake sale or gift, freeze the dough balls. They’ll stay fresh and you can bake them fresh for the event. It’s a great way to plan ahead.
Nutrition Information
I’m not a nutritionist, but here’s the breakdown if you’re tracking. This is per cookie (makes about 24 cookies).
| Nutrient | Amount |
|---|---|
| Calories | 180 |
| Protein | 2g |
| Carbs | 24g |
| Fiber | 1g |
| Sugar | 16g |
| Fat | 10g |
| Saturated Fat | 6g |
| Cholesterol | 25mg |
| Sodium | 120mg |
What’s Good: They’re a reasonable treat. Not too high in protein, but that’s expected for a cookie. The chocolate chips add some antioxidants.
What to Know: Higher in sugar and fat, obviously. It’s a cookie. Enjoy in moderation. If you want to make them lighter, you can reduce the sugar by ¼ cup, but they’ll be less chewy.
Final Thoughts
So that’s my go-to brown butter chocolate chip cookies with chewy centers! I’ve probably talked your ear off at this point, but when you make a recipe this often, you have a lot to say about it.
This has saved my dessert game more times than I can count. It’s my answer to “what’s for dessert” when I’m tired, don’t want to bake something complicated, and still want something that tastes really good. My kids are happy, my husband’s happy, and I’m happy because I’m not stressed about cooking.
Make it yours! Try different add-ins, swap in your favorite chocolate, adjust the salt. The best recipes are the ones you adapt to your family’s tastes. If you make this, drop a comment and let me know what you think! I love hearing how recipes turn out in your kitchen. And if something doesn’t work, tell me that too—I’m here to help troubleshoot.
Happy baking! And I hope your kitchen smells half as good as mine does right now.
Frequently Asked Questions
Can I use salted butter?
Yes, but reduce the added salt in the recipe to ½ teaspoon. Salted butter varies in salt content, so taste the dough if you can (don’t eat too much raw dough with eggs, but a tiny bit is okay for testing). Unsalted is safer for consistency.
Why did my cookies spread too much?
Usually, this means the butter was too warm when you mixed the dough, or you didn’t chill the dough long enough. Make sure the brown butter is cool but still liquid. Chill the dough for at least 30 minutes. Also, check that your baking sheet isn’t too hot. Let it cool between batches.
Can I make the dough ahead?
Absolutely. Scoop the dough balls and store them in the fridge for up to 3 days. Or freeze them for up to 3 months. This is great for meal prep. Just bake them when you need them.
Why did my cookies turn out cakey?
You probably used too much flour. Spoon and level your flour, don’t scoop it. Or you overmixed the dough. Mix until just combined. Also, too much baking soda can make them cakey. Make sure your baking soda is fresh.
Can I freeze the baked cookies?
Yes, but they might lose some chewiness. It’s better to freeze the dough. If you freeze baked cookies, store them in an airtight container with a slice of bread to keep them moist. Reheat in the microwave for 10 seconds.
What kind of chocolate chips should I use?
Semi-sweet is the standard. But you can use milk chocolate for sweeter cookies, or dark chocolate for less sweetness. I buy the store brand in bulk to save money. It works just as well as the expensive stuff.
Can I double this recipe?
Yes, double everything. Use a larger mixing bowl. The baking time stays the same. Just make sure you have enough baking sheets. You might need to bake in batches.
Pin This Recipe!
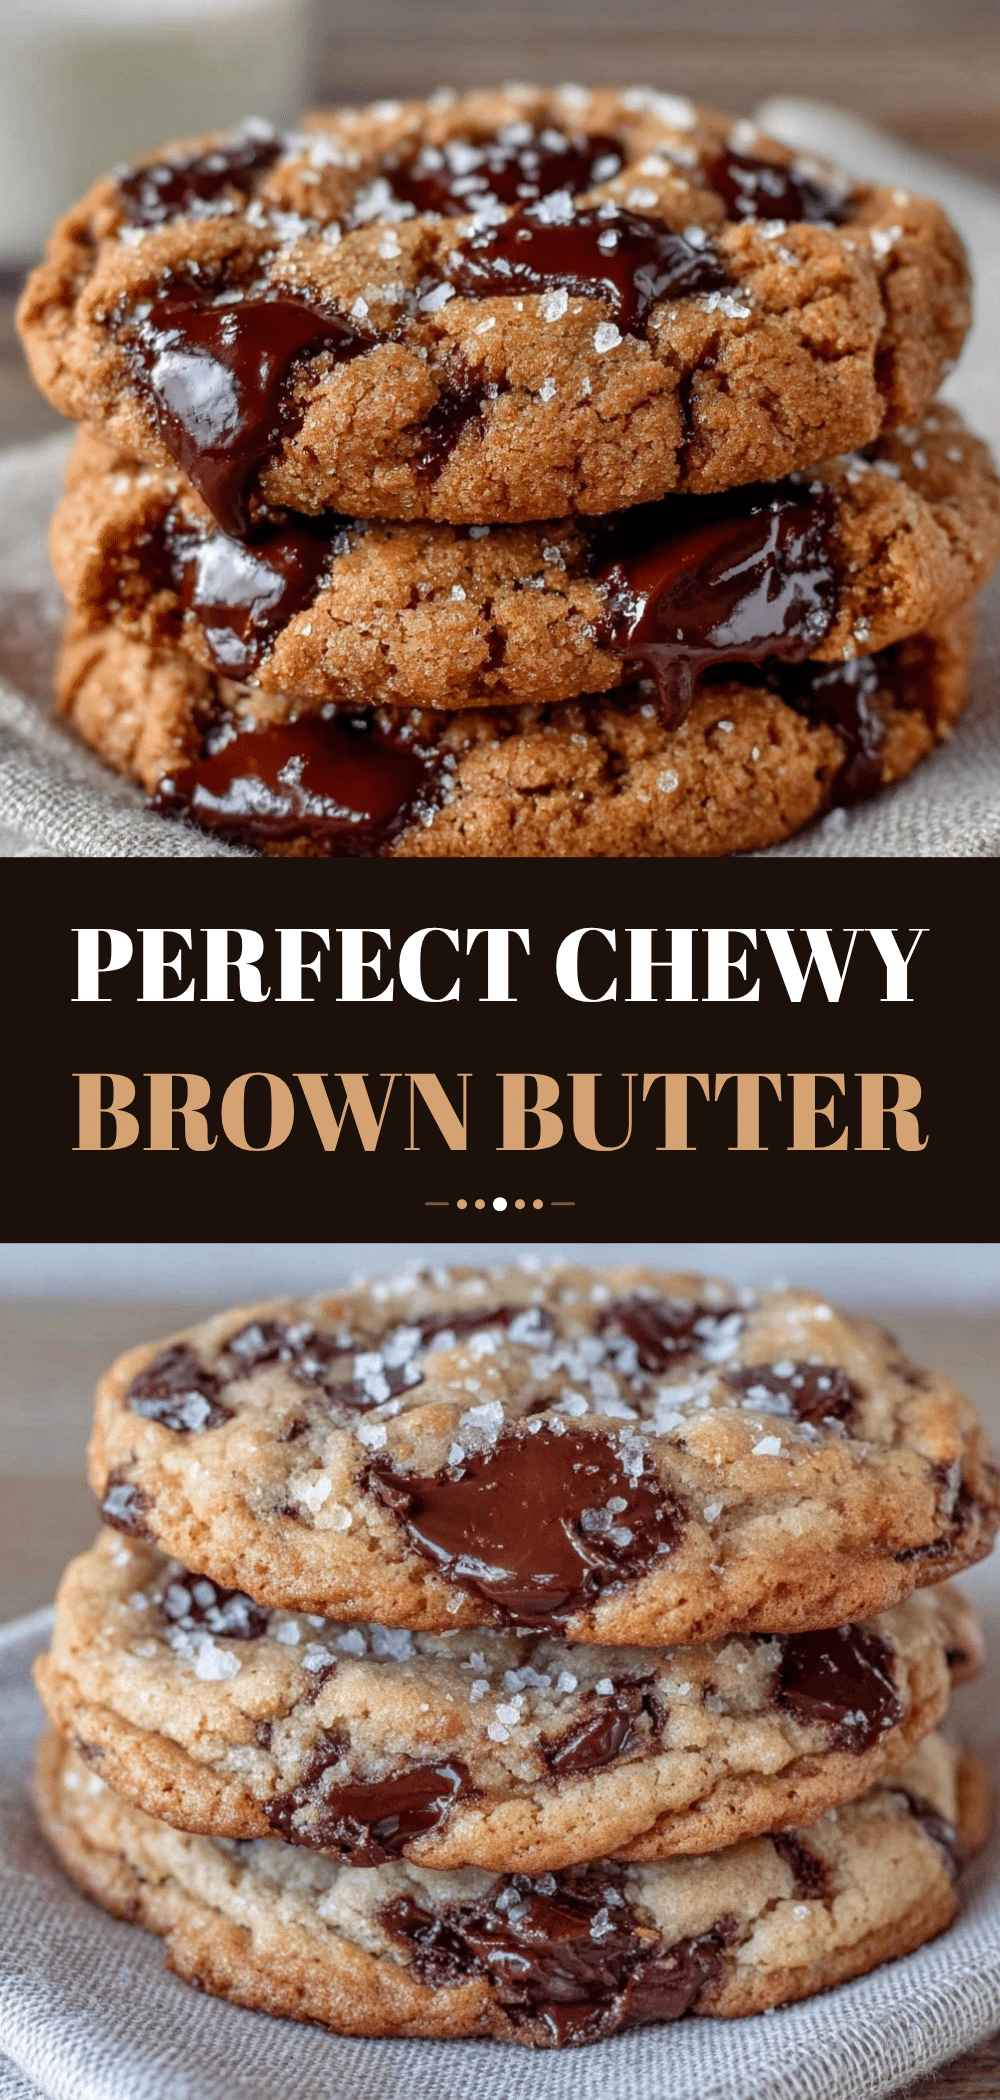
Brown Butter Chocolate Chip Cookies: Easy & Cheap
- Total Time: 45 minutes
- Yield: 24 cookies 1x
Description
These brown butter chocolate chip cookies feature crisp edges and chewy centers, offering a bakery-quality taste at a budget-friendly price. They are simple to make, pantry-friendly, and perfect for any occasion.
Ingredients
- 1 cup (226g) unsalted butter
- 2 ¼ cups (280g) all-purpose flour
- ½ cup (100g) granulated sugar
- 1 ½ cups (300g) packed brown sugar
- 2 large eggs, room temperature
- 2 teaspoons vanilla extract
- 1 teaspoon baking soda
- 1 teaspoon salt
- 2 cups (340g) semi-sweet chocolate chips
- Flaky sea salt, optional for topping
Instructions
- Melt the butter in a medium saucepan over medium heat, stirring constantly until it foams, settles, and turns golden brown with a nutty aroma (5-8 minutes). Remove from heat and pour into a heatproof bowl to cool.
- In a large bowl, whisk the cooled brown butter, granulated sugar, and brown sugar vigorously for about a minute. Add eggs one at a time, whisking after each, then add vanilla extract and whisk until smooth.
- In a separate medium bowl, whisk together the flour, baking soda, and salt to ensure even distribution.
- Gradually add the dry ingredients to the wet ingredients, mixing until just combined. Do not overmix. Fold in the chocolate chips.
- Scoop the dough into balls (about 2 tablespoons each) and place them on a parchment-lined baking sheet. Chill in the refrigerator for at least 30 minutes (or up to 3 days).
- Preheat oven to 350°F (175°C). Place chilled dough balls on baking sheets, spaced 2 inches apart.
- Bake for 10-12 minutes until edges are set but centers still look slightly soft. They will firm up as they cool.
- Let cookies cool on the baking sheet for 5 minutes, then transfer to a wire rack to cool completely. Sprinkle with flaky sea salt if desired.
Notes
Chilling the dough is crucial for preventing spreading and enhancing chewiness. Use a light-colored saucepan to monitor butter browning. Spoon and level flour for accurate measurements. Cookies continue to cook on the hot pan after removal from the oven, so slightly underbake for best texture.
- Prep Time: 30 minutes
- Cook Time: 10-12 minutes
- Category: Dessert
- Cuisine: American
Nutrition
- Serving Size: 1 cookie
- Calories: 180
- Sugar: 16
- Sodium: 120
- Fat: 10
- Saturated Fat: 6
- Carbohydrates: 24
- Fiber: 1
- Protein: 2
Keywords: brown butter cookies, chocolate chip cookies, chewy cookies, easy dessert, budget baking, homemade cookies


