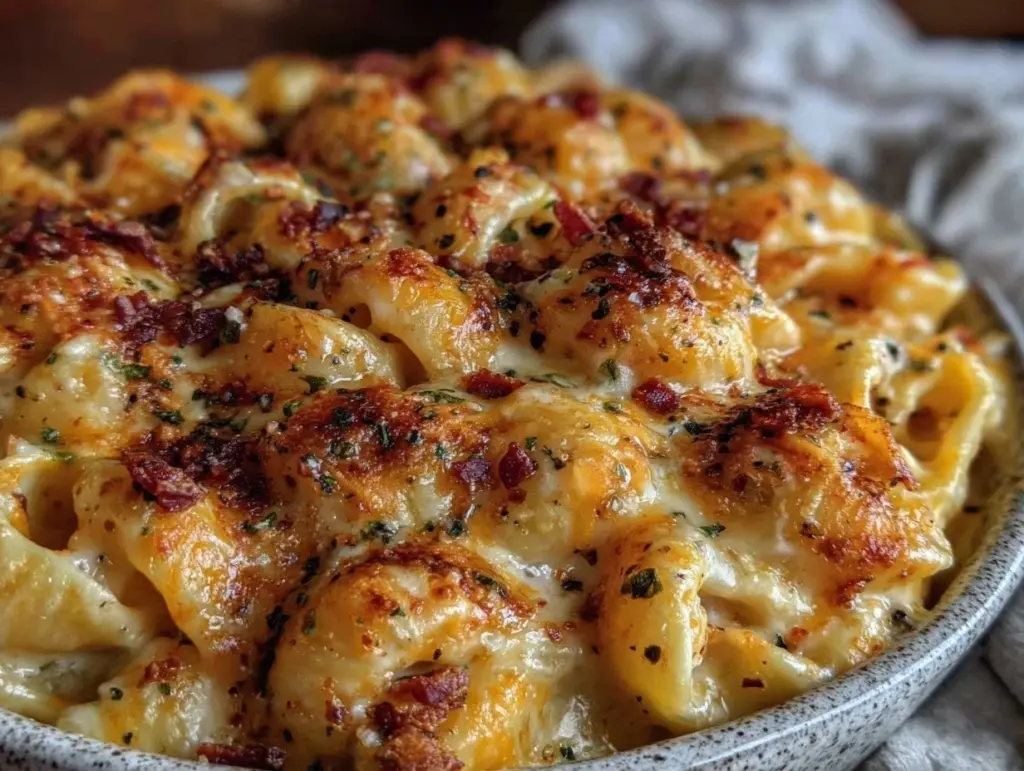
I still remember the first time I made this mac and cheese. It was a rainy Tuesday in November, the kind where the wind howls outside and you just want to curl up under three blankets. I had a box of elbow pasta, a bag of shredded cheddar (which I knew immediately was a mistake), and zero enthusiasm for dinner. I threw it together in about ten minutes, expecting mediocrity.
Instead, I got something that stopped me mid-bite. It was rich, deeply cheesy, and had that impossible texture that only comes from making a proper roux and using the right cheese blend. I finished the whole bowl and went back for seconds before my even hungrier husband got home from work. He looked at the pot, then at me, and said, “Okay, what is this magic?”
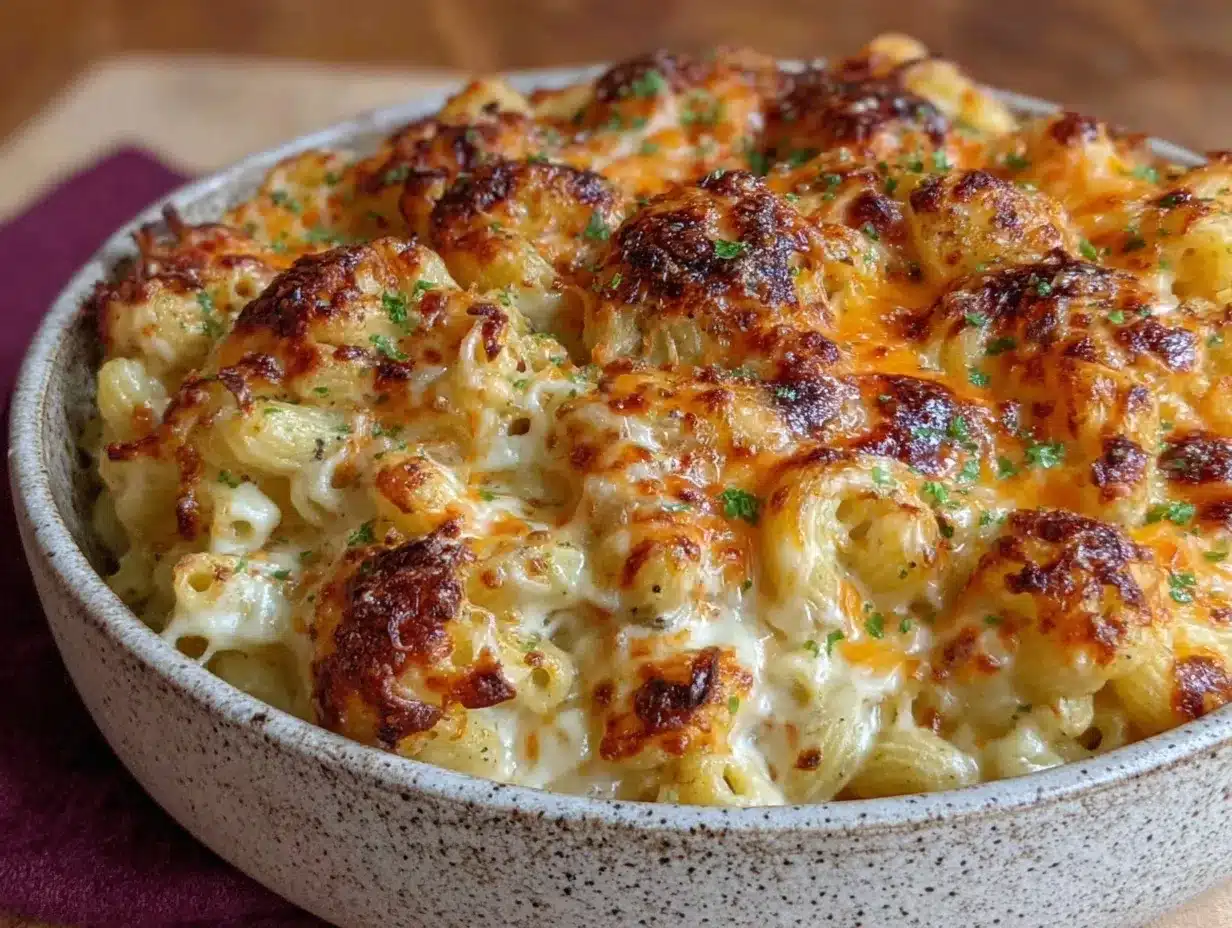
It’s not magic. It’s technique. And it’s the reason I keep coming back to this ultra-creamy baked mac and cheese with three melty cheeses. I’ve tested this recipe dozens of times—some with too much flour, some with cold milk, some with cheese that seized up and turned grainy. Each failure taught me something. Now? I’ve got it down to a science that feels like art. This ultra-creamy baked mac and cheese with three melty cheeses is the kind of dish that turns skeptics into believers. It’s sturdy enough to hold up in the oven but tender enough to melt on your tongue.
What started as a rainy-night rescue mission has become my go-to for everything from potlucks to “I need a hug in food form” evenings. It pairs beautifully with a simple side like my creamy wild rice and mushroom casserole if you’re feeling extra cozy, or it stands alone as the star of the show. If you’ve ever struggled with dry, crumbly mac and cheese, this recipe is your fix.
Why You’ll Love This Ultra-Creamy Baked Mac and Cheese with Three Melty Cheeses
There are a million mac and cheese recipes out there. So why this one? Because it actually works every single time, and the flavor profile is balanced, not overwhelming. Here’s why this ultra-creamy baked mac and cheese with three melty cheeses has earned a permanent spot in my rotation:
- Actually Creamy, Not Gluey — I’ve made baked pasta that tastes like plastic wrap. This version uses a béchamel base (a butter-flour-milk sauce) that keeps it luxuriously smooth, even after baking. The cheese melts into the sauce, not around it.
- Three Cheeses for Maximum Flavor — I use a blend of sharp cheddar for bite, Gruyère for nuttiness, and Parmesan for savory depth. It’s a flavor trifecta that makes every bite interesting.
- Make-Ahead Friendly — This is a lifesaver for busy weeknights or dinner parties. You can assemble it the night before and just pop it in the oven when you’re ready. No stress, no last-minute panic.
- Kid-Approved and Adult-Loved — My kids think it’s the best thing on earth. My husband claims it’s better than restaurant quality. It’s the rare dish that satisfies both the pickiest eater and the most demanding foodie.
- Uses Pantry Staples — You likely have most of these ingredients already. Butter, flour, milk, pasta, and cheese. No weird gadgets or obscure ingredients required.
This ultra-creamy baked mac and cheese with three melty cheeses isn’t just food; it’s a mood. It’s warm, it’s comforting, and it’s the kind of meal that makes you slow down and actually enjoy your dinner. Plus, it’s packed with protein and calcium from the cheese and milk, so it fuels your day without feeling like diet food. It’s comfort with purpose.
Ingredients You’ll Need for the Best Baked Mac and Cheese
Here’s the thing about mac and cheese: the quality of your ingredients matters more than you think. You don’t need fancy, expensive items, but you do need to be picky about a few key things. I’m particular about three ingredients here, and I’ll tell you exactly why.
For the Pasta Base
Elbow macaroni (1 pound / 450g) — I stick with elbow pasta because its shape holds the sauce perfectly. Rigatoni works too if you prefer a tubular shape. Avoid thin pasta like spaghetti; it gets lost in the sauce. I use Barilla, but any brand is fine as long as it’s high-quality durum wheat.
Salt (2 tablespoons, for the pasta water) — This is non-negotiable. Your pasta water should taste like the ocean. If you under-salt the water, the pasta itself will be bland, no matter how good your sauce is. I use kosher salt because it’s easier to control.
For the Cheese Sauce (The Magic Part)
Unsalted butter (½ cup / 115g) — This forms the base of your roux. Unsalted lets you control the sodium. I use high-quality European-style butter if I can find it, but regular salted butter works if you reduce the added salt later.
All-purpose flour (½ cup / 60g) — This thickens the sauce. Don’t skip it, and don’t substitute with gluten-free flour unless you’re careful (it can get gummy). Whisk it into the butter to cook out the raw flour taste.
Whole milk (4 cups / 960ml) — Use whole milk for the best creaminess. Skim milk will make the sauce thin and watery. 2% is okay in a pinch, but whole milk is the gold standard for baked mac and cheese.
Sharp cheddar cheese (2 cups / 200g, freshly grated) — This is your primary cheese. Buy a block and grate it yourself. Pre-shredded cheese has anti-caking agents that prevent it from melting smoothly, leading to a grainy sauce. I use a sharp cheddar for that tangy punch.
Gruyère cheese (1 cup / 100g, freshly grated) — This is the secret weapon. Gruyère is nutty, earthy, and melts beautifully. It adds a gourmet touch without being overpowering. If you can’t find Gruyère, Swiss cheese is a decent substitute.
Parmesan cheese (½ cup / 50g, freshly grated) — This adds umami and saltiness. It’s a hard cheese that melts into the sauce, adding depth. Again, grate it yourself. Pre-grated Parmesan tastes dusty and doesn’t melt the same way.
For the Topping
Breadcrumbs (½ cup / 50g) — Panko breadcrumbs are my preference because they get extra crispy. Regular breadcrumbs work too, but they’re denser. I toast them in a little butter for extra flavor.
Garlic powder (1 teaspoon) — Just a touch to boost the savory notes without adding raw garlic chunks.
Mustard powder (½ teaspoon) — This is the secret ingredient. It doesn’t make the mac and cheese taste like mustard; it enhances the cheese flavor. You’ll miss it if it’s not there.
Black pepper (½ teaspoon, freshly cracked) — Adds a little heat and complexity.
Equipment Needed
You don’t need fancy equipment for this. Here’s what I actually use:
Large pot — For boiling the pasta. A 6-quart pot is perfect. My old stainless steel pot works fine; it doesn’t need to be fancy.
Large skillet or Dutch oven — For making the roux and sauce. A 12-inch skillet is ideal. I prefer stainless steel or enameled cast iron because they distribute heat evenly.
Whisk — Essential for making a smooth roux and sauce. A silicone whisk is great because it won’t scratch your pot.
Box grater — For grating your cheese. Freshly grated cheese melts so much better than pre-shredded.
9×13 inch baking dish — This is the standard size for baked mac and cheese. Glass or ceramic works best because they retain heat well. If you don’t have one, a large casserole dish works too.
Measuring cups and spoons — Standard stuff. Dollar store versions work fine.
How to Make Ultra-Creamy Baked Mac and Cheese with Three Melty Cheeses
Alright, let’s make this! I’m walking you through exactly how I do it, including the little tricks I’ve picked up over the years.
Step 1: Prep Your Pasta and Oven (10 minutes)
Preheat your oven to 350°F (175°C). Grease your 9×13 inch baking dish with a little butter or cooking spray. This prevents sticking and adds flavor. While the oven heats, bring a large pot of salted water to a boil. Add the elbow macaroni and cook according to package directions until al dente (usually 7-8 minutes). IMPORTANT: Reserve 1 cup of pasta water before draining. This starchy water is magic for adjusting the sauce consistency. Drain the pasta and set aside.
Step 2: Make the Roux (5 minutes)
In your large skillet or Dutch oven, melt the butter over medium heat. Once melted and bubbling, add the flour. Whisk constantly for about 1-2 minutes. You want the mixture to turn a light golden color and smell nutty. This cooks out the raw flour taste. Don’t rush this step—browned roux adds flavor, but burnt roux tastes bitter.
Step 3: Build the Sauce (5 minutes)
Gradually pour in the whole milk, whisking constantly to prevent lumps. Keep whisking as the mixture heats up and thickens. This should take about 5-7 minutes. The sauce is ready when it coats the back of a spoon and leaves a trail when you run your finger through it. If it’s too thick, add a splash of the reserved pasta water. If it’s too thin, let it simmer a bit longer.
Step 4: Add the Cheeses (3 minutes)
Remove the skillet from heat. This is crucial—adding cheese to high heat can make it grainy. Stir in the grated sharp cheddar, Gruyère, and Parmesan gradually. Whisk until the cheese is completely melted and the sauce is smooth. Season with garlic powder, mustard powder, and black pepper. Taste and adjust salt if needed (remember, the cheese is already salty).
Step 5: Combine Everything (2 minutes)
Add the drained pasta to the cheese sauce. Stir gently until every noodle is coated. If the mixture looks too dry, add a little more pasta water. If it’s too soupy, don’t worry—it will thicken in the oven.
Step 6: Top and Bake (25 minutes)
Transfer the mac and cheese to your prepared baking dish. In a small bowl, toss the breadcrumbs with a little melted butter (optional but recommended for extra crispiness) and sprinkle them evenly over the top. Bake for 20-25 minutes, or until the top is golden brown and the sauce is bubbling around the edges. Let it rest for 10 minutes before serving. This step is important—it allows the sauce to set slightly so it doesn’t slide off the fork.
Step 7: Serve
Serve hot, straight from the dish. I love adding a sprinkle of fresh parsley or chives for color, but it’s not necessary. This ultra-creamy baked mac and cheese with three melty cheeses is best enjoyed warm and gooey.
Expert Tips & Tricks for Perfect Mac and Cheese
Here’s everything I’ve learned from making this dozens of times. These tips will save you from my mistakes.
Grate Your Own Cheese
I cannot stress this enough. Pre-shredded cheese contains cellulose, which prevents it from melting smoothly. Your sauce will be grainy and separated. Buy blocks and grate them yourself. It takes 5 minutes and makes a huge difference.
Don’t Overcook the Pasta
Since the pasta will continue to cook in the oven, drain it al dente. If you cook it until it’s soft before baking, it’ll turn to mush. I usually cook it 1-2 minutes less than the package directs.
Use Mustard Powder
It sounds weird, but mustard powder enhances the flavor of cheese without making it taste like mustard. It’s a chef’s secret for a reason. Don’t skip it.
Let It Rest
I know it’s hard to wait, but letting the mac and cheese rest for 10 minutes after baking allows the sauce to thicken and set. If you cut into it immediately, it’ll be soupy. Patience pays off.
Adjust Consistency with Pasta Water
If your sauce looks too thick before baking, add a splash of the reserved pasta water. The starch helps bind the sauce and keeps it creamy. If it’s too thin, bake it a few minutes longer.
Variations & Substitutions
Once you’ve nailed the basic version, here’s how you can mix it up. I’ve tried all of these.
Spicy Mac
Add 1 teaspoon of cayenne pepper or a diced jalapeño to the roux. Top with crispy bacon bits. This is my husband’s favorite version.
Vegetable-Loaded
Stir in 1 cup of steamed broccoli florets or roasted cauliflower before baking. It adds nutrition and texture. My kids don’t even notice the veggies because the cheese covers everything.
Gluten-Free
Use gluten-free elbow pasta and gluten-free breadcrumbs. Everything else is naturally gluten-free. I’ve tested this with Barilla gluten-free pasta, and it works great.
Dairy-Free
Use dairy-free butter and milk, and dairy-free cheese shreds. It’s not the same as the original, but it’s still tasty. I use Violife or Follow Your Heart shreds, which melt reasonably well.
Protein Boost
Add 1 cup of cooked chicken, shrimp, or crispy bacon. This turns it into a heartier meal. I often use leftover rotisserie chicken for a quick upgrade.
Serving & Storage
How to Serve:
I usually serve this straight from the baking dish at the dinner table—it looks rustic and stays warm. But here are other ways I’ve enjoyed it:
- Side Dishes: Simple green salad with balsamic vinaigrette, roasted asparagus, or fall sheet pan sausage and root veggies for a complete meal.
- Appetizers: Serve a smaller portion with a side of creamy hatch chile queso dip for a cheese lover’s party.
- Wine Pairing: A crisp Pinot Grigio or a light Chardonnay cuts through the richness nicely.
Storage Instructions:
Refrigerator:
Store leftovers in an airtight container for up to 4 days. The sauce will thicken in the fridge—totally normal.
Reheating:
Best method: Add a splash of milk to a skillet, add your leftover mac and cheese, and heat gently over low heat, stirring frequently. The extra liquid brings back the creamy texture. Microwave method: Heat in 30-second intervals, stirring between, and add a splash of milk. Never works: Trying to reheat in the pot you cooked it in. It always burns on the bottom. Ask me how I know.
Freezing:
Honestly, this doesn’t freeze well because of the dairy. The sauce separates when thawed. Make it fresh or store in the fridge for up to 4 days.
Nutrition Information
I’m not a nutritionist, but here’s the breakdown if you’re tracking. This is comfort food with cream and cheese, so it’s not a diet recipe. But it’s way better than takeout, costs less, and I know exactly what’s in it.
Per Serving (based on 8 servings):
| Nutrient | Amount |
|---|---|
| Calories | 480 |
| Protein | 22g |
| Carbs | 52g |
| Fiber | 2g |
| Fat | 20g |
| Saturated Fat | 12g |
| Cholesterol | 60mg |
| Sodium | 550mg |
What’s Good:
– High in protein from the cheese and pasta.
– Good source of calcium.
– Filling and satisfying, so you’re less likely to snack later.
What to Know:
– Higher in calories from the butter and cheese.
– Contains dairy and gluten.
– Moderate sodium (use low-sodium broth if needed, though there’s no broth here).
My Take:
Look, this is comfort food. It’s fuel that keeps you going, not a diet compromise. When I want to make it lighter, I use the half-and-half version and load up on vegetables. But usually? I just eat a reasonable portion and enjoy it.
Final Thoughts
So that’s my go-to ultra-creamy baked mac and cheese with three melty cheeses! I’ve probably talked your ear off at this point, but when you make a recipe this often, you have a lot to say about it.
This has saved weeknight dinners more times than I can count. It’s my answer to “what’s for dinner” when I’m tired, don’t want takeout, and still want something that tastes really good. My kids are happy, my husband’s happy, and I’m happy because I’m not stressed about cooking.
Make it yours! Try different add-ins, swap in your favorite vegetables, adjust the garlic (though more is always better in my opinion). The best recipes are the ones you adapt to your family’s tastes.
If you make this, drop a comment and let me know what you think! I love hearing how recipes turn out in your kitchen. And if something doesn’t work, tell me that too—I’m here to help troubleshoot.
Happy cooking! And I hope your kitchen smells half as good as mine does right now.
Frequently Asked Questions
Q: Can I use milk instead of heavy cream?
A: This recipe uses whole milk, which is perfect for the sauce. If you’re asking about substituting heavy cream for milk, you can, but the sauce will be richer and thicker. I find whole milk gives the best balance of creaminess and ease. If you want a lighter version, 2% milk works, but whole milk is best for baked mac and cheese.
Q: My sauce came out watery—what happened?
A: Usually means you didn’t let the roux cook long enough or you added too much milk at once. Whisk the milk in gradually and let the sauce simmer until it coats the spoon. If it’s already watery, turn up the heat and let it reduce for another few minutes. The cheese will also thicken it up.
Q: Can I make this ahead for a dinner party?
A: Absolutely! Assemble the mac and cheese up to 24 hours ahead and store in the fridge. Let it come to room temperature for 30 minutes before baking. You may need to add 5-10 minutes to the baking time. This is my go-to strategy for stress-free hosting.
Q: Why did my sauce get grainy/lumpy?
A: The heat was too high when you added the cheese, or you used pre-shredded cheese. Always remove the pan from the heat before adding cheese, and grate your own cheese from a block. If it’s already grainy, try whisking in a splash of warm milk—sometimes you can save it.
Q: Can I use jarred garlic?
A: For the sauce, fresh garlic is better, but this recipe uses garlic powder for even flavor distribution. If you want fresh garlic, mince 2 cloves and add it to the butter when making the roux. Jarred minced garlic can work in a pinch, but fresh is best.
Q: How do I reheat leftovers without it getting dry?
A: Add a splash of milk or cream to a skillet, add your leftover pasta, and heat gently over low heat, stirring frequently. The extra liquid brings back the creamy texture. Microwave sort of works but tends to dry it out. If you do microwave, definitely add a splash of milk first and heat in short bursts, stirring between.
Q: Can I double this recipe?
A: Yes, but you’ll need a larger baking dish (13×9 or two 9×13 dishes). The cooking time may increase by 5-10 minutes. Check for bubbling edges and golden brown top to know when it’s done.
Pin This Recipe!
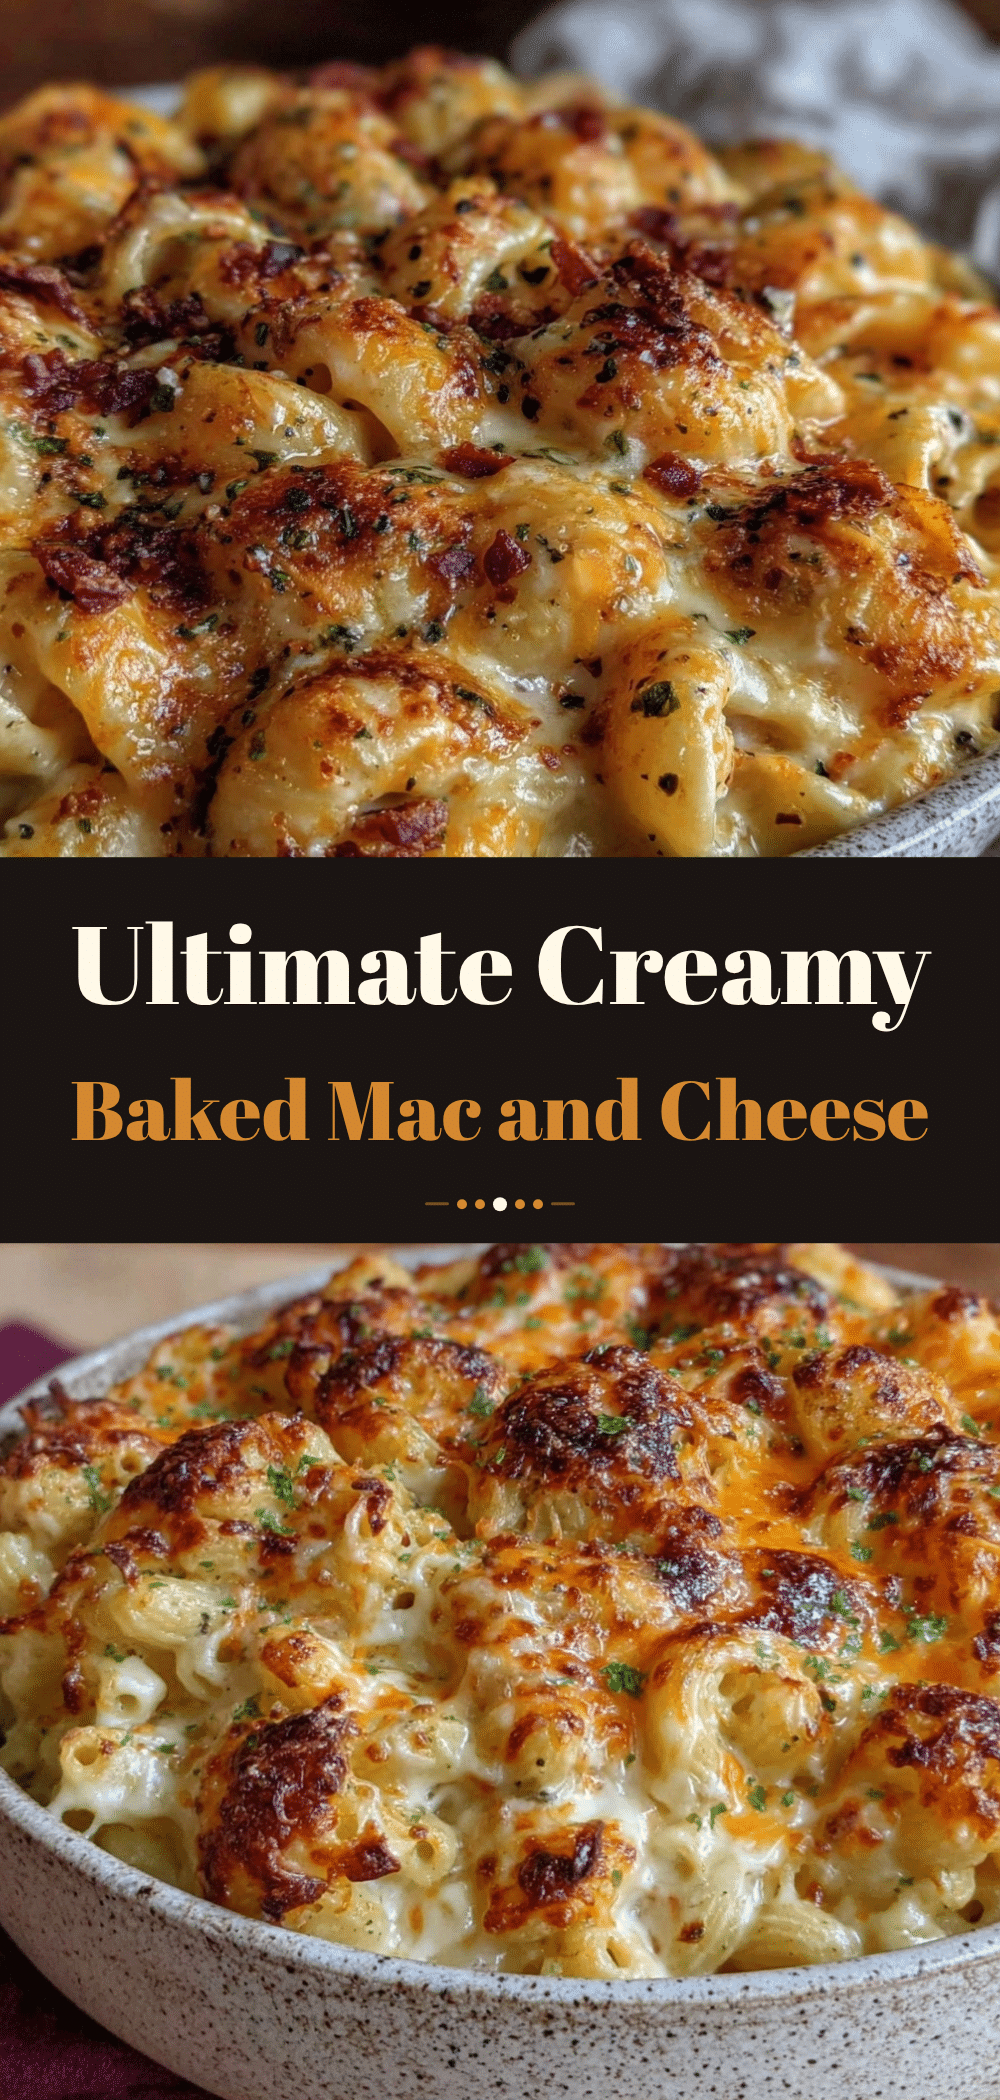

Ultra-Creamy Baked Mac and Cheese: 3 Melty Cheeses
- Total Time: 45 minutes
- Yield: 8 servings 1x
Description
This ultra-creamy baked mac and cheese uses a proper roux and a blend of sharp cheddar, Gruyère, and Parmesan to create a rich, smooth, and melty dish that is kid-approved and perfect for any occasion.
Ingredients
- 1 pound elbow macaroni
- 2 tablespoons kosher salt (for pasta water)
- 1/2 cup unsalted butter
- 1/2 cup all-purpose flour
- 4 cups whole milk
- 2 cups sharp cheddar cheese, freshly grated
- 1 cup Gruyère cheese, freshly grated
- 1/2 cup Parmesan cheese, freshly grated
- 1/2 cup Panko breadcrumbs
- 1 teaspoon garlic powder
- 1/2 teaspoon mustard powder
- 1/2 teaspoon black pepper, freshly cracked
- Butter or cooking spray (for greasing dish)
Instructions
- Preheat oven to 350°F (175°C). Grease a 9×13 inch baking dish with butter or cooking spray.
- Bring a large pot of salted water to a boil. Add elbow macaroni and cook until al dente (7-8 minutes). Reserve 1 cup of pasta water before draining. Drain pasta and set aside.
- In a large skillet or Dutch oven, melt butter over medium heat. Add flour and whisk constantly for 1-2 minutes until the mixture is light golden and nutty.
- Gradually pour in whole milk, whisking constantly to prevent lumps. Simmer for 5-7 minutes until the sauce thickens and coats the back of a spoon.
- Remove skillet from heat. Stir in grated cheddar, Gruyère, and Parmesan until melted and smooth. Season with garlic powder, mustard powder, and black pepper.
- Add drained pasta to the cheese sauce and stir to coat. Add reserved pasta water if the mixture is too thick.
- Transfer mixture to the prepared baking dish. Toss breadcrumbs with melted butter (optional) and sprinkle evenly over the top.
- Bake for 20-25 minutes until the top is golden brown and the sauce is bubbling.
- Let rest for 10 minutes before serving to allow the sauce to set.
Notes
Grate your own cheese to ensure smooth melting. Do not overcook the pasta as it will continue to cook in the oven. Let the mac and cheese rest for 10 minutes after baking to allow the sauce to thicken. For a gluten-free version, use gluten-free pasta and breadcrumbs. For a dairy-free version, use dairy-free butter, milk, and cheese.
- Prep Time: 10 minutes
- Cook Time: 35 minutes
- Category: Main Course
- Cuisine: American
Nutrition
- Serving Size: 1/8 of the dish
- Calories: 480
- Sodium: 550
- Fat: 20
- Saturated Fat: 12
- Carbohydrates: 52
- Fiber: 2
- Protein: 22
Keywords: mac and cheese, baked mac and cheese, creamy mac and cheese, three cheese mac, comfort food, family dinner, easy recipe


