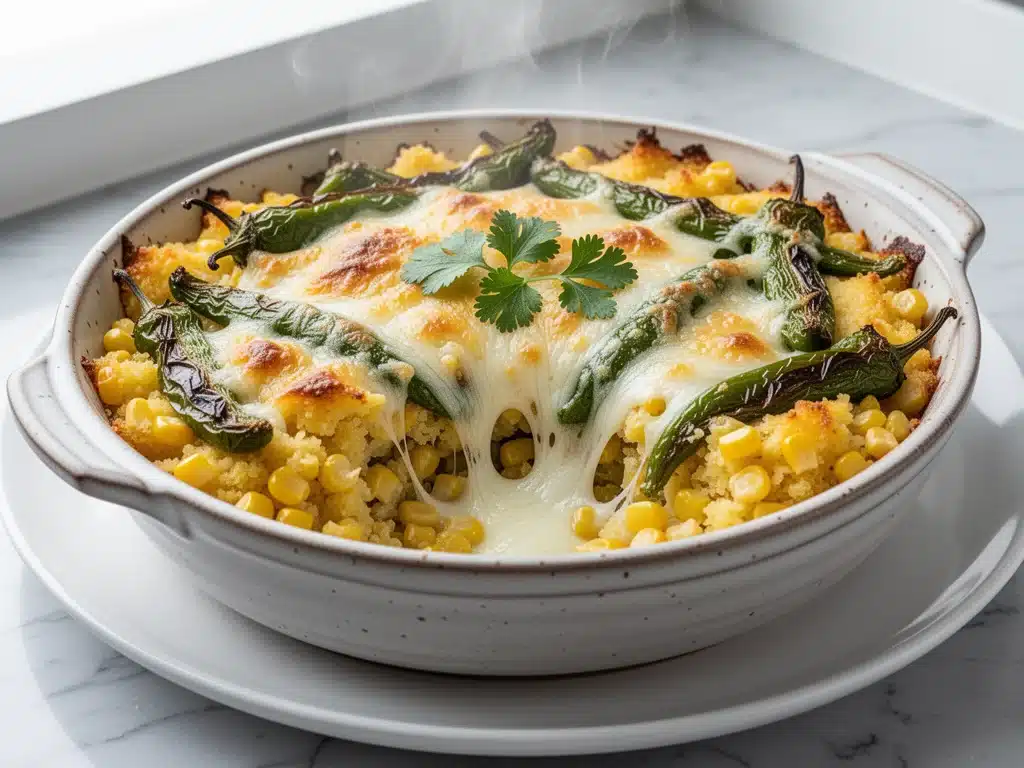
There’s a specific kind of magic that happens in my kitchen every June. It starts with a delivery box from New Mexico, heavy with heat and promise, and ends with me staring at a 9×13 baking dish, wondering how something so simple could taste so complex. I’m talking, of course, about Hatch chiles.
For years, I treated Hatch chile season like a high-maintenance relationship. I’d buy the chiles, struggle to roast and peel them over my sink (creating a smoke alarm symphony), and then forget about them until they turned to mush in the fridge. Meanwhile, the corn casserole part of my life was always reliable but boring—just the standard box mix with creamed corn and a bag of shredded cheese. Safe. Edible. Forgettable.
Then, last year, I had a epiphany. I was tired. I wanted that smoky, spicy Hatch chile flavor, but I didn’t have the energy to play chef. So I threw everything into one dish: roasted Hatch chiles, sweet corn, creamy custard base, and sharp cheddar. I expected mediocrity. Instead, I got a dish that stopped conversation at the dinner table. My husband, who usually eats his dinner in silence, actually asked for the recipe. My kids, who typically reject anything green or spicy, asked for seconds.
This Roasted Hatch Chile Corn Casserole isn’t just a side dish. It’s a celebration of summer flavors condensed into one easy, comforting bake. It’s the perfect bridge between the smoky depth of roasted peppers and the sweet, creamy comfort of classic corn pudding. And the best part? It uses just five main ingredients. Yes, five. That’s it.
I’ve tested this recipe about a dozen times, tweaking the ratios of cheese to cream, adjusting the spice level, and figuring out the perfect roasting method that doesn’t require a flamethrower. What I’ve landed on is the ultimate weeknight savior. It’s rustic, it’s flavorful, and it tastes like you spent hours in the kitchen (even though you really didn’t). If you love bold flavors but hate complicated prep, this is your new go-to.
Why You’ll Love This Hatch Chile Corn Casserole Recipe
Look, I’m not here to sell you on the idea that every meal needs to be gourmet. But there’s something special about a casserole that brings people together without demanding your entire afternoon. This Hatch Chile Corn Casserole has earned its spot in my rotation for several very practical reasons.
Stupid Simple Ingredients
Severely, if you can open a can of corn and shred a block of cheese, you can make this. I’m not exaggerating. You don’t need a pantry full of exotic spices or hard-to-find items. Just roasted chiles, corn, cheese, eggs, and a creamy binder. It’s pantry-friendly in the truest sense. I keep these ingredients stocked because I know this dish is always a winner when I’m feeling lazy.
The Perfect Sweet-and-Spicy Balance
Most corn cassoles are just sweet. This one has a kick. The roasted Hatch chiles provide that earthy, smoky heat that cuts through the richness of the cheese and cream. It’s not a “burn your tongue off” spicy dish, but it has a gentle warmth that makes every bite interesting. It’s the kind of flavor profile that keeps you coming back for more, rather than just eating until you’re full.
Great for Feeding a Crowd (or Meal Prepping)
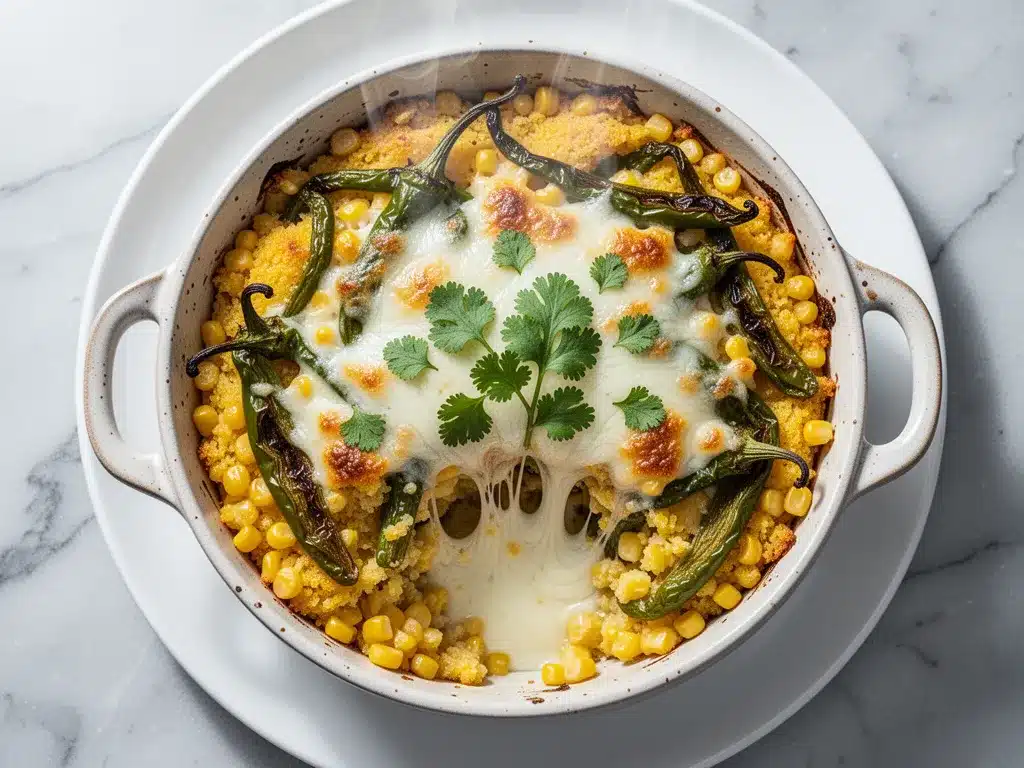
I’ve made this for potlucks, family gatherings, and just Tuesday nights. It scales beautifully. Because it’s a casserole, it’s easy to transport. I’ve taken this to work in a slow cooker, and it stayed warm and creamy for hours. It’s also incredibly satisfying as leftovers. In fact, I’ve found that the flavors meld even better the next day, making it a fantastic meal prep option.
Quick to Assemble
Once you’ve roasted your chiles (which I’ll show you a hack for), the assembly takes less than 10 minutes. There’s no chopping frenzy, no sautéing onions, no complex sauce-making. You mix, you pour, you bake. It’s the kind of recipe that lets you hang out with your guests instead of hiding in the kitchen.
This is my answer to “what’s for dinner?” when I want something that feels special but requires zero stress. No weird techniques, no fancy equipment, just reliable, delicious food that makes everyone happy.
Ingredients You’ll Need
Here’s the best part: you probably have most of this already. This recipe relies on quality over quantity. Because there are only five ingredients, each one needs to do heavy lifting. I’m particular about a few of these, and I’ll tell you exactly why.
For the Base
Hatch Chiles (2-3 medium, roasted and peeled / about 1 cup chopped) — This is the star. Look for them in June and July at most grocery stores or Latin markets. They should be firm and glossy. If you can’t find fresh Hatch chiles, you can use roasted poblano peppers or even jarred roasted red peppers (though the flavor will be less smoky). Fresh is best for that authentic New Mexico taste.
Corn (2 cups / about 300g) — I use a mix of fresh corn cut from the cob and canned cream-style corn. The fresh kernels add texture and pops of sweetness, while the cream-style corn acts as a natural thickener and adds moisture. If you’re in a rush, you can use all frozen corn (thawed) or all canned, but the texture changes slightly. I don’t recommend using only canned whole kernel corn—it can get mushy.
Heavy Cream or Half-and-Half (1 cup / 240ml) — This provides the creamy, custard-like texture. Heavy cream makes it richer and more decadent, which I prefer. Half-and-half works if you want it slightly lighter, but don’t use milk—it will be too thin and won’t set properly. The fat content is crucial for that luxurious mouthfeel.
Eggs (2 large) — These bind everything together and help the casserole set. Room temperature eggs mix more evenly, but cold ones work fine in a pinch. Don’t skip them; they’re the structural integrity of this dish.
For the Flavor
Sharp Cheddar Cheese (1 cup / 100g, shredded) — Use a block and grate it yourself. Pre-shredded cheese contains anti-caking agents (like cellulose) that prevent it from melting smoothly. You want a gooey, cheesy pull, not a grainy mess. Sharp cheddar is best because its strong flavor stands up to the spicy chiles. Mild cheddar is too subtle here.
Garlic (2 cloves, minced / about 1 tablespoon) — Fresh garlic only. Jarred garlic has a metallic aftertaste that clashes with the sweet corn. Minced fresh garlic adds a savory backbone that ties the spices together. Don’t skimp on the garlic; it’s essential.
Cumin (1 teaspoon, ground) — This is the secret weapon. It adds a warm, earthy note that complements the smokiness of the Hatch chiles. It’s subtle but necessary. If you don’t have cumin, you can skip it, but the flavor profile will be less complex.
Salt and Black Pepper (to taste) — I usually use about ½ teaspoon of salt, but taste your cheese and chiles first, as they can vary in sodium content. Freshly cracked black pepper adds a nice bite.
Optional Add-ins
Green Onions (2-3 stalks, sliced) — For a fresh, oniony crunch on top. I sprinkle these on right after baking. They add color and a mild onion flavor that brightens the dish.
Jalapeños (1, finely diced) — If you like more heat, add a diced jalapeño (seeds removed for less heat). Hatch chiles are mild to medium heat, so a jalapeño can bump it up if you’re a spice lover.
Bacon Bits (½ cup, cooked and crumbled) — For a smoky, salty crunch. I sometimes add this for game day parties. It’s not traditional, but it’s delicious.
Equipment Needed
You don’t need fancy equipment for this. Here’s what I actually use.
9×13 Inch Baking Dish — A standard glass or ceramic baking dish works best. Glass heats evenly and lets you see the browning on the bottom. I use a Pyrex dish that I’ve had for years. It’s scratched up but works perfectly.
Large Mixing Bowl — Something big enough to hold all the ingredients. I use a 4-quart bowl. If it’s too small, you’ll spill everything. Learn from my mistakes.
Whisk — For beating the eggs and cream together. A regular wire whisk is fine. No need for an electric mixer.
Knife and Cutting Board — For chopping the roasted chiles and green onions. A sharp knife makes this easier and safer.
Grater — Box grater or microplane for the cheese. I prefer a box grater for cheddar because it gives a consistent shred.
Spatula — For scraping the bowl and mixing the ingredients. Silicone spatulas are best because they get every bit of mixture out.
Optional but nice:
Broiler-safe pan — If you want a cheesy, bubbly top, broil it at the end. Most baking dishes are broiler-safe, but check yours.
How to Make It: Step-by-Step
Alright, let’s make this! I’m walking you through exactly how I do it, including the little tricks I’ve picked up. This process is straightforward, but there are a few key steps that make the difference between good and great.
Step 1: Roast and Peel the Hatch Chiles (10-15 minutes)
This is the only “active” prep work, but it’s worth it. You can roast the chiles in a few ways. I prefer the oven method because it’s hands-off. Preheat your oven to 450°F (230°C). Place the whole chiles on a baking sheet and roast for 15-20 minutes, turning occasionally, until the skins are charred and blistered all over. Alternatively, you can roast them over an open flame on your gas stove or under the broiler. Once roasted, place them in a bowl and cover with plastic wrap for 10 minutes. This steams them and makes the skins easy to peel. Peel off the charred skins, remove the stems and seeds, and chop the chiles into small pieces. Set aside.
Step 2: Prep the Corn (5 minutes)
If you’re using fresh corn, cut the kernels off the cob. You should get about 2 cups. If you’re using canned corn, drain it well. If you’re using frozen corn, thaw it and drain any excess liquid. The less moisture in the corn, the better your casserole will turn out. I like to mix fresh and cream-style corn for the best texture.
Step 3: Mix the Wet Ingredients (2 minutes)
In a large mixing bowl, whisk together the eggs and heavy cream (or half-and-half) until well combined. Add the minced garlic, cumin, salt, and black pepper. Whisk again until the spices are dissolved. This creates a flavorful base for your casserole.
Step 4: Combine Everything (5 minutes)
Add the chopped roasted Hatch chiles, corn, and half of the shredded cheddar cheese to the wet mixture. Stir gently with a spatula until everything is evenly distributed. Be careful not to overmix; you want the corn kernels to stay intact. Taste the mixture at this stage. Does it need more salt? More pepper? Adjust as needed. This is your chance to fix things before they go into the oven.
Step 5: Bake (30-35 minutes)
Preheat your oven to 350°F (175°C). Grease your 9×13 baking dish with butter or cooking spray. Pour the mixture into the dish and spread it out evenly. Sprinkle the remaining cheddar cheese on top. Bake for 30-35 minutes, or until the center is set (it should jiggle slightly but not be liquid) and the top is golden brown. If you want a bubbly, browned top, switch to broil for the last 2-3 minutes. Watch it closely so it doesn’t burn.
Step 6: Rest and Serve (10 minutes)
Remove the casserole from the oven and let it rest for 10 minutes before serving. This allows the custard to set fully, making it easier to cut and serve. Sprinkle with sliced green onions if using. Serve warm as a side dish or a main course.
Total Time: About 1 hour (including roasting and cooling) but mostly hands-off.
Expert Tips & Tricks
Here’s everything I’ve learned from making this dozens of times. These tips will save you from my mistakes.
Don’t Skip the Resting Time
I know it’s tempting to dig in right away, but this casserole needs to rest. It’s still very liquid when it comes out of the oven. If you cut into it immediately, it will fall apart. Let it sit for at least 10 minutes. The residual heat will continue to cook it, and it will firm up beautifully.
Control the Moisture
The biggest mistake people make with corn casseroles is that they turn out watery. To avoid this, make sure your corn is well-drained. If using fresh corn, pat the kernels dry with a paper towel. If using cream-style corn, check the consistency—if it’s too runny, reduce it slightly in a saucepan before adding it to the mix. Less moisture means a firmer, more satisfying casserole.
Roast Those Chiles Properly
Don’t rush the roasting. The skins need to be fully charred to peel easily. If you leave bits of skin on, the texture will be chewy and unpleasant. The steaming step (covering them in plastic wrap) is crucial for easy peeling. Don’t skip it.
Use Good Cheese
I cannot stress this enough. Pre-shredded cheese is the enemy of a smooth casserole. Buy a block of sharp cheddar and grate it yourself. It melts better, tastes better, and gives you a superior texture. It takes 3 minutes and makes a huge difference.
Common Mistakes (and how to avoid them)
Mistake: Casserole is too runny
Fix: You had too much moisture. Next time, drain the corn better, use less cream, or add an extra egg. Also, make sure you’re baking it long enough. The center should be set, not jiggly.
Mistake: Top is burnt before center is cooked
Fix: Your oven might be too hot, or you broiled it for too long. Cover the top with foil if it’s browning too quickly. Bake at a slightly lower temperature (325°F) if this happens often.
Mistake: Flavors are bland
Fix: Hatch chiles vary in heat and flavor. Taste your mixture before baking. Add more salt, pepper, or cumin if needed. Don’t be shy with the seasoning.
Variations & Substitutions
Once you’ve nailed the basic version, here’s how you can mix it up. I’ve tried all of these, and they all work.
Spicy Version
Add a diced jalapeño or a teaspoon of cayenne pepper to the mixture. If you like it really hot, use hotter chiles or add some hot sauce. This is great if you’re serving it with something mild like creamy garlic tuscan salmon.
Vegetarian Protein Boost
Add 1 can of drained black beans or pinto beans. They add protein and fiber, and they blend well with the corn and cheese. This makes the casserole more filling and nutritious.
Herb-Infused
Add 2 tablespoons of fresh cilantro or parsley to the mixture. Cilantro pairs especially well with the Hatch chiles and adds a fresh, citrusy note. It’s perfect for a summer gathering.
Cheese Swap
Use Pepper Jack cheese instead of cheddar for extra heat and a different flavor profile. Or use a Mexican cheese blend for a more authentic taste. You can also add a cup of Monterey Jack for a milder, creamier melt.
Gluten-Free
This recipe is naturally gluten-free! Just make sure your cream-style corn and chiles are certified gluten-free (some canned corn has additives). Use gluten-free cumin if needed.
Dairy-Free
Replace heavy cream with coconut cream and cheddar with dairy-free cheese shreds. It won’t be exactly the same, but it will still be creamy and flavorful. I’ve made this for a dairy-free friend, and she loved it.
Meal Prep Friendly
This reheats well. Store leftovers in an airtight container in the fridge for up to 4 days. Reheat in the microwave or in a 350°F oven until warmed through. It’s great for lunch boxes or quick dinners.
Serving & Storage
How to Serve
I usually serve this straight from the baking dish at the dinner table—it looks rustic and stays warm. But here are other ways I’ve enjoyed it:
Side Dishes: It pairs beautifully with grilled meats, roasted vegetables, or a simple green salad. I often serve it with cheddar broccoli rice egg cups for a complete meal. It’s also great alongside tacos or burritos.
Toppings Bar: When I have guests, I put out: extra chopped cilantro, sliced green onions, sour cream, and hot sauce. Everyone customizes their portion.
Storage Instructions
Refrigerator: Store in an airtight container for up to 4 days. The casserole will firm up in the fridge, which is normal.
Reheating: Best method: Reheat in the oven at 350°F for 15-20 minutes, covered with foil to prevent drying out. Microwave method: Heat in 30-second intervals, stirring between. Add a splash of cream or milk if it’s too dry. It won’t be as gooey as fresh, but it’s still tasty.
Freezing: Honestly, this doesn’t freeze well because of the dairy. The texture can become grainy or separated when thawed. I recommend making it fresh or storing in the fridge for up to 4 days.
Meal Prep Strategy: You can assemble the casserole ahead of time and refrigerate it unbaked for up to 24 hours. Just add 10-15 minutes to the baking time if you’re baking it cold from the fridge. This is perfect for busy weeknights.
Nutrition Information
I’m not a nutritionist, but here’s the breakdown if you’re tracking. These are approximate values per serving (based on 8 servings).
| Nutrient | Amount |
|---|---|
| Calories | 280 |
| Protein | 12g |
| Carbs | 25g |
| Fiber | 3g |
| Sugar | 6g |
| Fat | 16g |
| Saturated Fat | 9g |
| Cholesterol | 85mg |
| Sodium | 450mg |
| Calcium | 250mg |
What’s Good: Decent protein from cheese and eggs. Calcium from the cheese. Can add vegetables to boost nutrition. More filling than it looks.
What to Know: Higher in calories from cream and cheese. Contains dairy. Moderate sodium (use low-sodium corn to reduce).
My Take: Look, this is comfort food with cheese and cream. It’s not a diet recipe. But it’s way better than takeout, costs less, and I know exactly what’s in it. When I want to make it lighter, I use half-and-half and load up on vegetables. But usually? I just eat a reasonable portion and enjoy it.
Final Thoughts
So that’s my go-to Roasted Hatch Chile Corn Casserole! I’ve probably talked your ear off at this point, but when you make a recipe this often, you have a lot to say about it.
This has saved weeknight dinners more times than I can count. It’s my answer to “what’s for dinner?” when I’m tired, don’t want takeout, and still want something that tastes really good. My kids are happy, my husband’s happy, and I’m happy because I’m not stressed about cooking.
Make it yours! Try different add-ins, swap in your favorite vegetables, adjust the garlic (though more is always better in my opinion). The best recipes are the ones you adapt to your family’s tastes. If you’re looking for more easy, family-friendly meals, check out these homemade turkey stackers for a quick lunch option.
If you make this, drop a comment and let me know what you think! I love hearing how recipes turn out in your kitchen. And if something doesn’t work, tell me that too—I’m here to help troubleshoot.
Happy cooking! And I hope your kitchen smells half as good as mine does right now.
Frequently Asked Questions
Can I use canned Hatch chiles instead of fresh?
You can, but fresh roasted chiles have a much better flavor and texture. Canned Hatch chiles are often softer and less smoky. If you must use canned, look for high-quality brands like Hatch Chile Company. Drain them well before adding to the mixture. The flavor will be slightly different, but still good.
My casserole turned out watery—what happened?
Usually means you had too much moisture. Check your corn—was it well-drained? Did you use too much cream? Also, make sure you baked it long enough. The center should be set, not jiggly. Next time, reduce the cream by ¼ cup or add an extra egg to help it set.
Can I make this ahead for a dinner party?
Yes! Assemble the casserole up to 24 hours ahead and refrigerate it unbaked. When you’re ready to serve, let it sit at room temperature for 30 minutes, then bake as directed. You may need to add 10-15 minutes to the baking time. This is a great strategy for stress-free entertaining.
Why did my chiles peel easily but still have skin bits?
The steaming step is crucial. After roasting, place the chiles in a bowl and cover tightly with plastic wrap or a lid. Let them sit for 10 minutes. The steam loosens the skins, making them easy to peel. If you try to peel them while hot, the skins will tear. Be patient with this step.
Can I use frozen corn instead of fresh?
Yes, but make sure to thaw and drain it well. Frozen corn can release more water than fresh, which can make the casserole runny. Pat the kernels dry with a paper towel before adding them to the mix. The texture will be slightly softer, but the flavor will be good.
How do I reheat leftovers without it getting dry?
Add a splash of milk or cream to a skillet, add your leftover casserole, and heat gently over low heat, stirring frequently. The extra liquid brings back the creamy texture. Microwave sort of works but tends to dry it out. If you do microwave, definitely add a splash of milk first and heat in short bursts, stirring between.
Can I double this recipe?
Absolutely! Double everything and use a 9×13 dish (or two 8×8 dishes). The cooking times stay the same. I do this when I’m feeding a crowd. Just make sure your baking dish is large enough for the mixture to spread evenly. If it’s too thick, it won’t cook properly in the center.
Pin This Recipe!
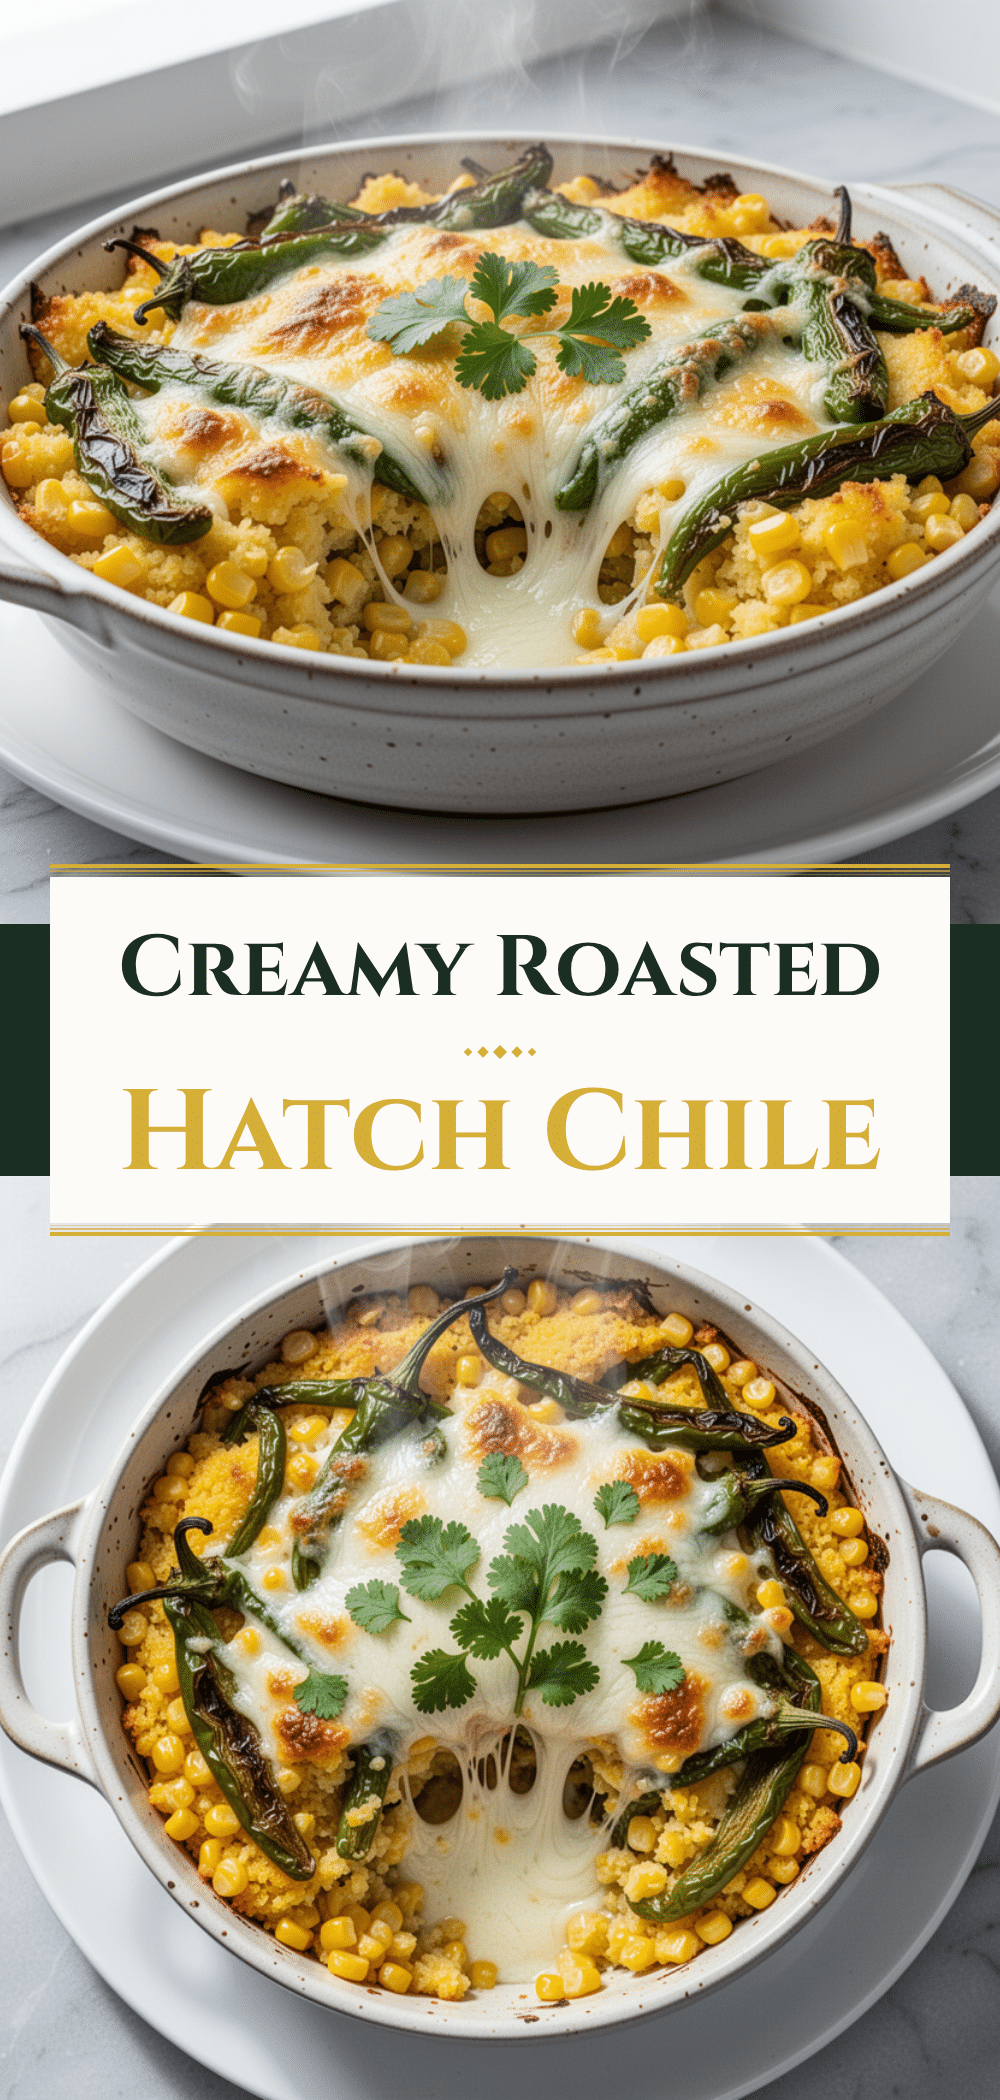

Roasted Hatch Chile Corn Casserole
- Total Time: 1 hour
- Yield: 8 servings 1x
Description
A simple, 5-ingredient side dish that combines smoky roasted Hatch chiles with sweet corn and a creamy custard base for a comforting, spicy-sweet casserole.
Ingredients
- 2–3 medium Hatch chiles, roasted, peeled, and chopped (about 1 cup)
- 2 cups corn (mix of fresh kernels and cream-style corn)
- 1 cup heavy cream or half-and-half
- 2 large eggs
- 1 cup sharp cheddar cheese, shredded
- 2 cloves garlic, minced
- 1 teaspoon ground cumin
- Salt and black pepper to taste
- Optional: 2-3 stalks green onions, sliced
- Optional: 1 jalapeño, finely diced
- Optional: ½ cup cooked bacon bits
Instructions
- Preheat oven to 450°F (230°C). Roast whole Hatch chiles on a baking sheet for 15-20 minutes until charred and blistered.
- Place roasted chiles in a bowl, cover with plastic wrap, and let steam for 10 minutes to loosen skins.
- Peel off charred skins, remove stems and seeds, and chop chiles into small pieces.
- Prep corn: Cut kernels from fresh cobs or drain canned/frozen corn well to remove excess moisture.
- In a large mixing bowl, whisk together eggs and heavy cream until combined.
- Add minced garlic, cumin, salt, and black pepper to the wet mixture and whisk until dissolved.
- Add chopped Hatch chiles, corn, and half of the shredded cheddar cheese to the bowl. Stir gently to combine.
- Preheat oven to 350°F (175°C). Grease a 9×13 inch baking dish.
- Pour mixture into the baking dish and spread evenly. Top with remaining cheddar cheese.
- Bake for 30-35 minutes until the center is set and the top is golden brown.
- Optional: Broil for 2-3 minutes at the end for a bubbly top.
- Remove from oven and let rest for 10 minutes before serving to allow the custard to set.
- Garnish with sliced green onions if desired and serve warm.
Notes
Ensure corn is well-drained to prevent a watery casserole. Let the casserole rest for 10 minutes after baking to allow it to set properly. Pre-shredded cheese contains anti-caking agents that prevent smooth melting, so grate cheese from a block. This dish can be assembled ahead and refrigerated for up to 24 hours before baking.
- Prep Time: 25 minutes
- Cook Time: 35 minutes
- Category: Side Dish
- Cuisine: American
Nutrition
- Serving Size: 1 slice (approx. 1/8
- Calories: 280
- Sugar: 6
- Sodium: 450
- Fat: 16
- Saturated Fat: 9
- Carbohydrates: 25
- Fiber: 3
- Protein: 12
Keywords: Hatch chiles, corn casserole, roasted peppers, side dish, easy recipe, summer recipes, gluten-free, comfort food


