There is a specific kind of panic that hits around 5:30 PM on a Tuesday. You know the one. You’re standing in front of the open fridge, the light humming softly, hoping a miracle meal will materialize from the half-jar of pickles and that lonely block of cheddar. Last week, that panic turned into frustration. My husband had a late meeting, the kids were hanging off the kitchen counter like barnacles, and I was staring at a pantry that felt aggressively empty. I didn’t want to order takeout (my wallet was already crying), and I definitely didn’t want to wash a mountain of dishes if I could avoid it.
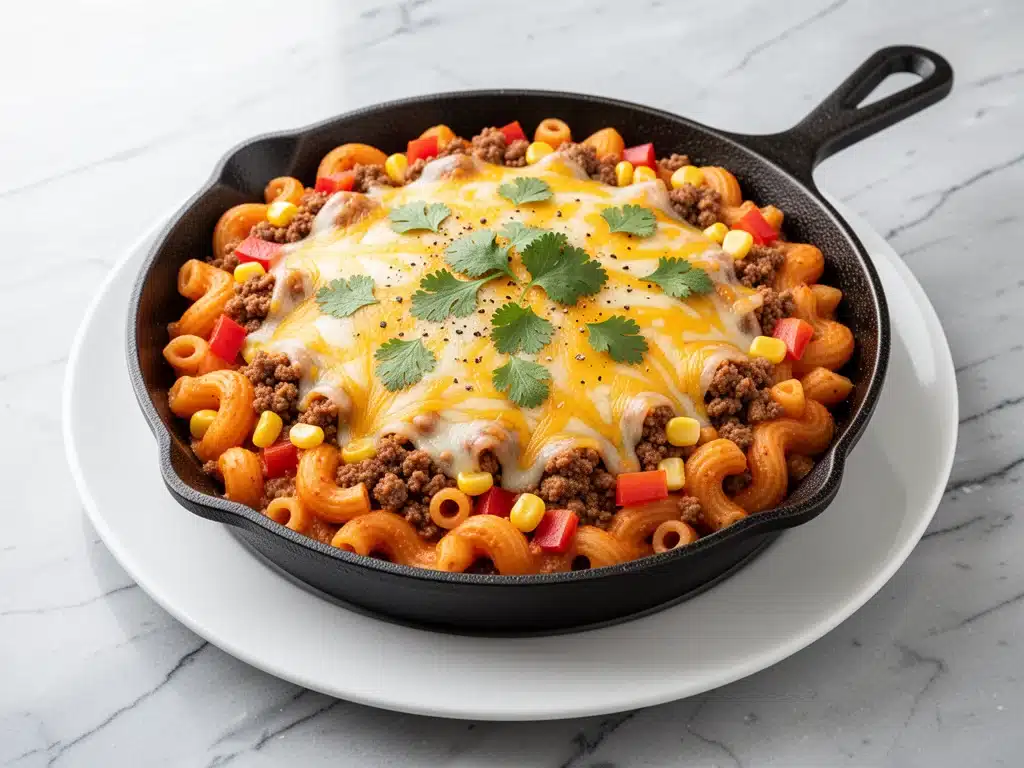
So, I did what any desperate home cook does: I threw everything I had into one skillet. I’m talking leftover ground beef, a bag of frozen corn, a box of elbow macaroni, and a generous pour of salsa. I didn’t have a plan. I just had hunger and a heavy cast-iron pan. Ten minutes later, the smell of melting cheese and warm spices filled the house, and my kids stopped complaining. The next day, my husband actually asked, “Did you make that cheesy taco pasta again?”
That was the birth of my one-pot cheesy taco pasta skillet. It’s not fancy. It’s not gourmet. But it is hands-down the most reliable dinner I have in my rotation. It’s the recipe I make when I’m tired, when the grocery store is closed, or when I just need something that tastes like comfort but comes together faster than I can finish folding laundry. It’s creamy, it’s spicy, it’s got that taco flavor everyone loves, but it’s in a pasta format that feels like a treat. And the best part? One pot. Just one. I can’t stress that enough. If you’re tired of scrubbing a saucepan, a colander, and a cutting board after dinner, this recipe is going to change your life.
Why You’ll Love This Recipe
I’ve made this one-pot cheesy taco pasta skillet at least thirty times in the last year. It’s become my secret weapon for those chaotic evenings. Here’s why it keeps coming back to the menu:
It’s a True One-Pot Wonder — Seriously. You cook the pasta in the sauce. The starch from the noodles thickens the cheese sauce, creating this creamy, cohesive dish without needing a separate roux or heavy cream reduction. Less cleanup means more time with my family (or just sitting on the couch, which is also valid).
It’s a Flavor Powerhouse — Most people think “pasta” means Italian. But who says pasta can’t have cumin, chili powder, and smoked paprika? This recipe bridges the gap between a hearty burrito bowl and a cheesy lasagna. It’s familiar enough for picky eaters but interesting enough that adults don’t get bored.
It’s Stupid Simple — You don’t need to be a chef. You just need to boil water, brown some meat, and stir. If you can boil water, you can make this. I’ve had my seven-year-old help me make this while I graded papers. It’s that forgiving.
It’s Budget-Friendly — Ground beef, pasta, frozen veggies, and a block of cheese. It feeds four hungry people for under $15. That’s cheaper than a single family meal at most fast-food places, and it’s way healthier.
It Freezes Like a Dream — Unlike some creamy pasta dishes that separate when frozen, this one holds up surprisingly well. I’ll make a double batch on Sunday, freeze half, and thank myself on Wednesday night when I’m too exhausted to think.
This is my go-to when I need dinner to just work. No complicated techniques, no weird ingredients from the international aisle, just reliable, delicious food that makes everyone happy.
Ingredients You’ll Need
Here’s the best part: you probably have most of this already. This one-pot cheesy taco pasta skillet relies on pantry staples and simple fresh items. I’m particular about a few things, though, so pay attention to the notes.
For the Base
Ground beef or turkey (1 pound / 450g) — I usually use 85/15 ground beef for flavor, but turkey works if you want it lighter. Drain the grease if you’re using beef, or you’ll end up with a soupy skillet.
Elbow macaroni or rotini (12 ounces / 340g) — Short pasta is key here. Long pasta doesn’t cook evenly in one pot. Elbows hold the sauce well. Rotini is great if you want a bit more texture. Avoid spaghetti or linguine.
Chicken or beef broth (2 cups / 480ml) — I use low-sodium broth so I can control the saltiness. Beef broth adds a deeper richness that pairs well with the taco spices. Vegetable broth works for a vegetarian version.
Salsa (1 cup / 240g) — Use your favorite medium or hot salsa. I like a chunky salsa because it adds texture. If you only have smooth salsa, add a diced bell pepper for crunch. Avoid “salsa verde” unless you want a completely different flavor profile.
For the Flavor
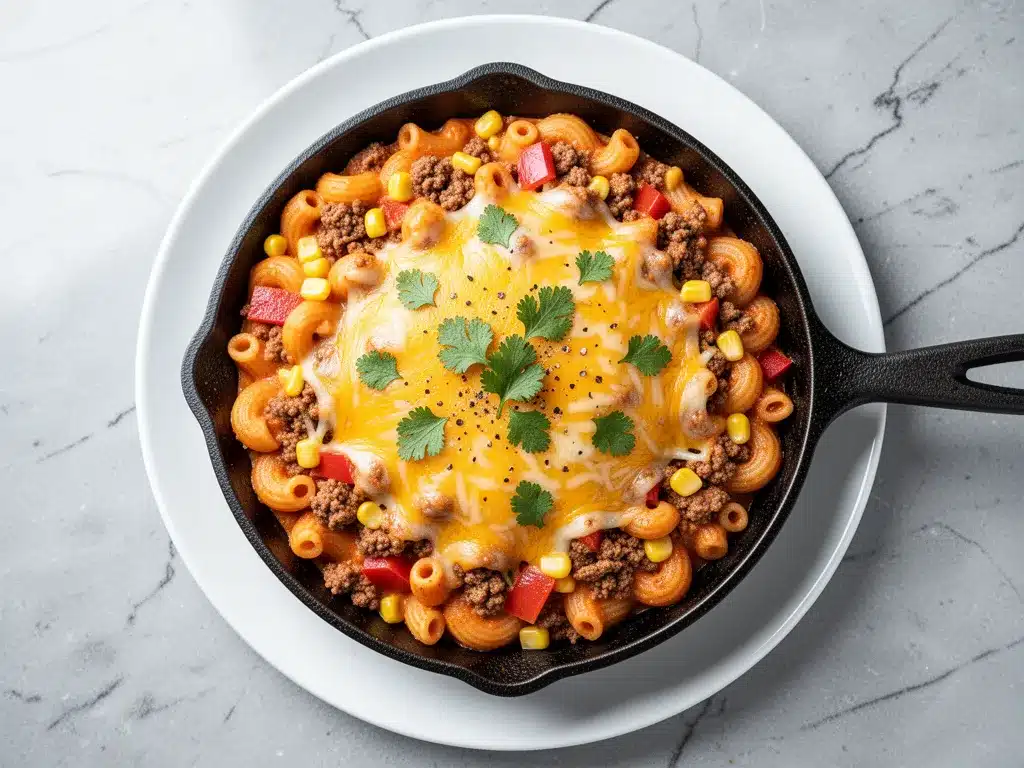
Taco seasoning (2 tablespoons) — I usually make my own (cumin, chili powder, paprika, garlic powder, onion powder, salt, pepper), but store-bought packets work fine. Just check the sodium content. If it’s salty, skip adding extra salt later.
Cumin (1 teaspoon) — This is the backbone of taco flavor. Don’t skip it. It adds that earthy warmth.
Garlic and onion (2 cloves garlic, 1 small onion, minced) — Fresh is non-negotiable here. Jarred garlic has a metallic taste that clashes with the cheese. Fresh onion adds sweetness.
For the Cheese
Shredded Mexican blend or Cheddar (2 cups / 200g) — I buy the block and shred it myself. Pre-shredded cheese has cellulose (anti-caking agent) that prevents it from melting smoothly. Your sauce will be grainy if you use the bagged stuff. Trust me on this. I’ve made that mistake.
Cream cheese (4 ounces / 113g) — This is my secret weapon. It adds tang and makes the sauce incredibly creamy without needing heavy cream. Room temperature works best so it melts easily.
Optional Add-ins
Frozen corn (1 cup / 150g) — Adds sweetness and pops of flavor. I keep a bag in the freezer specifically for this.
Black beans (1 can, drained and rinsed) — Adds protein and fiber. Makes it more filling. I use this when I want to stretch the meal further.
Green onions (2 stalks, sliced) — For garnish. Adds a fresh, oniony bite on top.
Equipment Needed
You don’t need fancy equipment for this. Here’s what I actually use.
Large skillet or Dutch oven — I use a 12-inch cast-iron skillet. It needs to be big enough to hold the pasta, liquid, and meat without overflowing. A Dutch oven works too if you have one.
Wooden spoon or spatula — For stirring. Silicone works too. Don’t use metal on non-stick.
Measuring cups and spoons — Standard stuff. Dollar store versions work fine.
Sharp knife and cutting board — For chopping onion and garlic. Dull knives make you cry more—learned this the hard way.
Colander — Only if you’re browning the meat separately. If you’re using lean meat and draining it in the skillet, you don’t need this. I try to avoid extra dishes.
Box grater — For shredding your own cheese. Takes 3 minutes and makes a huge difference in texture.
That’s it. No fancy gadgets. Just good, old-fashioned tools.
How to Make It: Step-by-Step
Alright, let’s make this! I’m walking you through exactly how I do it, including the little tricks I’ve picked up over the years.
Step 1: Brown the Meat (5-7 minutes)
Heat your large skillet over medium-high heat. Add the ground beef or turkey. Break it up with your wooden spoon as it cooks. You want small crumbles, not big chunks. Cook until browned and no pink remains. If you’re using beef, drain the excess grease. This step is crucial—if you leave the grease in, your pasta will be oily. I usually drain it into a small bowl, then pour a teaspoon back in for flavor if the meat was very lean.
Step 2: Sauté Aromatics (2-3 minutes)
Reduce heat to medium. Add the diced onion and garlic to the meat. Sauté for 2-3 minutes until the onion is translucent and fragrant. This builds the flavor base. Don’t rush this. If you don’t cook the onion enough, it’ll taste raw in the final dish.
Step 3: Add Spices and Salsa (1 minute)
Stir in the taco seasoning and cumin. Cook for 30 seconds to toast the spices—it releases their essential oils. Then, pour in the salsa. Stir everything together. You’ll see the mixture turn into a rich, red sauce. Let it simmer for 1 minute.
Step 4: Add Pasta and Broth (10-12 minutes)
This is the magic step. Add the dry pasta and broth to the skillet. Stir well to scrape up any browned bits from the bottom of the pan—those are flavor bombs. Bring it to a boil, then reduce heat to low. Cover and simmer. Cook for 8-10 minutes, stirring every 3-4 minutes to prevent sticking. The pasta will absorb the liquid and swell. If the skillet looks too dry before the pasta is tender, add a splash more broth or water.
Step 5: Add Cheese and Cream Cheese (2 minutes)
Remove the skillet from heat. This is important. High heat can make cheese grainy. Stir in the shredded cheese and cream cheese gradually. Keep stirring until completely melted and smooth. The sauce will thicken and become glossy.
Step 6: Fold in Veggies and Serve
Stir in the corn and black beans if you’re using them. The residual heat will warm them through. Taste and adjust salt if needed. Serve immediately, topped with green onions, sour cream, or fresh cilantro.
Total Time: About 25-30 minutes (10 minutes active, 20 minutes mostly hands-off)
Expert Tips & Tricks
Here’s everything I’ve learned from making this dozens of times. These tips will save you from my mistakes.
Don’t Overcook the Pasta — The pasta continues to cook in the residual heat after you add the cheese. Pull it off the heat when it’s *al dente* (still has a tiny bit of bite). If you wait until it’s perfectly tender in the pot, it’ll be mushy by the time you serve.
Shred Your Own Cheese — I cannot say this enough. Pre-shredded cheese contains potato starch to keep it from clumping. That starch stops it from melting smoothly. Your sauce will be gritty. Buy a block of cheddar and shred it. It takes 3 minutes and makes the sauce silky.
Stir Frequently — Pasta releases starch. If you don’t stir, it sticks to the bottom and burns. Burnt pasta tastes bitter and ruins the whole dish. Set a timer if you have to.
Use Low-Sodium Broth — Taco seasoning and salsa are already salty. If you use regular broth, your dish might be inedibly salty. Low-sodium gives you control.
Room Temperature Cream Cheese — Cold cream cheese takes forever to melt. Cut it into small cubes and let it sit on the counter for 15 minutes before you start. Or just microwave it for 10 seconds.
Common Mistakes
- Sauce is too thick: Add more broth or water, a splash at a time.
- Sauce is too thin: Let it simmer uncovered for a few more minutes before adding cheese.
- Meat is dry: Don’t overcook the beef. Remove it from the pan once it’s browned, then set aside while you sauté onions. Add it back in later.
Variations & Substitutions
Once you’ve nailed the basic version, here’s how you can mix it up. I’ve tried all of these.
Vegetarian Version — Skip the meat. Use 1 can of black beans and 1 cup of frozen corn as the base. Add an extra cup of veggies like diced bell peppers or zucchini. Use vegetable broth. It’s just as satisfying.
Chicken Taco Pasta — Use shredded rotisserie chicken instead of ground meat. Add it in at the end to just warm through. Keeps it moist.
Spicy Kick — Add a diced jalapeño with the onions. Use hot salsa instead of medium. Add a pinch of cayenne pepper.
Green Taco Pasta — Swap red salsa for salsa verde (tomatillo salsa). Use Monterey Jack cheese instead of cheddar. It’s tangier and brighter.
Dairy-Free — Use dairy-free cream cheese and shredded cheese. It’s not quite the same texture, but it works. Add a tablespoon of olive oil at the end for richness.
Gluten-Free — Use gluten-free elbow pasta. Most brands work well in one-pot recipes, but check the package for cooking time. It might take a minute longer.
Serving & Storage
How to Serve: I usually serve this straight from the skillet at the dinner table—it looks rustic and stays warm. But here are other ways I’ve enjoyed it:
- Toppings Bar: Put out sour cream, shredded lettuce, diced tomatoes, and jalapeños. Let everyone customize their bowl.
- Side Dishes: Simple green salad with lime vinaigrette. Cornbread. Or just a slice of crusty bread to soak up the sauce.
Storage Instructions:
Refrigerator: Store in an airtight container for up to 4 days. The sauce will thicken in the fridge—totally normal. It will look like a solid block of pasta. That’s okay.
Reheating: Add a splash of milk or broth to the pasta when reheating. Stir over low heat. The liquid brings back the creamy texture. Microwave works, but stir every 30 seconds to prevent hot spots.
Freezing: This freezes surprisingly well! Let it cool completely, then store in freezer-safe bags or containers. Freeze for up to 3 months. Thaw in the fridge overnight. Reheat gently with a splash of milk. The texture might be slightly softer, but it’s still delicious. I make a double batch specifically for freezing.
Nutrition Information
I’m not a nutritionist, but here’s the breakdown if you’re tracking.
Per Serving (based on 6 servings):
- Calories: 480
- Protein: 22g
- Carbs: 52g
- Fiber: 3g
- Sugar: 4g
- Fat: 20g
- Sodium: 650mg (varies by salsa/seasoning)
What’s Good: Decent protein from the meat and cheese. Calcium from the cheese. Can add veggies to boost nutrition. More filling than it looks.
What to Know: Higher in calories from cheese and pasta. Contains dairy and gluten. Moderate sodium. Use low-sodium broth and salsa to reduce sodium.
My Take: Look, this is comfort food. It’s not a diet recipe. But it’s way better than takeout, costs less, and I know exactly what’s in it. When I want to make it lighter, I use turkey and skip the extra cheese. But usually? I just eat a reasonable portion and enjoy it.
Final Thoughts
So that’s my go-to one-pot cheesy taco pasta skillet! I’ve probably talked your ear off at this point, but when you make a recipe this often, you have a lot to say about it.
This has saved weeknight dinners more times than I can count. It’s my answer to “what’s for dinner” when I’m tired, don’t want takeout, and still want something that tastes really good. My kids are happy, my husband’s happy, and I’m happy because I’m not stressed about cooking.
Make it yours! Try different add-ins, swap in your favorite vegetables, adjust the spice level. The best recipes are the ones you adapt to your family’s tastes.
If you make this, drop a comment and let me know what you think! I love hearing how recipes turn out in your kitchen. And if something doesn’t work, tell me that too—I’m here to help troubleshoot.
Happy cooking! And I hope your kitchen smells half as good as mine does right now.
Frequently Asked Questions
Can I use whole wheat pasta?
You can, but it takes longer to cook. Whole wheat pasta absorbs more liquid, so you might need an extra 1/4 cup of broth. Also, the texture will be denser. I usually stick to white pasta for this recipe because it cooks faster and has a softer texture that pairs well with the creamy sauce.
Why did my sauce turn out grainy?
This usually happens if you used pre-shredded cheese or if the heat was too high when you added the cheese. Pre-shredded cheese has anti-caking agents that prevent smooth melting. Also, always remove the skillet from the heat before adding cheese. High heat can cause the proteins in the cheese to seize up. If your sauce is grainy, whisk in a splash of warm milk—it can sometimes help smooth it out.
Can I make this ahead for a dinner party?
Sort of. You can prep all the ingredients (brown the meat, chop veggies, measure spices) ahead of time. Then, just assemble and cook when you’re ready. The cooking time is short enough that you can do it right before serving. It’s not a dish you want to make days in advance and reheat, as the pasta will get mushy. But the prep-ahead strategy works great for saving time on the night of.
Can I freeze leftovers?
Yes! This freezes well. Let it cool completely, then store in airtight containers or freezer bags. Freeze for up to 3 months. Thaw in the fridge overnight. Reheat gently on the stove with a splash of milk or broth. The texture might be slightly softer, but it’s still delicious. I make a double batch specifically for freezing.
What kind of cheese is best?
I love using a Mexican blend (usually cheddar, Monterey Jack, and Asadero) because it melts beautifully. Sharp cheddar adds a nice tang. If you want extra creaminess, add some cream cheese or a slice of Velveeta. Avoid using only parmesan or asiago—they don’t melt as smoothly in this context.
Can I use ground turkey?
Absolutely. Turkey is leaner, so you won’t have as much grease to drain. Just make sure you don’t overcook it, or it’ll be dry. Add a little extra olive oil to the pan if you’re using very lean turkey. The flavor is slightly milder, so you might want to add an extra teaspoon of taco seasoning.
How do I reheat leftovers without it getting dry?
Add a splash of milk, cream, or broth to the pasta when reheating. Stir over low heat. The liquid brings back the creamy texture. Microwave works, but stir every 30 seconds to prevent hot spots. If you’re reheating on the stove, do it slowly and add liquid gradually until you reach the desired consistency.
Pin This Recipe!
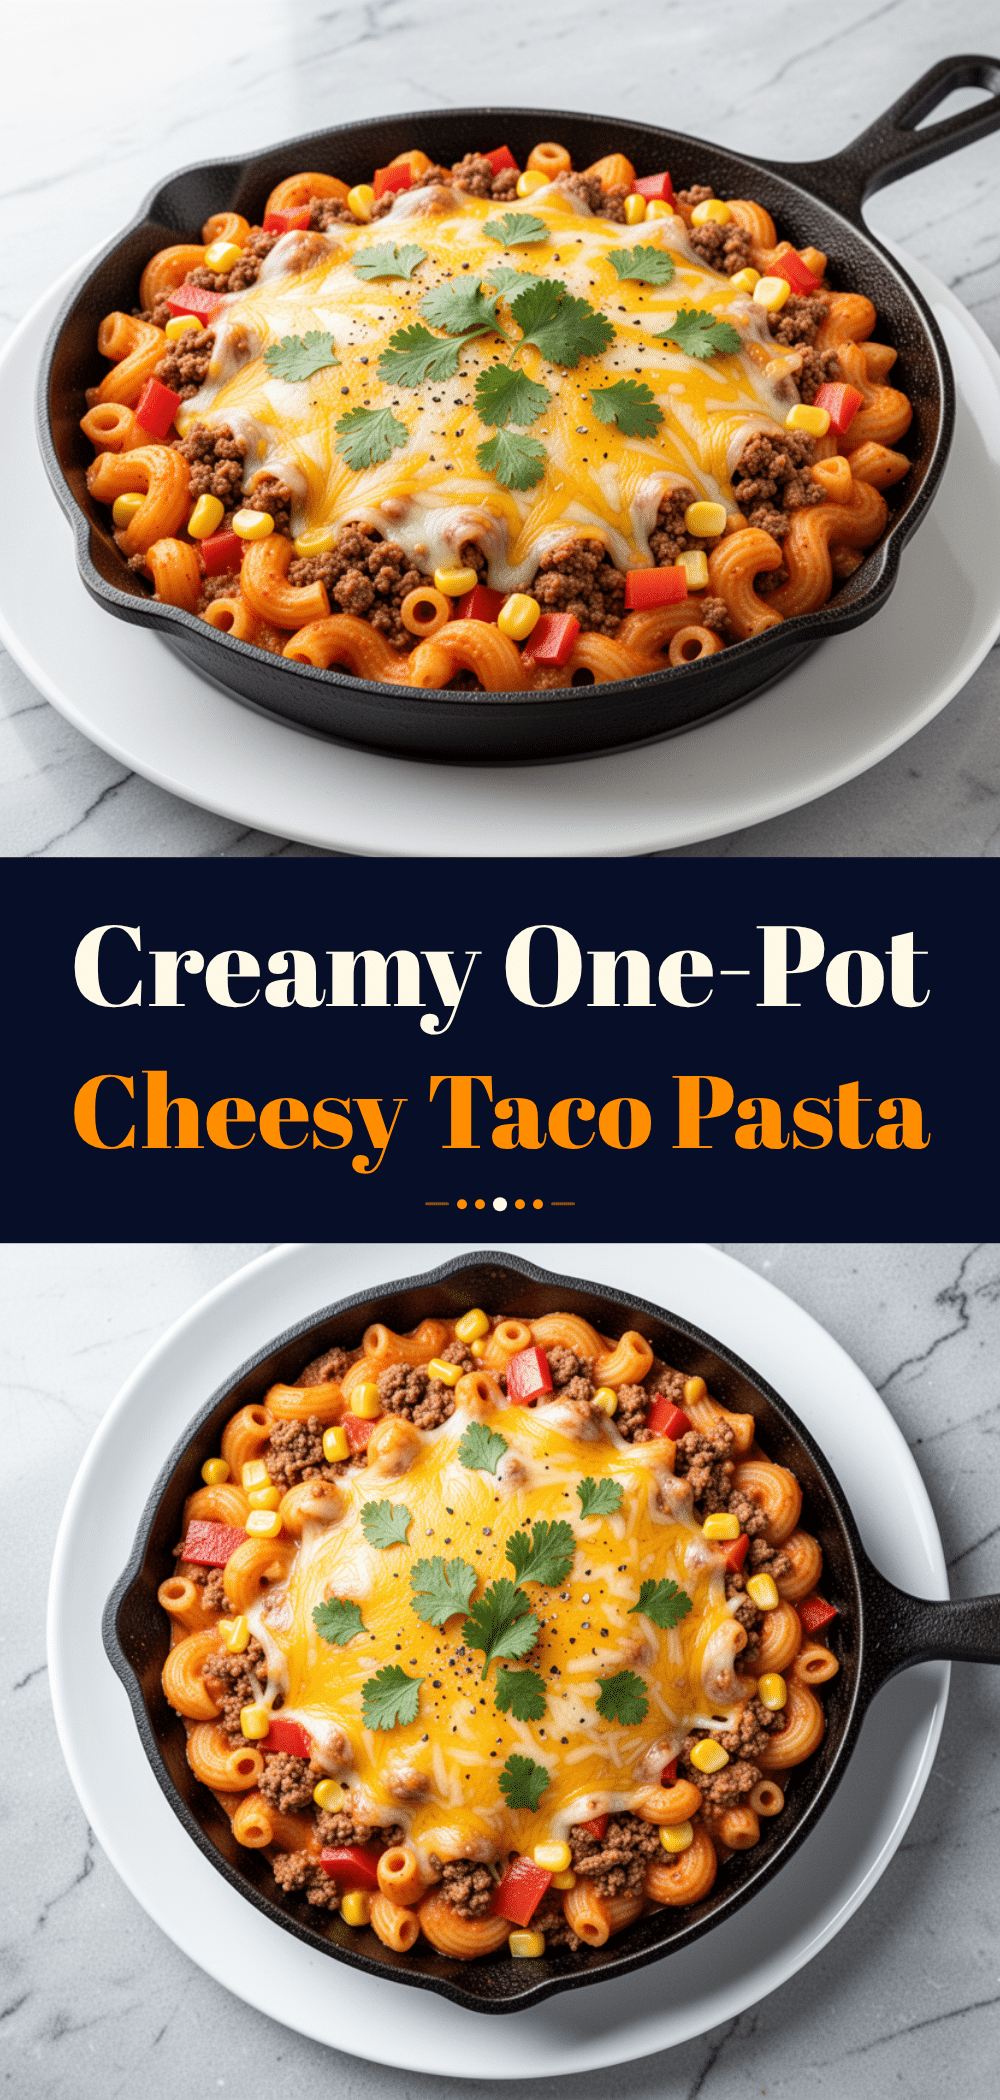

One-Pot Cheesy Taco Pasta Skillet
- Total Time: 30 minutes
- Yield: 6 servings 1x
Description
A reliable, creamy, and spicy one-pot dinner that combines ground beef, elbow macaroni, salsa, and cheese. It’s budget-friendly, easy to make, and perfect for busy weeknights with minimal cleanup.
Ingredients
- 1 pound ground beef or turkey
- 12 ounces elbow macaroni or rotini
- 2 cups chicken or beef broth (low-sodium)
- 1 cup salsa (chunky medium or hot)
- 2 tablespoons taco seasoning
- 1 teaspoon cumin
- 2 cloves garlic, minced
- 1 small onion, minced
- 2 cups shredded Mexican blend or Cheddar cheese
- 4 ounces cream cheese (room temperature)
- 1 cup frozen corn (optional)
- 1 can black beans, drained and rinsed (optional)
- 2 stalks green onions, sliced (for garnish)
Instructions
- Heat a large skillet over medium-high heat. Add ground beef or turkey and break into small crumbles. Cook until browned and no pink remains. Drain excess grease if using beef.
- Reduce heat to medium. Add minced onion and garlic to the meat. Sauté for 2-3 minutes until onion is translucent and fragrant.
- Stir in taco seasoning and cumin. Cook for 30 seconds to toast spices. Pour in salsa and stir to combine. Simmer for 1 minute.
- Add dry pasta and broth to the skillet. Stir well to scrape up browned bits from the bottom. Bring to a boil, then reduce heat to low. Cover and simmer for 8-10 minutes, stirring every 3-4 minutes to prevent sticking. Add a splash of broth or water if too dry.
- Remove skillet from heat. Stir in shredded cheese and cream cheese gradually until completely melted and smooth.
- Fold in corn and black beans if using. Taste and adjust salt if needed. Serve immediately topped with green onions, sour cream, or cilantro.
Notes
Shred your own cheese to avoid anti-caking agents that prevent smooth melting. Use low-sodium broth to control saltiness. Remove from heat before adding cheese to prevent graininess. Pasta continues to cook in residual heat, so pull it off when al dente.
- Prep Time: 10 minutes
- Cook Time: 20 minutes
- Category: Main Course
- Cuisine: Mexican-American
Nutrition
- Serving Size: 1 bowl
- Calories: 480
- Sugar: 4
- Sodium: 650
- Fat: 20
- Saturated Fat: 10
- Carbohydrates: 52
- Fiber: 3
- Protein: 22
Keywords: one-pot meal, cheesy pasta, taco pasta, easy dinner, family friendly, budget meal, ground beef recipes, weeknight dinner


