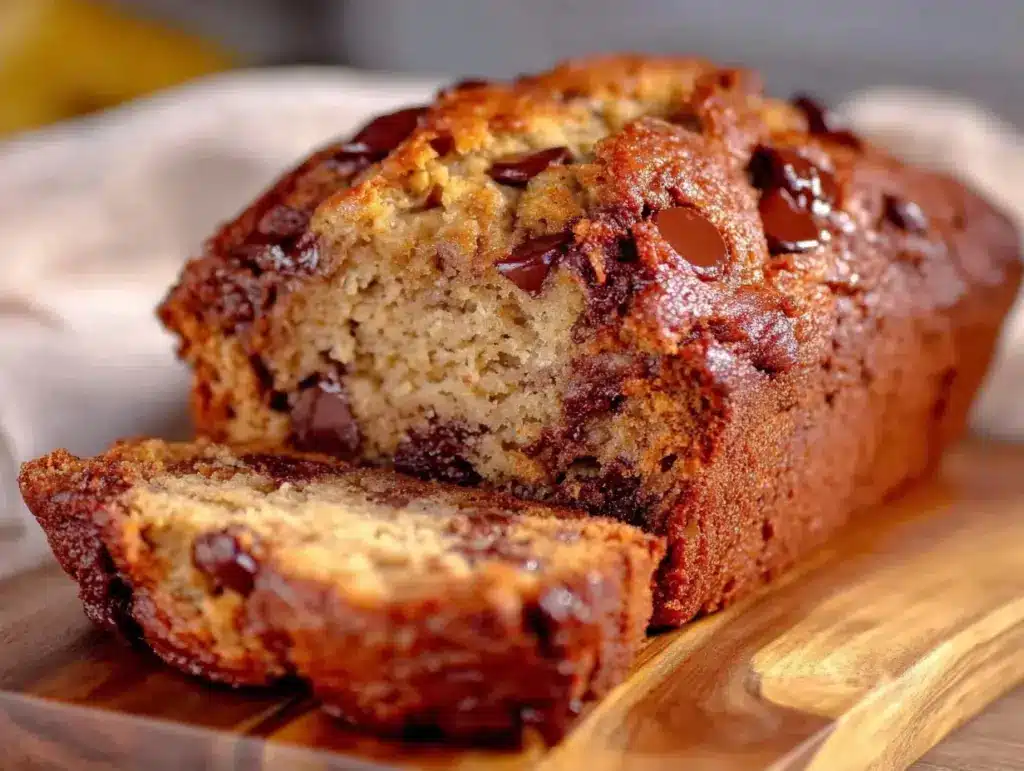
The smell of this banana bread is what brought me back to my grandmother’s kitchen. It’s a very specific scent—sweet, warm, and slightly burnt at the edges—that seems to bypass your brain and go straight to your heart. I can still see her standing at that chipped yellow counter, the one with the drawer that always stuck, stirring a single bowl with a wooden spoon that had been worn smooth by decades of use. She didn’t use scales. She didn’t need them. She just knew when the batter was right by the way it slid off the spoon.
For years, I tried to perfect banana bread using complicated methods. I whipped the butter. I separated the eggs. I worried about overmixing the batter until my arms ached. And every time, the result was dense, dry, or just… okay. It was my grandmother’s one-bowl method that changed everything. She would mash the bananas, throw in the sugar, crack in the eggs, stir in the flour, and fold in the chocolate chips (because she was the kind of grandma who believed life was too short for plain bread). It was lazy, sure. But it was also the most reliable, moist, and delicious loaf I’ve ever tasted.
This is that recipe. The one-bowl banana bread with chocolate chips you’ll make on repeat. It’s not fancy. It doesn’t require a stand mixer or a dozen bowls to clean. It just requires overripe bananas, a little patience, and the willingness to let the oven do its work. I’ve made this loaf so many times that I can do it with one hand while the other is holding a glass of wine. And honestly? It’s better than any bakery version I’ve ever bought.
Why You’ll Love This One-Bowl Banana Bread
There’s a reason this recipe has become the backbone of my weekend mornings. It’s not just because it’s easy—though that’s a huge part of it. It’s because it delivers consistent results every single time, no matter your baking skill level. Here’s why this loaf keeps coming out of my oven:
Zero Dish Stress — Seriously. One bowl. One spoon. That’s it. I’ve made this while helping my kids with homework, while on a video call, and while half-asleep on a Sunday morning. If you can stir, you can make this. I’ve watched my ten-year-old nephew make it without burning himself, and the loaf turned out perfect.
Uses Up Those Brown Bananas — We all have that bag in the fridge with the bananas that are basically black. The grocery store throws them out, but we hoard them. This recipe is their purpose. The riper the banana, the sweeter and more tender the bread. I keep a bag of frozen, peeled, mashed bananas in the freezer specifically for this. It’s my secret weapon for busy weeks.
Moist Without Being Greasy — Many banana bread recipes rely on a cup of oil to stay moist, which can leave a heavy, oily feeling in your mouth. This version uses just a little butter for flavor and relies on the natural moisture of the bananas and eggs. The result is a crumb that’s tender and cake-like, not dense or slick. It feels lighter, even though it’s still deeply satisfying.
Perfect for Gift Giving — There is no better gift than warm bread. I wrap these loaves in foil and plastic wrap and give them to neighbors, teachers, or friends in need. The chocolate chips make it feel indulgent, like a treat, but the banana bread format feels comforting and homey. It’s the kind of gift that says, “I care,” without trying too hard.
Makes Incredible Leftovers — And you will have leftovers. This loaf keeps well in the fridge for up to a week, wrapped tightly. By day three, it’s actually better—the flavors have melded, and the chocolate chips have softened into little pockets of sweetness. I slice it up and freeze the rest, so I always have breakfast ready to go.
This is my go-to when I need something to fill the house with a good smell, or when I need a quick breakfast for the next few days. It’s reliable, delicious, and honestly, just plain good.
Ingredients You’ll Need
Here’s the best part: you probably have almost all of this in your pantry right now. This isn’t a recipe that requires a special trip to the store. It’s built on basics, but the quality of those basics matters.
For the Wet Base
Ripe Bananas (3 large / about 1 ½ cups mashed) — This is the star. Look for bananas with brown spots, or even completely black peels. They should be soft to the touch. If they’re yellow, they won’t be sweet enough. I often peel mine and freeze them once they’re too ripe for eating raw.
Melted Butter (¼ cup / 56g) — I use unsalted butter so I can control the saltiness. Melt it in the microwave or a small saucepan. Let it cool slightly so it doesn’t cook the eggs when you add them. Don’t skip the butter; it adds a richness that oil just can’t match.
Granulated Sugar (¾ cup / 150g) — This provides sweetness and helps create that slightly crisp top. I’ve tried reducing it, but the bread becomes too dense and bland. If you prefer less sweet, you can go down to ⅔ cup, but don’t go lower.
Brown Sugar (¼ cup / 45g) — This adds moisture and a hint of caramel flavor. It also helps keep the bread soft for days. Light or dark brown sugar both work fine.
Eggs (2 large) — Room temperature eggs mix in more easily and create a smoother batter. If I’m rushing, I just drop them in a bowl of warm water for 5 minutes.
Vanilla Extract (1 teaspoon) — Pure vanilla makes a huge difference. I use McCormick or Nielsen-Massey. Imitation vanilla tastes chemical in this recipe, so spend the extra dollar.
For the Dry Mix
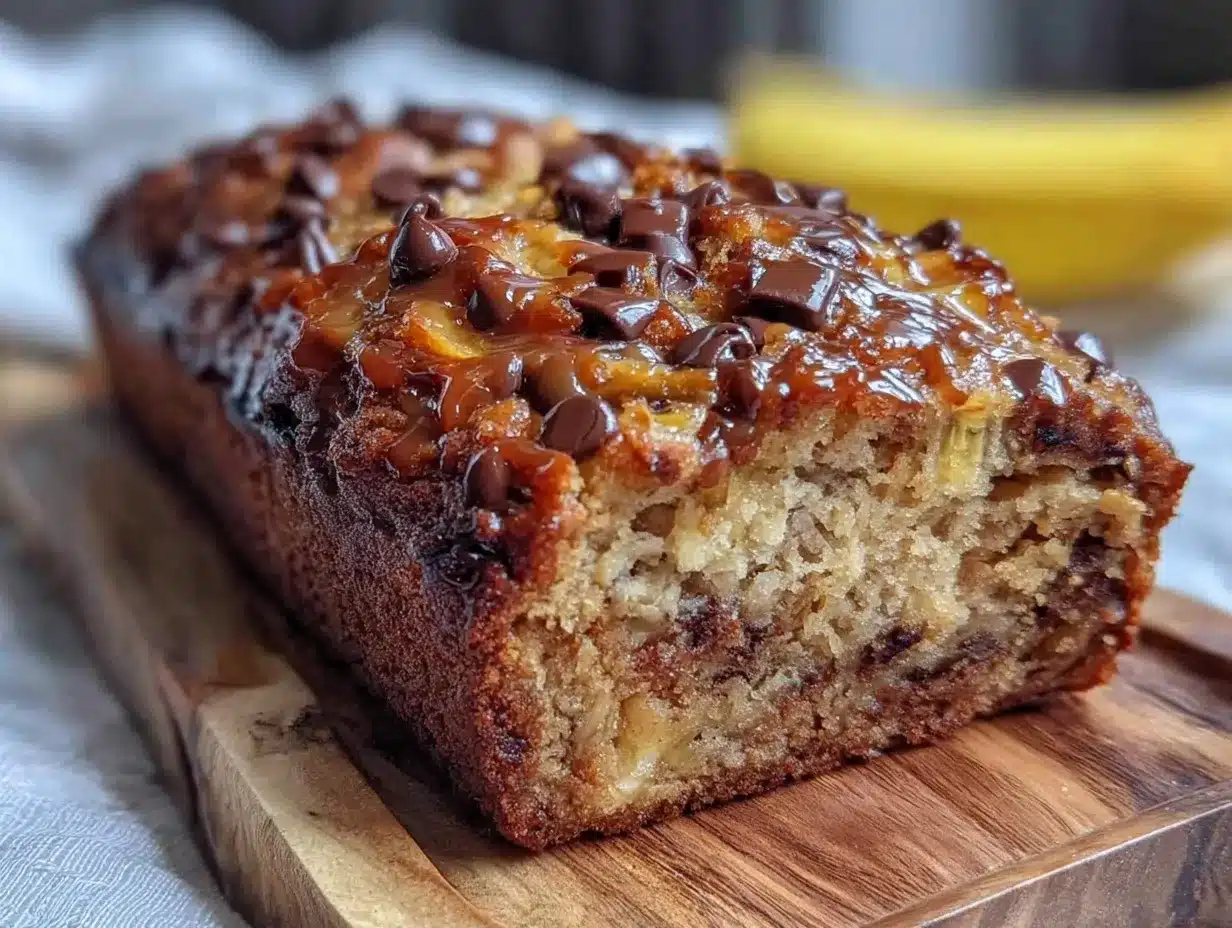
All-Purpose Flour (1 ½ cups / 190g) — I don’t bother measuring by weight for this. Just spoon it into the cup and level it off. Don’t scoop directly from the bag, or you’ll pack it down and get a dry loaf.
Baking Soda (1 teaspoon) — This is what makes the bread rise. Make sure it’s fresh! If your baking soda is old, your bread will be flat and dense. I check mine every few months by dropping a little in vinegar—it should fizz vigorously.
Salt (½ teaspoon) — Essential for balancing the sweetness. Don’t skip it. It makes the banana flavor pop.
The Mix-Ins
Chocolate Chips (1 cup / 170g) — Semi-sweet or milk chocolate both work. I prefer semi-sweet because it cuts through the sweetness of the bread. I also like to use a mix of chips and chopped chocolate bars for variety in texture.
Optional: Walnuts or Pecans (½ cup, chopped) — My grandmother didn’t use nuts, but I’ve added them for years. They add a nice crunch. If you’re making this for kids or someone with allergies, skip them.
Quick Tip: If you want a fancier loaf, you can swap half the all-purpose flour for whole wheat pastry flour. It adds a nutty flavor and more fiber, but regular AP flour gives the classic tender crumb.
Equipment Needed
You don’t need fancy tools for this. Here’s what I actually use:
One Large Mixing Bowl — I use a 4-quart glass bowl. It’s big enough to mix comfortably and easy to clean. A metal bowl works too, just make sure it’s deep enough so the flour doesn’t fly out.
Fork or Potato Masher — For mashing the bananas. I prefer a fork because it gives me more control over the texture. I like some small chunks of banana in the bread, not a completely smooth puree.
Wooden Spoon or Spatula — For mixing. A sturdy spoon is best. I’ve tried whisking, but it’s unnecessary. Just stir until combined.
9×5 Inch Loaf Pan — Standard size. I use a metal pan. Glass pans can cause the edges to overcook, so if you use glass, lower the oven temperature by 25 degrees.
Parchment Paper — I line the pan with parchment, leaving an overhang on the sides. This makes it easy to lift the loaf out once it’s cooled. It also means less washing up. Trust me on this.
Cooling Rack — Essential. Don’t skip this. If you let the bread cool in the pan, the bottom gets soggy from the steam. I’ve ruined loaves this way before.
How to Make It: Step-by-Step
Alright, let’s make this! I’m walking you through exactly how I do it, including the little tricks I’ve picked up over the years.
Step 1: Prep Your Oven and Pan (5 minutes)
Preheat your oven to 350°F (175°C). This is crucial. If the oven isn’t hot enough when the bread goes in, it won’t rise properly. Line your 9×5 loaf pan with parchment paper. I just lay it in and let the edges hang over the sides. It’s not perfect, but it works.
Step 2: Mash the Bananas
Peel your ripe bananas and put them in the large mixing bowl. Use a fork to mash them until they’re mostly smooth but still have some small chunks. You want about 1 ½ cups of mashed banana. If you have smaller bananas, you might need 4 or 5. If they’re huge, 3 might be enough. The volume matters more than the count.
Step 3: Mix the Wet Ingredients
Add the melted butter, granulated sugar, and brown sugar to the mashed bananas. Stir vigorously with your spoon. The sugar might look clumpy at first, but keep stirring until it’s mostly dissolved and the mixture looks glossy. This takes about a minute. Add the eggs one at a time, stirring well after each addition. Finally, stir in the vanilla extract. The mixture should look like a thick, sweet banana sludge.
Step 4: Add the Dry Ingredients
Here’s where you need to be gentle. Sprinkle the flour, baking soda, and salt over the wet mixture. Do not start stirring yet. Let the dry ingredients settle. Then, using your spoon, gently fold them in. Start from the bottom and bring the batter up over the top. Stop as soon as you no longer see streaks of flour. Overmixing is the enemy of tender banana bread. It develops gluten, which makes the bread tough. I usually stop when there are still a few tiny lumps of flour visible. It’s okay.
Step 5: Fold in the Chocolate Chips
Gently fold in the chocolate chips (and nuts, if using). Use a few strokes to distribute them evenly. Be careful not to crush the chips.
Step 6: Bake
Pour the batter into your prepared loaf pan. Smooth the top with a spatula if it’s uneven. Bake for 55-65 minutes. After 40 minutes, check the bread. If the top is browning too quickly, loosely tent a piece of aluminum foil over the loaf. This prevents the crust from burning while the inside finishes cooking.
Step 7: The Toothpick Test
You’ll know the bread is done when a toothpick inserted into the center comes out with moist crumbs attached, but no wet batter. If it comes out clean, it might be overbaked. If it comes out with wet batter, keep baking in 5-minute increments. My bread usually takes about 60 minutes, but ovens vary.
Step 8: Cool
Let the bread cool in the pan for 10 minutes. Then, use the parchment overhang to lift it out onto a cooling rack. Let it cool completely before slicing. I know this is hard, but slicing it hot makes it gummy and messy. Wait at least 30 minutes, ideally an hour.
Expert Tips & Tricks
Here’s everything I’ve learned from making this dozens of times. These tips will save you from my mistakes.
Freeze Your Bananas
This is the #1 tip for convenience. Peel your bananas when they’re ripe, put them in a bag, and freeze them. When you’re ready to bake, just thaw them in the microwave for 30 seconds. They’ll mash instantly and release more moisture. I do this all the time.
Don’t Overmix
I’ve said it once, but it’s worth saying again. Overmixing makes tough bread. Mix until the flour is just incorporated. Lumps are fine. The heat of the oven will finish the job.
Check Your Baking Soda
If your bread is flat, your baking soda is probably old. It loses potency after 6 months. Test it with vinegar. If it doesn’t fizz, throw it out and buy fresh.
The Foil Tent
Most ovens run hot on the top rack. If your bread is browning too fast, tent it with foil. This is a common issue, so don’t panic. Just cover it loosely.
Room Temperature Ingredients
While not strictly necessary, room temperature eggs and butter mix in more evenly. If you’re in a rush, warm the eggs in water. It’s a small thing, but it helps.
Common Mistakes:
Mistake: Bread is dry. Fix: You overbaked it. Next time, check it 5 minutes earlier. Or, use riper bananas.
Mistake: Bread is dense. Fix: You overmixed the batter, or your baking soda was old.
Mistake: Top is burnt. Fix: Your oven runs hot. Use an oven thermometer to check, and tent with foil earlier.
Variations & Substitutions
Once you’ve nailed the basic version, here’s how you can mix it up. I’ve tried all of these.
Blueberry Banana Bread
Skip the chocolate chips and fold in 1 cup of fresh or frozen blueberries. Toss the berries in a teaspoon of flour first to prevent them from sinking. My kids love this version.
Double Chocolate
Add 2 tablespoons of cocoa powder to the dry ingredients. Use dark chocolate chips. It’s rich and intense. Great for chocolate lovers.
Gluten-Free
Use a 1:1 gluten-free flour blend. The texture is slightly different, but still good. I’ve used Bob’s Red Mill and King Arthur, and both work.
Dairy-Free
Replace the butter with coconut oil or a dairy-free butter alternative. Use dairy-free chocolate chips. It’s surprisingly good.
Lower Sugar
Reduce both sugars by ¼ cup. The bread will be less sweet, but the banana flavor will be more prominent. Good if you’re watching sugar intake.
Nut-Free
Just skip the nuts. The bread is still delicious without them. If you want crunch, add a sprinkle of oats on top before baking.
Serving & Storage
How to Serve:
I usually serve this warm, sliced thick, with a pat of butter melting on top. It’s perfect with a cup of coffee or tea. But here are other ways I’ve enjoyed it:
- Breakfast: Toasted slices with almond butter.
- Snack: Small squares with a glass of milk.
- Dessert: Warm slices with vanilla ice cream.
Storage:
Room Temperature: Store in an airtight container or wrapped in foil for up to 3 days. It stays moist and fresh.
Refrigerator: Store for up to 5 days. The bread will firm up in the fridge, so let it come to room temperature or warm it in the microwave before eating.
Freezer: Wrap the whole loaf or individual slices tightly in plastic wrap and foil. Freeze for up to 3 months. Thaw at room temperature or microwave for 30 seconds.
Reheating:
Warm slices in the microwave for 15-20 seconds. Or toast them in the oven at 350°F for 5 minutes. It brings back that fresh-baked texture.
Nutrition Information
I’m not a nutritionist, but here’s the breakdown if you’re tracking. This is per slice (1/10th of the loaf).
| Nutrient | Amount |
|---|---|
| Calories | 210 |
| Protein | 3g |
| Carbs | 35g |
| Fat | 8g |
| Fiber | 2g |
| Sugar | 22g |
Look, this is comfort food with sugar and chocolate. It’s not a diet recipe. But it’s way better than store-bought, costs less, and I know exactly what’s in it. When I want to make it lighter, I reduce the sugar and add more nuts. But usually? I just eat a reasonable slice and enjoy it.
Final Thoughts
So that’s my one-bowl banana bread with chocolate chips. I’ve probably talked your ear off at this point, but when you make a recipe this often, you have a lot to say about it. This has saved weeknight breakfasts more times than I can count. It’s my answer to “what’s for breakfast” when I’m tired, don’t want to make eggs, and still want something that tastes really good. My kids are happy, my husband’s happy, and I’m happy because I’m not stressed about cooking.
Make it yours! Try different add-ins, swap in your favorite chocolate, or adjust the sugar. The best recipes are the ones you adapt to your family’s tastes. If you make this, drop a comment and let me know what you think! I love hearing how recipes turn out in your kitchen. And if something doesn’t work, tell me that too—I’m here to help troubleshoot.
Happy baking! And I hope your kitchen smells half as good as mine does right now.
Frequently Asked Questions
Can I use frozen bananas?
Yes! In fact, I prefer them. Just thaw them completely before mashing. They’ll be wetter, so you might need to reduce the melted butter by a tablespoon. The flavor is the same, and it’s so much more convenient.
Why did my banana bread turn out gummy?
This usually happens if you slice it while it’s still hot. The steam needs to escape. If you slice it hot, the crumb collapses and becomes gummy. Let it cool completely on a rack. Also, check your baking soda—if it’s old, the bread won’t rise properly and can be dense.
Can I make this ahead for a party?
Absolutely. Bake it a day ahead and store it wrapped tightly at room temperature. It actually tastes better the next day. Just bring it to the party in the loaf pan or slice it and arrange it on a platter. It keeps well for up to 3 days.
Can I use whole wheat flour?
You can, but the bread will be denser and heavier. I recommend using half whole wheat and half all-purpose flour for a balance of nutrition and texture. If you use 100% whole wheat, add an extra tablespoon of liquid (milk or yogurt) to keep it moist.
How do I know when the bread is done?
The toothpick test is the best way. Insert a toothpick into the center. If it comes out with moist crumbs, it’s done. If it comes out with wet batter, keep baking. If it comes out completely clean, it might be overbaked. Also, the top should be golden brown and spring back when lightly pressed.
Can I add other mix-ins?
Of course! Dried cranberries, chopped dates, or shredded coconut all work well. Just keep the total mix-ins to about 1 cup so the batter isn’t too heavy. If you add wet ingredients like fresh fruit, toss them in flour first to prevent sinking.
Pin This Recipe!
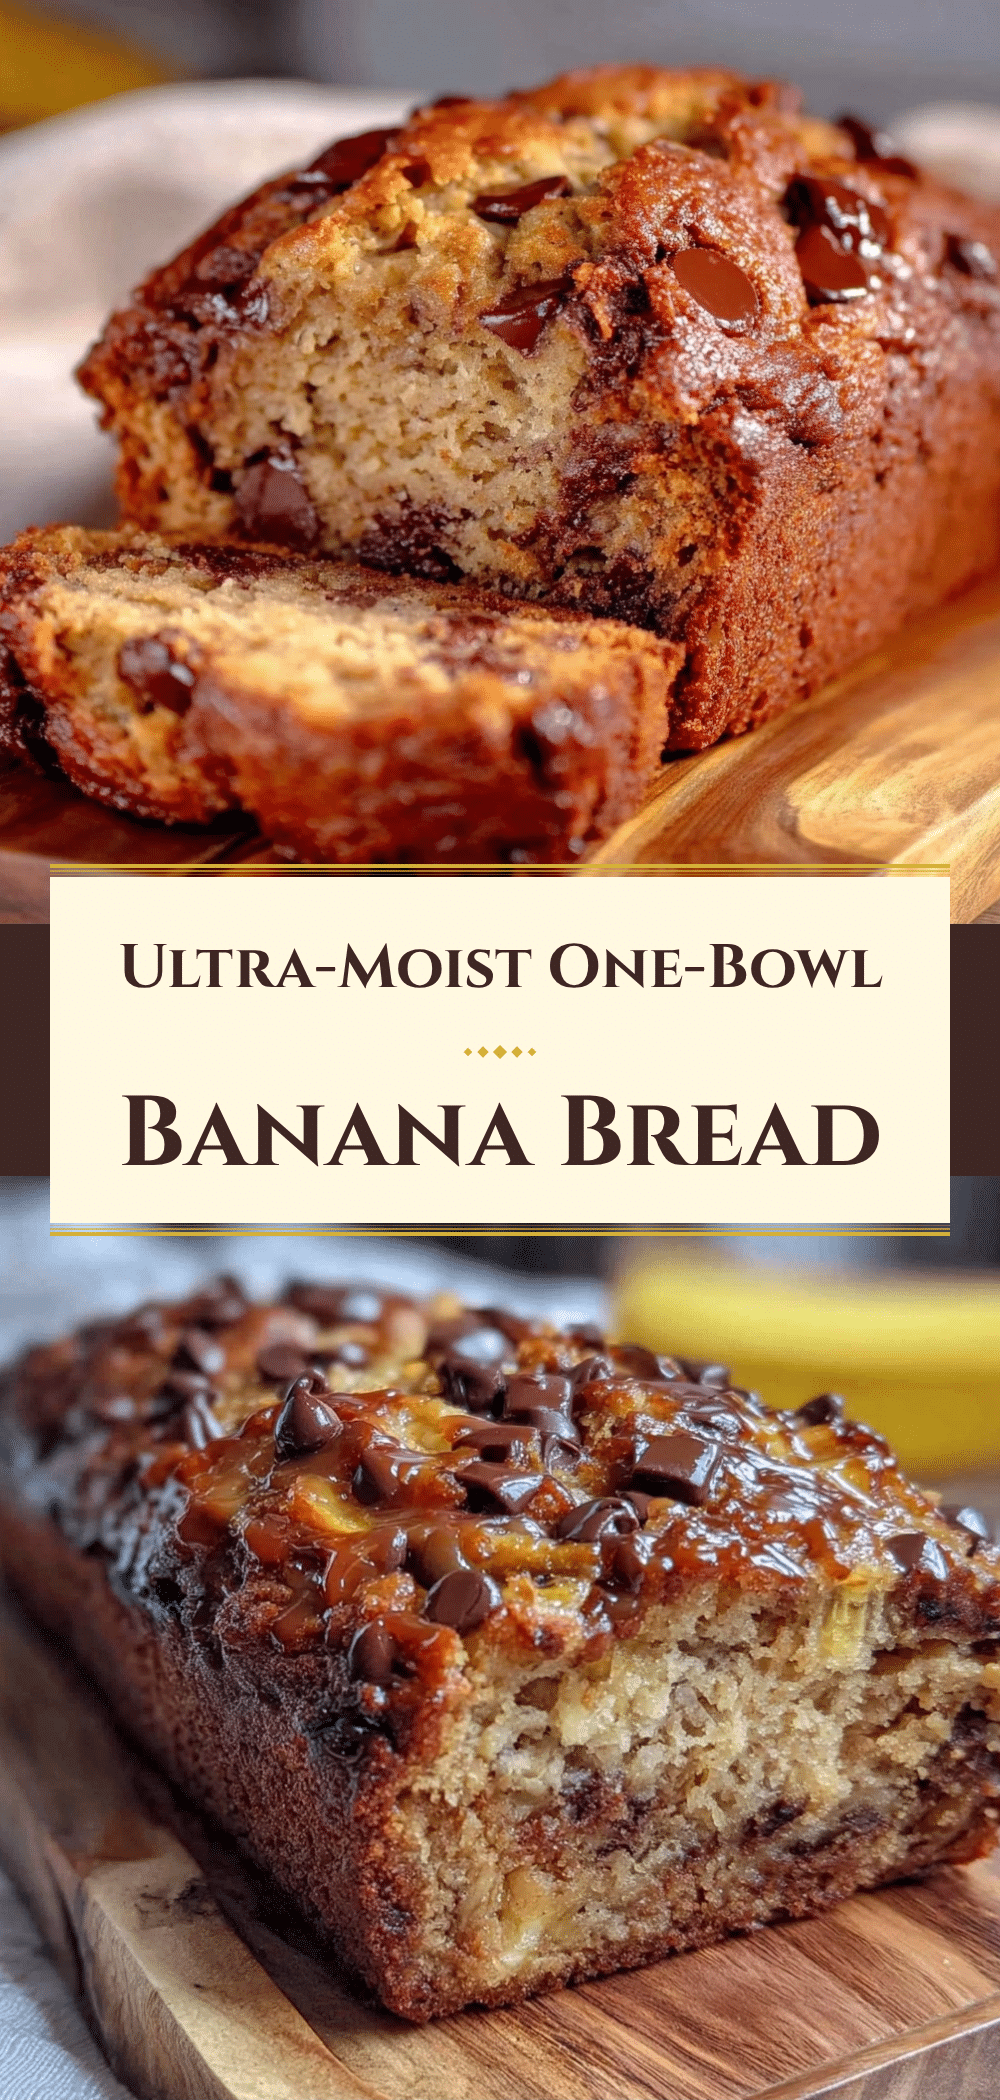
One-Bowl Banana Bread with Chocolate Chips: Grandma’s Real Way
- Total Time: 75 minutes
- Yield: 10 servings 1x
Description
A reliable, moist, and delicious one-bowl banana bread recipe using overripe bananas and chocolate chips. This simple method requires no stand mixer and delivers consistent results every time.
Ingredients
- 3 large ripe bananas (about 1 ½ cups mashed)
- ¼ cup (56g) melted unsalted butter
- ¾ cup (150g) granulated sugar
- ¼ cup (45g) brown sugar
- 2 large eggs, room temperature
- 1 teaspoon vanilla extract
- 1 ½ cups (190g) all-purpose flour
- 1 teaspoon baking soda
- ½ teaspoon salt
- 1 cup (170g) chocolate chips (semi-sweet or milk)
- ½ cup chopped walnuts or pecans (optional)
Instructions
- Preheat oven to 350°F (175°C). Line a 9×5 inch loaf pan with parchment paper.
- Peel ripe bananas and mash them in a large mixing bowl until mostly smooth with some small chunks remain.
- Add melted butter, granulated sugar, and brown sugar to the bananas. Stir vigorously until the mixture is glossy and sugar is mostly dissolved.
- Add eggs one at a time, stirring well after each addition. Stir in vanilla extract.
- Sprinkle flour, baking soda, and salt over the wet mixture. Gently fold in dry ingredients until just combined; stop when a few tiny lumps of flour remain. Do not overmix.
- Gently fold in chocolate chips and nuts (if using).
- Pour batter into prepared loaf pan and smooth the top.
- Bake for 55-65 minutes. If the top browns too quickly after 40 minutes, tent loosely with aluminum foil.
- Test for doneness by inserting a toothpick into the center; it should come out with moist crumbs but no wet batter.
- Let bread cool in the pan for 10 minutes, then lift out using parchment overhang and transfer to a cooling rack. Cool completely before slicing.
Notes
Use very ripe bananas for maximum sweetness and moisture. Do not overmix the batter to avoid a tough texture. If using frozen bananas, thaw completely before mashing and consider reducing butter by a tablespoon. For a lighter version, reduce sugar by ¼ cup.
- Prep Time: 15 minutes
- Cook Time: 60 minutes
- Category: Dessert
- Cuisine: American
Nutrition
- Serving Size: 1 slice (1/10th of t
- Calories: 210
- Sugar: 22
- Sodium: 250
- Fat: 8
- Saturated Fat: 3
- Carbohydrates: 35
- Fiber: 2
- Protein: 3
Keywords: banana bread, chocolate chip, one bowl, easy baking, breakfast, gluten-free option, dairy-free option


