It was one of those July evenings where the heat radiates off the asphalt and your kitchen feels less like a cooking space and more like an oven that forgot to turn off. I had just wrestled a mediocre chicken dinner onto the table, and my kids were running on empty. We needed something cold, something sweet, and something that didn’t involve turning on the stove or dealing with a messy cleanup. I opened the freezer, hoping for a tub of store-bought vanilla, but found it completely bare. We had been so busy eating ice cream over the last two weeks that we’d consumed every single pint.
I didn’t want to drive to the store. I didn’t want to wait for delivery. And I definitely didn’t want to deal with churning ice cream in ninety-degree humidity. So, I looked around my pantry. I had heavy cream. I had condensed milk. And I had a jar of cookie dough that I’d bought on a whim at the grocery store (yes, the raw, heat-treated kind—safety first, always). That’s when it hit me: why make regular ice cream when I could make cookie dough ice cream without a machine?
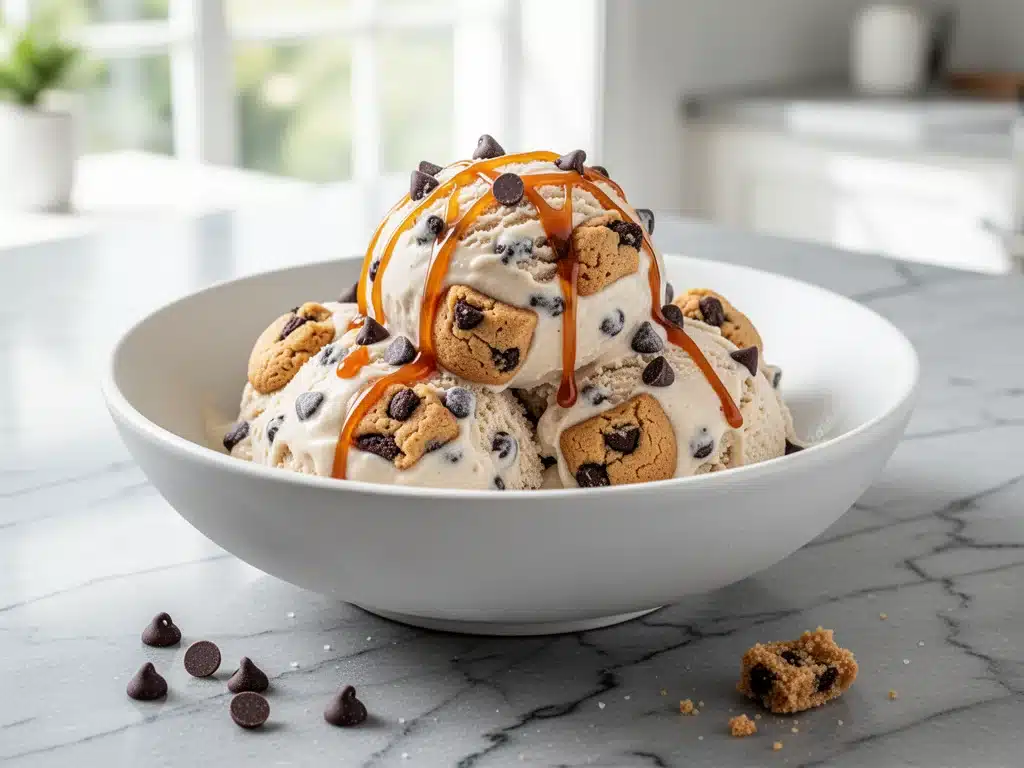
I grabbed a bowl, whipped some cream, folded in the dough, and popped it in the freezer. Three hours later, we dug in. The kids went silent. That specific, wide-eyed silence that means they’ve just discovered something magical. My husband took one bite and said, “This is better than the stuff from the fancy shop downtown.” It was creamy, rich, and packed with those gooey, chocolate-chip-filled pockets of joy. We’ve made this no-churn cookie dough ice cream at least a dozen times since that hot July night. It’s become our go-to summer dessert, our “I’m having a bad day” comfort food, and the star of every backyard BBQ. And the best part? You don’t need an ice cream maker. You just need a whisk, a bowl, and a little patience while it freezes.
Why This No-Churn Cookie Dough Ice Cream Rules Summer
There are about ten reasons I keep making this, but let’s be real: it’s the easiest dessert you’ll ever make. Here’s why this recipe has earned a permanent spot in my summer rotation.
- Zero Machinery Required — Seriously. If you can pour and stir, you can make this. I’ve made this while helping my kid with math homework on the tablet. No ice cream maker needed, no expensive gadgets cluttering your counter.
- Ready in 3 Hours (Mostly Waiting) — You only need about 15 minutes of active prep time. The rest is just waiting in the freezer. It’s perfect for when you realize you need dessert five hours before guests arrive.
- Customizable Chaos — This base is a blank canvas. I’ve made it with peanut butter chips, M&Ms, brownie pieces, and even chunks of leftover soft pink frosted sugar cookie bars for a double-dose of sweetness. Whatever is in your pantry, it goes in.
- Kid-Approved (Even the Picky Ones) — My daughter usually turns her nose up at “fancy” desserts. But cookie dough? That’s her love language. She actually helps me make it, which means I get to eat the bowl scraps while she waits.
- Feels Like a Treat, Costs Pennies — Making this at home costs a fraction of what you’d pay at an ice cream parlor. A pint of premium cookie dough ice cream runs $6-$8. This costs maybe $4 in ingredients and tastes way fresher.
- Perfect for Meal Prep — I make a big batch on Sunday, portion it into containers, and we have dessert ready for the week. It’s my secret weapon for keeping peace at the dinner table.
This isn’t just ice cream. It’s a mood lifter. It’s the taste of lazy summer afternoons. And it’s stupidly simple.
Ingredients You’ll Need (Keep It Simple)
Here’s the best part: you probably have most of this already. This recipe relies on pantry staples and just a few key items. I’m particular about two things here: the fat content of your cream and the safety of your cookie dough. Let’s break it down.
For the Ice Cream Base
Heavy whipping cream (2 cups / 480ml) — This is non-negotiable. You need full-fat heavy cream with at least 35% fat content. Light cream or half-and-half won’t whip up properly, and your ice cream will be icy and hard. Don’t skimp. I buy the big carton because I use it for coffee, baking, and this ice cream.
Sweetened condensed milk (1 can / 14oz or 397g) — This is the magic ingredient. It’s thick, sweet, and adds that creamy, custard-like texture without needing eggs. Make sure it’s the sweetened kind, not evaporated milk. I always keep a can in my pantry just for no-churn desserts.
Vanilla extract (2 teaspoons) — Use real vanilla bean paste or pure extract. I prefer vanilla bean paste because you get those little black specks that make it look fancy. But pure extract works just fine. Skip the imitation stuff—it tastes chemical.
Salt (½ teaspoon) — A pinch of salt is crucial. It cuts through the sweetness and makes the vanilla flavor pop. I use fine sea salt.
For the Mix-Ins
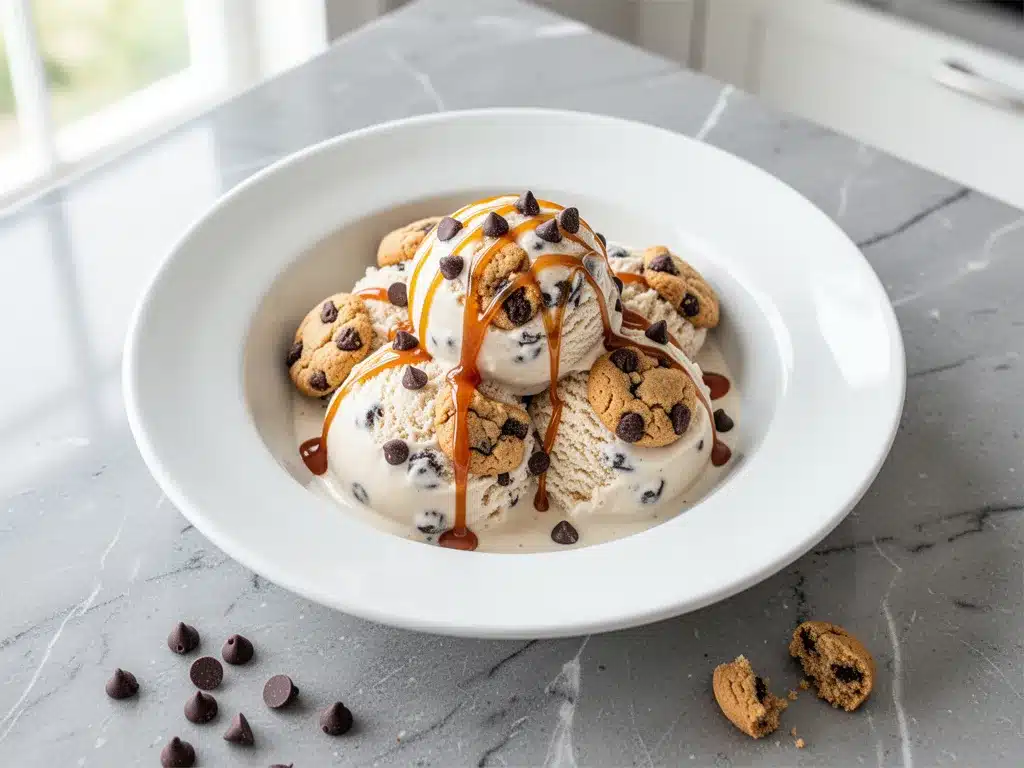
Edible cookie dough (1 cup / 120g) — This is the star. You can buy pre-made edible cookie dough (look for brands that say “heat-treated” or “safe to eat raw”), or you can make your own. If you make your own, you must use heat-treated flour to kill any bacteria. I like to buy a jar of peanut butter cookie dough for variety, but classic chocolate chip is a crowd-pleaser.
Mini chocolate chips (½ cup / 85g) — I use mini chips because they distribute evenly. Regular chips are fine, but you get these huge pockets of chocolate that some people find overwhelming. Mini chips mean every spoonful has a little bit of crunch.
Optional Add-Ins:
Crushed pretzels (for a salty-sweet kick)
Chopped nuts (pecans or walnuts work well)
Reese’s Peanut Butter Cups (chopped)
Marshmallow fluff swirls (for a s’mores vibe)
Leftover cake pieces (seriously, use up those scraps)
Personal Tip: I keep a “mix-in jar” in my freezer. It’s just whatever random candies, cookies, or chips I have lying around. When I make ice cream, I just grab a handful from the jar. It makes the process fun and spontaneous.
Equipment Needed (What You Actually Need)
You don’t need fancy equipment for this. Here’s what I actually use, along with some honest opinions on alternatives.
Large mixing bowl — I use a 4-quart stainless steel bowl. It needs to be big enough to hold 2 cups of whipped cream plus the condensed milk and mix-ins without splashing. Glass works too, but steel stays colder.
Electric hand mixer or stand mixer — You can whip cream by hand, but it takes about 10-15 minutes of arm workout. I use my hand mixer because it takes 2 minutes and saves my shoulders. A whisk works if you’re feeling athletic, but don’t say I didn’t warn you.
Spatula — A large silicone spatula is essential for folding. You need to gently incorporate the ingredients without deflating the whipped cream. I have a few from the dollar store, and they work perfectly.
Loaf pan or freezer-safe container — A 9×5 inch loaf pan is ideal because it freezes quickly and evenly. You can also use a shallow plastic container with a lid. Just make sure it’s airtight to prevent freezer burn.
Measuring cups and spoons — Standard stuff. I use the metal measuring cups for dry ingredients and the liquid measuring cup for the condensed milk.
Optional but nice:
Offset spatula — Makes smoothing the top of the ice cream before freezing much easier.
Freezer paper or plastic wrap — If your container doesn’t have a tight lid, press plastic wrap directly onto the surface of the ice cream to prevent ice crystals.
How to Make It: Step-by-Step
Alright, let’s make this! I’m walking you through exactly how I do it, including the little tricks I’ve picked up over dozens of batches.
Step 1: Chill Your Equipment (5 minutes)
Before you start, put your mixing bowl and beaters in the freezer for 15-20 minutes. Cold equipment helps the cream whip faster and hold its volume. If you forget this step, your cream might not whip as stiffly, and your ice cream could be softer. I usually remember this about 20 minutes before I want to make the ice cream—perfect timing.
Step 2: Whip the Cream (3-5 minutes)
Pour the cold heavy cream into your chilled bowl. Using your electric mixer, whip on medium-high speed until you form stiff peaks. This means when you lift the beaters, the cream stands up straight and doesn’t droop. It should look thick and glossy, like whipped topping from a can, but fresh. Be careful not to over-whip it into butter! Stop as soon as you see stiff peaks. This usually takes about 3 minutes with an electric mixer.
Step 3: Fold in the Sweetness (2 minutes)
Pour in the sweetened condensed milk and add the vanilla extract and salt. Using your spatula, gently fold these ingredients into the whipped cream. Use a cutting motion: cut down through the center, scrape the side, and turn the bowl. Repeat until everything is just combined. You don’t need to be perfect here, but try not to deflate the cream too much. The mixture should look smooth and uniform.
Step 4: Add the Mix-Ins (2 minutes)
Now for the fun part. Add your edible cookie dough, chocolate chips, and any other mix-ins. Fold them in gently. You want to distribute them evenly, but it’s okay if some clump together—that’s where the best bites are. If you’re using chunky mix-ins like peanut butter cups, make sure they’re chopped small enough to fit in a spoon.
Step 5: Freeze (4-6 hours)
Transfer the mixture to your loaf pan or container. Smooth the top with your spatula. If you want a layered look, you can swirl in some peanut butter or caramel before freezing. Cover tightly with a lid or plastic wrap. Place it in the freezer for at least 4 hours, but overnight is best. The longer it freezes, the firmer it gets. I usually make it the night before I plan to eat it.
Step 6: Serve and Enjoy
When you’re ready to eat, let the ice cream sit on the counter for 5-10 minutes to soften slightly. This makes it much easier to scoop. Serve with extra cookie dough on top, a drizzle of chocolate sauce, or just as is. It’s that good on its own.
Total Time: About 15 minutes active, 4-6 hours inactive.
Expert Tips & Tricks for Perfect Texture
Here’s everything I’ve learned from making this dozens of times. These tips will save you from my mistakes.
- Cold Cream is King — If your cream is warm, it won’t whip. Keep it in the fridge until the last second. If you’re in a hurry, put the cream in the freezer for 10 minutes before whipping.
- Don’t Overmix the Fold — Once you add the condensed milk, be gentle. Overmixing deflates the air you worked so hard to whip in. Less air = denser, icier ice cream. Aim for just combined.
- Use Heat-Treated Flour — If you make your own cookie dough, bake the flour at 350°F for 5-7 minutes before using it. This kills any bacteria and makes it safe to eat raw. Don’t skip this step for safety.
- Prevent Ice Crystals — Make sure your container is airtight. If ice crystals form, it means air got in or the freezer temperature fluctuated. Press plastic wrap directly onto the surface of the ice cream before closing the lid.
- Let It Soften Before Scooping — No-churn ice cream freezes very hard. Letting it sit out for 5-10 minutes makes a huge difference in texture. It’ll be creamy and scoopable instead of like a rock.
Variations & Substitutions
Once you’ve nailed the basic version, here’s how you can mix it up. I’ve tried all of these.
Peanut Butter Cup Version
Swap chocolate chips for chopped Reese’s Peanut Butter Cups. Add a swirl of peanut butter before freezing. This is my personal favorite. It’s salty, sweet, and incredibly rich.
S’mores Version
Add crushed graham crackers and mini marshmallows. Drizzle with melted chocolate before serving. It tastes like campfire vibes without the bugs.
Brownie Batter Version
Use brownie batter cookie dough (heat-treated) and add chunks of fudge brownie. This is basically a dessert for dessert. My kids love it.
Strawberry Shortcake Version
Fold in chopped fresh strawberries and a swirl of strawberry jam. Use vanilla cookie dough or plain dough. It’s fresh and fruity.
Coffee Lovers Version
Add 2 tablespoons of instant espresso powder to the condensed milk. Fold in chocolate-covered coffee beans. This is my go-to for when I need a caffeine boost in dessert form.
Dairy-Free Option
Use full-fat coconut cream (chilled overnight, scoop the solid part) instead of heavy cream, and dairy-free condensed milk. Use dairy-free cookie dough and chips. It’s creamy and delicious, though slightly different in texture.
Serving & Storage
How to Serve:
I usually serve this straight from the container with a nice ice cream scoop. It looks rustic and homemade. But here are other ways I’ve enjoyed it:
- Ice Cream Sundaes — Top with hot fudge, whipped cream, and a cherry. It’s a classic for a reason.
- Cookie Sandwiches — Sandwich scoops between two chocolate chip cookies. It’s like an ice cream sandwich, but homemade and way better.
- Floats — Drop a scoop into a glass of root beer or cola. It’s a refreshing summer treat.
- With Pie — Serve alongside creamy garlic tuscan salmon leftovers? No, wait, that’s dinner. Serve it with apple pie or cherry pie for a complete meal.
Storage Instructions:
Refrigerator: No, don’t store ice cream in the fridge. It will melt.
Freezer: Store in an airtight container for up to 2 weeks. After that, it might develop freezer burn or lose its texture.
Reheating: Don’t reheat it. Let it soften at room temperature for 5-10 minutes before eating.
Freezing: Yes, this is meant to be frozen. It freezes beautifully for up to 2 weeks.
Pro Tip: If your ice cream gets too hard, let it sit on the counter for 10 minutes. If it’s too soft, put it back in the freezer for 30 minutes. It’s forgiving, so don’t stress if the texture isn’t perfect.
Nutrition Information
I’m not a nutritionist, but here’s the breakdown if you’re tracking. Keep in mind that this is a rich, calorie-dense dessert, so portion control is key.
| Nutrient | Per Serving (1/8 of batch) |
|---|---|
| Calories | 320 |
| Protein | 4g |
| Carbs | 38g |
| Fiber | 1g |
| Sugar | 34g |
| Fat | 18g |
| Saturated Fat | 11g |
| Cholesterol | 55mg |
| Sodium | 85mg |
What’s Good:
It’s made with real ingredients, no artificial colors or preservatives. You know exactly what’s in it.
What to Know:
It’s high in sugar and saturated fat because it’s ice cream. Enjoy it in moderation. If you want to lighten it up, use less cookie dough and more fruit mix-ins.
Final Thoughts
So that’s my go-to no-churn cookie dough ice cream! I’ve probably talked your ear off at this point, but when you make a recipe this often, you have a lot to say about it. This has saved summer evenings more times than I can count. It’s my answer to “what’s for dessert” when I’m tired, don’t want to bake, and still want something that tastes really good. My kids are happy, my husband’s happy, and I’m happy because I’m not stressed about cooking.
Make it yours! Try different mix-ins, swap in your favorite candies, or adjust the sweetness. The best recipes are the ones you adapt to your family’s tastes. If you make this, drop a comment and let me know what you think! I love hearing how recipes turn out in your kitchen. And if something doesn’t work, tell me that too—I’m here to help troubleshoot.
Happy cooking! And I hope your kitchen smells half as good as mine does right now (it smells like vanilla and chocolate).
Frequently Asked Questions
Can I use light cream instead of heavy cream?
You can, but the texture will be very different. Light cream doesn’t have enough fat to whip into stiff peaks, so your ice cream will be softer and icier. If you must use light cream, you’ll need to add a stabilizer like gelatin or cornstarch, but it’s not worth the hassle. Stick with heavy cream for the best results.
Why did my ice cream turn out icy?
This usually means you didn’t whip the cream enough, or you overmixed it when folding in the condensed milk. Air is what keeps ice cream creamy. If you deflate the cream, you lose that air. Also, make sure your container is airtight. Air exposure causes ice crystals. Next time, whip until stiff peaks form and fold gently.
Can I make this ahead for a party?
Absolutely! This is perfect for make-ahead desserts. Make it 1-2 days before your party and store it in the freezer. Just let it sit on the counter for 10 minutes before serving so it’s scoopable. I often make two batches for parties—one classic and one variation.
Is edible cookie dough safe to eat?
If you buy pre-made edible cookie dough, yes! Look for brands that specify “heat-treated flour” or “safe to eat raw.” These brands bake the flour to kill bacteria. If you make your own, you must heat-treat the flour in the oven first. Raw flour can contain E. coli, so don’t skip this step.
How long does this ice cream last?
It’s best eaten within 1-2 weeks. After that, it might develop freezer burn or lose its creamy texture. The cookie dough pieces might get hard, but the ice cream itself should still be good. Just let it soften before eating.
Can I use milk chocolate chips instead of semi-sweet?
Yes! Milk chocolate chips are sweeter and creamier. If you use milk chocolate, you might want to reduce the amount of cookie dough slightly to balance the sweetness. It’s a matter of personal preference, so use what you like.
What if I don’t have a loaf pan?
Any freezer-safe container works. A shallow plastic container with a lid is ideal because it freezes quickly and evenly. You can also use a glass baking dish, just cover it tightly with foil and plastic wrap. The shape doesn’t matter as much as the airtight seal.
Pin This Recipe!
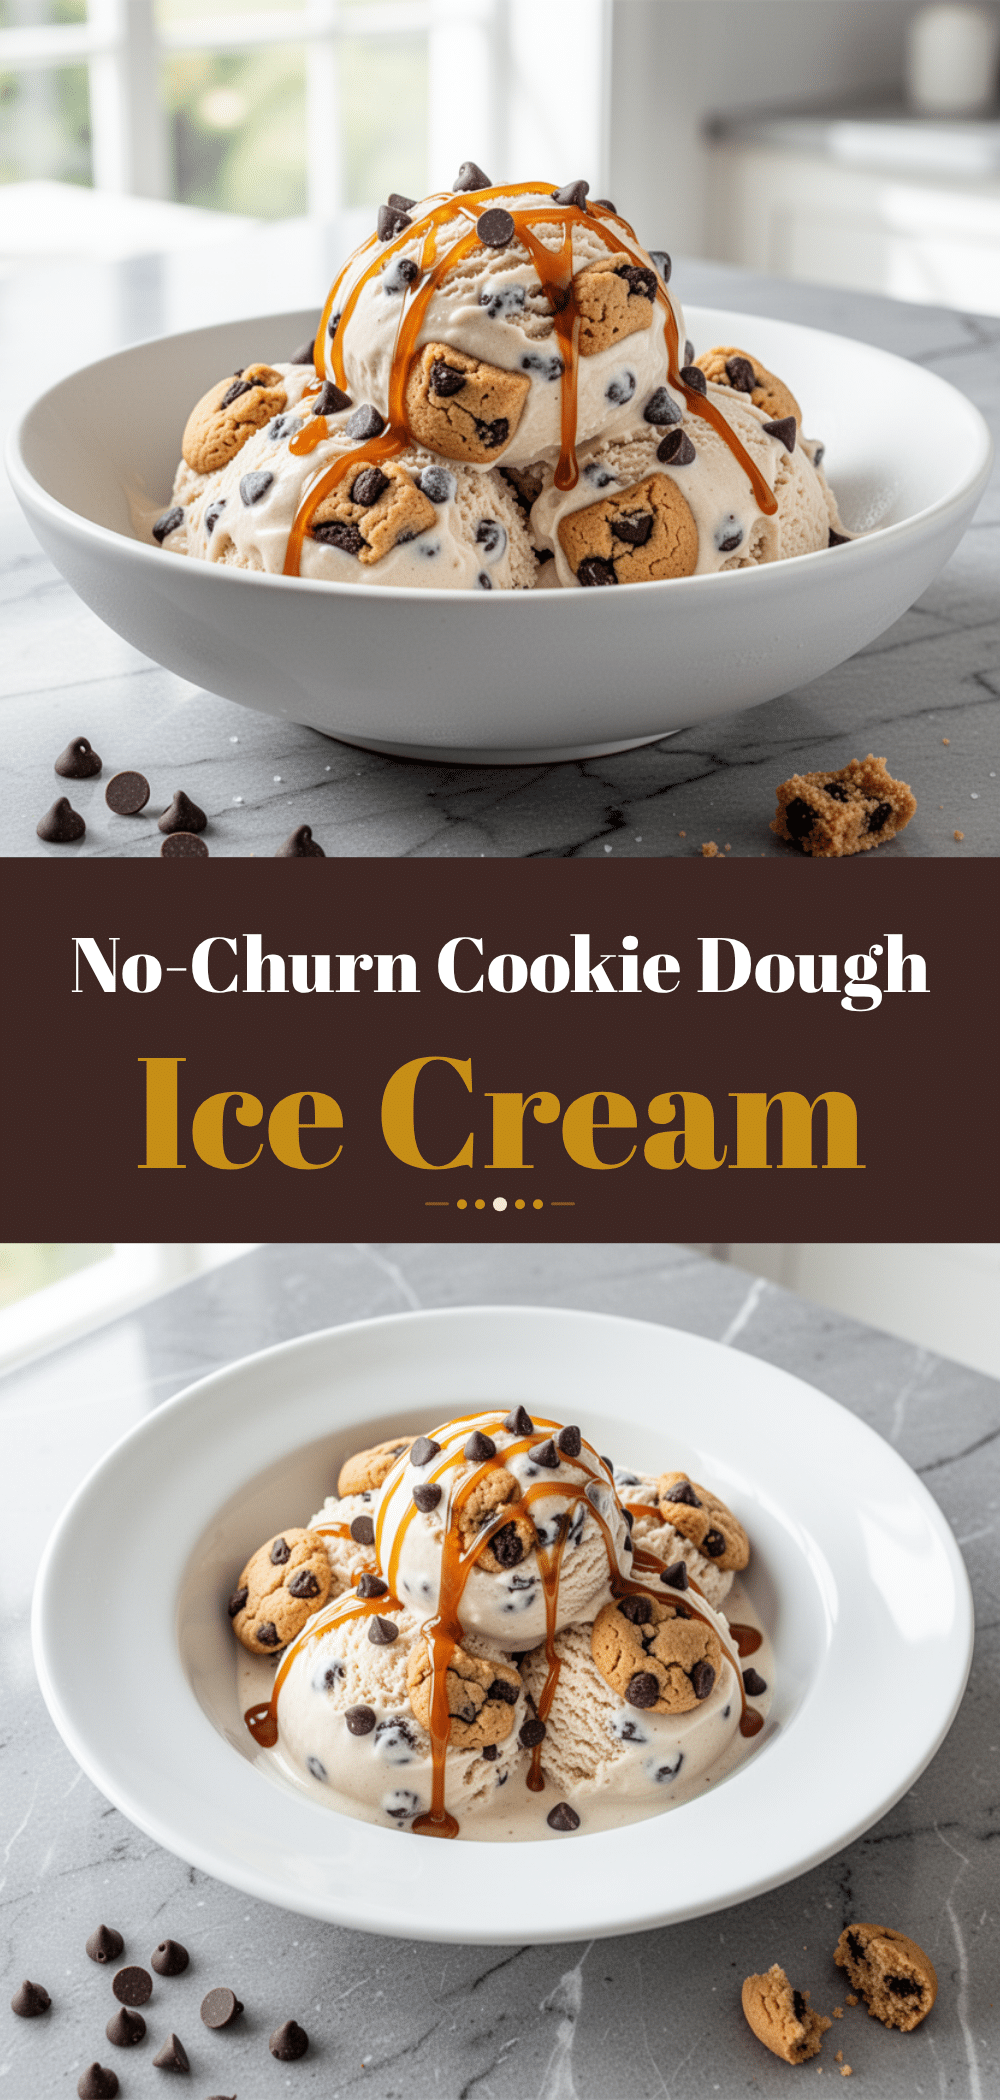

No-Churn Cookie Dough Ice Cream: Best Easy Summer Dessert
- Total Time: 4 hours 15 minutes
- Yield: 8 servings 1x
Description
A creamy, rich, and easy no-churn cookie dough ice cream that requires no ice cream maker. Perfect for hot summer days, this dessert is ready in just 15 minutes of active prep time plus freezing.
Ingredients
- 2 cups heavy whipping cream (cold)
- 1 can (14oz) sweetened condensed milk
- 2 teaspoons vanilla extract (or vanilla bean paste)
- 1/2 teaspoon fine sea salt
- 1 cup edible cookie dough (heat-treated)
- 1/2 cup mini chocolate chips
- Optional: Crushed pretzels, chopped nuts, chopped Reese’s Peanut Butter Cups, marshmallow fluff, or leftover cake pieces
Instructions
- Chill a large mixing bowl and beaters in the freezer for 15-20 minutes.
- Pour the cold heavy cream into the chilled bowl and whip on medium-high speed until stiff peaks form (about 3 minutes).
- Pour in the sweetened condensed milk, vanilla extract, and salt.
- Gently fold the mixture with a spatula until just combined, being careful not to deflate the cream.
- Fold in the edible cookie dough and mini chocolate chips (and any other optional mix-ins).
- Transfer the mixture to a 9×5 inch loaf pan or freezer-safe container, smoothing the top.
- Cover tightly with a lid or plastic wrap pressed directly onto the surface.
- Freeze for at least 4 hours, or overnight for best results.
- Let sit on the counter for 5-10 minutes before scooping to soften slightly.
Notes
Ensure the heavy cream is very cold for best whipping results. If making your own cookie dough, you must heat-treat the flour to kill bacteria. For best texture, let the ice cream soften for 5-10 minutes before serving. Store in an airtight container in the freezer for up to 2 weeks.
- Prep Time: 15 minutes
- Cook Time: 0 minutes
- Category: Dessert
- Cuisine: American
Nutrition
- Serving Size: 1/8 of batch
- Calories: 320
- Sugar: 34
- Sodium: 85
- Fat: 18
- Saturated Fat: 11
- Carbohydrates: 38
- Fiber: 1
- Protein: 4
Keywords: no-churn ice cream, cookie dough ice cream, summer dessert, easy ice cream recipe, no ice cream maker, kid-friendly dessert


