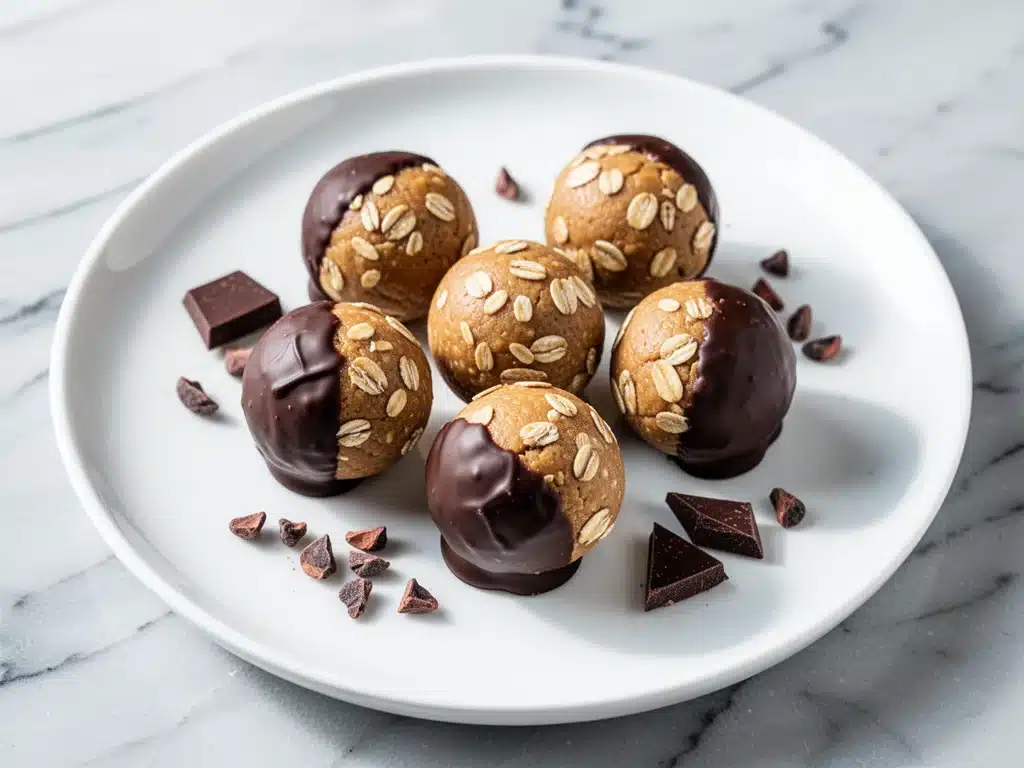
I’ve always been terrible at hiding my snacks. My coworkers know this. My kids know this. And my husband definitely knows this, mostly because he finds himself staring into the fridge at 11 PM, hunting for the good stuff I was supposed to save for “later.” But here’s the thing about those later moments—they usually involve me being tired, hungry, and way too impatient to cook. That’s exactly how I ended up with a bowl of peanut butter, a jar of dark chocolate chips, and a mission to create a snack that wouldn’t make me feel guilty or require an oven.
It was last Tuesday. I had just finished a long shift at the office, and my energy levels were flatlining. I wanted something sweet, but I also wanted something that would actually keep me going until dinner. A candy bar was too much sugar, and an apple was just… sad. So I grabbed a jar of natural peanut butter, some oats, and a bag of dark chocolate chips. I mixed them in a bowl, rolled them into little balls, and threw them in the freezer. Thirty minutes later, I had a snack that tasted like a Reese’s cup but actually had protein in it.
That was six months ago. Since then, these no-bake peanut butter protein balls have become the backbone of my pantry. I make them every Sunday. I pack them for work. I toss them in my gym bag. My kids call them “PB bites.” My husband calls them “magic.” I call them the only thing standing between me and eating a whole bag of chips before 6 PM. They’re simple, they’re healthy-ish, and they are stupidly delicious. If you’re looking for a quick snack that doesn’t involve turning on the oven, you need to try these. Seriously. You’ll make them on repeat.
Why You’ll Love These No-Bake Peanut Butter Protein Balls
Let’s be real: most protein snacks taste like chalk or wax. I’ve tried the bars, the shakes, the weird gummies. This recipe is different. It’s not just about the macros; it’s about the experience. It’s a little chewy, a little crunchy, and that burst of dark chocolate is the perfect finish. Here’s why these balls have earned a permanent spot in my kitchen:
- Five Ingredients or Less — I’m not joking. I keep these four staples in my pantry at all times. If you can read a label, you can make this. No fancy superfoods you’ve never heard of. Just real, simple food.
- Zero Oven Required — This is huge for me. In the summer, I don’t want to heat up my kitchen. In the winter, I’m already cold. These require no baking, no waiting for the oven to preheat, and no cleaning a baking sheet. Just a bowl and a spoon.
- Meal Prep Friendly — I make a batch on Sunday, and they last all week in the fridge. They don’t get soggy, they don’t dry out, and they’re ready to grab when I’m rushing out the door. It’s my answer to “what’s for a snack?” when I’m busy.
- Actually Satisfying — Unlike a granola bar that leaves you hungry an hour later, these keep me full. The peanut butter and oats provide slow-burning energy, and the protein helps stabilize my blood sugar. No crash. Just steady fuel.
- Customizable — Love chocolate? Add more chips. Hate nuts? Swap for sunflower butter. Want them fancy? Roll them in coconut. These are a blank canvas for your cravings.
I’ve made these for school lunches, for pre-workout fuel, and just because I wanted something sweet after dinner. They work for every occasion. And the best part? You can make them in under 15 minutes. That’s faster than ordering takeout.
Ingredients You’ll Need
Here’s the beauty of this recipe: you probably have most of this already. I’m not asking you to go to three different stores for obscure ingredients. Here’s what I use, and why it matters.
The Base
Old-Fashioned Rolled Oats (1 cup / 90g) — Do not use instant oats. They turn into mush. Do not use steel-cut oats. They’re too hard. Old-fashioned rolled oats give these balls their chewy texture. I buy the big canister because I use them for everything from cottage cheese egg bites to smoothies. If you’re gluten-sensitive, make sure you buy certified gluten-free oats.
Natural Peanut Butter (½ cup / 128g) — This is the star. I use unsweetened, natural peanut butter where the oil separates. Yes, you have to stir it. Yes, it’s annoying. But it tastes so much better than the processed stuff with added sugar and hydrogenated oils. Room temperature is best. If your peanut butter is cold and stiff, microwave it for 10 seconds to soften it up. You want it creamy, not solid.
The Binder & Sweetener
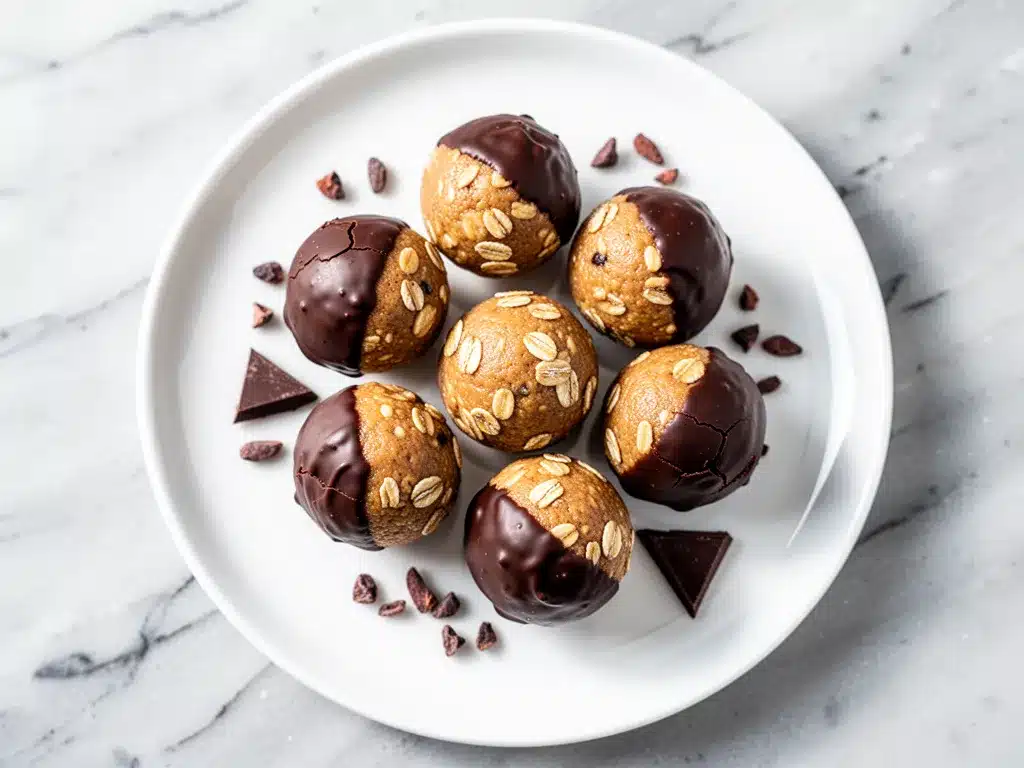
Honey or Maple Syrup (2-3 tablespoons / 30-45ml) — This is what holds everything together. Honey adds a nice floral sweetness and helps the balls firm up in the fridge. Maple syrup gives a deeper, more complex flavor. I use honey because it’s what I have, but maple syrup is great if you want a vegan option. Don’t skip this—it’s the glue.
Vanilla Extract (1 teaspoon) — I know, it’s just a teaspoon. But it adds that bakery smell. It makes the peanut butter taste like a dessert, not a snack. Use real vanilla, not the artificial stuff. It makes a difference.
The Mix-Ins
Dark Chocolate Chips (½ cup / 85g) — This is where I get personal. I use semi-sweet or dark chocolate chips (60% cocoa or higher). They’re less sweet than milk chocolate and pair perfectly with the salty peanut butter. If you’re a huge chocolate lover, add a full cup. I won’t judge. I usually add a little extra because I’m weak for chocolate.
Salt (¼ teaspoon) — Essential. The salt cuts through the sweetness and enhances the peanut flavor. If you’re using salted peanut butter, you can skip this or use just a pinch.
Optional Add-Ins — I sometimes add a scoop of protein powder (vanilla or chocolate) to bump up the protein content, but it’s not necessary. You can also add mini M&Ms for a fun twist, or chop up some peanuts for extra crunch. I keep it simple most of the time, but I do love the blended chocolate peanut butter protein frappe as a drinkable version of these flavors.
Equipment Needed
You don’t need anything fancy. I’m not asking you to buy a new gadget. Here’s what you actually need:
Mixing Bowl — Any medium-sized bowl works. I use a large ceramic bowl because it’s heavy and doesn’t slide around when I’m mixing.
Measuring Cups and Spoons — Standard stuff. You can eyeball this, but I like being precise the first time. Once you know the ratio, you can wing it.
Silicone Spatula — For mixing. A wooden spoon works too, but a spatula gets into the corners and scrapes everything together. I love my silicone ones because they’re easy to wash.
Baking Sheet or Plate — To line your tray while you roll the balls. I use a plate because it’s easier to pop them into the fridge.
Parchment Paper or Plastic Wrap — Optional, but helpful if you don’t want your balls sticking to the tray. I just use a clean plate, but parchment is easier for cleanup.
How to Make It: Step-by-Step
Alright, let’s make these! It’s incredibly easy, but there are a few tricks to make sure they hold together and taste amazing. I’m walking you through exactly how I do it.
Step 1: Prep Your Ingredients (2 minutes)
Before you start, make sure your peanut butter is at room temperature. If it’s straight from the fridge, it’ll be too stiff to mix. Put it in the microwave for 10-15 seconds. Also, measure out your oats, honey, and chocolate chips. Having everything ready makes the process smooth.
Step 2: Mix the Base (3 minutes)
In your mixing bowl, combine the rolled oats, peanut butter, honey, vanilla extract, and salt. Stir it together. It might look dry at first. That’s okay. Keep mixing. Use your hands if you need to. You want everything to be evenly coated. The mixture should look like wet sand. If it’s too crumbly, add another teaspoon of honey. If it’s too sticky, add a sprinkle more oats.
Step 3: Fold in the Chocolate (1 minute)
Once the base is mixed, fold in the dark chocolate chips. Use a spatula or your hands to distribute them evenly. You want a chip in every bite. Don’t just dump them all in one corner and hope for the best.
Step 4: Roll the Balls (5 minutes)
Here’s the fun part. Take a tablespoon of the mixture (I use a small ice cream scoop for consistency) and roll it between your palms. Roll it until it’s smooth and round. If the mixture sticks to your hands, wet them slightly with water. This helps them roll smoothly. Aim for balls that are about 1.5 inches in diameter. Don’t make them too big, or they’ll be overwhelming. Make them bite-sized.
Step 5: Chill (20-30 minutes)
Place the rolled balls on a plate or baking sheet lined with parchment paper. Put them in the fridge for at least 20 minutes. This step is crucial. It firms up the peanut butter and chocolate, making them easier to handle and giving them that perfect texture. If you’re in a huge rush, you can throw them in the freezer for 10 minutes, but the fridge is better for even chilling.
Step 6: Store and Enjoy
Once they’re firm, transfer them to an airtight container. They’ll keep in the fridge for up to a week. I usually keep them in the freezer for longer storage, but they’re best fresh from the fridge. Grab one when you need a pick-me-up.
Expert Tips & Tricks
I’ve made these dozens of times, and I’ve learned a few things along the way. Here’s how to avoid my mistakes and get it right the first time.
- Watch the Peanut Butter — If your natural peanut butter is too runny, your balls will be sticky. If it’s too stiff, they’ll be dry. Aim for a creamy, spreadable consistency. If it’s oily, stir it well before measuring. If it’s hard, soften it slightly.
- Don’t Overmix — Once you add the chocolate chips, stop mixing. Overmixing can break the chips and make the mixture messy. Just fold them in gently.
- Wet Hands Help — If the mixture is sticking to your hands while you roll, dip your hands in cold water for a second. This prevents sticking without making the balls wet.
- Size Matters — Keep them uniform. If some are huge and some are tiny, they’ll chill unevenly. Use a scoop or a cookie scoop for perfect consistency.
- Freeze for Long-Term — If you want to make a big batch, freeze them on a tray first, then transfer to a bag. They’ll last for 3 months. Thaw in the fridge for 10 minutes before eating.
Variations & Substitutions
Once you’ve nailed the basic version, here’s how you can mix it up. I’ve tried all of these, and they’re all winners.
Almond Butter Version — Swap peanut butter for almond butter. It’s a bit more expensive, but tastes amazing. Great for those avoiding peanuts.
Sunflower Seed Butter Version — Perfect for nut-free schools or workplaces. Sunflower seed butter can be bitter, so add an extra teaspoon of honey.
Chocolate Chip Cookie Dough — Add ½ cup of mini chocolate chips and a pinch of cinnamon. It tastes like raw cookie dough (but safe to eat!).
Trail Mix Style — Add a handful of chopped nuts, dried cranberries, and coconut flakes. Turns it into a mini trail mix ball.
Protein Boost — Add 1 scoop of vanilla protein powder. You might need to add an extra tablespoon of honey or water to keep it moist.
Serving & Storage
How do you enjoy these? Honestly, straight out of the container. But here are some ideas:
With Coffee — These pair perfectly with a morning coffee or afternoon latte. The chocolate and coffee flavors complement each other.
With Yogurt — Chop them up and sprinkle over Greek yogurt for a breakfast boost.
On Its Own — Just eat them. They’re satisfying enough as a standalone snack.
Storage — Keep them in an airtight container in the fridge for up to 1 week. For longer storage, freeze them for up to 3 months. They thaw quickly, so no need to plan ahead.
Nutrition Information
I’m not a nutritionist, but here’s the breakdown if you’re tracking. Per ball (makes about 12-14 balls):
– Calories: 120
– Protein: 4g
– Carbs: 12g
– Fiber: 2g
– Sugar: 6g
– Fat: 7g
– Saturated Fat: 2g
It’s a balanced snack with good fats from the peanut butter and protein from the oats and peanut butter. It’s not a diet food, but it’s much better than a candy bar. When I want to make it lighter, I reduce the chocolate chips and add more oats. But usually? I just enjoy it in moderation.
Final Thoughts
So that’s my go-to no-bake peanut butter protein balls! I’ve talked your ear off, but when you make a recipe this often, you have a lot to say about it. These have saved me from bad snacking habits more times than I can count. They’re my answer to “what’s for a snack?” when I’m busy, tired, or just craving something sweet.
Make them yours! Try different mix-ins, swap the nut butter, adjust the sweetness. The best recipes are the ones you adapt to your tastes. If you make these, drop a comment and let me know what you think! I love hearing how recipes turn out in your kitchen.
Happy snacking! And I hope your pantry smells half as good as mine does right now.
Frequently Asked Questions
Can I use crunchy peanut butter?
Yes! Crunchy peanut butter adds a nice texture contrast. I usually use creamy because it’s easier to roll, but crunchy works great if you like a bit of bite.
Why did my balls fall apart?
Usually, this means the mixture was too dry. Add more honey or peanut butter, a teaspoon at a time, until it sticks together. Also, make sure your peanut butter is soft enough to mix well.
Can I freeze these?
Absolutely. They freeze beautifully. Just roll them, freeze on a tray, then transfer to a bag. They’ll last for 3 months. Thaw for 10 minutes before eating.
Can I make these nut-free?
Yes. Use sunflower seed butter or soy nut butter instead of peanut butter. The recipe works exactly the same way.
How long do they last?
In the fridge, up to 1 week. In the freezer, up to 3 months. They don’t last long in my house, though!
Pin This Recipe!
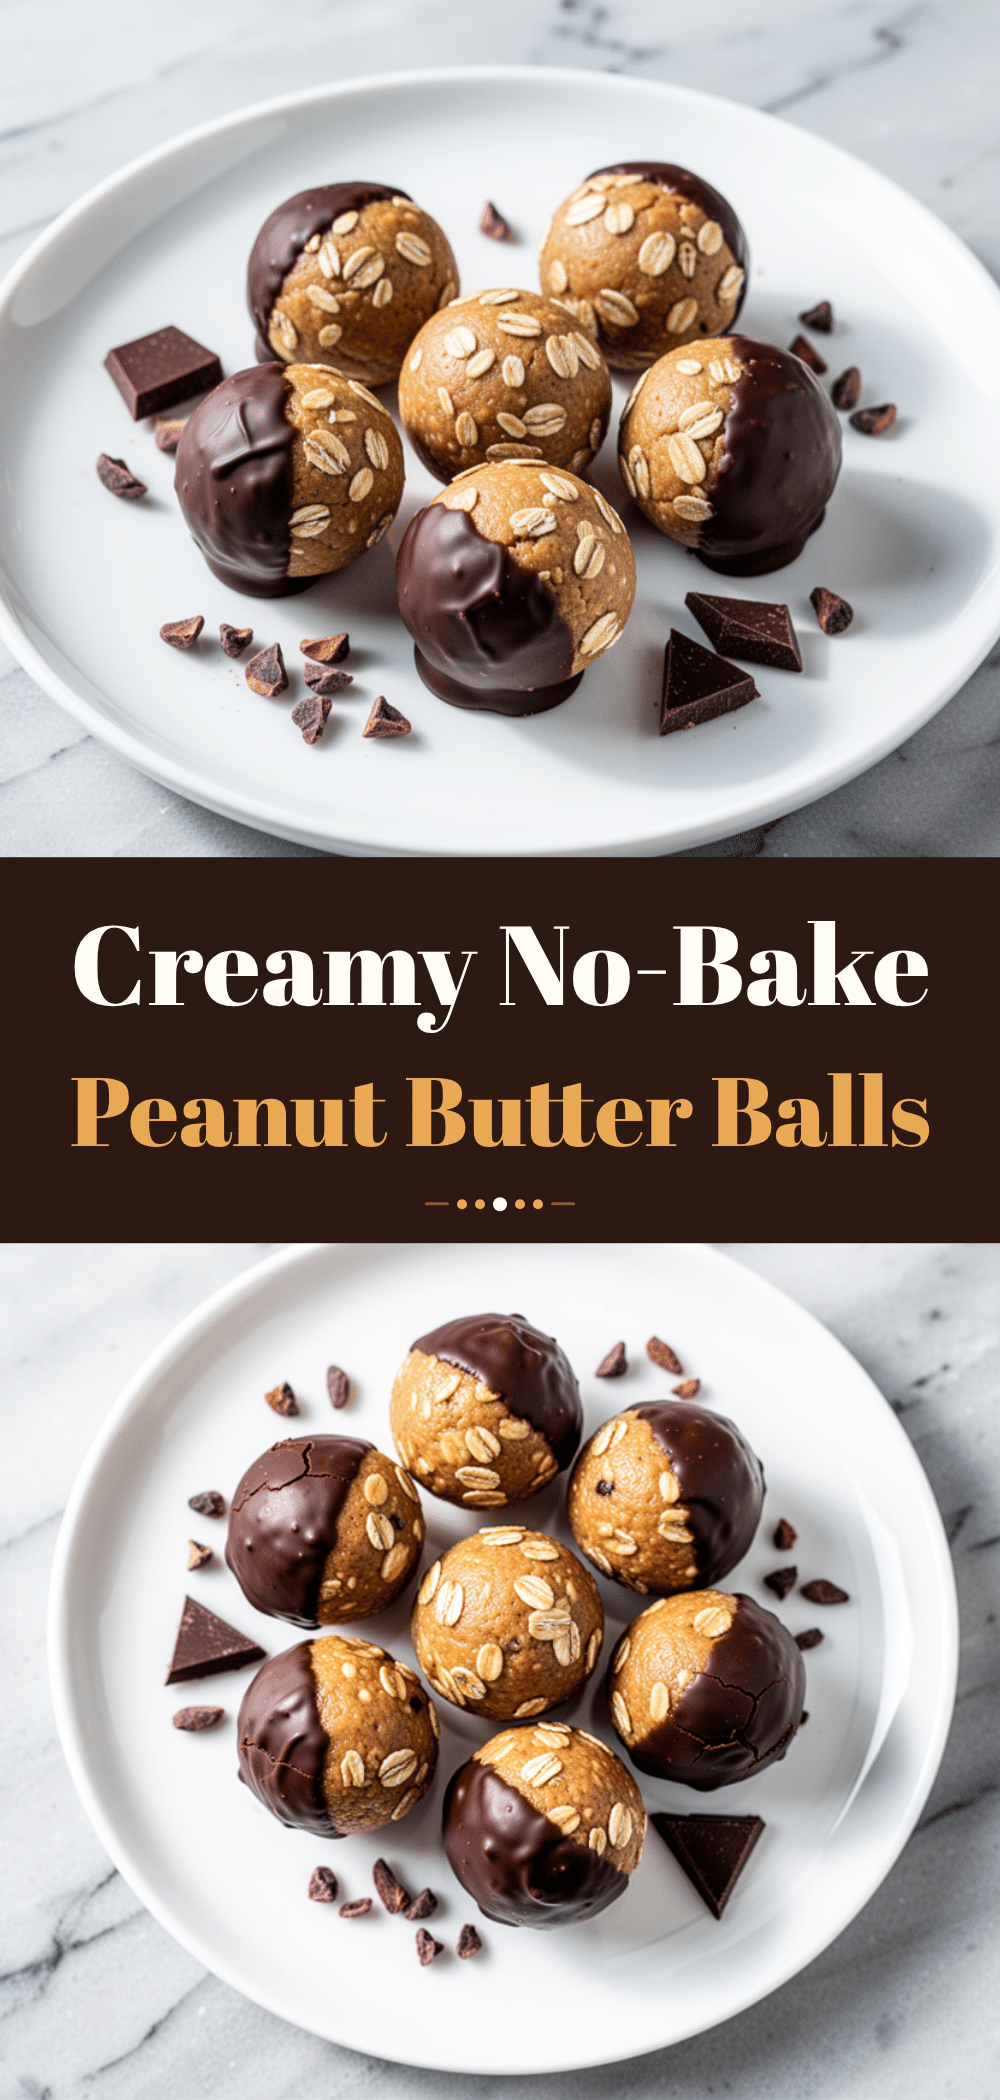
No-Bake Peanut Butter Protein Balls: Easy 5-Ingredient Snack
- Total Time: 35 minutes
- Yield: 12-14 servings 1x
Description
These no-bake peanut butter protein balls are a simple, healthy snack made with just five ingredients. They require no oven, take under 15 minutes to prepare, and provide satisfying, slow-burning energy perfect for meal prep or quick cravings.
Ingredients
- 1 cup (90g) Old-Fashioned Rolled Oats
- 1/2 cup (128g) Natural Peanut Butter
- 2–3 tablespoons (30-45ml) Honey or Maple Syrup
- 1 teaspoon Vanilla Extract
- 1/2 cup (85g) Dark Chocolate Chips
- 1/4 teaspoon Salt
Instructions
- Ensure peanut butter is at room temperature; microwave for 10-15 seconds if stiff.
- In a medium mixing bowl, combine rolled oats, peanut butter, honey (or maple syrup), vanilla extract, and salt.
- Stir the mixture until it resembles wet sand and all ingredients are evenly coated. If too crumbly, add more honey; if too sticky, add more oats.
- Fold in the dark chocolate chips gently to distribute them evenly without breaking them.
- Using a tablespoon or small ice cream scoop, roll the mixture into 1.5-inch balls. If the mixture sticks to your hands, wet them slightly with water.
- Place the rolled balls on a plate or baking sheet lined with parchment paper.
- Chill in the refrigerator for at least 20 minutes (or freezer for 10 minutes) to firm up.
- Store in an airtight container in the fridge for up to one week or freeze for up to three months.
Notes
Use old-fashioned rolled oats, not instant or steel-cut. Ensure peanut butter is natural and stirred well before measuring. If using salted peanut butter, reduce or omit added salt. For a vegan version, use maple syrup instead of honey. To prevent sticking while rolling, wet your hands with cold water.
- Prep Time: 15 minutes
- Cook Time: 0 minutes
- Category: Snack
- Cuisine: American
Nutrition
- Serving Size: 1 ball
- Calories: 120
- Sugar: 6
- Fat: 7
- Saturated Fat: 2
- Carbohydrates: 12
- Fiber: 2
- Protein: 4
Keywords: no-bake, peanut butter, protein balls, healthy snack, meal prep, gluten-free option, 5-ingredient recipe, quick snack


