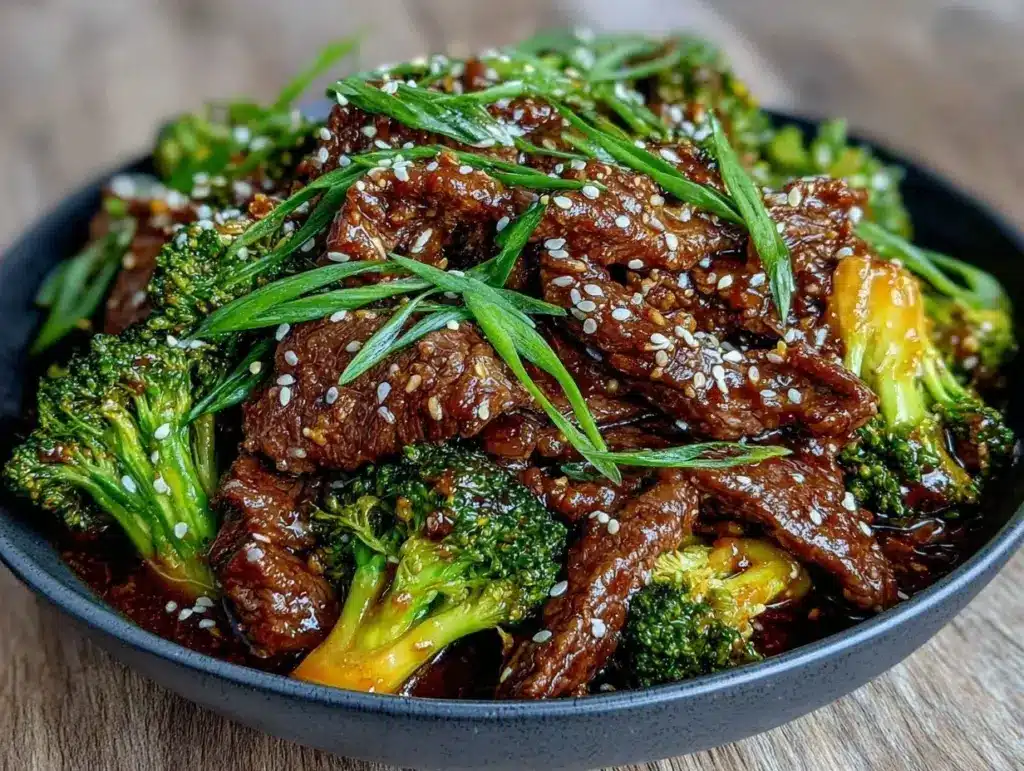
I have a confession to make. For years, I avoided my Instant Pot like it was going to bite me. I thought pressure cooking was complicated, dangerous, or just another gadget gathering dust in my cabinet. Then, one rainy Tuesday, I was tired, hungry, and didn’t want to stand over a hot stove for 45 minutes stir-frying. I threw some beef and broccoli into the pot, pressed a button, and went to read a chapter of my book.
When the timer beeped, I opened the lid to the most incredible smell. It wasn’t just dinner; it was the smell of takeout, but better. Cleaner. Real. That was the moment I fell in love with this Instant Pot Beef and Broccoli recipe. It’s not just about saving time (though it’s incredibly fast); it’s about the fact that you really can’t mess this up. The pressure cooker does the heavy lifting, tenderizing the beef in minutes and infusing it with a sauce that tastes like it came from a Chinese restaurant.
If you can only make one new recipe this month, make this one. It’s forgiving, it’s minimal, and the cleanup is basically non-existent. I’ve made this Instant Pot Beef and Broccoli at least thirty times, and it has never failed me. Here’s how you make it, why it’s the ultimate weeknight hero, and the one trick that makes the sauce perfect every time.
Why You’ll Love This Recipe
There are a lot of reasons to keep this recipe in your rotation, but they all boil down to simplicity and flavor. This isn’t about fancy techniques or hard-to-find ingredients. It’s about reliable, delicious food that works.
Stupid Simple — Seriously. You dump everything in, press a button, and wait. There’s no searing the beef in batches, no making a roux, no complicated sauce balancing. If you can press a button, you can cook this.
Restaurant-Quality Flavor — The pressure cooking method forces the flavors into the beef in a way that simmering on the stove never could. The sauce clings to every piece of broccoli and beef. It’s sweet, savory, salty, and slightly spicy. It’s the kind of flavor that makes people ask, “Did you order takeout?”
Minimal Cleanup — This is the big one. You cook everything in one pot. One pot. No separate pans for the sauce, no steamer baskets, no extra bowls for prep. Just rinse the Instant Pot insert and you’re done. This matters more than you think on a random Tuesday.
Beginner-Proof — I’ve taught this recipe to college students, people who’ve never cooked a day in their lives, and even my own mother (who still thinks pressure cookers are scary). You really can’t mess this up. The machine controls the heat and time. Your only job is to chop and press start.
Versatile — Have extra broccoli? Throw it in. Want to add carrots? Go for it. Using flank steak instead of sirloin? Works great. This recipe is a framework, not a rigid set of rules. It adapts to whatever you have in your fridge.
So basically, this is the recipe you make when you want something that tastes amazing but requires zero stress. It’s my go-to when I want to feel like a good cook without the effort.
Ingredients You’ll Need
Here’s the best part: you probably have most of this already. This recipe relies on a few key pantry staples and fresh ingredients that are easy to find. I’m particular about a few things here, but I’ll tell you exactly why.
For the Beef
Beef Sirloin or Flank Steak (1.5 pounds / 680g) — I use sirloin because it’s tender and lean. Flank steak works too, but slice it thin against the grain. Avoid tough cuts like chuck roast unless you’re pressure cooking for a long time (which we aren’t). Cut it into bite-sized strips. Look for beef that is bright red, not brown.
Coconut Aminos or Soy Sauce (3 tablespoons / 45ml) — I use coconut aminos for a slightly sweeter, less salty flavor that’s easier on the gut, but regular low-sodium soy sauce works perfectly fine. Tamari is great if you need it gluten-free.
Cornstarch (1 tablespoon / 8g) — This coats the beef before cooking. It creates a protective layer that keeps the beef tender and helps thicken the sauce later. Don’t skip it.
Beef Broth (½ cup / 120ml) — Use low-sodium so you can control the saltiness. Chicken broth works too if you’re out of beef broth.
For the Sauce
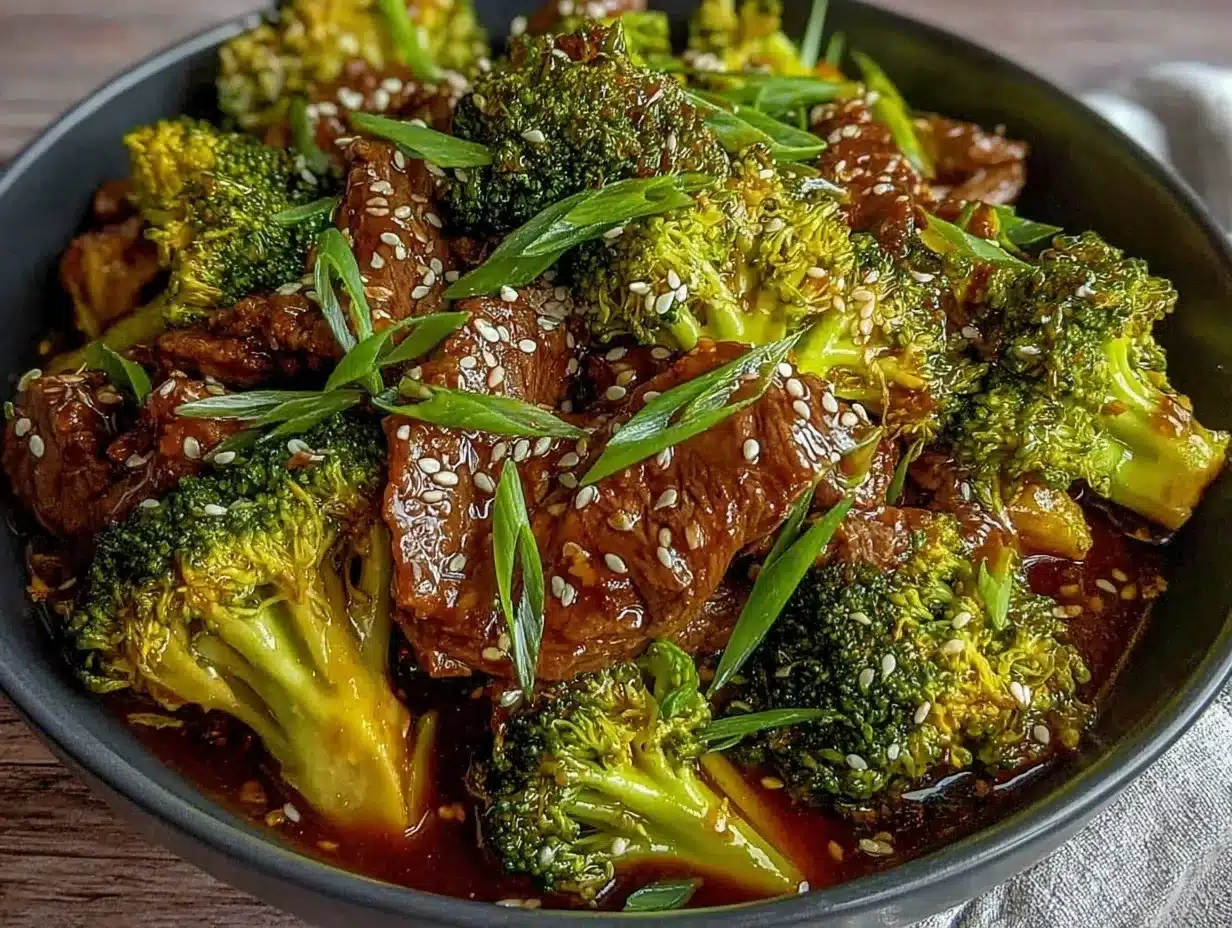
Garlic (4 cloves, minced / about 2 tablespoons) — Fresh garlic is non-negotiable. Jarred garlic has a metallic taste that ruins the balance. Mince it finely so it distributes evenly.
Ginger (1 teaspoon, freshly grated / or ½ teaspoon ground) — Fresh ginger adds a bright, spicy kick that ground ginger just can’t match. If you have a fresh root, grate it. If not, ground works in a pinch, but fresh is better.
Rice Vinegar (1 tablespoon / 15ml) — Adds a subtle acidity that cuts through the richness of the beef and sauce. Do not use distilled white vinegar; it’s too harsh.
Sesame Oil (1 teaspoon / 5ml) — Toasted sesame oil adds that classic Asian aroma. A little goes a long way. Don’t use the untoasted version for cooking; it’s for finishing.
Sugar or Honey (1 tablespoon / 15g) — Balances the salt and acid. Honey adds a nice floral note, but white sugar works fine too.
Red Pepper Flakes (½ teaspoon, optional) — For a little heat. Adjust to your spice tolerance. I like a mild kick, but you can skip it if you’re sensitive.
For the Veggies and Garnish
Broccoli Florets (3 cups / 300g) — Fresh is best. Cut them into bite-sized pieces. If they’re too big, they’ll be raw in the middle. If they’re too small, they’ll turn to mush. Aim for uniform pieces.
Sesame Seeds (1 tablespoon / 5g) — For garnish. Toasted sesame seeds add a nutty crunch. White or black, both work.
Green Onions (2 stalks, sliced) — Adds freshness and color. Sprinkle on top right before serving.
Cooked Jasmine Rice (for serving) — This dish is best over fluffy white rice. Jasmine is traditional, but basmati or even quinoa works if you’re switching it up.
Equipment Needed
You don’t need fancy equipment for this. Here’s what I actually use.
Instant Pot (or any 6-quart pressure cooker) — I use the Instant Pot Duo Plus. It’s reliable and easy to clean. If you don’t have an Instant Pot, you can use any electric pressure cooker. Even a stovetop pressure cooker works, but the timing might vary slightly.
Chef’s Knife — For slicing the beef and chopping the broccoli. A sharp knife makes slicing the beef much easier. Dull knives slip and are dangerous.
Cutting Board — Any size works. I use a large plastic board for easy cleanup.
Measuring Spoons and Cups — Standard stuff. Dollar store versions work fine.
Whisk — For mixing the sauce ingredients together before adding them to the pot. Or just use a fork.
Slotted Spoon — For removing the beef from the pot before adding the broccoli. Or just use a regular spoon and let the liquid drain.
Small Bowl — For mixing the sauce. Keeps things organized.
Optional: Garlic Press — If you hate mincing garlic, a press works. But fresh minced garlic tastes better.
How to Make It: Step-by-Step
Alright, let’s make this! I’m walking you through exactly how I do it, including the little tricks I’ve picked up. This is foolproof.
Step 1: Prep the Beef (5 minutes)
Pat the beef dry with paper towels. Moisture is the enemy of tender beef. Cut it into bite-sized strips, about ½-inch thick. Place the beef in a bowl and sprinkle with cornstarch. Toss until the beef is lightly coated. This step is crucial—it helps thicken the sauce later and keeps the beef tender.
Step 2: Mix the Sauce (2 minutes)
In a small bowl, whisk together the soy sauce (or coconut aminos), beef broth, rice vinegar, sesame oil, sugar, minced garlic, grated ginger, and red pepper flakes. Set aside. The sauce should look well combined and slightly cloudy from the cornstarch if you added any to it (I usually add a teaspoon of cornstarch to the sauce too for extra thickness).
Step 3: Sauté the Beef (5 minutes)
Set your Instant Pot to “Sauté” mode on High. Add a tablespoon of oil (vegetable or avocado oil works). Once the oil is hot, add the beef in a single layer. Don’t crowd the pot—if you have a lot of beef, do it in two batches. Sear the beef for 2-3 minutes per side until browned. You don’t need to cook it through; just get a nice crust. This adds flavor. Remove the beef with a slotted spoon and set it aside on a plate.
Step 4: Deglaze the Pot (1 minute)
This is the most important step for avoiding the “Burn” error. Pour in ½ cup of water or broth into the hot pot. Use a wooden spoon to scrape up all the browned bits (fond) from the bottom. These bits are flavor gold. If you don’t scrape them up, the pot might think the sauce is burnt and shut off. Make sure the bottom is completely clean.
Step 5: Pressure Cook (3 minutes)
Add the beef back into the pot. Pour in the sauce mixture. Add the broccoli florets. Stir gently to combine. Secure the lid and set the valve to “Sealing.” Press “Manual” or “Pressure Cook” on High Pressure for 3 minutes. Yes, only 3 minutes. The broccoli will cook during the release, so we don’t want to overcook it.
Step 6: Quick Release (5 minutes)
Once the timer beeps, do a Quick Release. Carefully turn the valve to “Venting” to release the steam. Use a towel or oven mitt to protect your hand. Once the pin drops, open the lid. The broccoli should be bright green and tender-crisp. If it’s still too hard, let it sit in the residual heat for 2 minutes.
Step 7: Thicken and Serve (2 minutes)
If the sauce is too thin, set the pot to “Sauté” mode again and simmer for 1-2 minutes until it thickens. You can also mix 1 teaspoon of cornstarch with 1 tablespoon of water and stir it in for a thicker sauce. Taste and adjust salt or sugar if needed. Serve immediately over steamed jasmine rice, topped with sesame seeds and green onions.
Total Time: About 30 minutes (5 minutes prep, 5 minutes sauté, 3 minutes cook, 5 minutes release, 10 minutes cleanup).
Expert Tips & Tricks
Here’s everything I’ve learned from making this dozens of times. These tips will save you from my mistakes.
Slice Against the Grain — Look at the direction of the muscle fibers in the beef and cut perpendicular to them. This shortens the fibers and makes the meat tender. If you cut with the grain, the beef will be chewy and tough. Trust me on this.
Don’t Skip the Sauté — I know it’s an extra step, but searing the beef first adds so much flavor. It creates Maillard reaction browning that pressure cooking alone can’t achieve. It’s worth the 5 minutes.
Scrape the Bottom — I’ve said it twice, but it’s that important. If the bottom of the pot has any stuck-on bits, the Instant Pot will trigger a “Burn” error and stop cooking. Deglazing is non-negotiable.
Use Fresh Broccoli — Frozen broccoli releases too much water and turns mushy. Fresh broccoli holds its texture and color. Buy it fresh and chop it yourself.
Toast Your Sesame Seeds — Dry toast them in a pan for 2 minutes until they’re golden and fragrant. It makes a huge difference in flavor. Raw sesame seeds are bland.
Common Mistakes (and how to avoid them):
Mistake: Sauce is too thin — Fix: Simmer on Sauté mode for a few more minutes. Or add a cornstarch slurry (1 tsp cornstarch + 1 tbsp water) and stir until thickened.
Mistake: Beef is tough — Fix: You didn’t slice against the grain, or you used a tough cut of meat. Next time, use sirloin or flank steak and slice thinly.
Mistake: Broccoli is mushy — Fix: You cooked it too long. 3 minutes is perfect for broccoli in the Instant Pot. If you like it softer, go to 4 minutes, but don’t go over.
Pro Tricks I’ve Learned:
For Extra Flavor — Add a teaspoon of hoisin sauce to the sauce mixture. It adds depth and sweetness.
For Better Texture — Add the broccoli at the very end of the cook time if you’re using a stovetop pressure cooker. In the Instant Pot, it’s fine to add it with the beef.
Make-Ahead Strategy — You can prep the beef and sauce in the morning and store them in the fridge. When you’re ready to cook, just dump it in the pot. Saves evening stress.
Variations & Substitutions
Once you’ve nailed the basic version, here’s how you can mix it up. I’ve tried all of these.
Chicken Version — Use chicken breast or thighs instead of beef. Cook time is the same. I like to add a little extra ginger for the chicken.
Tofu Version — Use firm tofu, pressed and cubed. Toss in cornstarch and air fry or bake until crispy, then add to the sauce at the end. Doesn’t pressure cook well—it gets mushy.
Veggie-Loaded — Add sliced bell peppers, snap peas, or carrots with the broccoli. They’ll cook in the same 3 minutes. Great way to use up leftover veggies.
Spicy Version — Add Sriracha or chili garlic sauce to the sauce. Or use Sichuan peppercorns for a numbing spice.
Gluten-Free — Use tamari or coconut aminos instead of soy sauce. Everything else is naturally gluten-free.
Dairy-Free — This recipe is naturally dairy-free. Just make sure your soy sauce is dairy-free (most are).
Different Proteins:
- Shrimp (add at the end, cook 1 minute)
- Pork tenderloin (slice thin, cook 3 minutes)
- Beef tips (cut into cubes, cook 3 minutes)
Serving & Storage
How to Serve:
I usually serve this straight from the Instant Pot insert at the dinner table—it looks rustic and stays warm. But here are other ways I’ve enjoyed it:
Side Dishes:
- Steamed jasmine rice (obviously)
- Steamed bok choy or green beans
- Simple cucumber salad with vinegar and sesame oil
- Hot and sour soup (if I’m feeling fancy)
Toppings Bar:
When I have guests, I put out: extra sesame seeds, sliced green onions, red pepper flakes, lime wedges, and crispy fried onions. Everyone customizes their bowl.
Wine Pairing:
Not a wine expert, but my wine-snob friend says a crisp Riesling or a light Pinot Noir works great with this. The sweetness and acidity balance the savory sauce.
Storage Instructions:
Refrigerator:
Store in an airtight container for up to 4 days. The sauce will thicken in the fridge—totally normal.
Reheating:
Best method: Add to a skillet with a splash of water or broth over low heat. Stir until heated through and creamy again.
Microwave method: Heat in 30-second intervals, stirring between. Add a splash of water if it’s too thick.
Never works: Trying to reheat in the pot you cooked it in. It always burns on the bottom. Ask me how I know.
Freezing:
This freezes well, but the broccoli might get soft. I usually freeze the beef and sauce separately, then cook fresh broccoli when reheating. It takes 30 minutes to thaw and reheat.
Meal Prep:
Make the sauce and beef on Sunday. Store in the fridge. Cook fresh broccoli each night. Takes 10 minutes and tastes way better than fully reheated broccoli.
Pro tip: If leftovers are drying out, stir in a tablespoon of broth and a splash of sesame oil when reheating. Brings back that glossy texture.
Nutrition Information
I’m not a nutritionist, but here’s the breakdown if you’re tracking.
| Per Serving (based on 4 servings) | Amount |
|---|---|
| Calories | 380 |
| Protein | 30g |
| Carbs | 15g |
| Fiber | 3g |
| Sugar | 8g |
| Fat | 20g |
| Saturated Fat | 6g |
| Cholesterol | 75mg |
| Sodium | 650mg |
| Calcium | 80mg |
What’s Good:
- High protein from the beef
- Good amount of fiber and vitamins from the broccoli
- Low carb (if you skip the rice)
What to Know:
- Higher in sodium from the soy sauce
- Contains beef and sesame
- Can be made lower sodium by using low-sodium soy sauce and reducing the amount
My Take:
Look, this is savory comfort food. It’s not a diet recipe. But it’s way better than takeout, costs less, and I know exactly what’s in it. When I want to make it lighter, I use leaner beef and less oil. But usually? I just eat a reasonable portion and enjoy it.
Dietary Notes:
- Contains: beef, sesame
- Can be made: gluten-free, dairy-free
- Not suitable for: vegetarian, vegan (without modifications)
Final Thoughts
So that’s my go-to Instant Pot Beef and Broccoli! I’ve probably talked your ear off at this point, but when you make a recipe this often, you have a lot to say about it.
This has saved weeknight dinners more times than I can count. It’s my answer to “what’s for dinner” when I’m tired, don’t want takeout, and still want something that tastes really good. My kids are happy, my husband’s happy, and I’m happy because I’m not stressed about cooking.
Make it yours! Try different add-ins, swap in your favorite vegetables, adjust the garlic (though more is always better in my opinion). The best recipes are the ones you adapt to your family’s tastes.
If you make this, drop a comment and let me know what you think! I love hearing how recipes turn out in your kitchen. And if something doesn’t work, tell me that too—I’m here to help troubleshoot.
Happy cooking! And I hope your kitchen smells half as good as mine does right now.
Frequently Asked Questions
Q: Can I use frozen broccoli?
A: You can, but it will release a lot of water and turn mushy. I recommend fresh broccoli for the best texture. If you must use frozen, thaw it first and squeeze out the excess water.
Q: Why did my Instant Pot say “Burn”?
A: Usually means the bottom of the pot wasn’t deglazed properly. There were stuck-on bits that triggered the sensor. Always scrape the bottom after sautéing the beef.
Q: Can I make this in a slow cooker?
A: Yes, but the timing is different. Sauté the beef first, then add everything to the slow cooker and cook on Low for 4-6 hours. The broccoli should be added in the last 30 minutes to prevent mushiness.
Q: What cut of beef is best?
A: Sirloin or flank steak are best because they’re tender and cook quickly. Avoid tough cuts like chuck roast unless you’re cooking for a long time.
Q: Can I double this recipe?
A: Absolutely! Double everything and use your biggest pot. The cooking times stay the same. I do this when I’m meal-prepping or feeding a crowd. Just make sure your Instant Pot isn’t more than 2/3 full.
Q: How do I reheat leftovers without it getting dry?
A: Add a splash of water or broth to a skillet, add your leftover beef and broccoli, and heat gently over low heat, stirring frequently. The extra liquid brings back the creamy texture. Microwave sort of works but tends to dry it out.
Q: Can I use coconut aminos instead of soy sauce?
A: Yes! Coconut aminos are slightly sweeter and less salty. It works great and is a good option for those watching sodium or avoiding gluten.
Q: Why is my sauce too thin?
A: The sauce thickens as it cools, but if it’s still thin, simmer it on Sauté mode for a few minutes. Or add a cornstarch slurry (1 tsp cornstarch + 1 tbsp water) and stir until thickened.
Pin This Recipe!
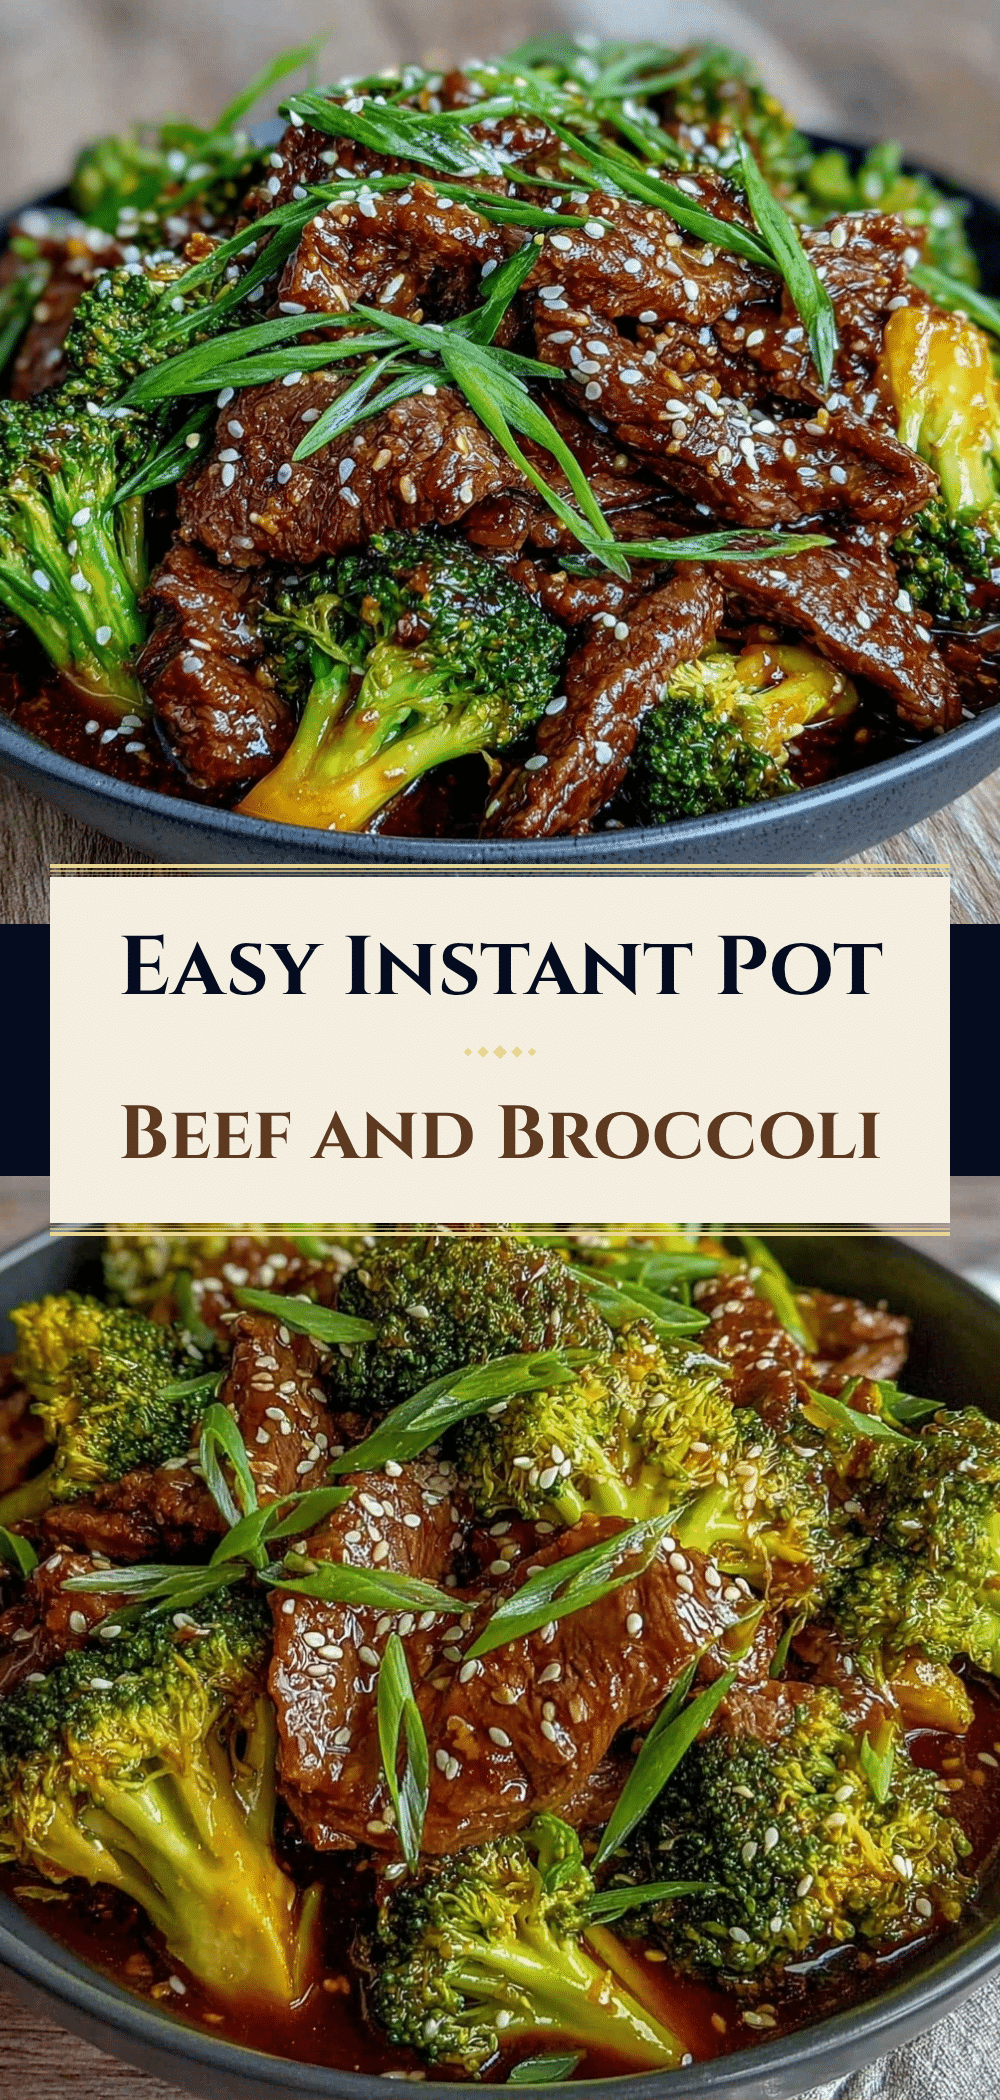

Instant Pot Beef and Broccoli: The Easy Weeknight Dinner
- Total Time: 30 minutes
- Yield: 4 servings 1x
Description
A foolproof, restaurant-quality Instant Pot Beef and Broccoli recipe that is ready in about 30 minutes. This one-pot meal features tender beef and crisp broccoli in a savory, sweet, and spicy sauce, requiring minimal cleanup and effort.
Ingredients
- 1.5 pounds beef sirloin or flank steak, cut into bite-sized strips
- 1 tablespoon cornstarch
- 1 tablespoon vegetable or avocado oil
- 3 tablespoons soy sauce (or coconut aminos/tamari for gluten-free)
- 1/2 cup beef broth (low-sodium)
- 4 cloves garlic, minced
- 1 teaspoon freshly grated ginger
- 1 tablespoon rice vinegar
- 1 teaspoon toasted sesame oil
- 1 tablespoon sugar or honey
- 1/2 teaspoon red pepper flakes (optional)
- 3 cups broccoli florets
- 1 tablespoon sesame seeds, toasted
- 2 stalks green onions, sliced
- Cooked jasmine rice, for serving
Instructions
- Pat the beef dry and cut into bite-sized strips. Toss with cornstarch until lightly coated.
- In a small bowl, whisk together soy sauce, beef broth, rice vinegar, sesame oil, sugar, garlic, ginger, and red pepper flakes.
- Set Instant Pot to ‘Sauté’ mode on High. Add oil and sear beef in a single layer for 2-3 minutes per side until browned. Remove beef and set aside.
- Deglaze the pot by pouring in water or broth and scraping up browned bits from the bottom to prevent burn errors.
- Return beef to the pot, pour in the sauce mixture, and add broccoli florets. Stir gently.
- Secure lid, set valve to ‘Sealing’, and pressure cook on High for 3 minutes.
- Perform a Quick Release by turning the valve to ‘Venting’. Open lid once the pin drops.
- If sauce is too thin, set to ‘Sauté’ and simmer for 1-2 minutes or add a cornstarch slurry. Serve over steamed jasmine rice, topped with sesame seeds and green onions.
Notes
Slice beef against the grain for tenderness. Do not skip the sauté step for better flavor. Ensure the bottom of the pot is completely deglazed to avoid ‘Burn’ errors. Use fresh broccoli for best texture; frozen broccoli may become mushy. Toast sesame seeds for enhanced flavor.
- Prep Time: 5 minutes
- Cook Time: 13 minutes
- Category: Main Course
- Cuisine: Chinese
Nutrition
- Serving Size: 1/4 of the recipe
- Calories: 380
- Sugar: 8
- Sodium: 650
- Fat: 20
- Saturated Fat: 6
- Carbohydrates: 15
- Fiber: 3
- Protein: 30
Keywords: Instant Pot, Beef and Broccoli, Pressure Cooker, Weeknight Dinner, Asian, One Pot, Quick Meals, Gluten-Free Option


