I have a confession to make. Three weeks ago, I was standing in my kitchen at 11:30 PM, staring into the open refrigerator like it held the secrets to the universe. I was exhausted. The kind of exhausted where your brain feels like static. I didn’t want a salad. I definitely didn’t want another chicken breast with steamed broccoli. I wanted something rich, something sweet, something that felt like a cheat meal but wouldn’t leave me feeling sluggish the next morning.
That’s when I decided to stop buying those sad, chalky protein bars and actually make something that tasted like dessert. I pulled out a container of cottage cheese, a jar of peanut butter, and some dark chocolate chips. I figured, “What’s the worst that could happen? It tastes like regret?”
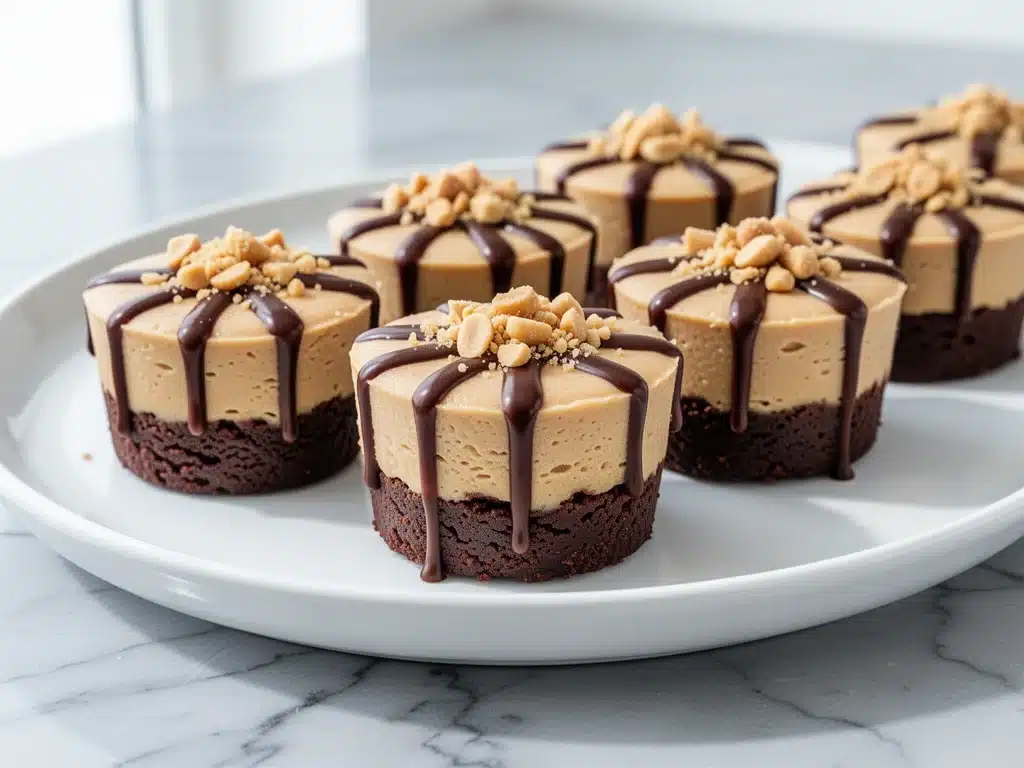
It didn’t taste like regret. It tasted like heaven. Specifically, it tasted like a high-protein chocolate peanut butter cheesecake cups version of heaven.
I made that first batch in a hurry, using a fork and a bowl. It was good. But then I made it again. And again. By the fifth time, I had refined the technique until it was foolproof. These cups are now my go-to late-night treat, my post-workout reward, and the thing I pack in my lunchbox when I need a serious sugar fix without the sugar crash. They’re creamy, they’re decadent, and they’re packed with enough protein to keep you full for hours. I’ve probably made these 15 times in the last month, and I’m not even close to getting bored. If you’re tired of choosing between your health goals and your sweet tooth, you need to stop reading and start making these.
Why You’ll Love This High-Protein Chocolate Peanut Butter Cheesecake Cups Recipe
There are a lot of “healthy” desserts out there. Most of them taste like cardboard with a hint of vanilla extract. But this? This is different. Here’s why these cups have completely taken over my pantry:
Zero Baking Required — Seriously. If you have a blender or a food processor, you can make these. I made them on a Tuesday night while my dog barked at the mailman. Total active time? About 10 minutes. No oven, no mess, no waiting for things to cool.
Actually Tastes Like Cheesecake — I know, I know. “Cottage cheese cheesecake” sounds like a prank. But when you blend it until it’s silky smooth, you lose the texture completely. You just get that rich, tangy, creamy cheesecake flavor. The peanut butter and chocolate cover any leftover “eggy” notes. It’s magic.
High-Protein Powerhouse — Each cup has about 15-18 grams of protein, depending on how much you pack in. That’s more protein than most pre-workout snacks. I use these to hit my macros after leg day, and they actually keep me satisfied. No 3 PM hunger pangs.
Meal Prep Friendly — I make a batch on Sunday, and I have dessert sorted for the entire week. They keep in the fridge for up to 5 days, and they freeze beautifully if you want to keep a longer supply. It’s the ultimate “set it and forget it” dessert.
Gluten-Free and Flexible — I use almond flour for the crust, which is naturally gluten-free. But even if you eat gluten, this crust is so buttery and nutty that it’s better than a graham cracker base. And if you’re dairy-free? Swap the cottage cheese for a firm tofu blend (though the cottage cheese is creamier). This recipe is forgiving.
This is my answer to “I want cake but I’m trying to eat clean.” It’s not a compromise. It’s an upgrade.
Ingredients You’ll Need
Here’s the best part: you probably have most of these ingredients already. This isn’t a recipe that requires a special trip to three different specialty stores. I’m particular about quality, though, so pay attention to these specifics.
For the Crust
Almond flour (1 cup / 112g) — Use finely ground almond flour for the best texture. Almond meal (coarser) will make the crust gritty. I buy mine in bulk to save money, but store it in the fridge to keep it fresh.
Unsalted butter (2 tablespoons / 30g) — Melted. Real butter adds that rich, bakery-style flavor. If you’re dairy-free, use refined coconut oil, but you’ll lose some of that buttery depth.
Granulated erythritol or monk fruit sweetener (2 tablespoons / 20g) — Since we’re keeping this low-sugar, I use a blend that measures like sugar. Brown sugar works too if you don’t mind the extra carbs, but it changes the texture. I stick to the zero-calorie sweeteners to keep the protein-to-calorie ratio high.
Pinch of salt — Crucial. It makes the peanut butter taste more like peanut butter. Don’t skip it.
For the Filling
Full-fat cottage cheese (1 cup / 245g) — This is the secret weapon. Use full-fat for the creamiest texture. Low-fat works, but it can be a bit watery. Blend it well! I use brands like Good Culture or Daisy. The curds need to be tiny so they blend smoothly.
Smooth peanut butter (½ cup / 128g) — No chunks! You want a silky smooth peanut butter so the filling stays uniform. Natural peanut butter that separates is fine, just make sure you stir it well before measuring. I avoid ones with added sugar or hydrogenated oils.
Greek yogurt (¼ cup / 60g) — Plain, non-fat or 2%. This adds tang and extra protein. It helps cut through the richness of the peanut butter. If you’re out of yogurt, you can skip it, but the flavor profile changes slightly.
Vanilla extract (1 teaspoon) — Good quality vanilla makes a huge difference. I use pure vanilla, not imitation. It adds that classic cheesecake aroma.
Heavy cream or coconut cream (2-3 tablespoons) — This is optional but recommended. It lightens the texture and makes it fluffier. If you’re strict on macros, you can skip it, but the cups will be denser.
For the Chocolate Topping
Dark chocolate chips (2 tablespoons) — I use 70% cocoa or higher. They melt beautifully. Semi-sweet works too if you want it less bitter.
Peanut butter (1 teaspoon) — Mixed with the chocolate chips to create that marble effect. It makes the topping look fancy and adds extra flavor.
Mini chocolate chips (optional) — For sprinkling on top. Adds a nice crunch.
Equipment Needed
You don’t need fancy equipment for this. Here’s what I actually use:
High-speed blender or food processor — This is non-negotiable. A hand blender might work if you’re patient, but a standard blender or food processor will get that cottage cheese silky smooth in seconds. I use my Vitamix, but a Ninja or Cuisinart works just as well.
Small muffin tin — I use a standard 12-cup muffin tin. It’s the perfect size for individual portions. Silicone muffin liners make cleanup easier, but I usually just grease the tin lightly.
Measuring cups and spoons — Standard stuff. Precision matters a bit here because we’re balancing flavors, so don’t eyeball the peanut butter too much.
Spatula — For scraping down the sides of the blender and spreading the crust.
Small microwave-safe bowl — For melting the chocolate chips. Or you can use a double boiler if you’re fancy, but microwave is faster.
How to Make It: Step-by-Step
Alright, let’s make these! I’m walking you through exactly how I do it, including the little tricks I’ve picked up to ensure they’re perfectly creamy.
Step 1: Prep the Crust (5 minutes)
In a small bowl, mix the almond flour, melted butter, sweetener, and salt. Stir until it looks like wet sand. It should clump together when you pinch it. If it’s too dry, add a teaspoon more butter. If it’s too wet, add a tablespoon more almond flour.
Press about 1 tablespoon of this mixture into the bottom of each muffin cup. Use the bottom of a measuring cup to pack it down firmly. You want a solid base, not a crumbly mess. Place the tin in the fridge while you make the filling. This helps the crust set.
Step 2: Blend the Filling (5 minutes)
This is the most important step. Add the cottage cheese, peanut butter, Greek yogurt, vanilla, and heavy cream to your blender. Blend on high for at least 60-90 seconds. I know it seems long, but you need to break down those cottage cheese curds completely. The mixture should be completely smooth, glossy, and free of lumps. Scrape down the sides and blend again if needed. Taste it. It should be sweet and creamy. If it’s too thick, add a splash more milk or cream.
Step 3: Assemble the Cups
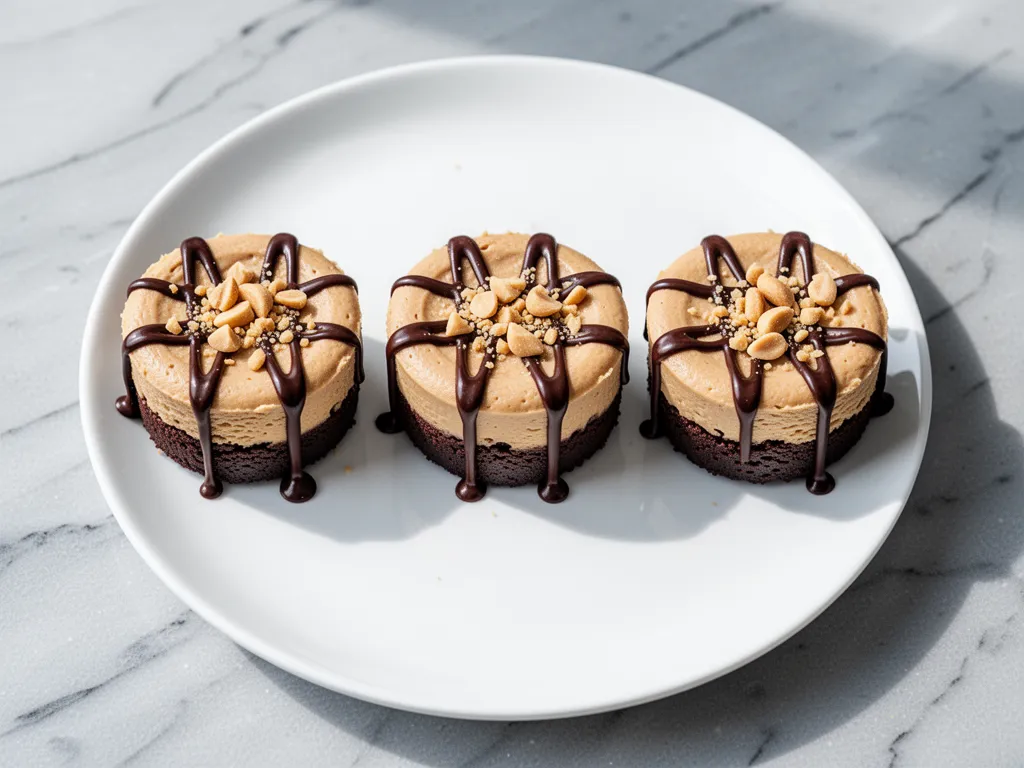
Divide the filling evenly among the muffin cups. You should have enough for 12 cups. Smooth the tops with a spatula. If you want to be fancy, you can swirl a tiny bit of peanut butter into the top of each cup for a marbled look.
Step 4: Add the Chocolate Topping
Melt the dark chocolate chips in the microwave in 20-second intervals, stirring in between, until smooth. Stir in the teaspoon of peanut butter to thin it out slightly. Drizzle this over the cheesecake filling. Use a toothpick to swirl the chocolate into the filling for a pretty marble effect.
Sprinkle with mini chocolate chips if you’re feeling indulgent.
Step 5: Chill and Set
Place the muffin tin in the refrigerator for at least 2 hours, or preferably overnight. This allows the flavors to meld and the texture to firm up. If you’re impatient, you can freeze them for 30 minutes, but the fridge is better for flavor development.
Total Time: About 20 minutes active, plus chilling time.
Expert Tips & Tricks
Here’s everything I’ve learned from making these dozens of times. These tips will save you from my mistakes.
Blend Longer Than You Think
I cannot stress this enough. If your filling has lumps, it’s not blended enough. High-speed blenders are worth it for this. If you’re using a weaker blender, blend for 2 minutes. The texture is everything.
Don’t Skimp on the Salt
Sweet and salty is the best combination. The salt in the crust and a tiny pinch in the filling balances the sweetness of the peanut butter. Taste your filling before pouring it in. It should taste slightly too sweet, because the chocolate will balance it out.
Use Room Temperature Ingredients
If your peanut butter is cold and stiff, it won’t blend as smoothly. Take it out of the fridge 15 minutes before you start. Same with the cottage cheese. Room temp ingredients blend faster and smoother.
Store Properly
These keep in the fridge for up to 5 days. Store them in an airtight container if you remove them from the tin. If you leave them in the tin, cover it with plastic wrap. They freeze well for up to 3 months. Thaw in the fridge overnight.
Customize Your Sweetness
Everyone’s sweet tooth is different. I like it not too sweet, but if you have a serious craving, add an extra tablespoon of sweetener to the filling. Or use a sugar-free chocolate syrup for the drizzle.
Variations & Substitutions
Once you’ve nailed the basic version, here’s how you can mix it up. I’ve tried all of these.
Strawberry Cheesecake
Skip the chocolate topping. Blend ½ cup of fresh or frozen strawberries into the filling. Top with a strawberry slice. It’s refreshing and still high-protein.
Chocolate Peanut Butter Cup
After filling the cups, drop a small square of dark chocolate in the center of each. Drizzle with more melted chocolate. It’s like a homemade Reese’s.
Cookie Dough
Add 2 tablespoons of mini chocolate chips and 1 tablespoon of oat flour to the filling. It tastes like edible cookie dough but with way more protein.
Low-Fat Option
Use low-fat cottage cheese and skip the heavy cream. Use non-fat Greek yogurt. It’s still delicious, just less rich. The protein content stays high.
Vegan Version
Replace cottage cheese with firm tofu (blended smooth) and use coconut cream instead of heavy cream. Use a vegan sweetener and dairy-free chocolate chips. The texture is slightly different but still tasty.
Gluten-Free
The base recipe is already gluten-free if you use certified GF almond flour. Double-check your sweetener and chocolate chips to ensure they’re processed in a GF facility.
Serving & Storage
How to serve these babies:
I usually eat them straight out of the fridge, but you can also serve them at room temperature if you let them sit for 10 minutes. They’re perfect as a post-workout snack, a mid-afternoon pick-me-up, or a late-night dessert.
Side Dishes
These are standalone desserts, but they pair well with a cup of black coffee or unsweetened almond milk. I also like them with a side of fresh berries to cut the richness.
Storage Instructions
Refrigerator: Store in an airtight container for up to 5 days. They actually taste better on day 2 as the flavors meld.
Freezer: These freeze beautifully. Place them in a freezer-safe bag or container. They’ll last for 3 months. Thaw in the fridge overnight. Do not thaw at room temperature, or the texture might get watery.
Reheating: Do not reheat these. They are meant to be eaten cold or chilled. Heating them will melt the chocolate and change the texture of the cheesecake.
Pro Tip: If you’re meal prepping for the week, make a double batch. You won’t regret it. I always have at least 6 in the fridge on any given day.
Nutrition Information
I’m not a nutritionist, but here’s the breakdown if you’re tracking. These are estimates based on standard ingredients.
Per Serving (1 cup, based on 12 servings):
- Calories: 180
- Protein: 16g
- Carbs: 8g
- Fiber: 3g
- Sugar: 4g (from natural sources and sweetener)
- Fat: 12g
- Saturated Fat: 4g
- Cholesterol: 10mg
- Sodium: 90mg
What’s Good:
- High protein content helps with muscle recovery and satiety.
- Low net carbs (5g) make it keto-friendly.
- Healthy fats from peanut butter and almond flour.
What to Know:
- Calorie count can vary based on the specific brands of peanut butter and cottage cheese used.
- If you use a high-calorie sweetener, adjust the count accordingly.
- Contains tree nuts (almonds).
My Take:
Look, this is a dessert. It has calories. But it’s nutrient-dense. You’re getting protein, healthy fats, and fiber. It’s way better for you than a slice of regular cheesecake or a protein bar with 20 ingredients you can’t pronounce. When I’m trying to lose weight, I stick to 1-2 cups a day. When I’m bulking, I might have 3. It fits into any diet if you balance it with your other meals.
Final Thoughts
So that’s my high-protein chocolate peanut butter cheesecake cups! I’ve probably talked your ear off at this point, but when you make a recipe this often, you have a lot to say about it.
This has saved my late-night cravings more times than I can count. It’s my answer to “I want cake but I’m being good.” My kids love them (they don’t even realize they’re eating protein), my husband asks for them after workouts, and I’m happy because I’m not stressing about my macros.
Make it yours! Try different extracts, swap the chocolate for caramel, or add crushed peanuts on top. The best recipes are the ones you adapt to your family’s tastes.
If you make this, drop a comment and let me know what you think! I love hearing how recipes turn out in your kitchen. And if something doesn’t work, tell me that too—I’m here to help troubleshoot.
Happy cooking! And I hope your kitchen smells half as good as mine does right now.
Frequently Asked Questions
Can I use a hand mixer instead of a blender?
You can, but it’s much harder. A hand mixer might leave small curds of cottage cheese. If you must use a hand mixer, blend for a very long time (5+ minutes) and maybe sift the mixture through a sieve to remove lumps. A blender or food processor is highly recommended for that silky texture.
Why did my filling turn out watery?
This usually happens if the cottage cheese wasn’t blended long enough, or if you used low-fat cottage cheese which has more water content. Another cause is adding too much liquid (milk/cream). Next time, blend longer and reduce the liquid. If it’s already watery, you can chill it longer to help it set, or add a bit more protein powder to thicken it.
Can I make these ahead for a party?
Absolutely. These are perfect for make-ahead desserts. Make them 2-3 days in advance. They actually taste better after a day because the flavors have time to meld. Just keep them covered in the fridge until serving time.
Can I use natural peanut butter?
Yes, but make sure it’s well-stirred. Natural peanut butter can be runnier, which might make the filling slightly looser. You might need to chill them longer. Also, natural peanut butter can sometimes separate in the fridge, so stir the jar thoroughly before measuring.
How do I reheat leftovers?
Do not reheat these. They are meant to be eaten cold. Heating them will melt the chocolate and make the texture weird. If you prefer room temperature, just take them out of the fridge 10 minutes before eating.
Can I freeze these?
Yes! They freeze very well. Place them in a single layer in the freezer until solid, then transfer to a freezer bag. They’ll last for 3 months. Thaw in the fridge overnight. The texture might be slightly softer after thawing, but they still taste great.
What if I don’t have almond flour?
You can use oat flour, coconut flour, or even crushed gluten-free graham crackers. Almond flour gives the best nutty flavor and texture, but oat flour works well too. Just note that coconut flour is more absorbent, so you’ll need less.
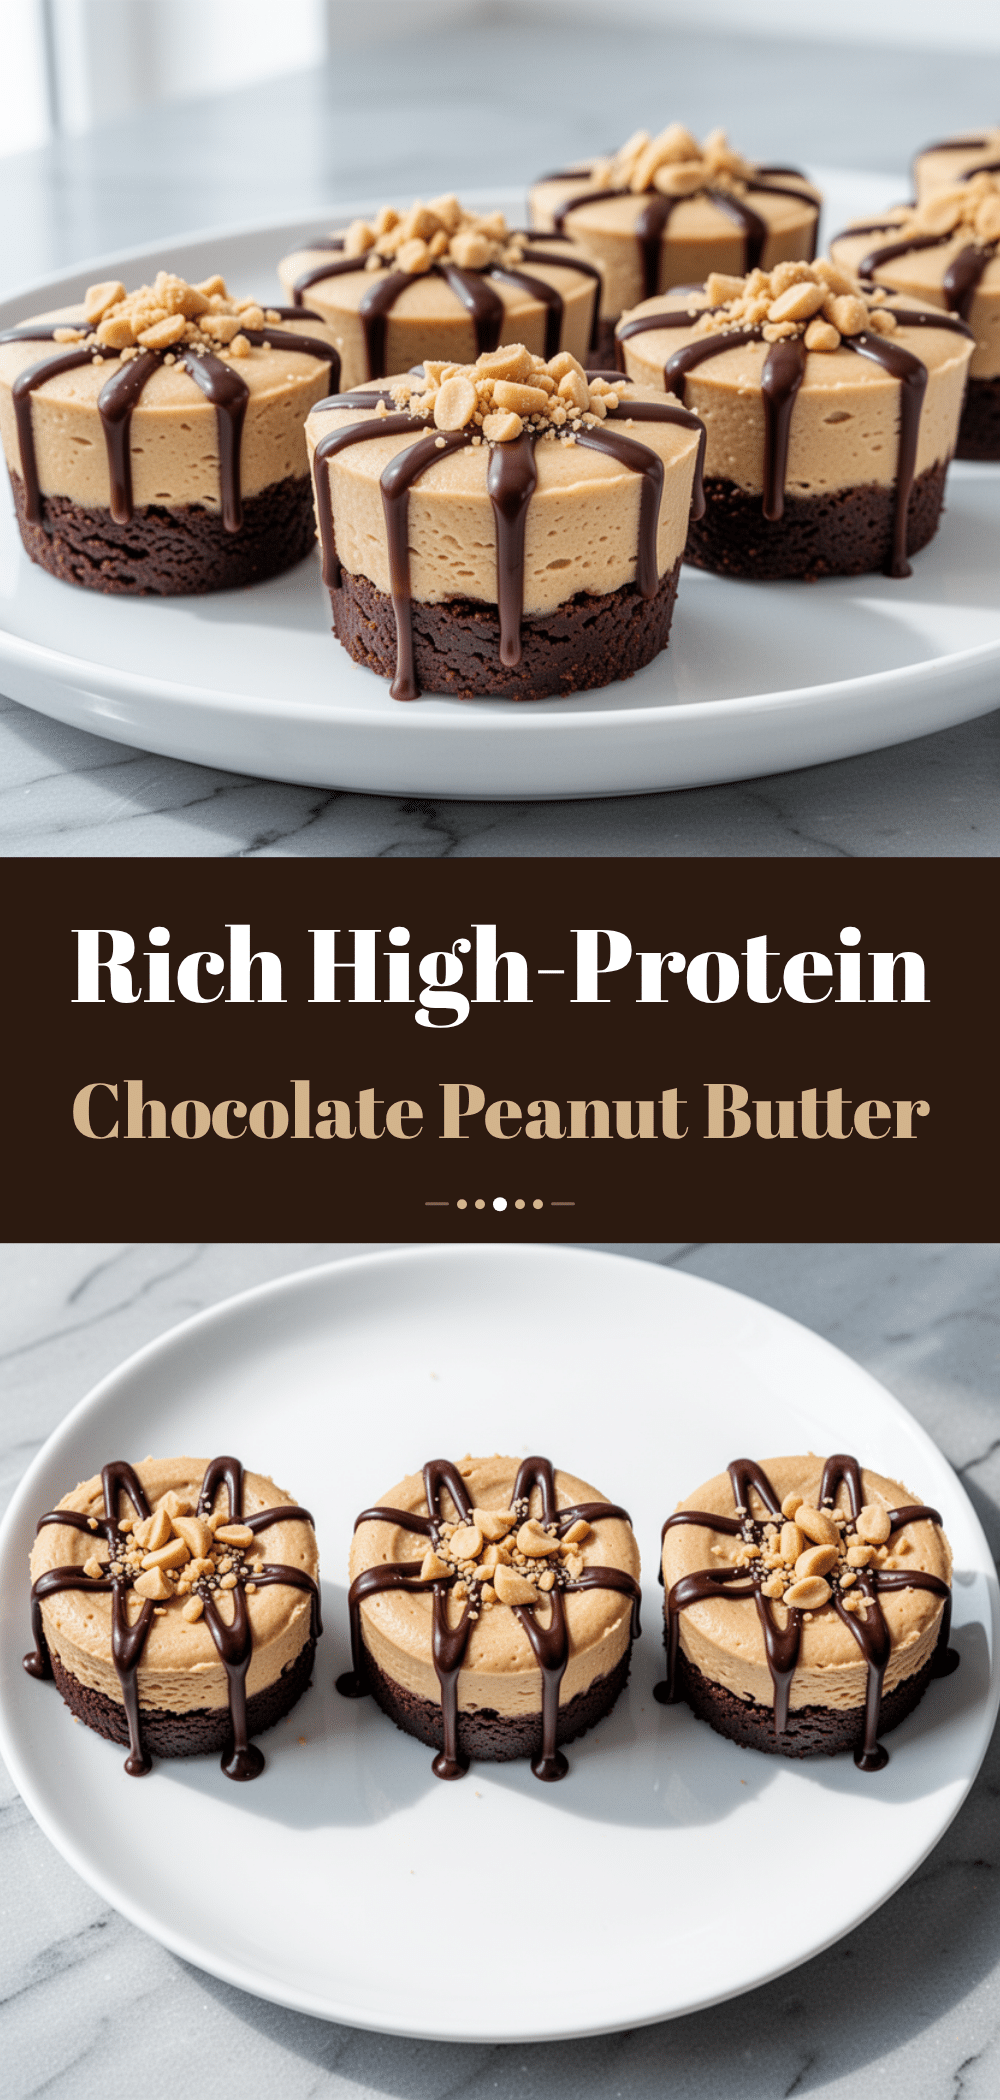
Pin This Recipe!
High-Protein Chocolate Peanut Butter Cheesecake Cups
- Total Time: 2 hours 10 minutes
- Yield: 12 servings 1x
Description
No-bake, high-protein cheesecake cups made with cottage cheese, peanut butter, and dark chocolate. These creamy, decadent treats are gluten-free, meal-prep friendly, and perfect for satisfying sweet cravings without the sugar crash.
Ingredients
- 1 cup finely ground almond flour
- 2 tablespoons unsalted butter, melted
- 2 tablespoons granulated erythritol or monk fruit sweetener
- Pinch of salt
- 1 cup full-fat cottage cheese
- 1/2 cup smooth peanut butter
- 1/4 cup plain Greek yogurt (non-fat or 2%)
- 1 teaspoon pure vanilla extract
- 2–3 tablespoons heavy cream or coconut cream
- 2 tablespoons dark chocolate chips (70% cocoa or higher)
- 1 teaspoon peanut butter (for topping)
- Mini chocolate chips (optional, for sprinkling)
Instructions
- In a small bowl, mix almond flour, melted butter, sweetener, and salt until it resembles wet sand.
- Press about 1 tablespoon of the crust mixture into the bottom of each cup in a 12-cup muffin tin. Pack firmly and place in the fridge to set.
- In a high-speed blender or food processor, combine cottage cheese, peanut butter, Greek yogurt, vanilla, and heavy cream.
- Blend on high for 60-90 seconds until the mixture is completely smooth, glossy, and free of lumps. Scrape down sides and blend again if needed.
- Divide the filling evenly among the muffin cups, smoothing the tops with a spatula.
- Melt dark chocolate chips in the microwave in 20-second intervals, stirring until smooth. Stir in 1 teaspoon of peanut butter to thin slightly.
- Drizzle the chocolate mixture over the filling and swirl with a toothpick for a marble effect. Sprinkle with mini chocolate chips if desired.
- Refrigerate for at least 2 hours or overnight to set before serving.
Notes
Blend the cottage cheese filling for at least 60-90 seconds to ensure a silky smooth texture with no lumps. Use room temperature ingredients for easier blending. These cups keep in the fridge for up to 5 days or freeze for up to 3 months. Do not reheat, as this will melt the chocolate and alter the texture.
- Prep Time: 10 minutes
- Cook Time: 0 minutes
- Category: Dessert
- Cuisine: American
Nutrition
- Serving Size: 1 cup
- Calories: 180
- Sugar: 4
- Sodium: 90
- Fat: 12
- Saturated Fat: 4
- Carbohydrates: 8
- Fiber: 3
- Protein: 16
Keywords: high protein, no bake, keto friendly, gluten free, peanut butter, chocolate, cottage cheese, meal prep, healthy dessert, post workout snack


