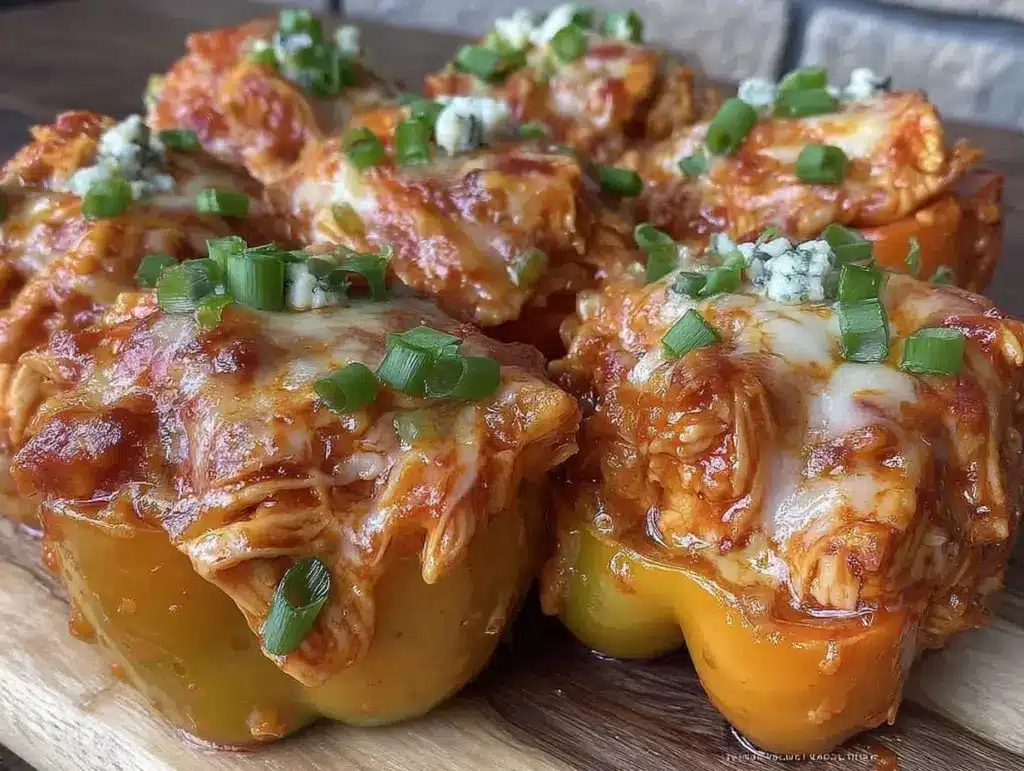
Let’s be honest for a second. I have a love-hate relationship with game day food. On one hand, I love the energy. I love the idea of sitting on the couch, a bowl of wings in one hand, a drink in the other, cheering for my team. On the other hand? I hate the food. You know the type. It’s usually a sad, cold platter of wings that have been sitting under a heat lamp since kickoff, covered in sauce that’s either too thin or congealed into a weird rubbery layer. Or it’s a cheese dip that’s so greasy you need a paper towel just to eat it.
I was tired of settling for mediocre snack food. I wanted something that felt like a real meal but was still easy to grab with one hand while I argued about a referee’s call. I wanted spice. I wanted crunch. And I definitely didn’t want to spend the entire game standing over a stove.
That’s when I decided to try Game Day Buffalo Chicken Stuffed Peppers. I’ve made this recipe probably twenty times now—some for Super Bowl parties, some for quiet Tuesday nights when I just wanted something spicy and comforting. It’s become my go-to because it’s foolproof. You really can’t mess this up. If you can chop a pepper and mix a bowl, you can make this. It’s spicy, it’s creamy (thanks to the blue cheese), and it’s colorful enough to look like you tried, even though you didn’t.
This isn’t just a snack. It’s a meal that happens to be finger food. It’s better than plain wings because the pepper adds a fresh crunch that cuts through the rich, spicy chicken. It’s healthier than crispy baked honey sriracha wings because you’re actually getting a vegetable. And honestly? It looks way better on a platter than a pile of soggy nuggets.
Why You’ll Love This Recipe
There are about ten reasons I keep making these stuffed peppers, but here are the big ones. These are the reasons this recipe has earned a permanent spot in my game day rotation.
Zero Stress Cooking — Seriously, if you can boil water, you can make this. The chicken is pre-cooked (or you cook it once and shred it), the filling is just a mix, and the peppers are just hollowed out and baked. There are no complex techniques. No tempering chocolate. No folding egg whites. Just mix, stuff, bake. I’ve made this while watching TV, and it turned out perfectly every time.
Spicy and Satisfying — This hits that buffalo chicken craving without the guilt of deep-fried batter. The hot sauce gives it that tangy kick, and the cream cheese makes it creamy and cool. It’s the perfect balance of hot and cold, spicy and rich. My friends who usually only eat wings ask for these by name now.
Great for Beginners — I know cooking can feel intimidating, especially when you’re trying to impress people. This recipe is incredibly forgiving. If you use a little too much hot sauce, it just tastes spicier. If you stuff them a little crooked, no one will notice. It’s designed for success. It’s the kind of recipe that makes you feel like a pro chef even if you’ve never cooked before.
Perfect Finger Food — Let’s face it, game day is about convenience. You don’t want to be digging with a fork while the game is on. These are big enough to be a snack but small enough to eat in two or three bites. No plates, no silverware, no mess. Just pick up and eat. It’s so much easier than trying to manage a plate of regular food during a touchdown.
Makes Amazing Leftovers — These actually taste better the next day. The flavors meld together in the fridge, making the peppers even more flavorful. I deliberately make extra for lunch the next day. It’s a great way to use up leftover rotisserie chicken, which is something I always have on hand.
This is my go-to when I need to feed a crowd without spending hours in the kitchen. It’s reliable, delicious, and makes everyone happy. Plus, it’s a great alternative to creamy tortellini alfredo if you want something lighter and spicier for a gathering.
Ingredients You’ll Need
Here’s the best part: you probably have most of this already. This recipe relies on simple, pantry-friendly ingredients. I’m particular about three things here, and I’ll tell you exactly why.
Bell Peppers (4 large, any color) — I love using a mix of red, yellow, and orange for the rainbow effect. It looks festive on the platter. Green peppers work too, but they’re a bit more bitter. Make sure they’re firm and stand up straight in your baking dish. If they lean too much, you can trim a tiny slice off the bottom so they sit flat.
Chicken (2 cups, cooked and shredded) — I always use rotisserie chicken from the grocery store. It saves so much time. You can use cooked chicken breast or thighs. Just make sure it’s shredded into small, bite-sized pieces. If you’re starting with raw chicken, boil it or bake it until cooked through, then shred. But honestly, rotisserie is the cheat code here.
Hot Sauce (½ cup, Frank’s RedHot is classic) — This is the heart of the buffalo flavor. I use Frank’s because it has that vinegar tang that defines buffalo sauce. You can use your favorite hot sauce, but keep in mind that some are thicker or sweeter. If you like it extra spicy, add more. If you’re sensitive to heat, start with ¼ cup and add more to taste.
Cream Cheese (4 oz, softened) — This is what makes the filling creamy and holds it all together. Do not use light cream cheese if you can avoid it—it doesn’t melt as smoothly. Let it sit on the counter for 15 minutes before you start so it’s soft and easy to mix. If you try to mix cold cream cheese, you’ll end up with lumpy chunks.
Blue Cheese Dressing (½ cup) — This is non-negotiable for me. Blue cheese gives that sharp, pungent flavor that balances the heat. If you hate blue cheese, you can use ranch, but I promise you’ll miss the tang. Use a good quality dressing, not the watery kind from the bottom of the bottle.
Cheddar Cheese (1 cup, shredded) — Sharp cheddar is best here. It melts well and adds a nice salty depth. Pre-shredded cheese works, but I prefer block cheese because it melts more evenly. Grate it yourself if you have five minutes.
Green Onions (2, sliced) — For garnish. They add a fresh, oniony bite that cuts through the richness. You can also mix some into the filling if you’re a green onion lover.
Optional Add-ins:
Celery (½ cup, finely diced) — Adds crunch and that classic buffalo wing texture. I always add this if I have it.
Ranch Dressing (2 tablespoons) — Some people prefer ranch over blue cheese in the filling. I stick to blue cheese, but ranch works too.
Pro Tip: I always buy a bag of pre-shredded cheddar when I’m being lazy, but block cheese tastes way better. Also, if you’re making these for a party, buy the peppers a day ahead. They’ll keep in the fridge and be ready to go.
Equipment Needed
You don’t need fancy equipment for this. Here’s what I actually use.
Baking Dish (9×13 inch) — I use a ceramic dish because it distributes heat evenly. Glass works too. Just make sure it’s big enough to hold all four peppers upright. If your peppers are huge, you might need a slightly larger dish or arrange them slightly tilted.
Mixing Bowl — Medium size. Enough to hold the chicken, cream cheese, sauces, and cheese. A large bowl is fine too.
Knife and Cutting Board — For slicing the tops off the peppers and dicing the green onions. A sharp chef’s knife makes this so much easier. Dull knives are a pain.
Measuring Cups and Spoons — Standard stuff. I don’t measure the hot sauce strictly—I eyeball it based on how spicy I want it. But for the cream cheese and cheddar, I use cups.
Paring Knife — For scooping out the seeds and membranes inside the peppers. A small spoon works too, but a paring knife is more precise.
Optional:
Pastry Brush — For brushing the peppers with a little olive oil before baking. This helps them brown nicely. I don’t always do this, but it’s a nice touch.
Tool Tip: Don’t have a 9×13 dish? You can use two smaller baking dishes or a sheet pan. Just arrange the peppers so they’re not touching too much. They need a little room to breathe.
How to Make It: Step-by-Step
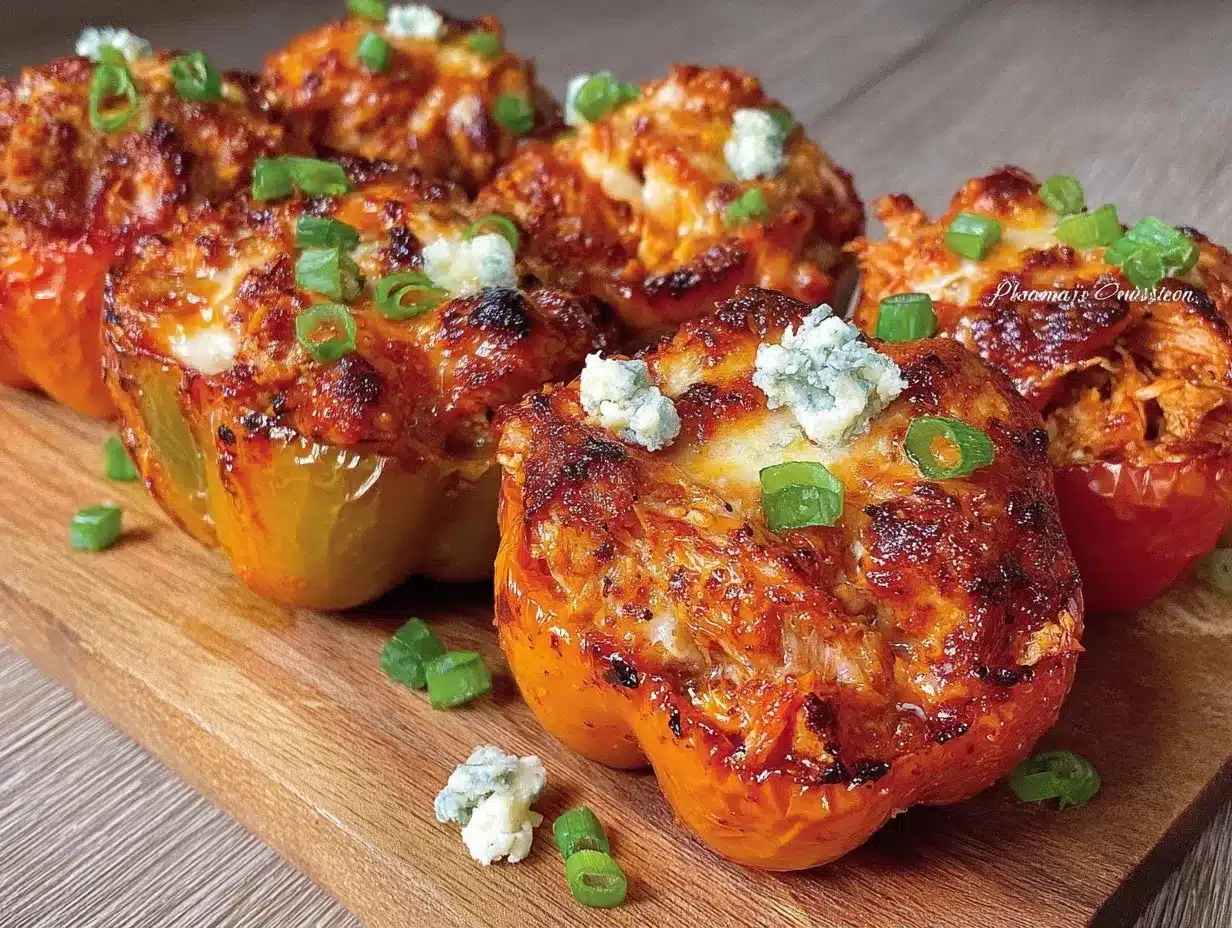
Alright, let’s make this! I’m walking you through exactly how I do it, including the little tricks I’ve picked up.
Step 1: Prep the Peppers (5 minutes)
Preheat your oven to 375°F (190°C). While the oven heats up, take your bell peppers and slice off the tops. Reserve the tops—you can chop them up and add them to the filling later if you don’t want waste. Use a paring knife or a small spoon to scoop out the seeds and white membranes from inside the peppers. Be gentle; you don’t want to tear the sides. If a pepper leans, trim a tiny slice off the bottom so it stands straight. Place them upright in your baking dish.
Step 2: Make the Filling (5 minutes)
In a mixing bowl, combine the softened cream cheese, shredded chicken, hot sauce, blue cheese dressing, shredded cheddar, and diced celery (if using). Mix everything together until it’s well combined and creamy. The mixture should be thick and hold together. If it’s too loose, add a bit more cheddar. If it’s too dry, add a splash more hot sauce or dressing. Taste it! This is your chance to adjust the spice level. Do you want it hotter? Add more hot sauce. Want it creamier? Add more dressing.
Step 3: Stuff the Peppers (5 minutes)
Take the chicken mixture and spoon it into each pepper. Don’t be shy—pack it in. Fill them as full as you can. If you have extra filling, just pile it on top. The peppers will shrink a little in the oven, so starting full is good. If you chopped up the pepper tops earlier, sprinkle those on top of the filling for a nice garnish.
Step 4: Bake (25-30 minutes)
Place the baking dish in the preheated oven. Bake for 25-30 minutes. You’ll know they’re done when the peppers are tender (poke one with a fork; it should go through easily) and the filling is bubbly and slightly golden on top. If you want extra browning, you can broil for the last 2-3 minutes, but watch it closely so it doesn’t burn. I usually skip the broiler because I don’t want to risk burning the cheese.
Step 5: Serve
Let them cool for 5 minutes before serving. This lets the filling set a bit so it doesn’t spill out when you pick them up. Garnish with sliced green onions and serve with extra blue cheese dressing on the side for dipping. These are best eaten warm, but they’re also good at room temperature.
Total Time: About 45 minutes (10 minutes prep, 30 minutes baking)
Troubleshooting:
– Peppers are still crunchy: Bake for another 5-10 minutes. Thicker peppers take longer.
– Filling is leaking: You didn’t pack it in tight enough, or the peppers shrunk too much. Next time, fill them a bit less or add a little more cheddar to bind it.
– Too spicy: Serve with a dollop of sour cream or ranch on the side to cool it down.
Expert Tips & Tricks
Here’s everything I’ve learned from making these dozens of times. These tips will save you from my mistakes.
Softened Cream Cheese is Key
I can’t stress this enough. Cold cream cheese creates lumps that are impossible to mix out. Take it out of the fridge 15-20 minutes before you start. If you forget, microwave it in 10-second bursts until it’s soft. It should be spreadable, not melted.
Don’t Skimp on the Hot Sauce
This is buffalo chicken, after all. The hot sauce provides the signature tang and heat. If you use too little, it just tastes like chicken salad in a pepper. Use at least ½ cup for four peppers. Adjust to your spice tolerance, but don’t be shy.
Test for Doneness
The peppers should be tender but not mushy. If you poke one with a fork and it goes through with little resistance, it’s done. If it’s still hard, give it more time. Undercooked peppers are crunchy in a bad way.
Make Ahead Strategy
You can prep these ahead of time. Stuff the peppers, cover them tightly with plastic wrap, and refrigerate for up to 24 hours. When you’re ready to bake, just pop them in the oven. You might need to add 5 minutes to the baking time if they’re cold from the fridge.
Pro Trick: Brush with Oil
For a nice charred look, brush the outside of the peppers with a little olive oil before baking. It helps them brown and adds a subtle flavor. It’s an optional step, but it makes them look restaurant-quality.
Variations & Substitutions
Once you’ve nailed the basic version, here’s how you can mix it up. I’ve tried all of these.
Spicy Jalapeño Version
Add 1 diced jalapeño to the filling. Seed it first if you want less heat. This adds a fresh, sharp spice that pairs well with the blue cheese.
BBQ Chicken Version
Swap the hot sauce and blue cheese for BBQ sauce and cheddar cheese. Top with cilantro instead of green onions. This is a sweeter, smokier option that’s also a crowd-pleaser.
Taco Chicken Version
Use taco seasoning on the chicken, mix in sour cream and salsa, and top with cilantro and diced avocado. It’s like a taco in a pepper. Super fun and flavorful.
Vegetarian Option
Replace the chicken with black beans or chickpeas. Mash them slightly so they hold together. Add some corn and diced bell peppers to the mix. It’s just as satisfying.
Dairy-Free
Use dairy-free cream cheese and dairy-free cheddar. There are good brands out there that melt well. The hot sauce and blue cheese substitute (use a dairy-free ranch or vegan blue cheese) will work too.
Gluten-Free
This recipe is naturally gluten-free, as long as your hot sauce and blue cheese dressing are certified GF. Check labels, but most are fine.
Serving & Storage
How to Serve:
I usually serve these straight from the baking dish at the party. They look rustic and inviting. But here are other ways I’ve enjoyed them:
Side Dishes:
– Grilled bacon wrapped corn (obviously, for a full game day spread)
– Simple green salad with ranch dressing
– Celery sticks with extra blue cheese dip
Toppings Bar:
When I have guests, I put out: extra blue cheese, ranch, hot sauce, sliced green onions, and crispy bacon bits. Everyone customizes their pepper.
Storage Instructions:
Refrigerator:
Store leftovers in an airtight container for up to 4 days. The peppers will soften a bit, but they’re still good.
Reheating:
Best method: Reheat in the oven at 350°F for 10-15 minutes until warm. This keeps the texture nice.
Microwave method: Heat in 30-second intervals. They can get a bit soggy in the microwave, so don’t overdo it.
Freezing:
Honestly, these don’t freeze well. The peppers get watery and the filling can separate. Make them fresh or store in the fridge for up to 4 days.
Pro Tip: If you’re meal prepping, make the filling ahead and stuff the peppers right before baking. That way, the peppers stay crisp.
Nutrition Information
I’m not a nutritionist, but here’s the breakdown if you’re tracking.
Per Serving (based on 1 pepper):
– Calories: 350
– Protein: 25g
– Carbs: 12g
– Fiber: 3g
– Sugar: 6g
– Fat: 22g
– Saturated Fat: 10g
– Cholesterol: 80mg
– Sodium: 600mg
– Calcium: 200mg
What’s Good:
– High protein from the chicken and cheese
– Good source of Vitamin C from the peppers
– Lower carb than traditional game day snacks like wings or nachos
What to Know:
– Higher in sodium from the hot sauce and cheese
– Contains dairy
– Moderate fat, but it’s from cheese and cream cheese, which is satisfying
My Take:
Look, this is game day food. It’s rich, spicy, and satisfying. It’s not a diet recipe. But it’s way better than processed snacks, and you’re getting a vegetable. When I want to make it lighter, I use less cheese and more chicken. But usually? I just enjoy a reasonable portion and love every bite.
Final Thoughts
So that’s my Game Day Buffalo Chicken Stuffed Peppers recipe! I’ve probably talked your ear off at this point, but when you make a recipe this often, you have a lot to say about it.
This has saved game days more times than I can count. It’s my answer to “what’s for snacks” when I want something better than chips. My friends are happy, my family is happy, and I’m happy because I’m not stressed about cooking. It’s simple, it’s delicious, and it’s foolproof.
Make it yours! Try different peppers, adjust the spice, swap in your favorite cheese. The best recipes are the ones you adapt to your tastes. If you make this, drop a comment and let me know what you think! I love hearing how recipes turn out in your kitchen. And if something doesn’t work, tell me that too—I’m here to help troubleshoot.
Happy cooking! And I hope your kitchen smells half as good as mine does right now.
Frequently Asked Questions
Can I use raw chicken instead of cooked?
You can, but it’s not recommended. You’d need to cook the chicken first, shred it, and then mix it with the other ingredients. Cooking it separately ensures it’s safe and easy to shred. If you stuff raw chicken inside the peppers, it will take much longer to cook, and the peppers might overcook before the chicken is done. Stick with pre-cooked chicken for best results.
Why did my peppers collapse?
This usually happens if the peppers were too thin or if you overcooked them. Thicker-walled peppers hold their shape better. Also, make sure you’re not overstuffing them. If you pack the filling too tightly, it can push the sides out. Bake them just until tender, not mushy.
Can I make these ahead of time?
Yes! You can prep the peppers and the filling up to 24 hours in advance. Store them covered in the fridge. When you’re ready to eat, just bake them as directed. You might need to add 5-10 minutes to the baking time if they’re cold from the fridge.
What if I don’t like blue cheese?
No problem! You can substitute blue cheese with ranch dressing or even a mild cheese sauce. The flavor will be different, but it’ll still be delicious. Some people prefer a creamy ranch base with hot sauce instead. It’s all about personal preference.
Can I freeze these?
I don’t recommend freezing them. The peppers will become watery and soft when thawed, and the cheese filling might separate. It’s best to make them fresh. If you have leftovers, store them in the fridge for up to 4 days.
How spicy are these?
It depends on the hot sauce you use and how much you add. With ½ cup of Frank’s RedHot, they’re medium-spicy. If you want them hotter, add more hot sauce or include a diced jalapeño. If you want them milder, reduce the hot sauce to ¼ cup and add a bit more cream cheese to balance the heat.
Can I use mini sweet peppers?
Yes! Mini sweet peppers are perfect for bite-sized appetizers. Just adjust the baking time—they’ll cook faster, probably in 15-20 minutes. Keep an eye on them so they don’t get too soft.
Pin This Recipe!
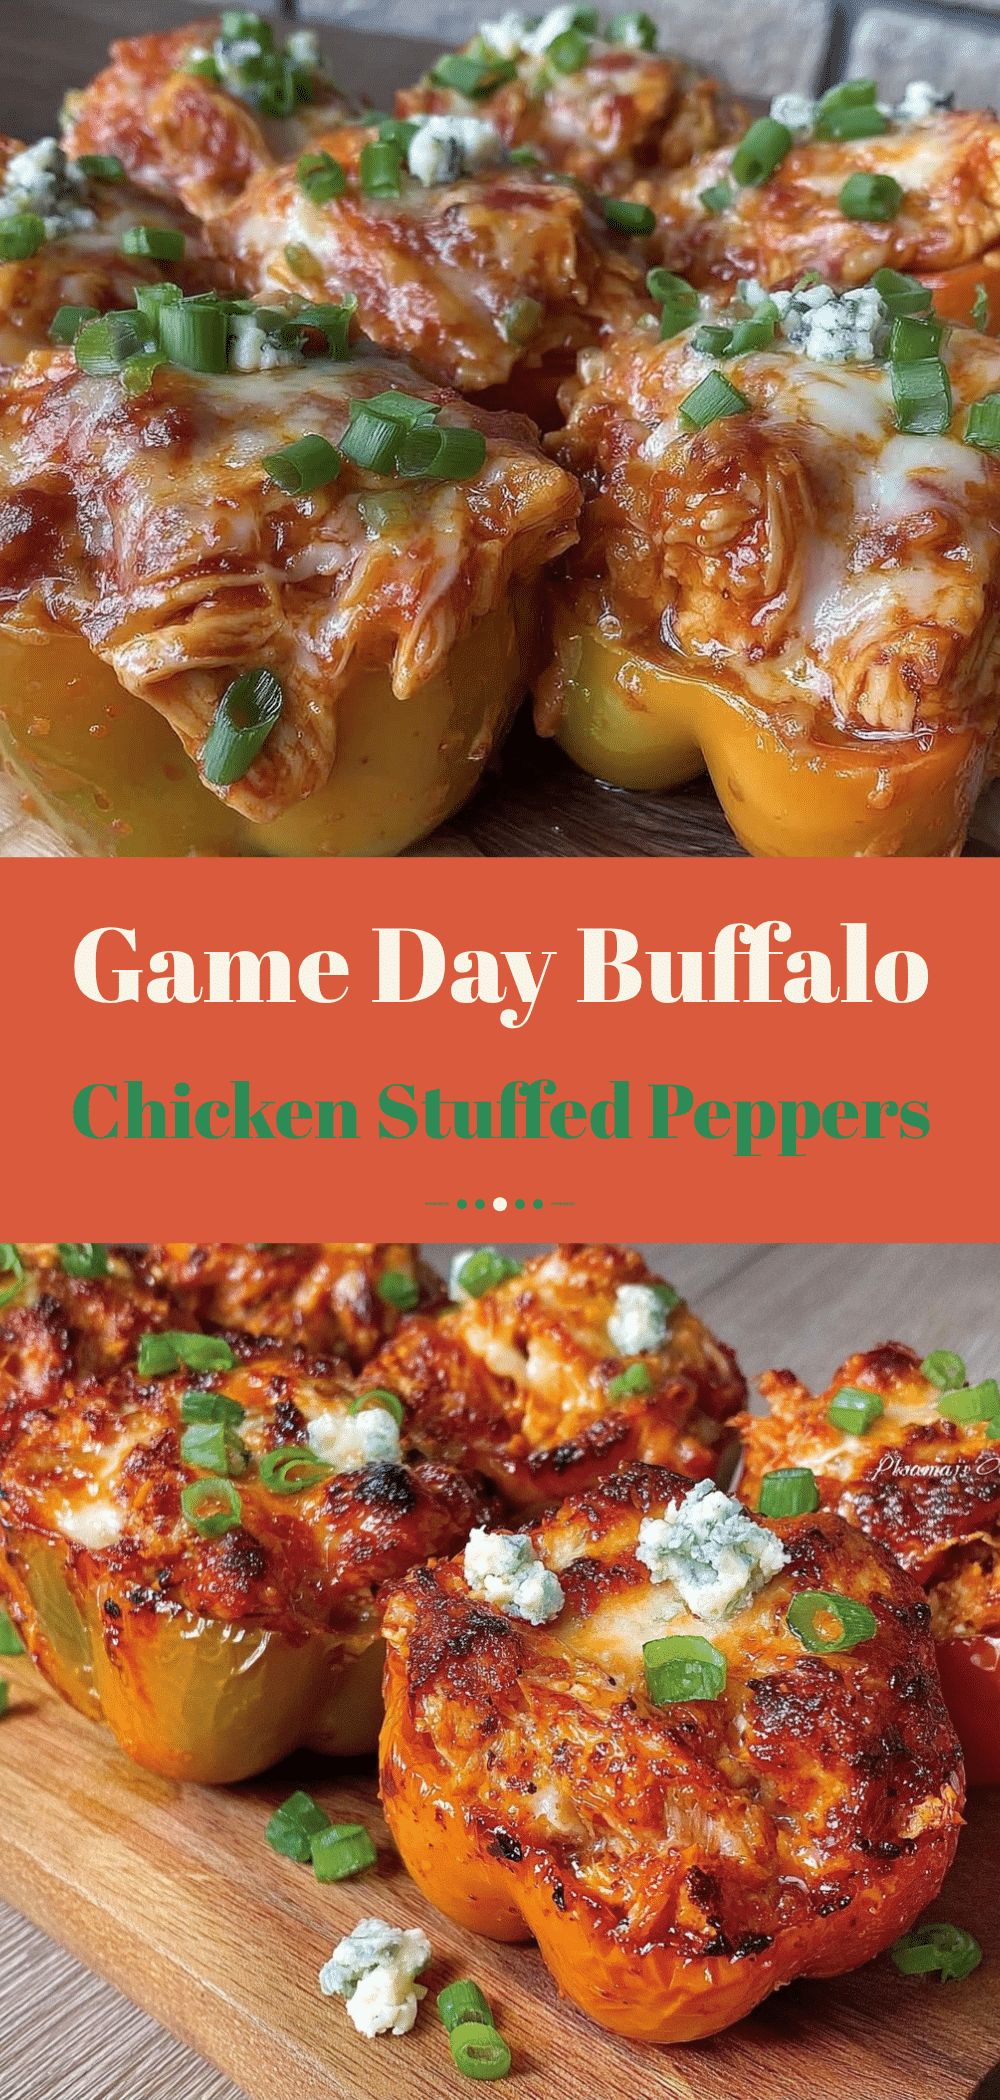
Game Day Buffalo Chicken Stuffed Peppers
- Total Time: 45 minutes
- Yield: 4 servings 1x
Description
A foolproof, spicy, and creamy buffalo chicken stuffed pepper recipe that is perfect for game day. These peppers are easy to make, require minimal prep, and offer a healthier alternative to traditional wings while delivering big flavor.
Ingredients
- 4 large bell peppers (any color, firm)
- 2 cups cooked chicken, shredded
- 1/2 cup hot sauce (Frank’s RedHot recommended)
- 4 oz cream cheese, softened
- 1/2 cup blue cheese dressing
- 1 cup shredded cheddar cheese
- 2 green onions, sliced
- 1/2 cup celery, finely diced (optional)
- 2 tablespoons ranch dressing (optional)
Instructions
- Preheat oven to 375°F (190°C).
- Slice the tops off the bell peppers and scoop out the seeds and white membranes. Trim a tiny slice off the bottom if needed so they stand upright in a 9×13 inch baking dish.
- In a mixing bowl, combine the softened cream cheese, shredded chicken, hot sauce, blue cheese dressing, shredded cheddar, and diced celery (if using). Mix until well combined and creamy.
- Spoon the chicken mixture into each pepper, packing it in tightly. Pile extra filling on top if desired. Sprinkle chopped pepper tops on the filling for garnish.
- Bake for 25-30 minutes, or until the peppers are tender and the filling is bubbly and slightly golden.
- Let cool for 5 minutes before serving to allow the filling to set. Garnish with sliced green onions and serve with extra blue cheese dressing on the side.
Notes
Ensure cream cheese is softened to avoid lumps. Peppers can be prepped and stuffed up to 24 hours in advance and refrigerated. Do not freeze as peppers become watery. If peppers are still crunchy, bake for an additional 5-10 minutes.
- Prep Time: 10 minutes
- Cook Time: 30 minutes
- Category: Main Course
- Cuisine: American
Nutrition
- Serving Size: 1 stuffed pepper
- Calories: 350
- Sugar: 6
- Sodium: 600
- Fat: 22
- Saturated Fat: 10
- Carbohydrates: 12
- Fiber: 3
- Protein: 25
Keywords: buffalo chicken, stuffed peppers, game day food, easy dinner, spicy chicken, finger food, beginner recipe


