I still remember the panic. It was three years ago, mid-November, and I was standing in my kitchen at 4 PM on Thanksgiving Day, staring at a bowl of raw batter. I had planned to make a complicated layered cake—a disaster waiting to happen given that I was also juggling turkey, three sides, and a toddler who had decided that “helping” meant climbing onto the counter. My original plan? Gone. The oven was hot, the guests were arriving in two hours, and I needed something that looked fancy but didn’t require a degree in pastry arts.
I grabbed the last two pears I had left in the fridge, some butter, brown sugar, and a box of cake mix. I didn’t think much of it. I just threw it together, flipped it onto a platter, and hoped for the best. What came out wasn’t just good. It was incredible. The caramelized pears were sticky and sweet, the brown butter added this nutty depth that made everyone stop talking mid-bite, and the cake itself was moist without being heavy. My father-in-law, a man who has never complimented my cooking in forty years, asked for the recipe twice.
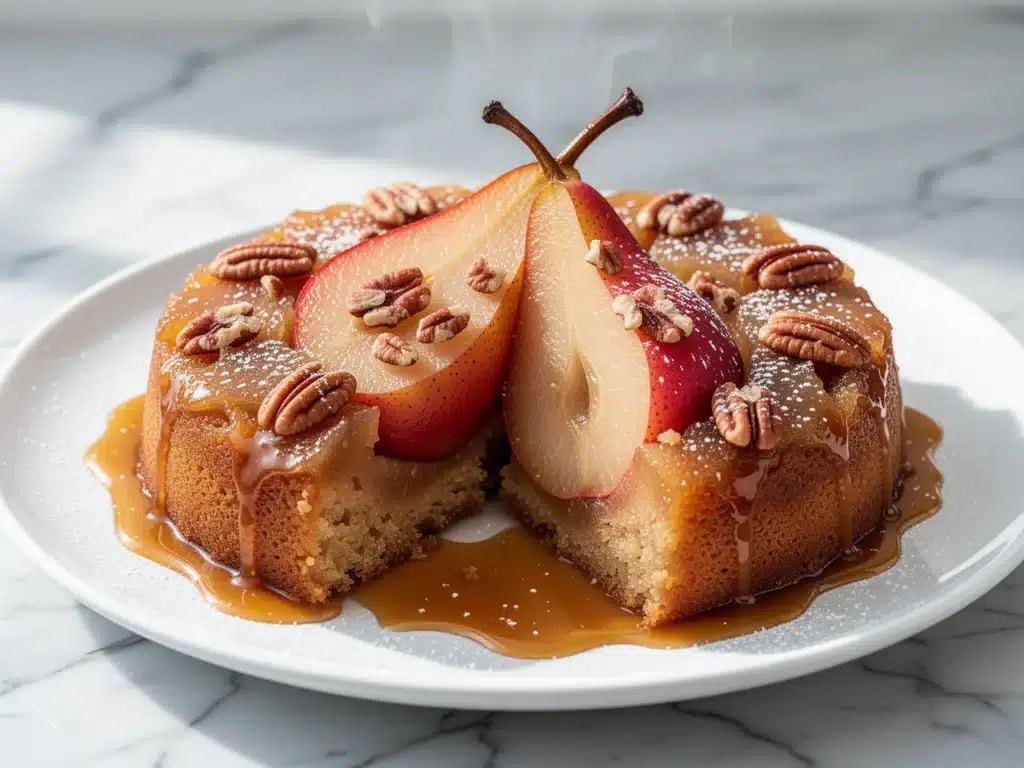
That was the day I fell in love with Fall Caramelized Pear Upside-Down Cake with Brown Butter. It’s become my secret weapon for every autumn gathering since. It’s the kind of dessert that looks like you spent hours in the kitchen, but honestly? It takes less time than baking a loaf of wild rice and mushroom casserole. Plus, it uses ingredients you probably already have, or can grab on a quick run. If you’re looking for a dessert that screams “fall” without the stress, this is it.
Why You’ll Love This Pear Upside-Down Cake
There are about ten reasons I keep making this, but here are the big ones that have turned me into a believer:
The Brown Butter Magic — This is the game-changer. Regular butter is fine, but browning it adds this deep, nutty, almost toffee-like flavor that elevates the whole cake. It’s not just “butter”; it’s a flavor layer all on its own. I’ve tried this with regular butter, and it’s good. With brown butter? It’s unforgettable.
Zero-Fuss Presentation — Upside-down cakes are the ultimate cheat code for beautiful desserts. You bake it in the pan, flip it over, and boom—perfect caramelized fruit on top. No piping bags, no frosting skills, no trembling hands. Just flip and serve. It’s rustic, elegant, and totally foolproof.
Uses Ripe Pears — We all have those pears in the fruit bowl that are getting a little too soft. This recipe is the perfect rescue mission. The heat caramelizes them, turning potential mush into sticky, sweet perfection. I’ve used Bosc, Anjou, and even Bartlett pears, and they all work beautifully.
One-Bowl Wonder — Seriously, if you can mix a cake batter, you can make this. I mix the dry ingredients in one bowl, the wet in another, and combine them. Then I just dump it into the pan. Cleanup is a breeze because the sticky caramel goes right in the dishwasher-safe skillet (or you can soak the pan while you eat).
Leftovers? Don’t Exist. — I make this for four people, and there are never leftovers. The flavor is so rich and the texture so moist that people go back for seconds. If you do have some, it reheats beautifully in the microwave with a dollop of cold butter. It tastes like a fresh-baked treat the next day.
This is my go-to when I need a dessert that feels special but doesn’t require a team of chefs. No complicated techniques, no weird ingredients, just reliable, delicious food that makes everyone happy.
Ingredients You’ll Need
Here’s the best part: you probably have most of this already. I’m particular about three ingredients here, and I’ll tell you exactly why.
Unsalted Butter (½ cup / 113g) — You need enough to brown. I use high-quality European butter if I can find it, but any good unsalted butter works. Don’t use salted; you want to control the salt content since the cake mix is already salty.
Brown Sugar (1 cup / 200g) — Dark brown sugar is my preference because it has more molasses, which makes the caramel deeper and richer. Light brown sugar works too, but you’ll miss out on that toffee-like depth. This is the base of your caramel sauce.
Pears (3 medium, peeled and sliced) — This is crucial. Use firm pears that hold their shape when cooked. Bosc pears are my favorite because they’re dense and don’t get mushy. Anjou is a good second choice. Avoid Bartlett if you can, as they break down too easily. Peel them, but keep the slices thick (about ¼ inch).
Yellow Cake Mix (1 box / 15.25 oz) — I know, I know. Box mix? Yes. But hear me out. It provides a consistent, tender crumb that pairs perfectly with the heavy caramel. I use Duncan Hines or Betty Crocker. If you want to make it from scratch, you can, but this recipe is designed for the mix. Don’t skip the pudding mix inside—it keeps it moist.
Eggs (2 large) — Room temperature is best for emulsification. If you’re rushing, just drop them in a bowl of warm water for 5 minutes.
Milk (¾ cup / 180ml) — Whole milk is ideal for richness. Buttermilk would be even better if you have it, as the tang cuts through the sweetness, but regular whole milk works fine.
Vanilla Extract (1 teaspoon) — Pure vanilla, not imitation. It adds warmth that complements the brown butter and pears.
Cinnamon (½ teaspoon) — Optional, but I always add it. It ties the pear flavor together. If you’re a cinnamon purist, feel free to bump it up to 1 teaspoon.
Optional Add-ins:
Chopped Pecans (½ cup) — Toast them first for extra crunch. They add a nice textural contrast to the soft cake.
Whipped Cream — For serving. Cold whipped cream on warm cake is a heavenly combo.
Shopping Shortcuts:
I buy pre-peeled pears if I’m really lazy, but they’re usually too soft. Slicing them yourself ensures you get the right thickness. I also keep a box of yellow cake mix in the pantry specifically for emergencies like this.
Equipment Needed
You don’t need fancy equipment for this. Here’s what I actually use.
10-inch Cast Iron Skillet — This is my go-to. It holds heat evenly and creates the best caramel crust. If you don’t have one, a 9-inch square baking pan works, but you might need to adjust the baking time slightly. The skillet gives that rustic, restaurant-quality look.
Mixing Bowls — Two medium bowls. One for dry, one for wet. Standard stuff.
Whisk — For mixing the cake batter smoothly. No lumps allowed.
Peeler and Knife — For prepping the pears. A Y-peeler is easiest for pears.
Small Saucepan — For browning the butter. A light-colored pan helps you see the color change.
Wooden Spoon — For stirring the butter. Silicone works too.
Cooling Rack — Essential for flipping the cake without breaking it.
Optional but nice:
Offset Spatula — For spreading the batter evenly over the pears.
Pastry Brush — For brushing any excess caramel over the pears before baking.
How to Make It: Step-by-Step
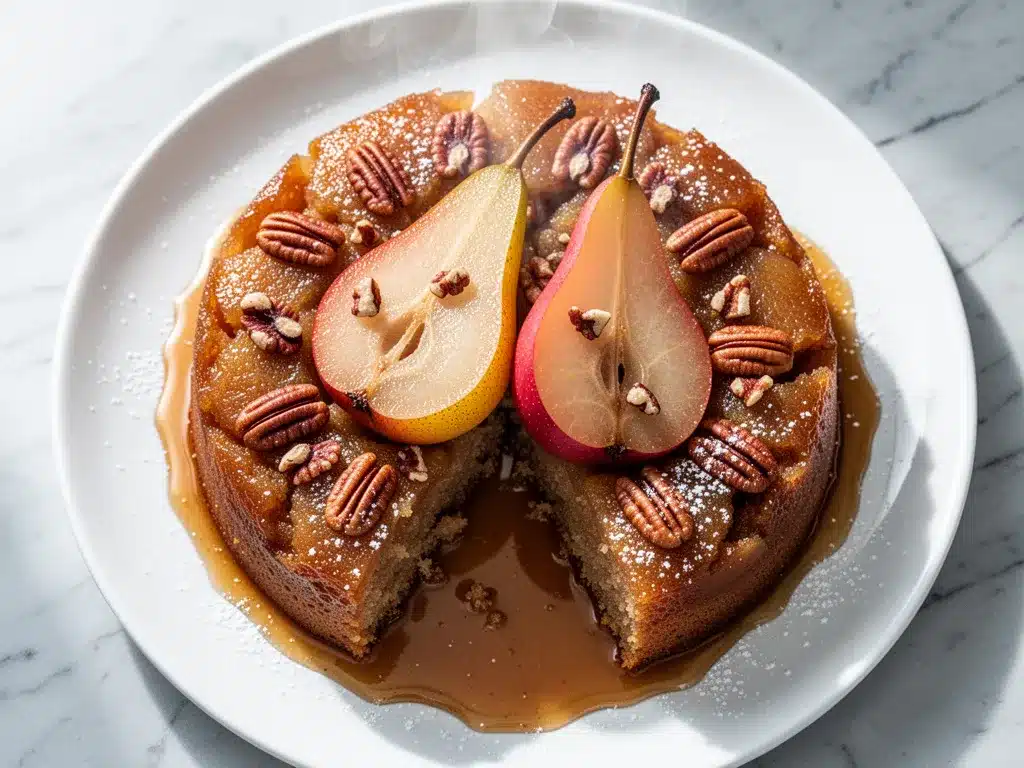
Alright, let’s make this! I’m walking you through exactly how I do it, including the little tricks I’ve picked up.
Step 1: Brown the Butter (5 minutes)
This is the most important step. Melt the butter in a small saucepan over medium heat. Swirl it occasionally. It will foam up, then settle. Keep watching. You’ll see brown bits form at the bottom and smell a nutty, toasty aroma. As soon as it smells like browned nuts, take it off the heat immediately. It will keep cooking from residual heat. Pour it into a heatproof bowl to stop the cooking. Don’t burn it—if it smells acrid, start over. I’ve burned two batches before getting it right.
Step 2: Prep the Pears (10 minutes)
Peel and slice the pears into ¼-inch thick slices. Try to keep them uniform so they bake evenly. If you’re using a cast iron skillet, arrange the slices in a circular pattern, starting from the center and working out. They should overlap slightly. Don’t worry about perfection; rustic looks better. Sprinkle the brown sugar evenly over the pears.
Step 3: Mix the Batter (5 minutes)
In a medium bowl, whisk together the cake mix, cinnamon, and eggs. Add the milk and vanilla. Mix on medium speed for 2 minutes until smooth. If you’re using a hand mixer, this is quick. If mixing by hand, just be vigorous. The batter should be thick but pourable.
Step 4: Assemble (2 minutes)
Pour the browned butter over the pears in the skillet. It will sizzle—don’t panic. Then, carefully spoon the cake batter over the pears. Use an offset spatula to spread it evenly, making sure the batter covers all the pears. If some pears peek through, that’s fine; it adds character.
Step 5: Bake (35-40 minutes)
Preheat your oven to 350°F (175°C). Place the skillet in the oven and bake for 35-40 minutes. The cake is done when a toothpick inserted into the center comes out clean, and the edges are golden brown. The caramel will be bubbling around the edges. If the top is browning too fast, tent it loosely with foil for the last 10 minutes.
Step 6: The Flip (2 minutes)
This is the moment of truth. Let the cake cool in the skillet for 10 minutes. Not longer, or the caramel will harden and stick. Not shorter, or it will collapse. After 10 minutes, place a large serving platter over the skillet. Using oven mitts, hold the platter and skillet firmly together and flip them over in one confident motion. Lift the skillet off. If some pears stick, just push them back into place with a spatula. It’s supposed to look rustic.
Step 7: Serve
Serve warm. A dollop of cold whipped cream or a scoop of vanilla ice cream on top is highly recommended. The contrast of hot cake and cold cream is pure heaven.
Total Time: About 1 hour (15 minutes active, 45 minutes baking/cooling)
Expert Tips & Tricks
Here’s everything I’ve learned from making this dozens of times. These tips will save you from my mistakes.
Don’t Skip the Brown Butter
I know it’s an extra step, but it’s worth it. The nutty flavor adds a complexity that regular butter just can’t match. It’s the difference between “nice” and “wow.”
Time the Flip Right
The 10-minute cooling period is critical. If you flip it too soon, the cake is too soft and will break. If you wait too long, the caramel hardens like glue and the pears stick to the pan. Set a timer. Trust me.
Use Firm Pears
Soft pears will turn into applesauce under the batter. Bosc or Anjou are your best friends here. If you only have Bartletts, use them, but expect a softer texture.
Room Temperature Ingredients
Make sure your eggs and milk are at room temperature. This helps the batter emulsify better, resulting in a lighter, fluffier cake.
Common Mistakes (and how to avoid them):
Mistake: Caramel burns
Fix: Watch the butter closely. It goes from perfect to burnt in seconds. If you smell smoke, toss it and start over.
Mistake: Cake is dry
Fix: You might have overbaked it. Check at 35 minutes. Also, ensure you’re using the correct amount of milk.
Mistake: Pears stick to the pan
Fix: Use a well-seasoned cast iron skillet or a non-stick pan. If using metal, grease the pan lightly before adding the butter and sugar.
Variations & Substitutions
Once you’ve nailed the basic version, here’s how you can mix it up. I’ve tried all of these.
Apple Version
Swap pears for thinly sliced apples (Honeycrisp or Fuji). Add a teaspoon of nutmeg with the cinnamon. It’s like a mini apple pie.
Cherry Almond
Use canned tart cherries (drained) instead of pears. Add ½ cup sliced almonds to the batter. Top with almond extract instead of vanilla.
Maple Pecan
Replace half the brown sugar with maple syrup. Add ½ cup toasted pecans to the bottom. The maple flavor is incredible with the brown butter.
Gluten-Free
Use a gluten-free yellow cake mix. Most major brands work well. Ensure your baking powder is gluten-free.
Dairy-Free
Use dairy-free butter and milk. The texture will be slightly different, but the flavor will still be great.
Vegan
Use flax eggs (2 tbsp ground flax + 6 tbsp water) and dairy-free butter/milk. It won’t be as rich, but it’s still tasty.
Serving & Storage
How to Serve:
I usually serve this straight from the skillet at the dinner table—it looks rustic and stays warm. But here are other ways I’ve enjoyed it:
Side Dishes:
This is a dessert, so it stands alone. But if you need a balance, serve with a light fruit salad or just the whipped cream.
Toppings Bar:
When I have guests, I put out: whipped cream, vanilla ice cream, caramel sauce, and chopped pecans. Everyone customizes their slice.
Wine Pairing:
A glass of Moscato d’Asti or a light Riesling pairs beautifully with the sweetness. For coffee lovers, a dark roast balances the sugar.
Storage Instructions:
Refrigerator:
Store in an airtight container for up to 3 days. The caramel will harden in the fridge. Let it come to room temperature before serving, or microwave for 15 seconds to soften.
Reheating:
Best method: Microwave for 15-20 seconds. It restores the warmth and softens the caramel.
Oven method: Place in a 300°F oven for 10 minutes. This is better for larger portions.
Freezing:
You can freeze the cooled cake for up to 2 months. Wrap tightly in plastic wrap and foil. Thaw in the fridge overnight. The texture might be slightly softer, but it’s still good.
Pro tip:
If the caramel hardens in the fridge, don’t worry. Just microwave it briefly. It’s part of the charm.
Nutrition Information
I’m not a nutritionist, but here’s the breakdown if you’re tracking.
Per Serving (based on 8 servings):
– Calories: 380
– Protein: 4g
– Carbs: 52g
– Fiber: 2g
– Sugar: 38g
– Fat: 16g
– Saturated Fat: 8g
– Cholesterol: 45mg
– Sodium: 320mg
What’s Good:
– Pears add some fiber and vitamins
– It’s a single-serving dessert, so portion control is built-in
What to Know:
– Higher in sugar from the caramel and cake mix
– Contains gluten and dairy
– Moderate calories, but rich in flavor
My Take:
“Look, this is a dessert with brown sugar, butter, and cake mix. It’s not a health food. But it’s way better than store-bought, and it’s made with love. When I want to make it lighter, I use a lighter cake mix and skip the extra whipped cream. But usually? I just enjoy a slice and savor it.”
Final Thoughts
So that’s my Fall Caramelized Pear Upside-Down Cake with Brown Butter! I’ve probably talked your ear off at this point, but when you make a recipe this often, you have a lot to say about it.
This has saved dessert more times than I can count. It’s my answer to “what’s for dessert” when I’m tired, don’t want takeout, and still want something that tastes really good. My family is happy, my guests are impressed, and I’m happy because I’m not stressed about cooking.
Make it yours! Try different pears, swap in your favorite nuts, or add a splash of bourbon to the caramel. The best recipes are the ones you adapt to your family’s tastes.
If you make this, drop a comment and let me know what you think! I love hearing how recipes turn out in your kitchen. And if something doesn’t work, tell me that too—I’m here to help troubleshoot.
Happy baking! And I hope your kitchen smells half as good as mine does right now.
Frequently Asked Questions
Can I use canned pears instead of fresh?
You can, but fresh pears are better. Canned pears are very soft and watery, which can make the cake soggy. If you must use canned, drain them very well and pat them dry with paper towels. You might need to reduce the baking time slightly.
Why did my cake stick to the pan?
This usually happens if you flipped it too late, allowing the caramel to harden. Or, if your skillet wasn’t properly greased. Always let it cool for exactly 10 minutes, and use a non-stick or well-seasoned cast iron skillet.
Can I make this ahead for a dinner party?
Yes! You can assemble the cake up to 24 hours ahead. Cover it tightly and refrigerate. Let it come to room temperature before baking. This actually helps the flavors meld. Just add 5 minutes to the baking time if it’s cold from the fridge.
Why did my cake collapse when I flipped it?
If you flipped it too soon, the cake was too soft. Make sure it’s fully baked (toothpick test) and cool for the full 10 minutes. A firm structure is key for a clean flip.
Can I use a different type of cake mix?
Yellow cake mix is traditional, but vanilla cake mix works too. White cake mix will result in a lighter color and milder flavor. I wouldn’t recommend chocolate or spice cake, as they might clash with the pear flavor.
How do I reheat leftovers without it getting dry?
Microwave for 15-20 seconds. This restores the moisture. Avoid the oven for individual slices, as it can dry them out. If reheating the whole cake, use a low oven (300°F) for 10-15 minutes.
Can I freeze this cake?
Yes, but it’s best fresh. If you need to freeze, wrap the cooled cake tightly in plastic wrap and foil. Freeze for up to 2 months. Thaw in the fridge overnight. The texture might be slightly softer, but it’s still delicious.
Pin This Recipe!
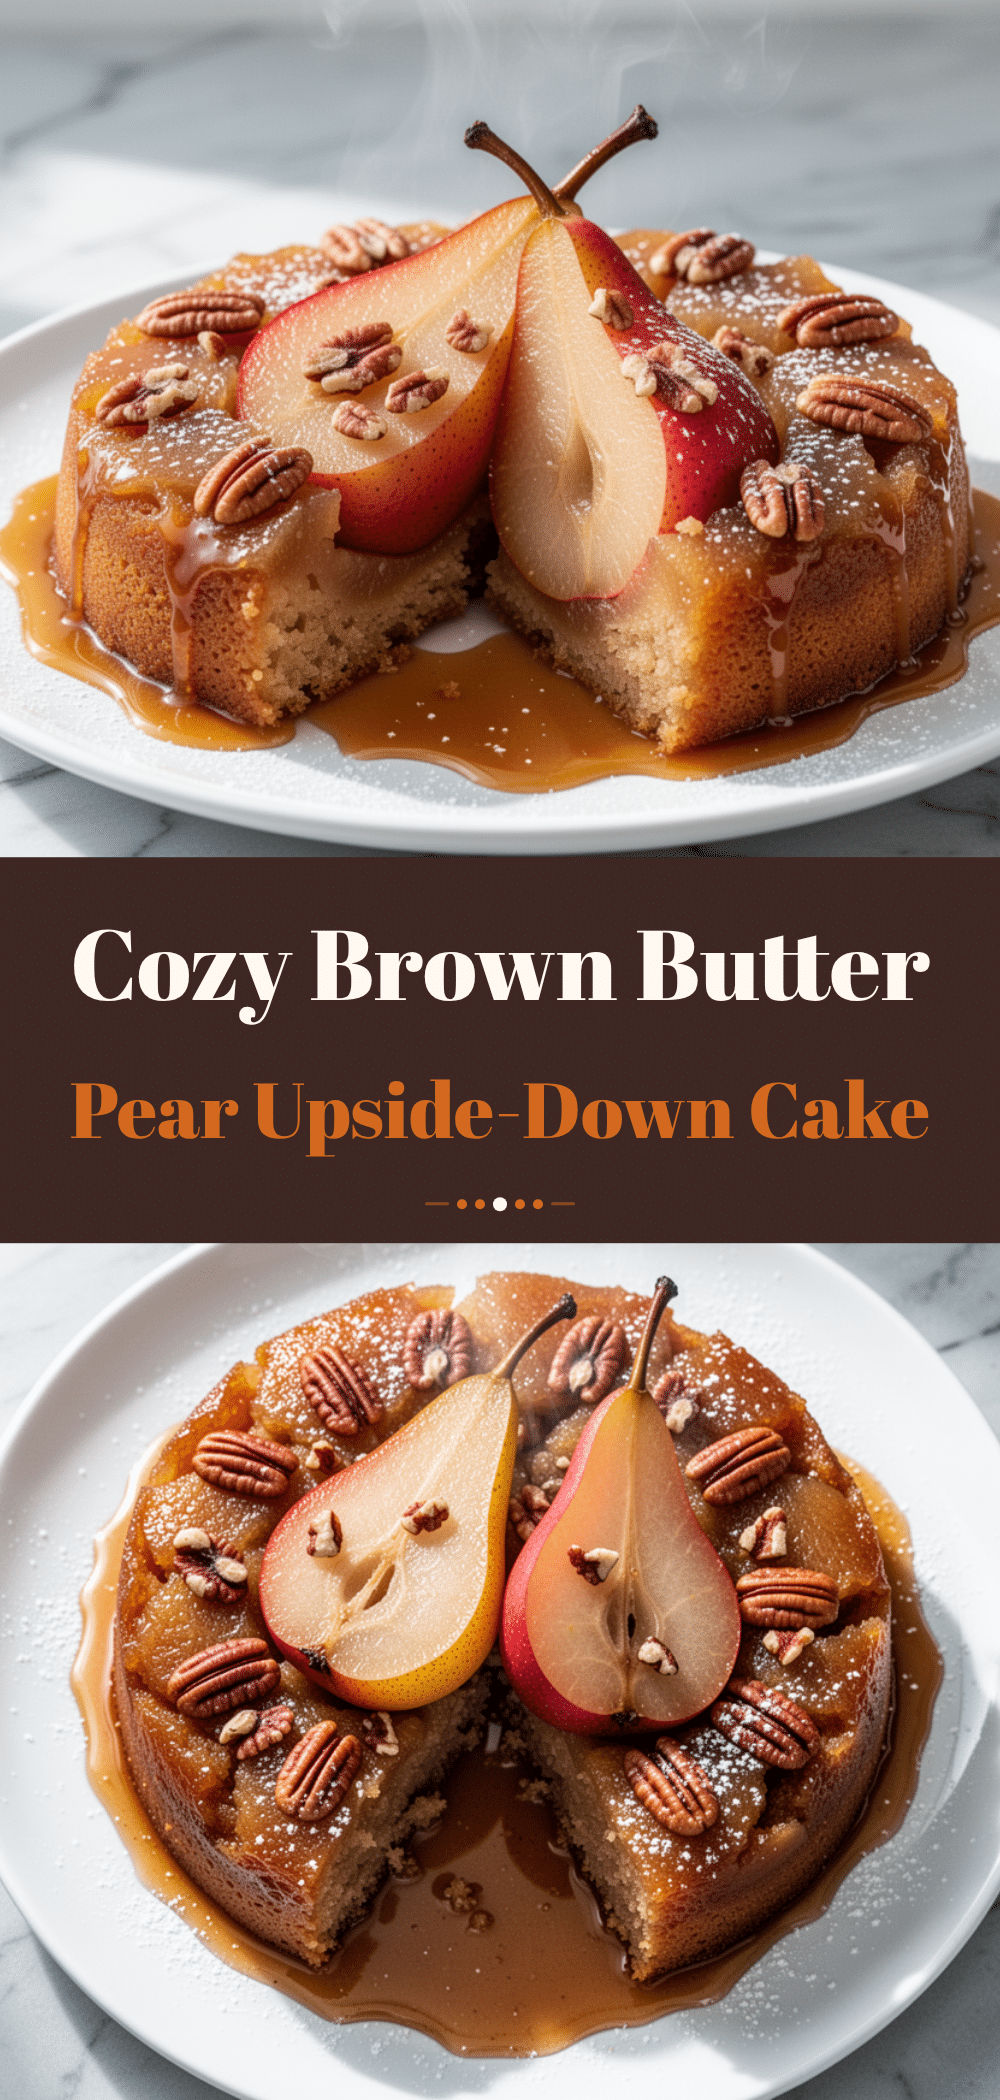
Fall Caramelized Pear Upside-Down Cake with Brown Butter
- Total Time: 1 hour
- Yield: 8 servings 1x
Description
An easy, one-bowl dessert featuring caramelized pears and nutty brown butter. This rustic upside-down cake is moist, flavorful, and perfect for autumn gatherings.
Ingredients
- 1/2 cup (113g) unsalted butter
- 1 cup (200g) dark brown sugar
- 3 medium firm pears (such as Bosc or Anjou), peeled and sliced 1/4-inch thick
- 1 box (15.25 oz) yellow cake mix
- 2 large eggs, room temperature
- 3/4 cup (180ml) whole milk
- 1 teaspoon pure vanilla extract
- 1/2 teaspoon ground cinnamon
- Optional: 1/2 cup chopped pecans, toasted
- Optional: Whipped cream or vanilla ice cream for serving
Instructions
- Preheat oven to 350°F (175°C).
- Melt the butter in a small saucepan over medium heat. Swirl occasionally until it foams, settles, and forms brown bits with a nutty aroma. Immediately remove from heat and pour into a heatproof bowl to stop cooking.
- Peel and slice the pears into 1/4-inch thick slices. Arrange them in a circular pattern in a 10-inch cast iron skillet, overlapping slightly. Sprinkle the brown sugar evenly over the pears.
- In a medium bowl, whisk together the cake mix, cinnamon, and eggs. Add the milk and vanilla. Mix until smooth and thick but pourable.
- Pour the browned butter over the pears in the skillet. Carefully spoon the cake batter over the pears, spreading it evenly to cover the fruit.
- Bake for 35-40 minutes, or until a toothpick inserted into the center comes out clean and the edges are golden brown. Tent with foil if the top browns too quickly.
- Let the cake cool in the skillet for exactly 10 minutes. Place a large serving platter over the skillet and confidently flip it over in one motion. Lift the skillet off.
- Serve warm, topped with whipped cream or vanilla ice cream if desired.
Notes
Use firm pears like Bosc or Anjou to prevent mushiness. Do not skip the brown butter step as it adds essential flavor. Ensure the cake cools for exactly 10 minutes before flipping to prevent sticking or collapsing. Leftovers can be stored in the refrigerator for up to 3 days or frozen for up to 2 months.
- Prep Time: 15 minutes
- Cook Time: 45 minutes
- Category: Dessert
- Cuisine: American
Nutrition
- Serving Size: 1 slice
- Calories: 380
- Sugar: 38
- Sodium: 320
- Fat: 16
- Saturated Fat: 8
- Carbohydrates: 52
- Fiber: 2
- Protein: 4
Keywords: fall dessert, pear cake, upside-down cake, brown butter, easy baking, autumn recipes, one-bowl cake


