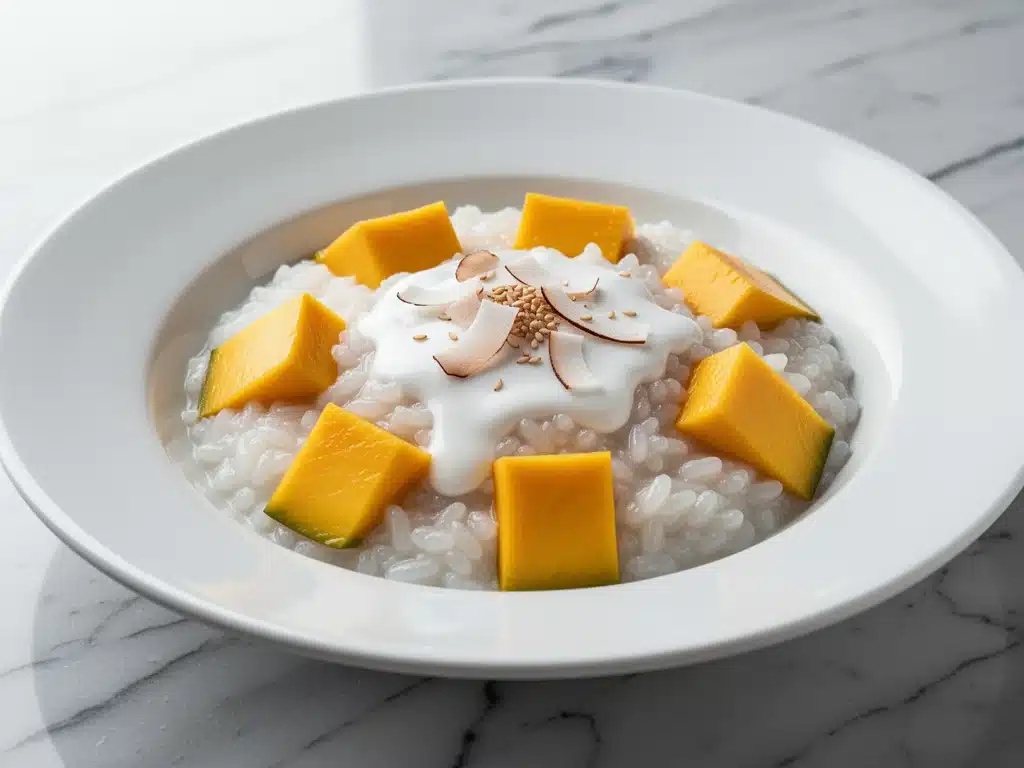
It was 7:45 PM on a Tuesday, and I was staring into the abyss of my refrigerator. You know that specific kind of exhaustion where your brain feels like it’s wrapped in cotton wool? That was me. I had just finished a long day of work, my kids were already in the bath, and the house was quiet in that fragile way that means if I make too much noise, the magic will break. I needed something sweet. Not a full-blown dessert that required an oven and forty minutes of standing over a bubbling pot. Just something creamy, comforting, and fast enough to eat while the bathwater was still warm.
I had half a can of coconut milk, a couple of overripe mangoes that were begging to be used, and a cup of leftover jasmine rice from lunch. It wasn’t a recipe. It was a salvage mission. But then I started stirring. The coconut milk bubbled gently, the rice softened into a creamy porridge, and the mangoes turned into sweet, golden ribbons. Within fifteen minutes, my kitchen smelled like a tropical vacation, and my kids devoured it before the ice could even melt.
I’ve made this Coconut Mango Sticky Rice Pudding dozens of times since that random Tuesday. It’s become my secret weapon for busy weeknights when I want to treat my family to something special without the stress. It’s dairy-free, naturally gluten-free, and ready in the time it takes to brush teeth. Seriously. Fifteen minutes from start to finish. I’ve tested it with short-grain sushi rice, I’ve tried different sweeteners, and I’ve even experimented with adding a pinch of cardamom (which was good, but the classic version is just perfect). This isn’t just a quick dessert; it’s a moment of calm in a chaotic day.
Why You’ll Love This Recipe
Look, I’m not going to lie to you. Most “healthy” desserts taste like cardboard with a hint of sweetness. This one? It’s lush, rich, and satisfying in a way that makes you forget you’re eating something dairy-free. Here’s why this coconut mango sticky rice pudding has earned a permanent spot in my weekly rotation:
- Stupidly Simple — There’s no tempering eggs, no double boiler, and no fancy techniques. You just simmer rice in coconut milk. If you can boil water and slice a mango, you can make this. I’ve made it while my toddler was screaming in the next room.
- Lightning Fast — 15 minutes. That’s it. I know, you’re thinking, “How does rice cook in 15 minutes?” The trick is using pre-cooked or leftover rice. If you’re starting from raw, it takes about 20 minutes, but still under 30. Perfect for when you realize dinner is done and you forgot dessert.
- Pantry & Fridge Friendly — You probably have the base ingredients already. Canned coconut milk, rice, mango, and sugar. I keep coconut milk stocked specifically for nights like this. It’s my go-to when I need to use up leftover rice before it goes bad.
- Naturally Dairy-Free & Gluten-Free — No substitutions needed. This recipe is inherently free from dairy and gluten. My gluten-sensitive sister requests this every time she comes over. It’s one of those rare desserts that everyone can eat without asking “wait, is there nuts in this?” or “is there gluten?”
- Makes Amazing Leftovers — This actually tastes better the next day. The rice continues to absorb the coconut cream, becoming even creamier and more cohesive. I make extra on Sunday to have as a sweet snack throughout the week.
- Budget-Smart — Feeds 4-6 people for under $10. Mangoes can be pricey, but when they’re in season, they’re cheap. And if you use frozen mango chunks, it’s even more affordable. That’s less than a single scoop of ice cream at the parlor.
This is my answer to “what’s for dessert?” when I’m tired but still want to show love through food. No complicated techniques, no weird ingredients, just reliable, delicious comfort that makes everyone happy.
Ingredients You’ll Need
Here’s the best part: you probably have most of this already. This isn’t a recipe that requires a trip to three different specialty stores. It’s simple, honest ingredients that work together beautifully. I’m particular about three things here, and I’ll tell you exactly why.
For the Pudding Base
Short-Grain White Rice (2 cups / 400g, cooked) — This is non-negotiable. You need short-grain rice (like sushi rice or Japanese short-grain) because it’s sticky and starchy, which creates that creamy pudding texture. Long-grain rice like Basmati or Jasmine will stay separate and fluffy, which isn’t what we want here. Pro Tip: Use leftover rice! Cooked rice that has been in the fridge for a day or two works best because it’s drier and absorbs the coconut milk better. If you’re cooking it fresh, cook it slightly underdone so it doesn’t get mushy later.
Canned Coconut Milk (1 can / 400ml) — Do not use the carton stuff labeled “coconut beverage.” You need the thick, rich stuff in the can. Shake it well before opening. The thicker the milk, the richer your pudding will be. I prefer full-fat for the creamiest result, but light coconut milk works if you’re watching calories (though it will be less indulgent).
Coconut Cream (2 tablespoons / 30ml) — Optional, but it adds an extra layer of silkiness. If your coconut milk is very thick, you can skip this. I like to scoop the solid cream off the top of the can for this.
For Sweetness & Flavor
Maple Syrup (3-4 tablespoons / 45-60ml) — I use maple syrup because it adds a warm, caramel-like depth that pairs perfectly with mango. You can use white sugar, brown sugar, or agave, but maple syrup feels the most “natural” to me. Adjust to taste. If your mangoes are super sweet, start with less syrup.
Vanilla Extract (1 teaspoon / 5ml) — Pure vanilla. Not the imitation stuff. It rounds out the tropical flavors and makes the coconut taste more like a dessert.
Salt (½ teaspoon / 3g) — This is crucial. Salt makes the sweet taste sweeter and the coconut taste more coconutty. Don’t skip it.
For the Toppings
Fresh Mango (2 large mangoes, diced / about 3 cups) — Use ripe, juicy mangoes. If they’re not perfectly ripe, they’ll be tart and fibrous. I look for mangoes that smell sweet at the stem end. Alternative: Frozen mango chunks work great too. Just thaw them slightly before dicing. They add a nice cold contrast to the warm pudding.
Toasted Coconut Flakes (2 tablespoons / 10g) — Adds texture and visual appeal. You can buy pre-toasted or toast it yourself in a dry pan for 2-3 minutes. Watch it closely—it goes from perfect to burnt in seconds.
Microgreens or Mint Leaves (Optional) — I like to garnish with a few mint leaves or microgreens for a pop of green. It looks fancy and adds a fresh bite.
Common Questions
- Can I use jasmine rice? Yes, but it won’t be as sticky. Short-grain is best for that pudding consistency.
- Can I use almond milk? You can, but it won’t be as creamy. Coconut milk is the key to the texture here.
- Where do I find canned coconut milk? In the Asian food aisle of most grocery stores, or the international section. Look for brands like Thai Kitchen or Aroy-D.
Equipment Needed
You don’t need fancy equipment for this. Here’s what I actually use.
Medium Saucepan — I use a 2-quart saucepan. It needs to be wide enough to spread the rice out slightly so it cooks evenly. My old stainless steel saucepan from Target works fine. No need for a fancy Dutch oven.
Wooden Spoon — For stirring. You’ll be stirring frequently to prevent sticking. Wooden or silicone works best. Metal can scratch non-stick pans.
Sharp Knife — For dicing the mango. A dull knife makes mushy mango. I use my 8-inch chef’s knife.
Cutting Board — Any size works. I use a medium plastic board for easy cleanup.
Measuring Cups and Spoons — Standard stuff. Dollar store versions work fine.
Small Skillet (Optional) — If you’re toasting your own coconut flakes, you’ll need a small dry skillet. It takes 2 minutes.
Tool Tips
- Don’t have a saucepan? Any pot with a heavy bottom works. You want even heat distribution.
- Love texture? I’m obsessed with using a microplane to grate a little lime zest over the top. It adds brightness that cuts through the richness.
How to Make It: Step-by-Step
Alright, let’s make this! I’m walking you through exactly how I do it, including the little tricks I’ve picked up over time.
Step 1: Prep Your Ingredients (2 minutes)
Dice your mangoes and set them aside. If you’re toasting coconut flakes, get that going now. Measure out your maple syrup, vanilla, and salt. Having everything ready before you start cooking makes the process smooth and stress-free. I know it seems fussy, but trust me, you’ll thank me when the rice is simmering and you don’t have to rush.
Step 2: Toast the Coconut (Optional, 2 minutes)
If you’re using raw coconut flakes, heat a small skillet over medium heat. Add the flakes and stir constantly. They’ll turn golden brown in about 2-3 minutes. Remove from heat immediately and set aside. Why this matters: Toasted coconut adds a nutty flavor and crunchy texture that contrasts beautifully with the soft pudding. Skip this if you’re in a hurry.
Step 3: Combine Rice and Coconut Milk (1 minute)
Pour the canned coconut milk into your saucepan over medium heat. Add the cooked rice, maple syrup, vanilla, and salt. Stir well to combine. Visual cue: The mixture will look thin and watery at first. That’s normal. The rice will absorb the liquid and swell.
Step 4: Simmer and Stir (10 minutes)
Let the mixture come to a gentle simmer. Reduce heat to medium-low. Stir frequently, scraping the bottom of the pan to prevent sticking. You’ll see the mixture start to thicken after about 5 minutes. Keep stirring. The starch from the rice will release, creating that creamy, pudding-like consistency. Why this matters: Constant stirring is the secret to avoiding lumps and ensuring even cooking. If you walk away, it will stick and burn.
Step 5: Check for Doneness (1 minute)
The pudding is ready when the rice is tender and the mixture has thickened to a porridge consistency. It should coat the back of a spoon. If it’s too thick, add a splash of water or more coconut milk. If it’s too thin, let it simmer for another 2-3 minutes. Sensory cue: It should smell sweet, tropical, and warm.
Step 6: Assemble and Serve (1 minute)
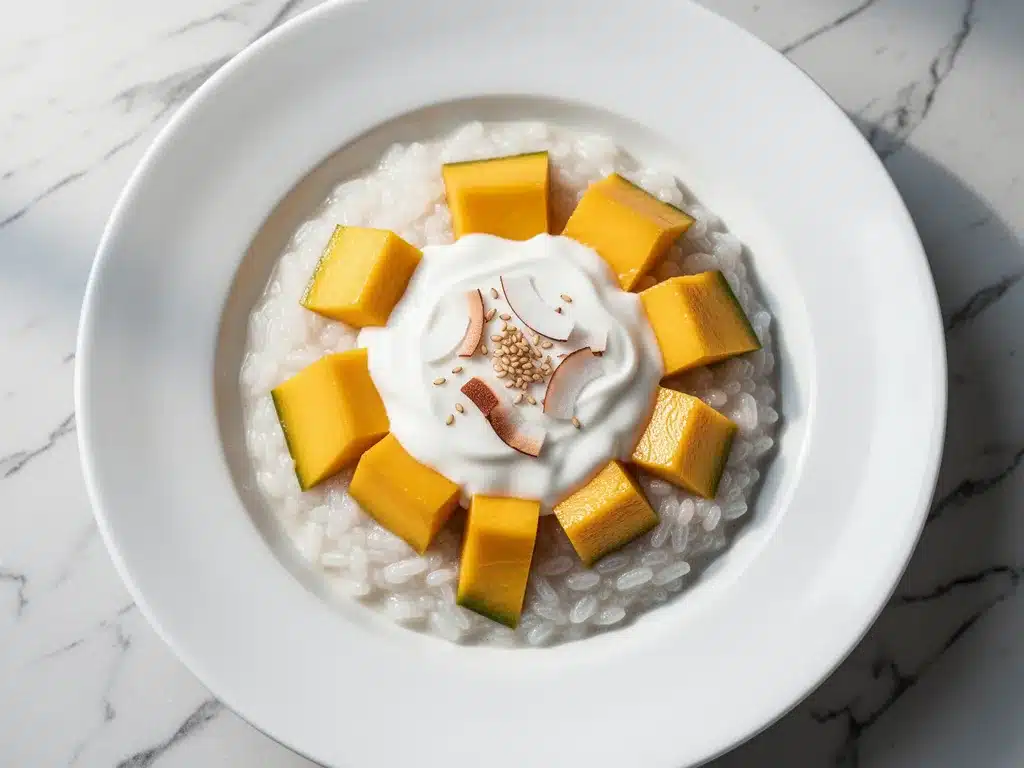
Remove from heat. Spoon the warm pudding into bowls. Top with diced fresh mango, toasted coconut flakes, and a sprinkle of mint if using. Serve immediately while warm. Pro Tip: This tastes great warm, at room temperature, or even chilled. I like it warm for comfort, but my kids love it cold from the fridge.
Total Time: About 15 minutes (5 minutes prep, 10 minutes cooking)
Expert Tips & Tricks
Here’s everything I’ve learned from making this dozens of times. These tips will save you from my mistakes.
The Game-Changers
Use Leftover Rice
This is the #1 tip. Freshly cooked rice is too wet and will turn your pudding into a soup. Leftover rice that has been in the fridge is drier and absorbs the coconut milk better, resulting in a thicker, creamier texture. If you must use fresh rice, cook it with less water than usual and let it cool completely before using.
Don’t Rush the Simmer
Low and slow is the way to go. If you crank up the heat, the coconut milk might separate or the rice might stick to the bottom. Keep it at a gentle simmer and stir often. The patience pays off in texture.
Adjust Sweetness to Taste
Mangoes vary wildly in sweetness. Taste your mangoes before you start. If they’re super sweet, reduce the maple syrup. If they’re tart, you might need more. Start with 3 tablespoons and add more if needed. You can always add more, but you can’t take it away.
Common Mistakes (and how to avoid them)
Mistake: Pudding is too watery
Fix: You didn’t simmer it long enough, or you used fresh rice. Simmer for another 5 minutes, stirring constantly. If it’s still too thin, add a teaspoon of cornstarch mixed with cold water.
Mistake: Pudding is too thick
Fix: Add a splash of coconut milk or water, one tablespoon at a time, stirring until you reach the desired consistency.
Mistake: Coconut milk separated
Fix: Heat was too high. Remove from heat and whisk vigorously to bring it back together. Next time, keep the heat lower.
Pro Tricks I’ve Learned
For Extra Creaminess
Add a tablespoon of coconut cream or a splash of oat milk at the end. It adds a silky finish.
For Better Flavor
Add a pinch of cardamom or ginger. It adds warmth and complexity. I love a tiny pinch of cardamom.
For Meal Prep
Make a big batch on Sunday. Store in the fridge for up to 5 days. Reheat gently in the microwave or on the stove with a splash of milk.
Variations & Substitutions
Once you’ve nailed the basic version, here’s how you can mix it up. I’ve tried all of these.
Tested Variations
Tropical Twist
Add ½ cup of diced pineapple or passion fruit pulp. It adds a tangy contrast to the sweet coconut.
Chocolate Coconut
Stir in 2 tablespoons of cocoa powder or chocolate chips at the end. It’s like a tropical version of chocolate pudding. My kids love this one.
Spiced Version
Add a pinch of cinnamon, nutmeg, and cardamom. It tastes like a tropical pumpkin pie. Great for fall.
Berry Swap
Swap mango for mixed berries (strawberries, blueberries, raspberries). It’s lighter and tangier.
Dietary Modifications
Sugar-Free
Use stevia or monk fruit sweetener instead of maple syrup. Adjust to taste.
Nut-Free
This recipe is naturally nut-free. Just ensure your coconut milk doesn’t have cross-contamination warnings if you have severe allergies.
Low-Carb
This is hard to make low-carb because of the rice. Use cauliflower rice? It’s not the same texture, but it works if you’re strict. I won’t lie—it’s not as good.
Different Toppings
Crunchy
Granola, crushed nuts (if not nut-free), or toasted sesame seeds.
Fresh
Kiwi slices, dragon fruit, or lychee.
Rich
A drizzle of salted caramel or a scoop of coconut ice cream.
Serving & Storage
How to Serve:
I usually serve this straight from the stove, warm and steaming. It’s cozy and comforting. But here are other ways I’ve enjoyed it:
Side Dishes:
This is a dessert, so it doesn’t need sides. But if you’re serving it as a snack, pair it with a cup of green tea or a light fruit salad.
Toppings Bar:
When I have guests, I put out: diced mango, toasted coconut, mint leaves, lime zest, and maybe a drizzle of honey. Everyone customizes their bowl.
Storage Instructions:
Refrigerator:
Store in an airtight container for up to 5 days. The pudding will thicken in the fridge—totally normal. It’s actually better cold.
Reheating:
Best method: Add to a saucepan with a splash of coconut milk or water over low heat. Stir until heated through and creamy again.
Microwave method: Heat in 30-second intervals, stirring between. Add a splash of liquid if it’s too thick.
Never works: Trying to reheat it dry. It will become a brick. Ask me how I know.
Freezing:
Honestly, this doesn’t freeze well because of the rice texture. It becomes grainy when thawed. Make it fresh or store in the fridge.
Meal Prep:
Make the pudding on Sunday, store in the fridge. Top with fresh mango and toasted coconut right before eating. Takes 2 minutes and tastes way better than reheated.
Pro tip: If leftovers are drying out, stir in a tablespoon of coconut milk when reheating. Brings back that creamy texture.
Nutrition Information
I’m not a nutritionist, but here’s the breakdown if you’re tracking.
Per Serving (based on 6 servings):
– Calories: 280
– Protein: 4g
– Carbs: 45g
– Fiber: 3g
– Sugar: 22g
– Fat: 10g
– Saturated Fat: 8g
– Cholesterol: 0mg
– Sodium: 120mg
– Calcium: 40mg
What’s Good:
– Naturally dairy-free and gluten-free
– Good source of energy from carbs
– Contains healthy fats from coconut
– Can add vegetables/fruits to boost nutrition
What to Know:
– Higher in sugar from mango and maple syrup
– Contains coconut (tree nut allergy caution)
– Moderate sodium
My Take:
Look, this is a dessert. It has sugar and carbs. It’s not a diet recipe. But it’s way better than store-bought pudding, costs less, and I know exactly what’s in it. When I want to make it lighter, I reduce the maple syrup and use light coconut milk. But usually? I just eat a reasonable portion and enjoy it.
Dietary Notes:
– Contains: coconut
– Can be made: dairy-free, gluten-free, vegan
– Not suitable for: coconut allergy, strict low-carb (without modifications)
Final Thoughts
So that’s my go-to Coconut Mango Sticky Rice Pudding! I’ve probably talked your ear off at this point, but when you make a recipe this often, you have a lot to say about it.
This has saved weeknight desserts more times than I can count. It’s my answer to “what’s for dessert?” when I’m tired, don’t want to bake, and still want something that tastes really good. My kids are happy, my husband’s happy, and I’m happy because I’m not stressed about cooking.
Make it yours! Try different toppings, swap in your favorite fruit, adjust the sweetness. The best recipes are the ones you adapt to your family’s tastes.
If you make this, drop a comment and let me know what you think! I love hearing how recipes turn out in your kitchen. And if something doesn’t work, tell me that too—I’m here to help troubleshoot.
Happy cooking! And I hope your kitchen smells half as good as mine does right now.
Frequently Asked Questions
Q: Can I use long-grain rice?
A: You can, but the texture will be different. Long-grain rice stays separate and fluffy, so you won’t get that sticky, pudding-like consistency. Short-grain or sushi rice is best for this recipe. If you only have long-grain, expect a looser, more porridge-like result.
Q: Can I use fresh coconut milk?
A: Freshly squeezed coconut milk is great, but it’s often thinner than canned. You might need to simmer it longer to thicken. Canned coconut milk is more convenient and consistently thick, which is why I recommend it. But if you have fresh, go for it!
Q: Why did my pudding turn out watery?
A: Usually, this means you used fresh rice instead of leftover rice, or you didn’t simmer it long enough. Leftover rice absorbs liquid better. Also, make sure you’re stirring frequently to release the starch. If it’s still watery, simmer for another 5-10 minutes.
Q: Can I make this ahead for a dinner party?
A: Absolutely. Make the pudding up to 2 days ahead and store in the fridge. Top with fresh mango and toasted coconut right before serving. It’s actually better chilled, so this is a great option for parties.
Q: Can I use frozen mango?
A: Yes! Frozen mango chunks work great. Just thaw them slightly before dicing. They add a nice cold contrast to the warm pudding. If you’re using frozen mango for the topping, it’s perfect. If you’re cooking it into the pudding, it will release more water, so adjust your liquid accordingly.
Q: How do I reheat leftovers without it getting dry?
A: Add a splash of coconut milk or water to a saucepan, add your leftover pudding, and heat gently over low heat, stirring frequently. The extra liquid brings back the creamy texture. Microwave sort of works but tends to dry it out. If you do microwave, definitely add a splash of liquid first and heat in short bursts, stirring between.
Q: Can I double this recipe?
A: Yes! Double everything and use a larger saucepan. The cooking times stay roughly the same, but you might need to stir more often to prevent sticking. I do this when I’m meal-prepping or feeding a crowd.
Pin This Recipe!
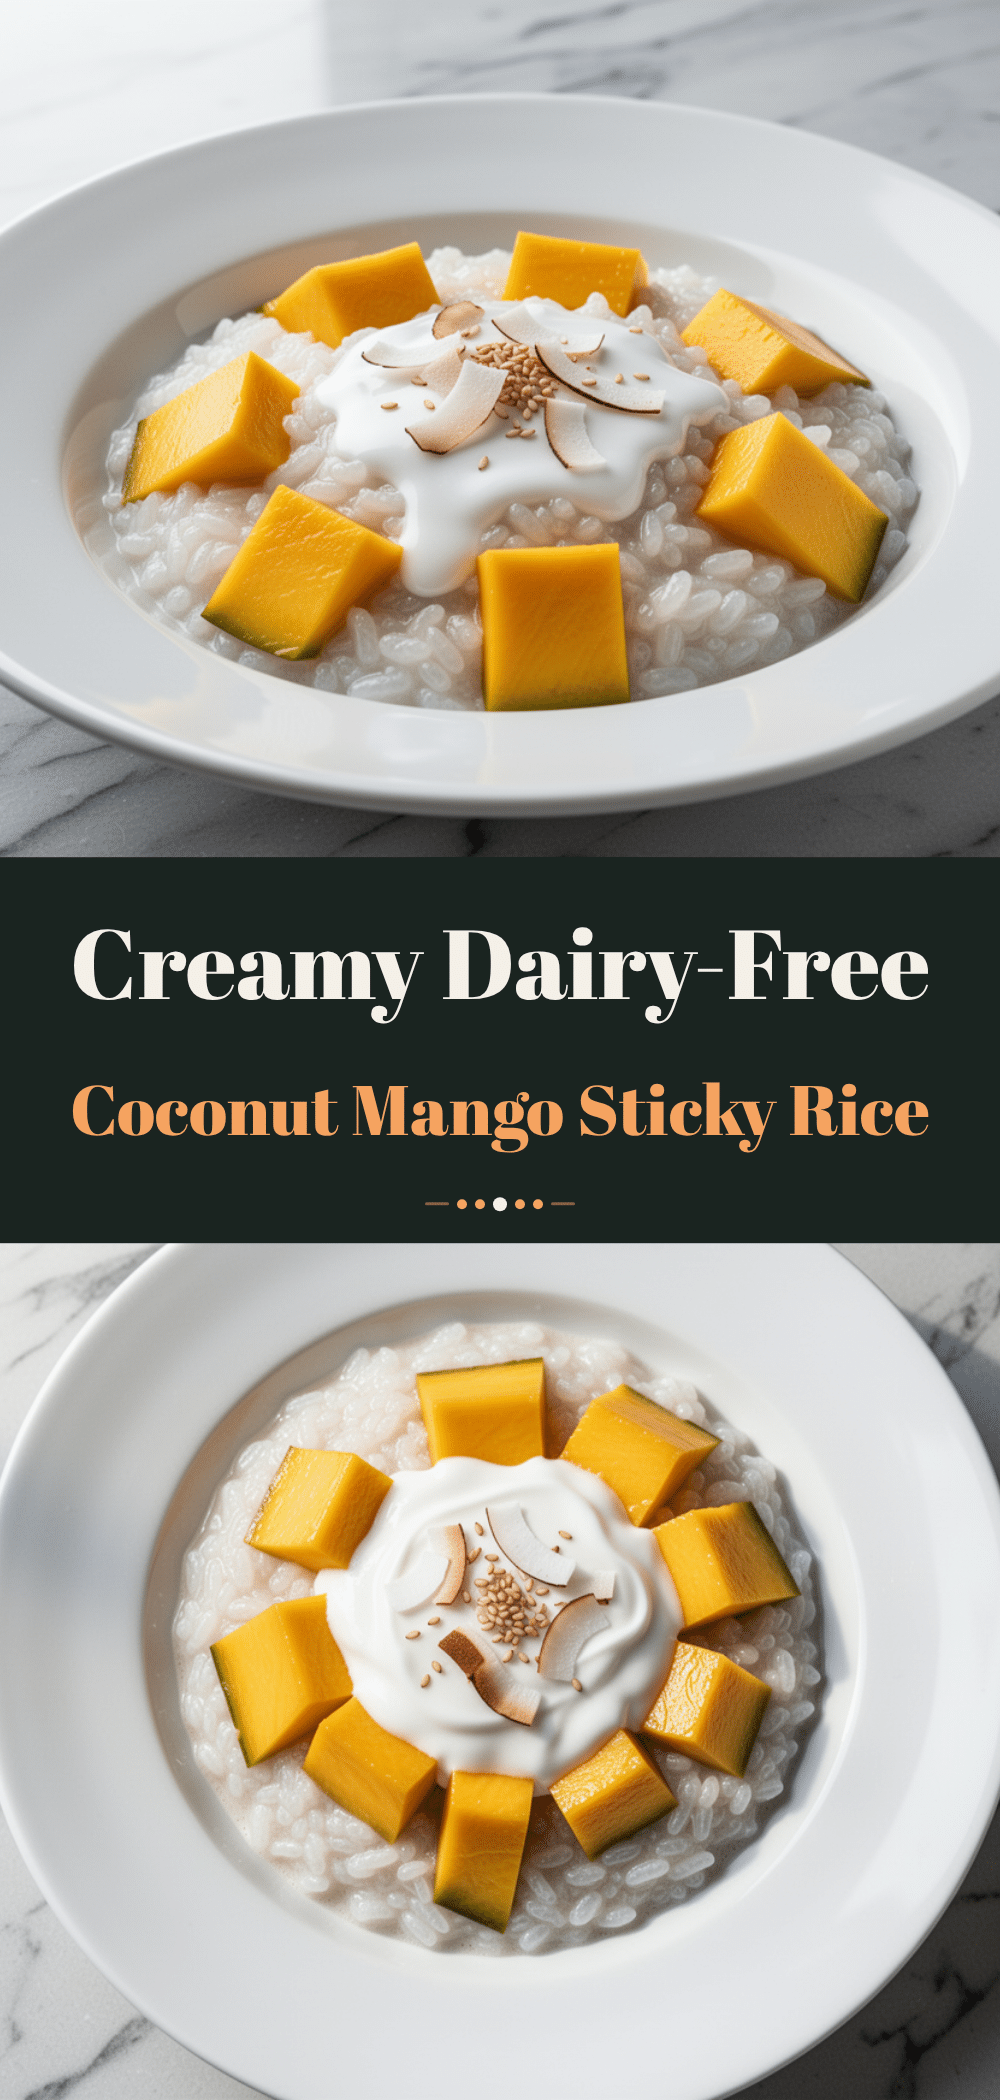
Dairy-Free Coconut Mango Sticky Rice Pudding
- Total Time: 15 minutes
- Yield: 4-6 servings 1x
Description
A creamy, comforting, and naturally dairy-free dessert ready in just 15 minutes. This sticky rice pudding uses leftover short-grain rice simmered in rich coconut milk, sweetened with maple syrup, and topped with fresh mango.
Ingredients
- 2 cups (400g) cooked short-grain white rice (preferably leftover)
- 1 can (400ml) full-fat canned coconut milk
- 2 tablespoons (30ml) coconut cream (optional)
- 3–4 tablespoons (45-60ml) maple syrup
- 1 teaspoon (5ml) pure vanilla extract
- 1/2 teaspoon (3g) salt
- 2 large ripe mangoes, diced (about 3 cups)
- 2 tablespoons (10g) toasted coconut flakes
- Mint leaves or microgreens for garnish (optional)
Instructions
- Dice the mangoes and set aside. If toasting coconut flakes, heat a small skillet over medium heat and toast flakes for 2-3 minutes until golden, then set aside.
- Pour the canned coconut milk into a medium saucepan over medium heat. Add the cooked rice, maple syrup, vanilla extract, and salt. Stir well to combine.
- Bring the mixture to a gentle simmer, then reduce heat to medium-low.
- Stir frequently, scraping the bottom of the pan to prevent sticking. Simmer for about 10 minutes until the rice is tender and the mixture has thickened to a porridge consistency.
- Check for doneness: the pudding should coat the back of a spoon. If too thick, add a splash of water or coconut milk; if too thin, simmer for another 2-3 minutes.
- Remove from heat. Spoon the warm pudding into bowls.
- Top with diced fresh mango, toasted coconut flakes, and mint leaves if using. Serve immediately.
Notes
Use leftover short-grain rice for the best texture, as it is drier and absorbs coconut milk better than fresh rice. If using fresh rice, cook it slightly underdone. Toasted coconut adds a nice crunch and nutty flavor. The pudding thickens as it cools and can be stored in the refrigerator for up to 5 days. Reheat gently with a splash of coconut milk or water to restore creaminess.
- Prep Time: 5 minutes
- Cook Time: 10 minutes
- Category: Dessert
- Cuisine: Asian
Nutrition
- Serving Size: 1 bowl
- Calories: 280
- Sugar: 22
- Sodium: 120
- Fat: 10
- Saturated Fat: 8
- Carbohydrates: 45
- Fiber: 3
- Protein: 4
Keywords: coconut mango sticky rice pudding, dairy-free dessert, gluten-free dessert, quick dessert, 15 minute recipe, vegan dessert, mango pudding, sticky rice


