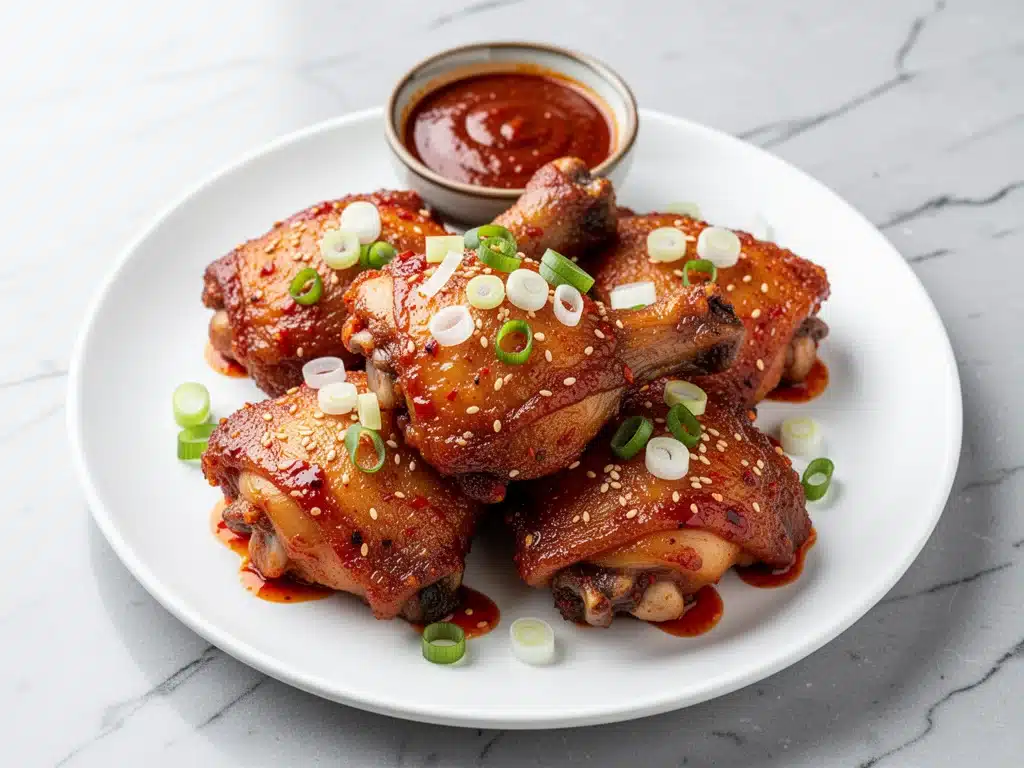
I still remember the first time I made these crispy Korean gochujang chicken thighs. It was a Tuesday, I was exhausted, and I was staring into the fridge wondering if I had the energy to fight with a takeout menu. I had half a jar of gochujang paste gathering dust in the back, some chicken thighs that needed to be cooked before they went bad, and a craving for something with actual flavor. I didn’t want bland. I wanted fire. I wanted sticky. I wanted something that would make my kids stop scrolling on their iPads long enough to look at their dinner.
I threw together a sauce in five minutes, tossed the chicken in cornstarch (the secret to getting it crispy without deep frying), and let the oven do the heavy lifting. When I pulled that tray out, the smell hit the whole house. It was sweet, spicy, garlicky, and just a little bit tangy. My husband took one bite, closed his eyes, and said, “Don’t make this every week, or I’ll never let you cook anything else.” Spoiler alert: I made it every week anyway.
These crispy Korean gochujang chicken thighs have become the anchor of our dinner rotation. They’re not just good; they’re addictive. The chicken gets shatteringly crisp on the outside while staying juicy and tender on the inside. The sauce is glossy and clings to every nook and cranny, giving you that perfect balance of heat and sweetness that Korean food does so well. And the best part? You don’t need a deep fryer or a trip to an Asian grocery store for most of the ingredients. If you can handle a knife and an oven, you can master this. I’ve tested this recipe probably fifteen times to get the coating right, the sauce thickened perfectly, and the spice level dialed in for both adults and picky eaters. This is hands-down the best weeknight dinner I’ve found in years.
Why You’ll Love This Recipe
There are a lot of chicken recipes out there, but this specific combination of textures and flavors is special. It’s not just “chicken with sauce.” It’s a complete sensory experience. Here’s why this dish has earned a permanent spot in our kitchen:
- Zero Deep Frying Required — Seriously, this is the game-changer. Most crispy chicken recipes require you to stand over a pot of hot oil, splattering grease everywhere. Not here. We use a light dusting of cornstarch and bake the chicken on a wire rack. You get that restaurant-style crunch with a fraction of the oil and a whole lot less cleanup. I love that I can make this without turning my kitchen into a hazard zone.
- Sauce That Actually Sticks — Have you ever made a stir-fry where the sauce just slides off the meat and pools at the bottom of the bowl? It’s frustrating. This sauce is different. The sugar in the gochujang and the honey caramelizes slightly in the oven, creating a sticky glaze that clings to the crispy coating. It’s the kind of sauce you want to lick off your fingers. My kids use it to dip their fries, which is a win in my book.
- Flavor Bomb in Under 45 Minutes — From start to finish, this takes about 40 minutes. That includes prep time. I’m talking about chopping garlic, whisking a sauce, tossing chicken, and baking. It’s faster than waiting for delivery, and it’s infinitely healthier. I make this on nights when I’m running on empty and still want something that feels gourmet.
- Customizable Heat Level — Gochujang is spicy, but not all gochujangs are created equal. Some are hotter than others. This recipe lets you control the heat. If you want mild, use a little gochujang and add more honey. If you want to burn your tongue, add extra chili flakes. I make a mild version for my daughter and a spicy version for my husband, all on the same tray. No arguments.
- Pantry-Friendly Ingredients — You probably have soy sauce, garlic, ginger, and honey in your house. Gochujang is the only specialty item, and now that it’s in every major supermarket, it’s easy to find. Once you buy the jar, you’ll use it for marinades, dips, and stir-fries for months. It’s an investment that pays off.
This is my go-to when I need dinner to just work. It feeds a crowd, it freezes well (more on that later), and it tastes like you spent hours simmering a sauce. In reality? You spent ten minutes making it. That’s the kind of cooking I can get behind.
Ingredients You’ll Need
Here’s the best part: this recipe relies on simple, accessible ingredients. You don’t need to hunt down obscure items. I’m particular about a few things here, mostly because they make or break the texture and flavor, so pay close attention to the notes.
For the Chicken
Chicken thighs, boneless and skinless (2 pounds / 900g) — This is non-negotiable. I know breast meat is “leaner,” but chicken thighs have enough fat and connective tissue to stay juicy even after baking. Breast meat dries out too fast in this high-heat method. Thighs are forgiving and flavorful. I buy them in bulk and freeze them in portions.
Cornstarch (½ cup / 60g) — This is the secret weapon. Cornstarch creates that super-crispy, almost fried coating when baked. It draws out moisture and creates a barrier. Don’t use flour, potato starch, or breadcrumbs. Cornstarch is the only thing that gives you that specific shattering crunch. I keep a box in my pantry specifically for this.
Smoked paprika (1 teaspoon) — Adds a subtle smoky depth that mimics charcoal grilling. It’s optional, but I think it elevates the flavor profile significantly. If you don’t have it, regular paprika works, but smoked is better.
Garlic powder (1 teaspoon) — We’re using fresh garlic in the sauce, but powder in the coating adds an extra layer of savory flavor that sticks to the chicken.
Black pepper (½ teaspoon, freshly cracked) — Just a little kick to complement the heat from the gochujang.
For the Glaze
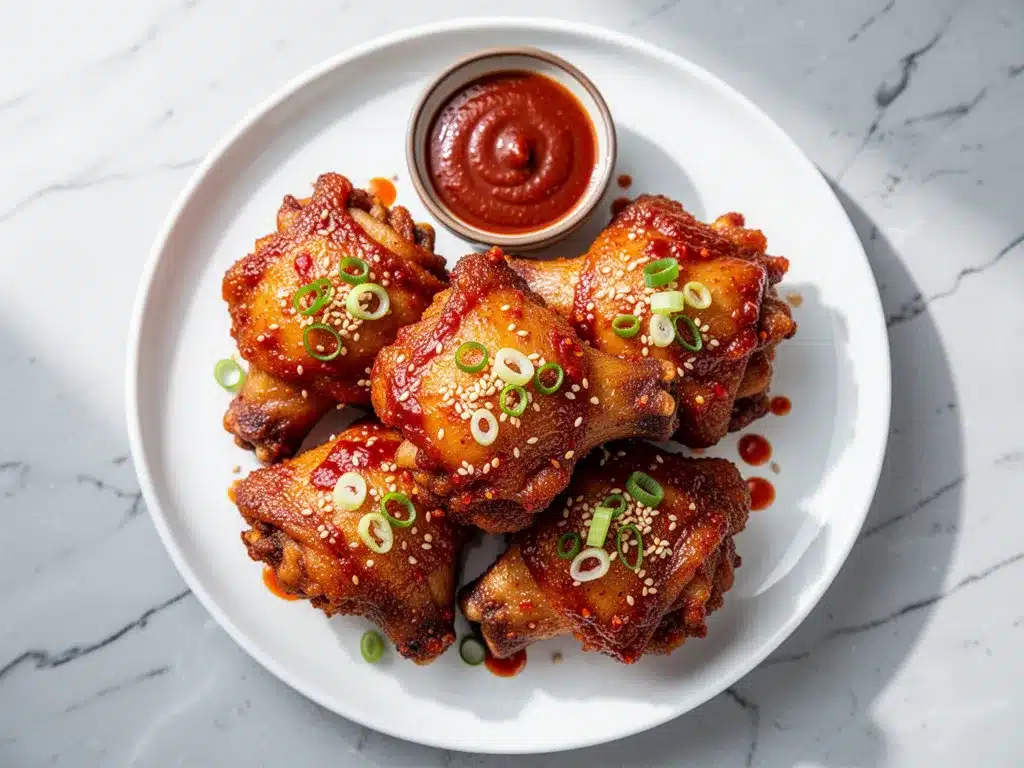
Gochujang paste (3 tablespoons / 45g) — This is fermented red chili paste. It’s thick, spicy, and slightly sweet. Look for it in the Asian aisle of your grocery store. I recommend the Jinjang brand—it’s widely available and has a consistent heat level. Don’t use gochugaru (chili flakes) as a 1:1 substitute; it’s totally different.
Soy sauce (2 tablespoons / 30ml) — I use low-sodium soy sauce so I can control the saltiness. Regular soy sauce works, but you might want to reduce any added salt. It provides the umami backbone.
Honey (2 tablespoons / 30ml) — Sweetens the sauce and helps it caramelize. Maple syrup is a decent substitute if you’re avoiding honey, but it changes the flavor profile slightly. I stick with honey for that sticky gloss.
Rice vinegar (1 tablespoon / 15ml) — Adds acidity to cut through the richness of the chicken and the sweetness of the honey. This is crucial for balance. If you don’t have rice vinegar, apple cider vinegar works in a pinch, but rice vinegar is milder and more traditional.
Fresh ginger (1 teaspoon, grated) — Fresh is best here. Pre-grated ginger in a tube has a metallic taste that doesn’t work in a delicate glaze. Grate it yourself—it takes ten seconds.
Garlic (3 cloves, minced) — Yes, three cloves. Don’t be shy. Garlic is the flavor bridge between the chicken and the sauce.
For Serving
Sesame seeds (1 tablespoon, toasted) — Adds nuttiness and visual appeal. Toasting them in a dry pan for two minutes releases their oils. If you skip this, it’s still good, but you’re missing out on that final touch.
Green onions (2 stalks, sliced thinly) — Adds a fresh, oniony crunch and a pop of color. I use the white parts in the sauce sometimes and the green parts for garnish.
Cooked jasmine rice — You need something to soak up that extra sauce. Jasmine rice is the classic pairing because it’s fragrant and slightly sticky. Short-grain rice also works well.
Equipment Needed
You don’t need fancy gadgets for this. Here’s what I actually use in my kitchen.
Wire rack and baking sheet — This is important. Place a wire rack on top of a rimmed baking sheet. The rack allows air to circulate under the chicken, ensuring the bottom gets crispy too. If you bake directly on the sheet, the bottom will get soggy. I use a standard cookie sheet and a cooling rack. It works perfectly.
Small mixing bowls — You’ll need one for the chicken coating and one for whisking the sauce. I use two small bowls. It keeps things organized.
Whisk — For blending the sauce ingredients smoothly. A small whisk is fine.
Tongs — For flipping the chicken. Tongs are safer and easier than a fork, which pierces the chicken and lets juices escape.
Microplane or fine grater — For the ginger. If you don’t have a microplane, a standard box grater works. Just be careful with your knuckles.
Parchment paper (optional) — I line the baking sheet under the rack with parchment paper for easier cleanup. The sauce can drip and burn, and scrubbing a baking sheet is the worst. Parchment paper saves me time.
How to Make It: Step-by-Step
Alright, let’s make this! I’m walking you through exactly how I do it, including the little tricks I’ve picked up over the last year of making this weekly.
Step 1: Prep the Chicken (5 minutes)
Pat your chicken thighs dry with paper towels. This is crucial. Moisture is the enemy of crispiness. If the chicken is wet, the cornstarch will slide off, and the chicken will steam instead of crisp. I don’t worry about perfect uniformity—just make sure they’re dry. Cut any very large thighs in half so they cook evenly. Season them lightly with salt and pepper.
Step 2: Coat the Chicken (5 minutes)
In a large bowl or a zip-top bag, toss the chicken thighs with cornstarch, smoked paprika, garlic powder, and black pepper. You want a light, even coating. It should look dusty, not pasty. Shake off any excess cornstarch. If you leave too much loose cornstarch, it will burn in the oven. I usually toss them in a bag because it’s less messy than a bowl.
Step 3: Bake the Chicken (20-25 minutes)
Preheat your oven to 400°F (200°C). Line a baking sheet with parchment paper and place a wire rack on top. Arrange the chicken thighs on the rack in a single layer, making sure they aren’t touching. This allows heat to circulate. Bake for 20 minutes. At this point, the chicken should be mostly cooked and starting to brown.
Step 4: Make the Glaze (5 minutes)
While the chicken bakes, whisk together the gochujang, soy sauce, honey, rice vinegar, grated ginger, and minced garlic in a small bowl. It should be smooth and well-combined. Taste it. If it’s too spicy, add a teaspoon more honey. If it’s too sweet, add a splash more vinegar. This is your chance to adjust the flavor before it goes on the chicken.
Step 5: Glaze and Finish (5-10 minutes)
Remove the chicken from the oven. Brush or spoon the glaze generously over each thigh. Make sure to get into the crevices. Return the tray to the oven and bake for another 5-10 minutes. You want the sauce to bubble and caramelize slightly. The chicken is done when it reaches an internal temperature of 165°F (74°C). The edges should be dark and sticky.
Step 6: Rest and Garnish (5 minutes)
Remove the chicken from the oven and let it rest for 5 minutes. This allows the juices to redistribute. If you cut into it immediately, the juices will run out, and the chicken will be dry. Sprinkle with toasted sesame seeds and sliced green onions. Serve immediately over steamed jasmine rice.
Expert Tips & Tricks
Here’s everything I’ve learned from making this dozens of times. These tips will save you from my mistakes.
Don’t Skip the Wire Rack
I know it’s one more thing to wash, but it’s worth it. Baking on a rack prevents the bottom from getting soggy. If you don’t have a rack, you can bake directly on the parchment-lined sheet, but flip the chicken halfway through to ensure even browning. The texture won’t be quite as crispy, but it will still be good.
Pat Dry, Always
I can’t stress this enough. Wet chicken = soggy chicken. Take the time to pat them dry with paper towels. If you’re in a hurry, you can let them sit on the counter for 10 minutes to air dry, but paper towels are faster.
Watch the Oven Temperature
Ovens vary. If your oven runs hot, check the chicken at 20 minutes. If the sauce is burning, cover it loosely with foil. If your oven runs cool, you might need an extra 5 minutes. Use a meat thermometer to be sure—it’s the only way to know for sure.
Toast Your Sesame Seeds
Raw sesame seeds are fine, but toasted ones add a nutty flavor that elevates the dish. Heat them in a dry pan over medium heat for 2-3 minutes, shaking frequently, until they turn golden and smell fragrant. It takes less time than you think.
Save the Extra Sauce
If you have leftover glaze, don’t throw it away. Bring it to a simmer in a small saucepan for 2 minutes to thicken it slightly. Use it as a dipping sauce for the chicken or drizzle it over vegetables. It’s liquid gold.
Variations & Substitutions
Once you’ve nailed the basic version, here’s how you can mix it up. I’ve tried all of these.
Spicy Level Adjustments
My family likes it medium-hot. If you want it milder, reduce the gochujang to 1 tablespoon and add 1 tablespoon of gochujang-free paste (like tomato paste) to keep the volume. Add extra honey. For extra heat, add ½ teaspoon of red pepper flakes or a dash of sriracha to the glaze.
Veggie-Packed Version
Add chopped broccoli or bell peppers to the baking sheet in the last 10 minutes of cooking. Toss them in the leftover glaze. It makes the meal more substantial and adds color.
Gluten-Free
Simply swap regular soy sauce for tamari or coconut aminos. Everything else is naturally gluten-free. The cornstarch coating works perfectly with tamari.
Chicken Breast
You can use chicken breasts, but they cook faster. Reduce the baking time by 5-7 minutes. Watch them closely so they don’t dry out. Thighs are still my preference for flavor and juiciness.
Sauce Substitutes
No gochujang? You can make a quick substitute with 1 tablespoon chili paste (like sambal oelek) mixed with 1 teaspoon brown sugar and ½ teaspoon soy sauce. It won’t be the same fermented depth, but it’ll give you that spicy-sweet kick.
Serving & Storage
How to Serve:
I serve this straight from the baking sheet at the table—it looks rustic and stays warm. But here are other ways I’ve enjoyed it:
- Jasmine Rice — The classic choice. The rice soaks up the sauce beautifully.
- Steamed Broccoli — Adds a healthy crunch and balances the richness.
- Pickled Vegetables — Quick-pickled cucumbers or carrots cut through the sweetness and heat.
- Korean Cucumber Salad — A light, vinegar-based salad is a perfect side.
Storage Instructions:
Refrigerator: Store leftovers in an airtight container for up to 4 days. The chicken stays good, but the coating might soften slightly. Reheat in the oven or toaster oven at 350°F to restore crispiness. Microwave reheating makes the coating soggy, so avoid it if you can.
Freezing: I don’t recommend freezing the glazed chicken because the texture changes. However, you can freeze the cooked, unglazed chicken thighs for up to 3 months. Thaw and reheat, then glaze and broil briefly.
Reheating: The best method is the oven. Place chicken on a wire rack and bake at 350°F for 10-15 minutes. If you must microwave, do it in 30-second intervals and let it rest in between.
Nutrition Information
I’m not a nutritionist, but here’s the breakdown if you’re tracking. Note that this is an estimate and will vary based on specific brands and portion sizes.
Per Serving (based on 4 servings):**
| Nutrient | Amount |
|---|---|
| Calories | 380 |
| Protein | 35g |
| Carbs | 22g |
| Fiber | 1g |
| Sugar | 14g |
| Fat | 16g |
| Sodium | 650mg |
What’s Good: High protein, relatively low carb (if you skip the rice). The gochujang has some health benefits from fermented chili peppers.
What to Know: Higher in sodium due to soy sauce and gochujang. Use low-sodium soy sauce to reduce this. The sugar comes from the honey and gochujang itself.
My Take: This is comfort food. It’s not a diet recipe, but it’s not junk food either. It’s balanced, flavorful, and satisfying. When I want to make it lighter, I serve it over cauliflower rice or with extra steamed veggies.
Final Thoughts
So that’s my go-to crispy Korean gochujang chicken thighs! I’ve probably talked your ear off at this point, but when you make a recipe this often, you have a lot to say about it. This has saved weeknight dinners more times than I can count. It’s my answer to “what’s for dinner” when I’m tired, don’t want takeout, and still want something that tastes really good. My kids are happy, my husband’s happy, and I’m happy because I’m not stressed about cooking.
Make it yours! Try different add-ins, swap in your favorite vegetables, adjust the garlic (though more is always better in my opinion). The best recipes are the ones you adapt to your family’s tastes. If you make this, drop a comment and let me know what you think! I love hearing how recipes turn out in your kitchen. And if something doesn’t work, tell me that too—I’m here to help troubleshoot.
Happy cooking! And I hope your kitchen smells half as good as mine does right now.
Frequently Asked Questions
Q: Can I use chicken breast instead of thighs?
A: You can, but I don’t recommend it for this specific recipe. Chicken breast has very little fat and will dry out quickly at 400°F. Thighs have enough connective tissue to stay juicy even with the high heat. If you must use breast, reduce the baking time by 5-7 minutes and watch them closely.
Q: How spicy is gochujang?
A: It varies by brand, but generally, it’s medium-hot. It’s not like a habanero; it’s more of a warm, building heat. Most people find it manageable, especially when balanced with honey. If you’re sensitive to spice, start with 1 tablespoon of gochujang and add more to taste.
Q: Can I make this in an air fryer?
A: Yes! Air fryer crispy Korean gochujang chicken thighs are amazing. Cook at 380°F for 10-12 minutes, flipping halfway. Brush with glaze in the last 2 minutes. Check your air fryer manual for size adjustments. The results are even crispier than the oven.
Q: Why is my sauce too thin?
A: Gochujang is thick, but honey and vinegar are thin. If your sauce is too thin, simmer it in a saucepan for 2-3 minutes before brushing it on. It will reduce and thicken. You can also add a tiny cornstarch slush (1 teaspoon cornstarch mixed with 1 tablespoon water) to the sauce and simmer until thickened.
Q: Can I prep this ahead of time?
A: Yes! You can coat the chicken in cornstarch and store it in the fridge for up to 24 hours. Make the sauce ahead and store it in the fridge. When you’re ready to cook, just bake and glaze. This is great for meal prep.
Q: What can I serve with this besides rice?
A: Steamed broccoli, cauliflower rice, stir-fried bok choy, or even a simple green salad with sesame dressing. It pairs well with almost any vegetable.
Q: Can I freeze the leftovers?
A: I don’t recommend freezing the glazed chicken because the coating loses its crispiness. However, you can freeze the cooked, unglazed chicken for up to 3 months. Thaw, reheat, and then glaze briefly in the oven.
Pin This Recipe!
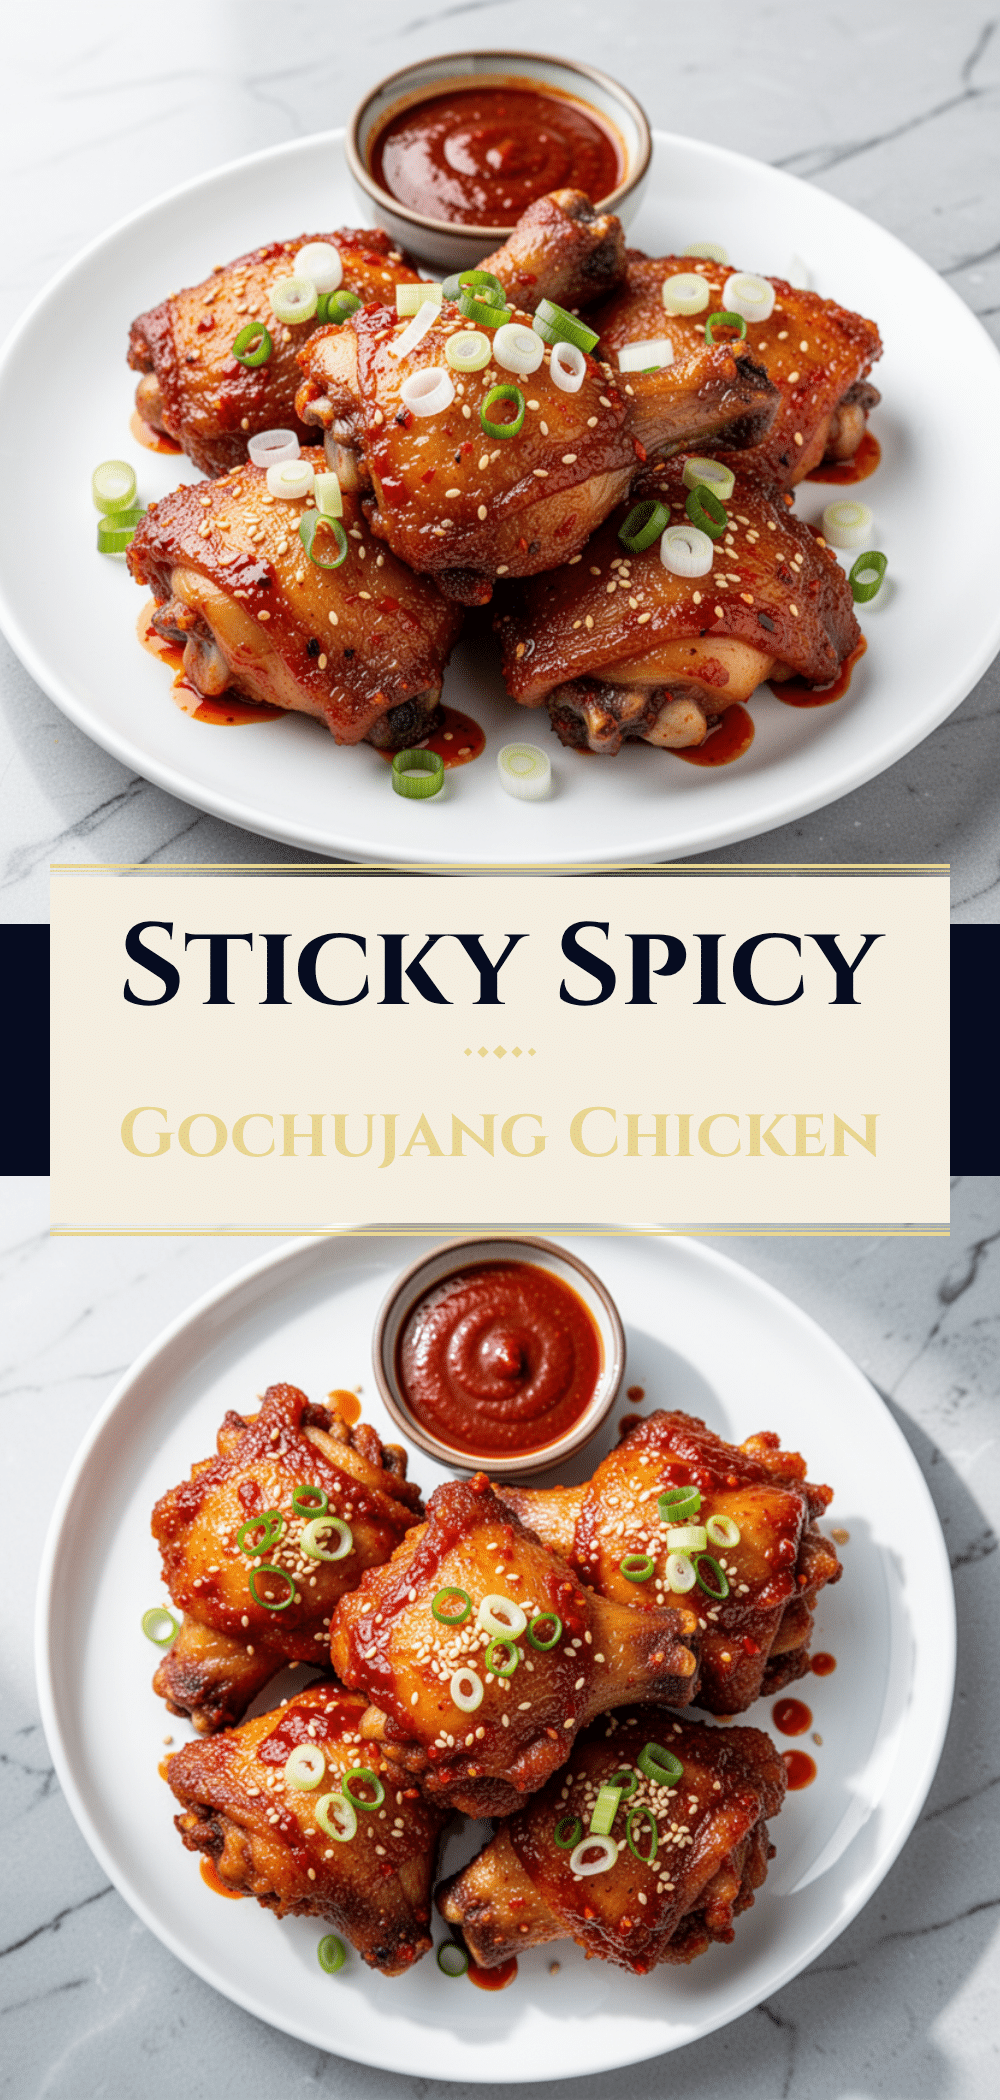
Crispy Korean Gochujang Chicken Thighs: Easy Family Dinner
- Total Time: 45 minutes
- Yield: 4 servings 1x
Description
These crispy Korean gochujang chicken thighs are a weeknight dinner staple that delivers restaurant-style crunch without deep frying. The chicken is baked to perfection with a sticky, sweet, and spicy glaze that clings to every bite.
Ingredients
- 2 pounds boneless, skinless chicken thighs
- ½ cup cornstarch
- 1 teaspoon smoked paprika
- 1 teaspoon garlic powder
- ½ teaspoon black pepper
- Salt (for seasoning)
- 3 tablespoons gochujang paste
- 2 tablespoons low-sodium soy sauce
- 2 tablespoons honey
- 1 tablespoon rice vinegar
- 1 teaspoon fresh ginger, grated
- 3 cloves garlic, minced
- 1 tablespoon toasted sesame seeds
- 2 stalks green onions, sliced thinly
- Cooked jasmine rice (for serving)
Instructions
- Preheat oven to 400°F (200°C). Line a rimmed baking sheet with parchment paper and place a wire rack on top.
- Pat chicken thighs dry with paper towels to ensure crispiness. Season lightly with salt and pepper.
- In a large bowl or zip-top bag, toss chicken thighs with cornstarch, smoked paprika, garlic powder, and black pepper until lightly coated. Shake off excess cornstarch.
- Arrange chicken thighs in a single layer on the wire rack, ensuring they are not touching.
- Bake for 20 minutes until the chicken is mostly cooked and starting to brown.
- While chicken bakes, whisk together gochujang, soy sauce, honey, rice vinegar, grated ginger, and minced garlic in a small bowl.
- Remove chicken from oven and brush or spoon the glaze generously over each thigh.
- Return to oven and bake for another 5-10 minutes until the sauce bubbles, caramelizes, and chicken reaches an internal temperature of 165°F (74°C).
- Remove from oven and let rest for 5 minutes.
- Sprinkle with toasted sesame seeds and sliced green onions. Serve immediately over steamed jasmine rice.
Notes
Patting the chicken dry is crucial for crispiness. Using a wire rack allows air circulation to prevent soggy bottoms. Gochujang heat levels vary by brand; adjust honey or chili flakes to taste. For a gluten-free version, swap soy sauce for tamari. Do not freeze glazed chicken as the coating will lose crispiness; freeze unglazed cooked chicken instead.
- Prep Time: 15 minutes
- Cook Time: 30 minutes
- Category: Main Course
- Cuisine: Korean
Nutrition
- Serving Size: 1 chicken thigh with
- Calories: 380
- Sugar: 14
- Sodium: 650
- Fat: 16
- Saturated Fat: 4
- Carbohydrates: 22
- Fiber: 1
- Protein: 35
Keywords: Korean chicken, gochujang, crispy chicken, weeknight dinner, baked chicken, spicy chicken, family dinner, easy recipes


