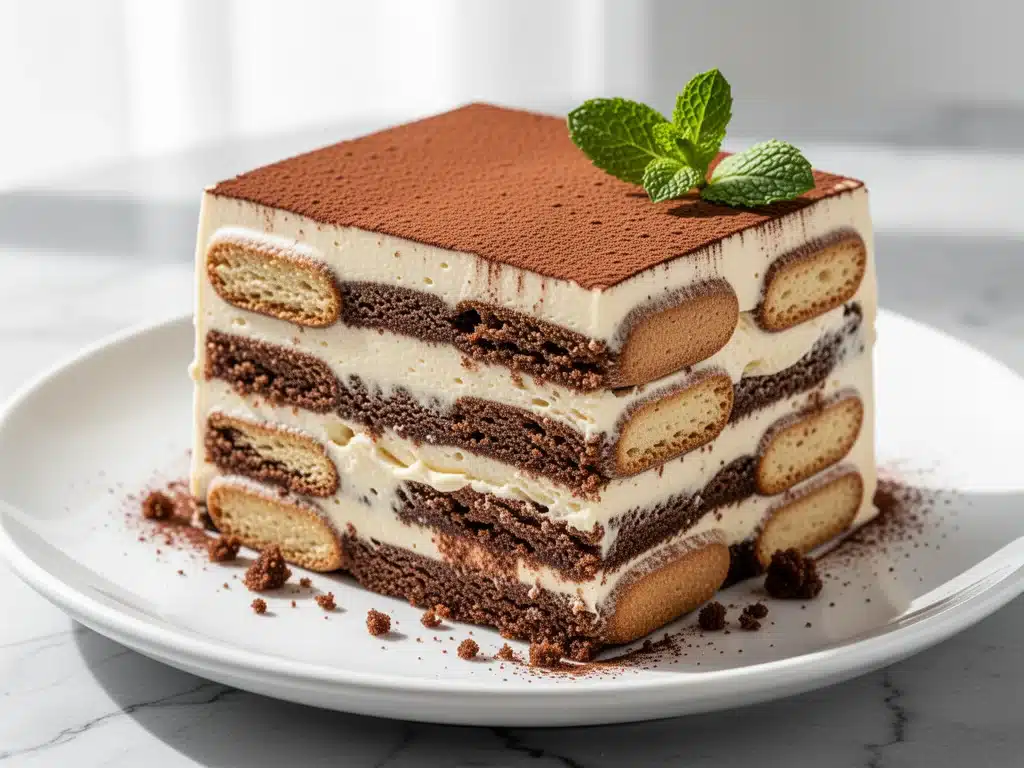
Last Friday, I stared at my calendar with the kind of dread usually reserved for tax season. I had agreed to bring dessert to a friend’s gathering, and it was already 4 PM on the day of the party. I had no time to bake, no energy to fuss, and definitely no desire to run to the store for obscure ingredients. So, I did what any sleep-deprived, over-committed food lover does: I raided my pantry and fridge, threw together something that required zero oven time, and prayed it would taste good.
What I pulled out of thin air was this creamy tiramisu icebox cake. It’s not a traditional tiramisu with raw eggs and hours of assembly. It’s simpler, creamier, and honestly? It’s better for people like me who want a restaurant-quality dessert without the restaurant-level stress.
I’ve made this tiramisu icebox cake at least twelve times since that panic-induced Friday night. It has become my secret weapon for everything from impromptu brunches to holiday gatherings where I’m already managing the main course. The best part? You don’t need to stand over a stove. You don’t need a mixer. You just need a few minutes of layering and some patience for it to chill. By the time your guests arrive, this cake is set, chilled, and absolutely divine.
If you’ve ever felt that same knot of panic when asked to bring a dessert last minute, you need to know about this recipe. It’s the ultimate make-ahead dessert that actually tastes like you spent hours in the kitchen. And trust me, no one will know the difference.
Why You’ll Love This Creamy Tiramisu Icebox Cake
This isn’t just another cookie-crumb dessert. This is a textural masterpiece that feels indulgent but is surprisingly easy to pull together. Here’s why this creamy tiramisu icebox cake has earned a permanent spot in my weekly rotation:
- Zero Baking Required — Seriously. No oven, no stove, no burning your cookies. It’s all about assembly. I’ve made this while my kids were doing homework, and it took me less than 15 minutes of active time.
- Perfectly Make-Ahead — This is the key. Icebox cakes need time to set, so making it a day ahead isn’t just convenient—it’s necessary for the best texture. The flavors meld and deepen overnight, making it taste even better on day two.
- No Raw Eggs — If you’re nervous about traditional tiramisu recipes with raw egg yolks, this version is safer and easier. We use a stable cream cheese and whipped cream mixture that doesn’t need cooking.
- Texture Overload — You get the crunch of the cookies, the creaminess of the filling, and the bitterness of the cocoa. It’s like a tiramisu and a cheesecake had a baby, and that baby is pure joy.
- Feeds a Crowd — Made in a standard 9×13 dish, this serves 12-15 people easily. It’s perfect for potlucks, parties, or just keeping in the fridge for spontaneous dessert cravings.
I’ve served this to my pickiest eaters (my nephew who only eats white foods), and even he couldn’t resist the creamy layers. It’s become the go-to dessert when I want to impress without the stress. Plus, it’s cheaper than ordering from a bakery and tastes 100% fresher.
Ingredients You’ll Need
Here’s the best part: you probably have most of this already. This creamy tiramisu icebox cake relies on simple, pantry-staple ingredients. I’m particular about a few things here, but mostly, it’s about using good quality basics.
For the Cookie Base
Ladyfingers (1 package / 7 ounces) — This is non-negotiable. Do not substitute with sponge cake or cookies that are too soft. Ladyfingers hold their structure just enough to absorb the coffee but stay slightly crunchy. I always buy the standard Italian brand found in the baking aisle.
Strong Brewed Coffee (1 ½ cups / 360ml) — Use a dark roast. Espresso works great too. Let it cool completely before using. If you’re using instant espresso powder, dissolve 2 tablespoons in hot water and let it cool. Avoid flavored coffees unless you want a weird taste clash.
Instant Espresso Powder (1 tablespoon) — Optional but recommended. It deepens the coffee flavor without making it watery. If you don’t have it, just use more brewed coffee.
For the Creamy Filling
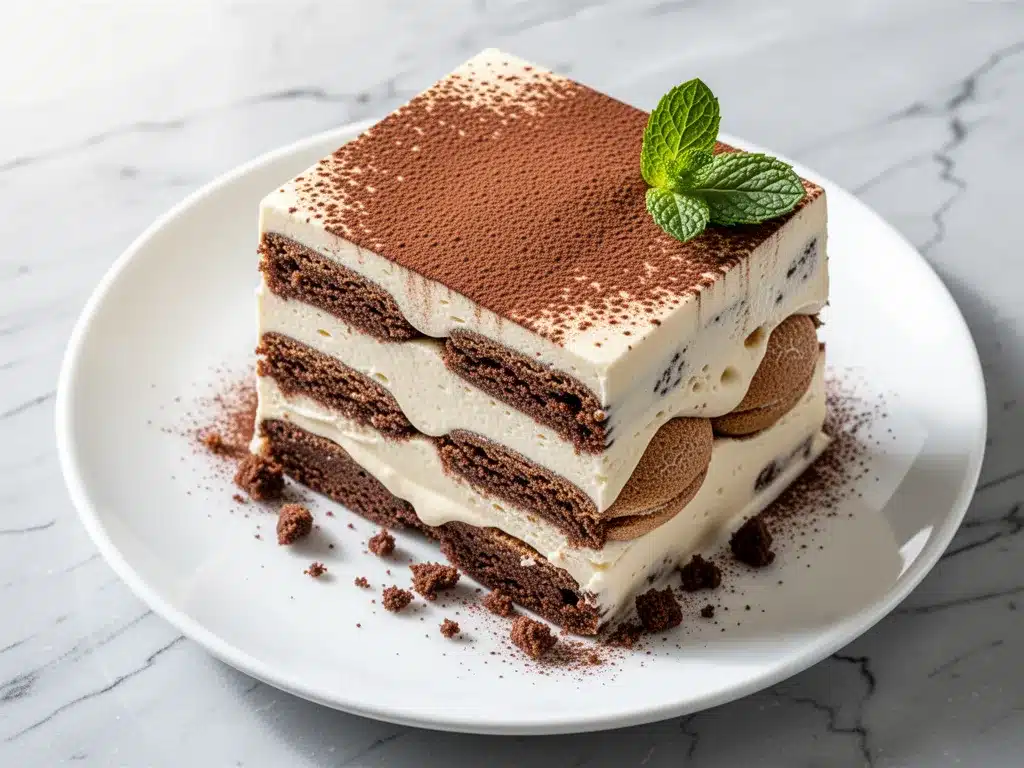
Full-Fat Cream Cheese (16 ounces / 450g) — This is what gives the cake its structure and tang. It needs to be softened to room temperature. If you try to whip cold cream cheese, you’ll get lumps, and that’s no fun. I take it out of the fridge about an hour before I start.
Heavy Whipping Cream (2 cups / 480ml) — Must be cold. This is crucial for whipping it into stiff peaks. If your cream is warm, it won’t whip. I keep my bowls in the fridge if I’m in a rush.
Granulated Sugar (½ cup / 100g) — Adjust to taste. I like it slightly sweet to balance the coffee and cocoa, but if you prefer less sweet, drop it to ⅓ cup.
Vanilla Extract (1 teaspoon) — Pure vanilla, not imitation. It adds that warm, bakery-like aroma.
For the Finish
Unsweetened Cocoa Powder (¼ cup / 25g) — Dust this generously on top. I use Dutch-process cocoa if I have it—it’s darker and less bitter. Regular cocoa works fine too.
Chocolate Shavings (Optional) — For a little extra crunch and visual appeal. I just grate a bar of semi-sweet chocolate over the top.
Equipment Needed
You don’t need fancy gadgets for this. Here’s what I actually use:
9×13 Inch Baking Dish — Glass or ceramic works best because it lets you see the layers. I use a Pyrex dish. Make sure it’s deep enough to hold all the layers without spilling.
Electric Hand Mixer or Stand Mixer — You need to whip the cream cheese and heavy cream together. A hand mixer is fine, but a stand mixer with a paddle attachment is faster and less tiring. I’ve done it by hand with a whisk, but it takes about 10 minutes of arm work. Not recommended if you have weak wrists!
Shallow Dish for Coffee — A wide plate or shallow bowl works best for dipping the ladyfingers. You want to dip them quickly—just a second or two per side. If the dish is too deep, you’ll soak them too much.
Spatula — A flexible rubber spatula is essential for spreading the cream evenly. I love my silicone ones because they’re easy to clean.
Measuring Cups and Spoons — Standard stuff. Don’t eyeball the sugar and cocoa; this recipe relies on balance.
Plastic Wrap — You’ll need this to cover the dish while it chills. It prevents the cake from absorbing fridge odors (like leftover onion from last night’s dinner).
How to Make It: Step-by-Step
Alright, let’s make this! I’m walking you through exactly how I do it, including the little tricks I’ve picked up over the years.
Step 1: Prep Your Coffee (5 minutes)
Brew your coffee and let it cool completely. If you’re in a rush, you can put it in the freezer for 20 minutes, but make sure it’s not ice-cold, or it’ll shock the ladyfingers too much. Stir in the espresso powder if you’re using it. Set aside.
Step 2: Whip the Cream Cheese Mixture (5 minutes)
In a large bowl, beat the softened cream cheese until it’s smooth and creamy. There should be no lumps. This takes about 2-3 minutes. If you skip this step, your filling will be grainy. Trust me, smooth cream cheese is the foundation of a good icebox cake.
Step 3: Whip the Heavy Cream (5 minutes)
In a separate cold bowl, whip the heavy cream, sugar, and vanilla extract until stiff peaks form. This means when you lift the beater, the cream stands up straight. Don’t over-whip it into butter, but don’t under-whip it either. You want it firm enough to hold the structure of the cake.
Step 4: Fold It Together (3 minutes)
Gently fold the whipped cream into the cream cheese mixture. Use a spatula and fold from the bottom up, like you’re folding a letter. Do this until just combined. You want to keep as much air in the mixture as possible. Over-mixing will deflate the cream and make the cake dense.
Step 5: Build the Layers (10 minutes)
Here’s the fun part. Dip each ladyfinger into the coffee mixture for about 1-2 seconds per side. You want them moist but not soggy. If you leave them in too long, they’ll disintegrate. Place them in a single layer at the bottom of your 9×13 dish, breaking them in half if needed to fit.
Spread half of the cream mixture over the ladyfingers. Smooth it out with your spatula. Then, repeat: dip another layer of ladyfingers, place them over the cream, and top with the remaining cream. You should have two distinct layers of cookie and two layers of cream.
Step 6: Chill and Set (Overnight)
Cover the dish tightly with plastic wrap. Refrigerate for at least 8 hours, preferably overnight. This is the non-negotiable step. The ladyfingers need time to absorb the moisture from the cream and coffee, turning soft and cake-like. If you eat it too soon, you’ll just have crunchy cookies and cold cream.
Step 7: Dust and Serve
Just before serving, dust the top generously with cocoa powder. Use a sieve for an even, professional-looking dusting. Add chocolate shavings if you like. Slice with a sharp knife. Clean the knife between cuts for neat slices.
Expert Tips & Tricks
Here’s everything I’ve learned from making this dozens of times. These tips will save you from my mistakes.
Don’t Over-Soak the Ladyfingers
This is the #1 mistake people make. Ladyfingers are dry by design. They absorb liquid quickly. If you dip them for 5 seconds, they’ll turn to mush. 1-2 seconds is all you need. They should feel damp, not dripping.
Cream Cheese Must Be Softened
If your cream cheese is cold, you’ll get lumps in your filling. I microwave it for 10-15 seconds if I forget to take it out early. It should be soft enough to press a finger into easily.
Use Cold Cream
Heavy cream whips best when it’s cold. If your kitchen is hot, put your mixing bowl in the fridge for 10 minutes before whipping. Warm cream turns to butter before it turns to peaks.
Dust Right Before Serving
If you dust the cocoa powder too early, it will dissolve into the cream and disappear. Wait until you’re ready to eat to add the cocoa and shavings. It keeps the contrast sharp and the presentation beautiful.
Let It Rest
I know it’s tempting to cut into it after 2 hours. Don’t. It needs at least 8 hours to set properly. The texture is night and day between 4 hours and 12 hours. Patience pays off.
Variations & Substitutions
Once you’ve nailed the basic version, here’s how you can mix it up. I’ve tried all of these.
Mocha Version
Add 2 tablespoons of melted chocolate to the cream mixture. It turns it into a mocha icebox cake. Richer and more chocolate-forward.
Coffee Liqueur TwistAdd 2 tablespoons of Kahlúa or Tia Maria to the coffee dipping liquid. This adds a grown-up kick. Great for adult parties. Skip this if serving to kids.
Chocolate Chip Cookies
If you can’t find ladyfingers, use thin chocolate chip cookies. They hold up well and add a sweet crunch. Dip them quickly in the coffee.
Strawberry Icebox Cake
Skip the coffee and cocoa. Use crushed vanilla wafers or shortbread cookies. Dip them in milk instead. Layer with whipped cream and fresh sliced strawberries. It’s a completely different vibe but just as good.
Gluten-Free Option
Use gluten-free ladyfingers if you can find them. Most standard gluten-free cookies work too, but check that they aren’t too crumbly. I’ve used gluten-free shortbread with success.
Serving & Storage
How to Serve:
I usually serve this straight from the fridge. It’s best cold. Slice it into squares. I pair it with a simple green salad or roasted vegetables if it’s part of a larger meal. It’s rich enough that you don’t need much else.
Side Dishes:
This is a dessert, so usually nothing else is needed. But if you’re hosting a brunch, it pairs well with cheddar broccoli rice egg cups for a savory contrast. It’s also great after a meal like one-pan creamy garlic tuscan salmon, where the lightness of the fish balances the richness of the cake.
Storage Instructions:
Refrigerator: Store covered in the fridge for up to 5 days. It actually gets better on day 2 and 3 as the flavors meld. After day 5, the cookies may get too soft.
Freezing: I don’t recommend freezing this. The texture of the whipped cream changes when thawed—it can become grainy. It’s best fresh from the fridge.
Pro Tip: If you’re making this for a party, assemble it the night before. Cover it with a second dish or foil to protect it from fridge smells. It makes hosting so much easier.
Nutrition Information
I’m not a nutritionist, but here’s the breakdown if you’re tracking. Keep in mind this is a rich dessert, so portions matter.
Per Serving (based on 12 servings):
- Calories: 320
- Protein: 5g
- Carbs: 35g
- Fiber: 1g
- Sugar: 22g
- Fat: 18g
- Saturated Fat: 11g
- Cholesterol: 60mg
- Sodium: 280mg
What’s Good:
- Decent protein from the cream cheese
- Calcium from the dairy
- Easy to control portions by cutting into smaller squares
What to Know:
- High in sugar and saturated fat (it’s a dessert!)
- Contains gluten and dairy
- Moderate sodium
My Take:
Look, this is indulgent comfort food. It’s not a diet recipe. But it’s way better than store-bought cake, costs less, and you know exactly what’s in it. When I want to make it lighter, I use low-fat cream cheese and reduced-sugar whipped topping, but I won’t lie—it’s not as good. Usually? I just eat one square and enjoy it.
Final Thoughts
So that’s my go-to creamy tiramisu icebox cake! I’ve probably talked your ear off at this point, but when you make a recipe this often, you have a lot to say about it. This has saved me from dessert disasters more times than I can count. It’s my answer to “what can I bring?” when I’m tired, don’t want to bake, and still want something that tastes really good. My guests are happy, my kids are happy, and I’m happy because I’m not stressed about cooking.
Make it yours! Try different cookies, add a liqueur, or swap the cocoa for powdered sugar. The best recipes are the ones you adapt to your family’s tastes. If you make this, drop a comment and let me know what you think! I love hearing how recipes turn out in your kitchen. And if something doesn’t work, tell me that too—I’m here to help troubleshoot.
Happy cooking! And I hope your kitchen smells half as good as mine does right now.
Frequently Asked Questions
Can I use instant coffee instead of brewed coffee?
You can, but the texture will be different. Instant coffee needs to be dissolved in hot water first, then cooled. I recommend brewed coffee or espresso because it provides more volume and a richer flavor. If you use instant coffee granules directly on the cookies, they might not dissolve completely and leave a gritty texture.
Why did my icebox cake turn out mushy?
This usually happens if you soak the ladyfingers too long. Remember, 1-2 seconds per side is all you need. Also, if you cut into it too soon, the cookies haven’t had time to soften properly, which can sometimes feel weirdly mushy in the middle. Let it chill for at least 8 hours.
Can I make this ahead for a dinner party?
Absolutely. This is actually best made a day ahead. It needs time to set. You can assemble it up to 24 hours before your party. Just keep it covered in the fridge. It’s one of the best make-ahead desserts you can make.
Can I use whipped topping (like Cool Whip) instead of heavy cream?
You can, but the taste and texture won’t be as good. Whipped topping is airier and less stable. It might make the cake too soft. I recommend using real heavy cream for the best result. If you’re short on time, you can use a can of whipped cream from the store, but fresh is better.
How do I store leftovers?
Store it in the refrigerator, covered tightly with plastic wrap or in an airtight container. It will keep for up to 5 days. The flavors continue to develop, so day 2 and 3 are often the best.
Can I freeze this cake?
I don’t recommend it. The whipped cream and cream cheese mixture can separate and become grainy when thawed. It’s best enjoyed fresh from the fridge. If you must freeze it, freeze it for no more than 1 month, but expect some texture change.
What if I can’t find ladyfingers?
Use thin vanilla wafers or shortbread cookies. They hold up well to dipping. Avoid thick, soft cookies like chocolate chip cookies unless you dip them very quickly. The key is finding a cookie that can absorb moisture without falling apart.
Pin This Recipe!
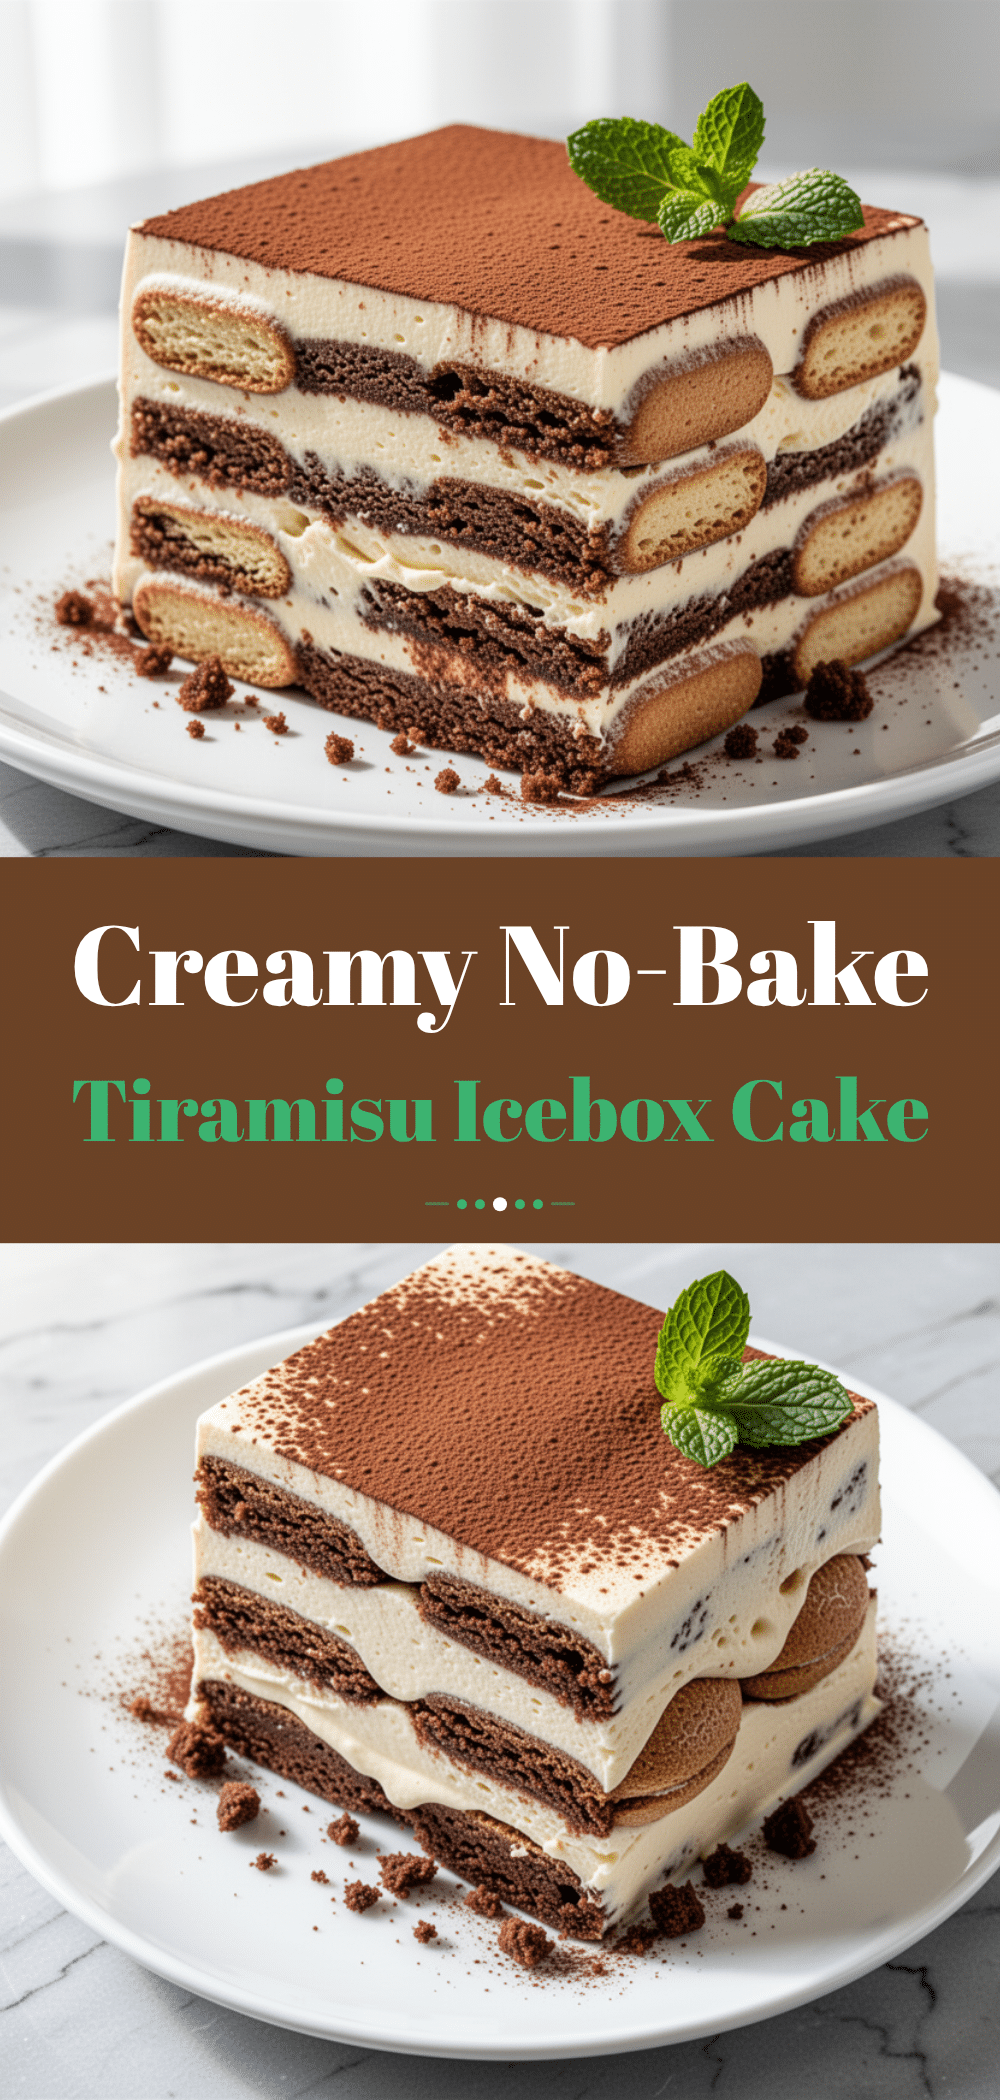
Creamy Tiramisu Icebox Cake: Easy Make-Ahead Dessert
- Total Time: 8 hours 15 minutes
- Yield: 12 servings 1x
Description
A no-bake, make-ahead dessert that combines ladyfingers dipped in coffee with a rich cream cheese and whipped cream filling. It requires zero oven time and delivers a restaurant-quality tiramisu experience with minimal stress.
Ingredients
- 1 package (7 ounces) Ladyfingers
- 1 ½ cups (360ml) Strong Brewed Coffee, cooled
- 1 tablespoon Instant Espresso Powder (optional)
- 16 ounces (450g) Full-Fat Cream Cheese, softened to room temperature
- 2 cups (480ml) Heavy Whipping Cream, cold
- ½ cup (100g) Granulated Sugar
- 1 teaspoon Vanilla Extract
- ¼ cup (25g) Unsweetened Cocoa Powder
- Chocolate Shavings (optional)
Instructions
- Brew coffee and let it cool completely. Stir in espresso powder if using.
- In a large bowl, beat softened cream cheese until smooth and creamy, about 2-3 minutes.
- In a separate cold bowl, whip heavy cream, sugar, and vanilla extract until stiff peaks form.
- Gently fold the whipped cream into the cream cheese mixture until just combined, being careful not to deflate the air.
- Dip each ladyfinger into the coffee mixture for 1-2 seconds per side until moist but not soggy.
- Place a single layer of dipped ladyfingers at the bottom of a 9×13 inch dish.
- Spread half of the cream mixture over the ladyfingers.
- Repeat with another layer of dipped ladyfingers and top with the remaining cream mixture.
- Cover the dish tightly with plastic wrap and refrigerate for at least 8 hours, preferably overnight.
- Just before serving, dust the top generously with cocoa powder and add chocolate shavings if desired.
- Slice with a sharp knife and serve chilled.
Notes
Do not over-soak the ladyfingers; 1-2 seconds per side is sufficient. Ensure cream cheese is fully softened to avoid lumps. Heavy cream must be cold to whip properly. The cake needs at least 8 hours to set; do not cut too early. Dust with cocoa powder only right before serving to prevent it from dissolving. This recipe contains gluten and dairy.
- Prep Time: 15 minutes
- Cook Time: 0 minutes
- Category: Dessert
- Cuisine: Italian
Nutrition
- Serving Size: 1 square slice
- Calories: 320
- Sugar: 22
- Sodium: 280
- Fat: 18
- Saturated Fat: 11
- Carbohydrates: 35
- Fiber: 1
- Protein: 5
Keywords: tiramisu, icebox cake, no-bake dessert, make-ahead dessert, cream cheese dessert, coffee dessert, easy dessert, party dessert


