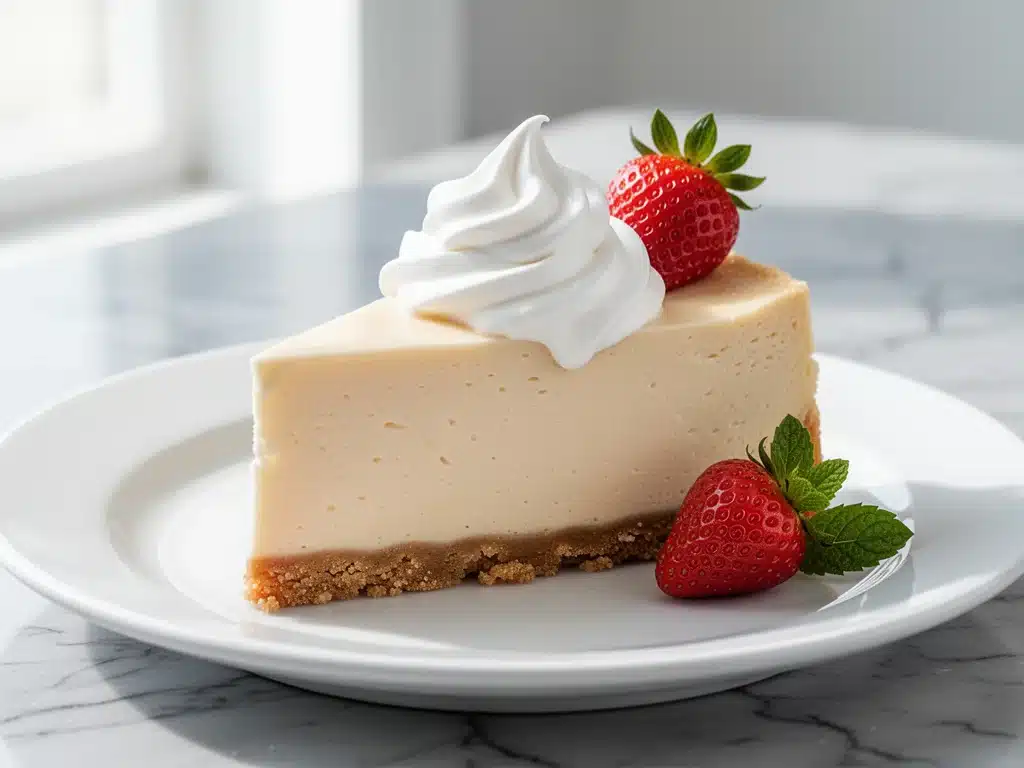
I have a confession to make. For years, I was convinced that New York cheesecake was one of those things you just buy at the bakery. You know the type—the dense, heavy slices that sit in the window of a fancy patisserie, looking perfect but tasting like they were made in a factory. I loved it, sure, but I never thought I could make it at home. I thought the technique was too finicky, the water bath too intimidating, and the result too likely to crack.
That changed last Thanksgiving. My sister-in-law, who claims to be a “serious baker,” brought over a cheesecake that was dry, grainy, and tasted faintly of old eggs. It was a tragedy. I looked at the clock, looked at the empty counter, and decided I’d rather make my own. I pulled out my oldest springform pan, dug through the pantry for cream cheese, and threw together what I thought would be a simple dessert.
Twenty-four hours later, I cut into it. The texture was impossibly smooth. The tang from the sour cream cut through the richness perfectly. My husband took one bite and said, “This is better than the place in the city.” And he’s a tough critic. He’s the guy who sends back restaurant desserts for being too sweet.
That was three years ago. Since then, I’ve made this Classic New York Cheesecake with Sour Cream Topping at least a dozen times. I’ve tweaked the crust, adjusted the baking time, and figured out exactly how to get that signature creamy, dense texture without it turning into a brick. It’s become my go-to for holidays, but honestly? I make it for random Tuesdays because it tastes like indulgence, but feels like comfort.
Here’s the thing about this recipe: it’s not as hard as you think. You don’t need a stand mixer. You don’t need fancy ingredients. You just need patience and a few simple tricks that I’ve learned the hard way (mostly through cracked tops and sunken middles). This is the cheesecake that finally convinced me I’m a baker. And once you try it, I think it’ll convince you too.
Why You’ll Love This Cheesecake Recipe
There are a lot of cheesecake recipes out there. I’ve tried them. Some are too light and airy, some are too sweet, and some require a water bath that spills over your oven and makes a mess. This one? It hits that sweet spot. It’s rich, it’s tangy, and it’s reliable.
Here’s why this recipe has earned a permanent spot in my rotation:
- It’s Actually Creamy — Not fluffy, not airy. Dense and creamy like the best New York slices. I use a high ratio of cream cheese and sour cream to get that luxurious mouthfeel. It melts in your mouth.
- The Sour Cream Topping is a Game-Changer — Most recipes just top it with berries or nothing. I add a tangy, whipped sour cream layer that balances the sweetness of the cake. It’s the perfect contrast.
- It Doesn’t Crack (Usually) — I’ve cracked my fair share of cheesecakes. This method uses a low-and-slow bake with a door propped open to cool gradually. It’s the secret to a smooth top.
- Pantry-Friendly Ingredients — You don’t need exotic items. Cream cheese, sugar, eggs, sour cream, butter, and graham crackers. If you can find these, you can make this.
- It Improves with Age — Cheesecake tastes better on day two. The flavors meld together overnight. I usually make it the night before a dinner party, so it’s ready to go when guests arrive.
This isn’t just a dessert; it’s a confidence builder. Once you make this, you’ll realize that homemade is infinitely better than anything you can buy. It’s fresher, it’s less sweet, and it’s made with love. Plus, it’s way cheaper than buying a slice at a fancy bakery.
Ingredients You’ll Need
I’m specific about ingredients here because cheesecake is chemistry. Get these wrong, and the texture suffers. But don’t worry, most of this is stuff you already have or can grab easily.
For the Crust
Graham Cracker Crumbs (1 ½ cups / 150g) — Use real graham crackers and crush them yourself. The pre-made crumbs work, but they’re often too fine and make a hard crust. I buy Honey Maid and pulse them in a food processor for 10 seconds.
Unsalted Butter (6 tablespoons / 85g, melted) — This binds the crust. Use real butter, not margarine. Margarine has water content that can make the crust soggy.
Granulated Sugar (2 tablespoons / 25g) — Just a little sweetness to balance the butter.
Pinch of Salt — Enhances the flavor. Don’t skip it.
For the Cheesecake Filling
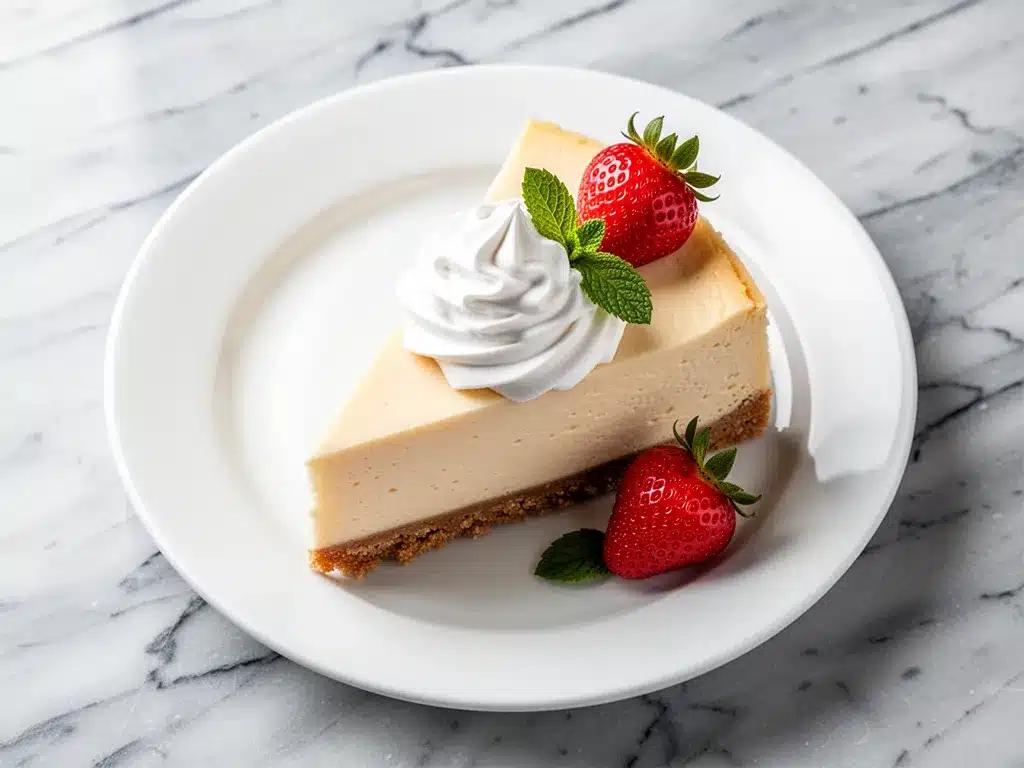
Cream Cheese (32 ounces / 900g) — This is the star. Use full-fat brick cream cheese, not the tub stuff. The tub stuff has more air and water, which leads to a runny cheesecake. I always buy Philadelphia or a store brand that’s clearly brick-shaped. Let it come to room temperature! This is non-negotiable. Cold cream cheese creates lumps.
Sour Cream (1 cup / 240g) — Full-fat sour cream adds tang and moisture. It keeps the cake creamy. Don’t use low-fat; it will separate.
Granulated Sugar (1 cup / 200g) — The standard amount. If you hate sweet, drop to ¾ cup, but don’t go much lower.
Eggs (4 large) — Room temperature eggs mix in smoother. Crack them into a bowl first to check for shells, then add them one at a time.
Vanilla Extract (2 teaspoons) — Use real vanilla, not imitation. It makes a huge difference in flavor.
All-Purpose Flour (2 tablespoons / 15g) — This is the secret ingredient. A little flour stabilizes the eggs and prevents cracking. It doesn’t make it taste like bread; I promise.
For the Sour Cream Topping
Sour Cream (1 cup / 240g) — Full-fat again.
Granulated Sugar (2 tablespoons / 25g)
Vanilla Extract (½ teaspoon)
Equipment Needed
You don’t need a lot of fancy tools. Here’s what I actually use:
9-Inch Springform Pan — Essential. The sides come off for easy removal. I wrap the bottom in heavy-duty aluminum foil to prevent leaks during the water bath. My old pan still works perfectly.
Stand Mixer or Hand Mixer — A stand mixer is easier, but a hand mixer works fine. You need to beat the cream cheese until smooth, which takes a few minutes.
Large Roasting Pan — For the water bath. Any big pan that fits your springform pan will do. I use a roasting pan from Costco.
Wire Rack — For cooling the cake. Essential for even cooling.
Plastic Wrap — To cover the cake while it chills.
How to Make It: Step-by-Step
Alright, let’s make this! I’m walking you through exactly how I do it, including the little tricks I’ve picked up over the years.
Step 1: Prep Your Pan and Oven (10 minutes)
Preheat your oven to 325°F (160°C). This is a low temp, so give it time to heat up. Take your springform pan and wrap the outside bottom and sides tightly with two layers of heavy-duty aluminum foil. This is crucial. If you skip this, water from the bath will seep in and make your crust soggy. Grease the inside of the pan lightly with butter or non-stick spray.
Step 2: Make the Crust (5 minutes)
In a medium bowl, mix the graham cracker crumbs, melted butter, sugar, and salt. It should look like wet sand. Press this mixture firmly into the bottom of your prepared pan. Use the bottom of a measuring cup to pack it down tight. Don’t worry about the sides; just the bottom is fine for a classic NY style. Chill this in the fridge while you make the filling.
Step 3: Beat the Cream Cheese (5 minutes)
In a large mixing bowl, beat the room-temperature cream cheese on medium-low speed until it’s completely smooth and creamy. Scrape down the sides of the bowl. If there are any lumps, keep beating. This step takes patience. You want it to look like frosting. Add the sugar and beat until combined.
Step 4: Add the Wet Ingredients (3 minutes)
Add the sour cream and vanilla extract. Mix on low until just combined. Don’t overmix here, or you’ll incorporate too much air, which causes cracks. Scrape the bowl again.
Step 5: Incorporate Eggs and Flour (3 minutes)
Add the eggs one at a time, mixing on low speed just until the yolk disappears. Add the flour and mix briefly until incorporated. The batter should be thick and smooth. Do not overmix after adding the eggs. Overmixing adds air, and air expands in the oven, then collapses, causing cracks.
Step 6: The Water Bath (10 minutes setup)
Pour the batter over the crust. Smooth the top with a spatula. Place the springform pan inside the large roasting pan. Pour hot water into the roasting pan until it comes about an inch up the side of the springform pan. Be careful not to splash water into the cake.
Step 7: Bake (1 hour 15 minutes)
Place the roasting pan in the oven. Bake at 325°F for 1 hour and 15 minutes. The edges should be set, but the center should still jiggle slightly like Jell-O when you shake the pan. It will firm up as it cools. If the center is liquid, bake for another 10 minutes.
Step 8: The Cool Down (1 hour)
Turn off the oven and crack the door open with a wooden spoon. Let the cheesecake sit in the cooling oven for 1 hour. This gradual cooling prevents cracking. Then, remove it from the water bath and let it cool completely on a wire rack.
Step 9: Chill Overnight (4+ hours)
Once cool, cover the top loosely with plastic wrap and refrigerate for at least 4 hours, preferably overnight. This is when the flavors develop and the texture sets.
Step 10: Make the Topping and Serve
Whip the sour cream, sugar, and vanilla together until smooth. Spread this over the chilled cheesecake. Slice with a hot, clean knife for perfect slices.
Expert Tips & Tricks
Here’s everything I’ve learned from making this dozens of times. These tips will save you from my mistakes.
Room Temperature is Key
Soft cream cheese and eggs mix evenly. Cold ingredients create lumps that you can’t beat out. If you forgot to take the cream cheese out, cut it into cubes and microwave at 50% power for 15-second bursts until soft.
Don’t Overmix
Once you add the eggs, mix on the lowest speed possible. You’re just incorporating them, not whipping air into the batter. Air is the enemy of a dense cheesecake.
The Jiggle Test
Don’t rely on time alone. The cake is done when the edges are set but the center 2 inches still jiggle. It will look slightly underbaked, but that’s correct. It firms up as it cools.
Hot Knife Slicing
Dip your knife in hot water and wipe it dry between every cut. This gives you clean, sharp slices. If you don’t do this, you’ll get messy, jagged edges.
Foil Wrap
Double-wrap your pan. I’ve had water seep in with single wrapping, and it ruins the crust. Better safe than sorry.
Variations & Substitutions
Once you’ve nailed the basic version, here’s how you can mix it up. I’ve tried all of these.
Berry Swirl
After pouring the batter, drop spoonfuls of raspberry or strawberry jam on top. Use a knife to swirl it in. Beautiful and delicious.
Chocolate Crust
Replace half the graham cracker crumbs with chocolate cookie crumbs (like Oreos, minus the cream). It’s rich and decadent.
Lemon Cheesecake
Add the zest of one lemon to the batter and 1 tablespoon of lemon juice. Bright and refreshing.
Gluten-Free
Use gluten-free graham crackers and ensure your vanilla and cream cheese are certified GF. The rest of the ingredients are naturally GF.
Dairy-Free
This is trickier. Use vegan cream cheese blocks (like Kite Hill) and coconut cream instead of sour cream. The texture will be different but still tasty.
Serving & Storage
How to Serve:
I usually serve this straight from the fridge. It tastes best cold. Pair it with fresh berries, a dollop of whipped cream, or a drizzle of caramel sauce. I also love it with a cup of coffee.
Storage:
Store covered in the fridge for up to 5 days. It actually tastes better on day two and three.
Freezing:
You can freeze the cheesecake (without the topping) for up to 2 months. Wrap tightly in plastic wrap and then foil. Thaw in the fridge overnight. Add the sour cream topping after thawing.
Reheating:
Don’t reheat cheesecake. It’s meant to be eaten cold. If you must, warm a slice in the microwave for 10 seconds, but it’s not ideal.
Nutrition Information
I’m not a nutritionist, but here’s the breakdown if you’re tracking. This is a rich dessert, so portion control is key.
Per Slice (1/12 of cake, without topping):
- Calories: 380
- Protein: 7g
- Carbs: 32g
- Fat: 24g
- Sugar: 22g
It’s high in calories and sugar, obviously, but it’s also high in protein from the cheese and eggs. If you’re watching carbs, skip the crust and enjoy a smaller slice.
Final Thoughts
So that’s my go-to Classic New York Cheesecake! I’ve probably talked your ear off at this point, but when you make a recipe this often, you have a lot to say about it.
This has saved holiday dinners more times than I can count. It’s my answer to “what’s for dessert” when I want to impress but don’t want to stress. My family is happy, my guests are happy, and I’m happy because I know exactly what’s in it.
Make it yours! Try different toppings, swap in your favorite extracts, or add a berry swirl. The best recipes are the ones you adapt to your family’s tastes.
If you make this, drop a comment and let me know what you think! I love hearing how recipes turn out in your kitchen. And if something doesn’t work, tell me that too—I’m here to help troubleshoot.
Happy baking! And I hope your kitchen smells half as good as mine does right now.
Frequently Asked Questions
Why did my cheesecake crack?
Cracks are usually caused by overmixing (too much air), overbaking (dry edges), or cooling too quickly (thermal shock). Follow the low-and-slow baking method and let it cool in the turned-off oven with the door cracked.
Can I make this without a water bath?
You can, but the texture won’t be as creamy. The water bath provides gentle, moist heat. If you skip it, bake at 300°F instead of 325°F and watch it closely to avoid overbaking.
Why is my cheesecake runny in the middle?
It might not be done yet. Bake for another 10-15 minutes. If it’s still runny after chilling, you might have used low-fat cream cheese or under-measured the flour. Next time, ensure ingredients are at room temp and mix gently.
Can I use a different pan?
A springform pan is best for easy removal. If you don’t have one, you can use a regular round pan, but you’ll need to line it with parchment paper and flip it out to slice. It’s messier but works.
How long does cheesecake last?
In the fridge, it lasts up to 5 days. In the freezer (without topping), up to 2 months. The sour cream topping should be added fresh before serving.
Can I make this ahead?
Yes! In fact, it’s better made ahead. Make it 1-2 days before your event. Let it chill overnight. Add the topping the day you serve it.
For more easy and delicious recipes, check out our soft pink frosted sugar cookie bars or try our creamy garlic tuscan salmon for a quick weeknight meal.
Pin This Recipe!
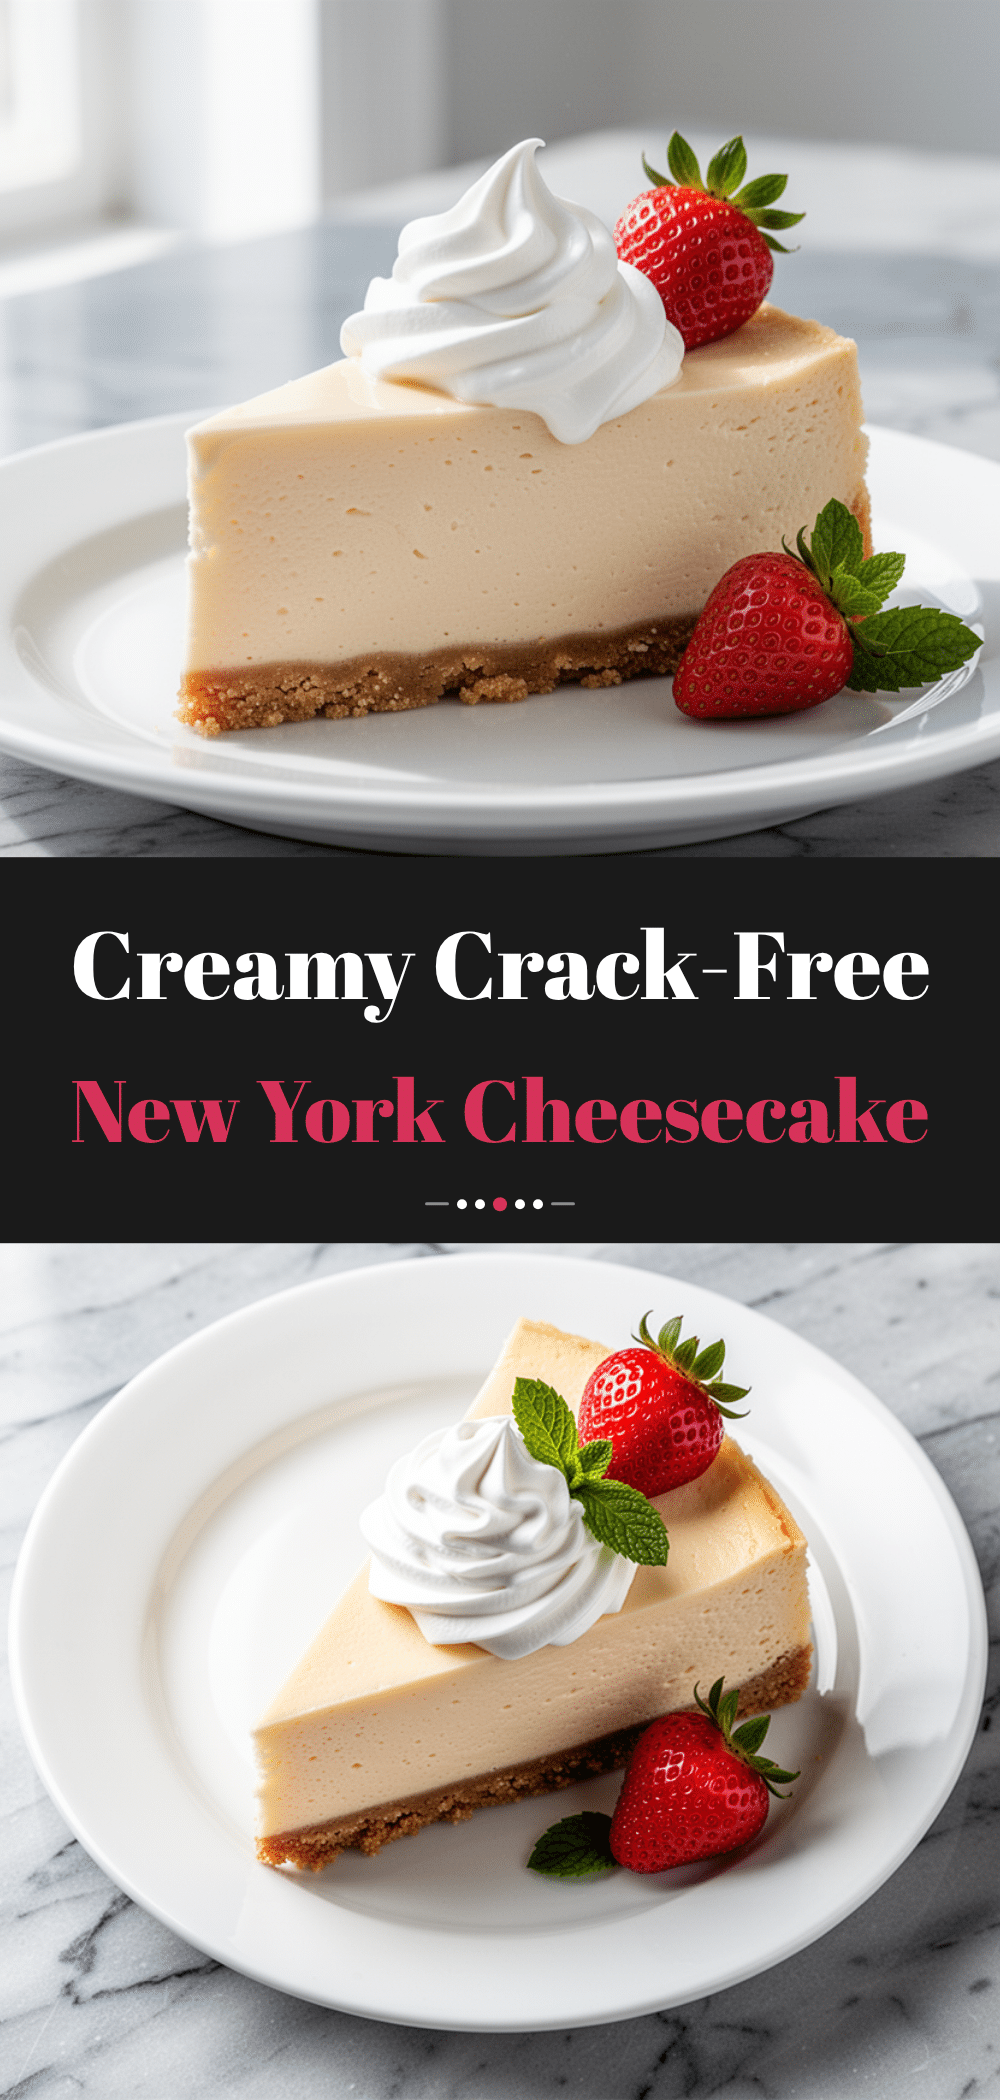
Classic New York Cheesecake: Best Homemade Recipe
- Total Time: 5 hours 45 minutes
- Yield: 12 servings 1x
Description
A dense, creamy, and tangy New York-style cheesecake with a graham cracker crust and a whipped sour cream topping. This reliable recipe uses a water bath and low-and-slow baking to prevent cracking.
Ingredients
- For the Crust:
- 1 ½ cups (150g) Graham Cracker Crumbs
- 6 tablespoons (85g) Unsalted Butter, melted
- 2 tablespoons (25g) Granulated Sugar
- Pinch of Salt
- For the Cheesecake Filling:
- 32 ounces (900g) Full-fat Brick Cream Cheese, room temperature
- 1 cup (240g) Full-fat Sour Cream
- 1 cup (200g) Granulated Sugar
- 4 large Eggs, room temperature
- 2 teaspoons Vanilla Extract
- 2 tablespoons (15g) All-Purpose Flour
- For the Sour Cream Topping:
- 1 cup (240g) Full-fat Sour Cream
- 2 tablespoons (25g) Granulated Sugar
- ½ teaspoon Vanilla Extract
Instructions
- Preheat oven to 325°F (160°C). Wrap the outside bottom and sides of a 9-inch springform pan tightly with two layers of heavy-duty aluminum foil. Grease the inside lightly.
- In a medium bowl, mix graham cracker crumbs, melted butter, sugar, and salt. Press firmly into the bottom of the prepared pan. Chill in the fridge.
- In a large mixing bowl, beat room-temperature cream cheese on medium-low speed until smooth. Add sugar and beat until combined.
- Add sour cream and vanilla extract. Mix on low until just combined.
- Add eggs one at a time, mixing on low speed just until the yolk disappears. Add flour and mix briefly until incorporated. Do not overmix.
- Pour batter over the crust and smooth the top. Place the springform pan inside a large roasting pan. Pour hot water into the roasting pan until it comes about an inch up the side of the springform pan.
- Bake at 325°F for 1 hour and 15 minutes. The edges should be set, but the center should jiggle slightly like Jell-O.
- Turn off the oven and crack the door open with a wooden spoon. Let the cheesecake sit in the cooling oven for 1 hour.
- Remove from the water bath and let cool completely on a wire rack.
- Cover loosely with plastic wrap and refrigerate for at least 4 hours, preferably overnight.
- Whip sour cream, sugar, and vanilla together until smooth. Spread over the chilled cheesecake before serving.
Notes
Ensure all dairy ingredients are at room temperature to prevent lumps. Do not overmix the batter after adding eggs to avoid incorporating air, which causes cracking. The cheesecake tastes better on day two. Store covered in the fridge for up to 5 days or freeze (without topping) for up to 2 months.
- Prep Time: 30 minutes
- Cook Time: 1 hour 15 minutes
- Category: Dessert
- Cuisine: American
Nutrition
- Serving Size: 1 slice (1/12 of cak
- Calories: 380
- Sugar: 22
- Sodium: 350
- Fat: 24
- Saturated Fat: 14
- Carbohydrates: 32
- Fiber: 1
- Protein: 7
Keywords: New York Cheesecake, Homemade Cheesecake, Sour Cream Cheesecake, Baking, Holiday Dessert, Creamy Cheesecake


