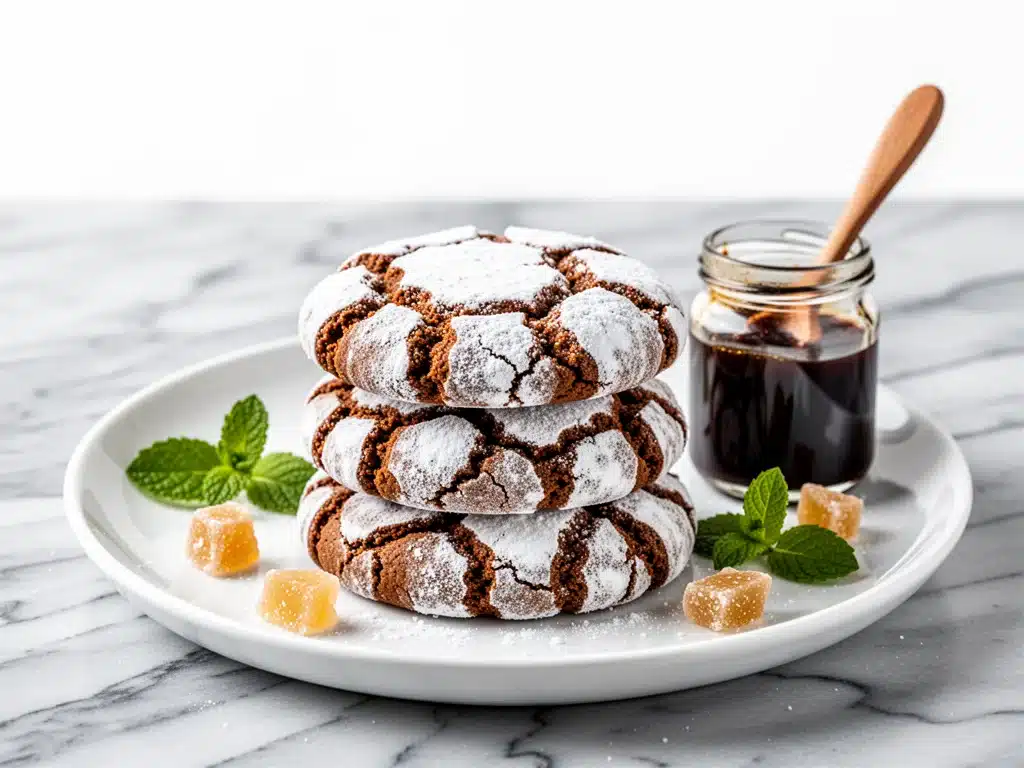
There is a specific kind of panic that sets in when you realize Christmas is three weeks away and your cookie tin is still empty. I know this feeling well. It’s the same panic I felt last December when I stared at a shelf full of store-bought boxes and felt a deep, spiritual disconnect from the “holiday spirit.” I wanted cookies that smelled like cinnamon and nostalgia, not like wax and preservatives. But here’s the thing: I also didn’t want to spend twelve hours standing over a stove, burning my knuckles on hot sheet pans.
That’s when I decided to finally nail the perfect chewy ginger molasses crinkle cookie. Not the flat, dry, cardboard-like cookies I used to get at church potlucks, but the real deal. The ones with that crackly, snowy sugar crust, the deep amber center, and the spicy kick that wakes up your whole kitchen. I’ve made these cookies at least twenty times over the last year, tweaking the ratios of molasses to butter, testing different flours, and arguing with my dog about whether he deserves a drop of batter (the answer is no, but I feel bad saying it).
And now? I’ve got it. This recipe is the gold standard. It’s tender, chewy, and packed with enough ginger and molasses to make you want to hug everyone you know. Plus, the dough needs to chill, which means you can make it days in advance. That’s the kind of holiday baking that doesn’t stress you out—it helps you. If you’re looking for more easy, crowd-pleasing treats, you might also enjoy these soft pink frosted sugar cookie bars for a different flavor profile, but when December hits, these ginger molasses crinkles are the only ones that make the cut.
Why You’ll Love This Chewy Ginger Molasses Crinkle Cookie Recipe
Let’s be real for a second. Holiday baking can feel like a chore. But this recipe? It’s the opposite of a chore. It’s rewarding, it’s forgiving, and the results are consistently stunning. Here’s why this chewy ginger molasses crinkle cookie recipe has earned a permanent spot in my rotation:
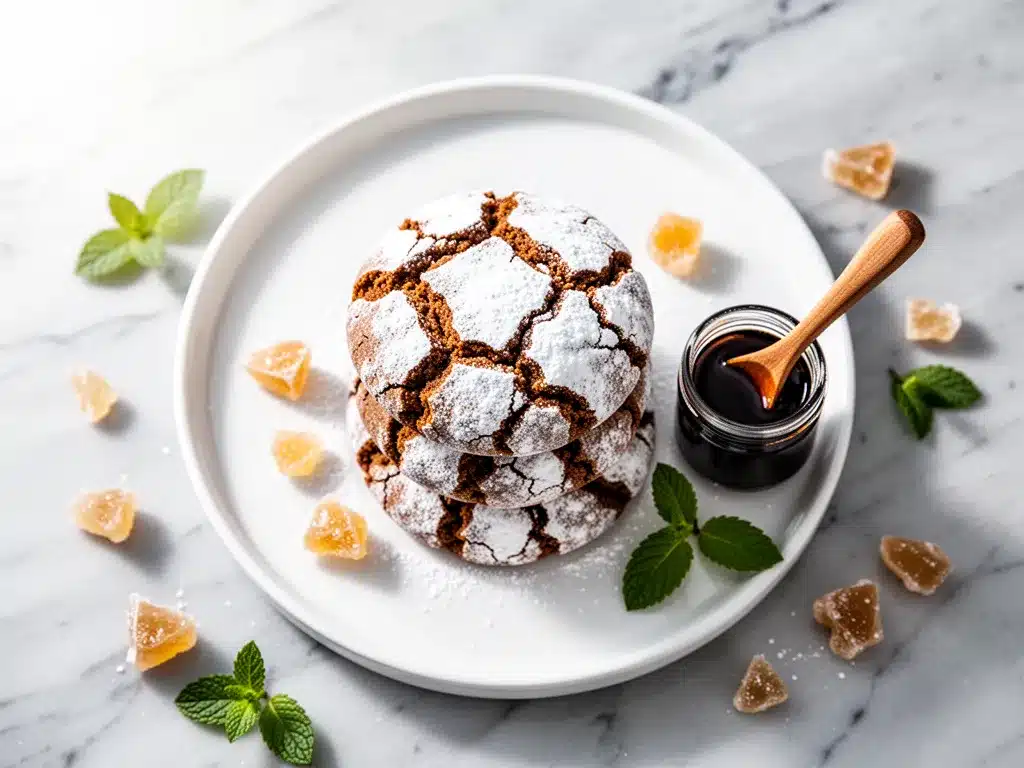
- That Crackly Texture — There is nothing—and I mean nothing—like biting into a cookie with a crisp, sugary shell that gives way to a soft, chewy center. I’ve tried recipes that promise this, but most end up cakey or hard. This one nails the texture every single time. The key is rolling the dough balls in sugar before baking, which creates those beautiful crinkles.
- Deep, Complex Flavor — These aren’t just “spiced” cookies. The combination of dark molasses, fresh ginger, and warm spices creates a flavor profile that’s sophisticated enough for a dinner party but comforting enough for a Tuesday night snack. It’s bold. It’s rich. It’s unforgettable.
- Make-Ahead Friendly — The dough needs to chill for at least 24 hours (and I recommend up to 3 days). This isn’t just a suggestion; it’s crucial for flavor development and texture. But practically? It means you can mix the dough on Sunday, bake on Wednesday, and have fresh cookies ready for guests without rushing. It’s the ultimate stress-buster.
- Freezer-Friendly Dough — If you’re like me and forget to plan ahead, don’t panic. You can freeze the dough balls on a tray, then pop them into a bag. Bake them straight from frozen when you need them. They’ll just take an extra minute or two in the oven. This has saved me more times than I can count.
- Simple Ingredients — You don’t need fancy gadgets or obscure ingredients. Just butter, sugar, molasses, flour, spices, and eggs. If you can make basic chocolate chip cookies, you can make these. I’ve walked my teenagers through this recipe while they were complaining about being bored, and they nailed it.
These cookies are my go-to when I need to impress without trying too hard. They look fancy because of that snowy sugar crust, but the process is straightforward. Plus, they travel well. I’ve boxed them up and given them as gifts, and I’ve never had a single complaint. In fact, I’ve had people ask for the recipe so often that I started keeping a printed copy in my cookie tin.
Ingredients You’ll Need for the Perfect Chewy Ginger Molasses Crinkle Cookies
Before we dive into the mixing bowl, let’s talk about what goes into these cookies. I’m going to be honest: some ingredients are non-negotiable if you want that authentic, bakery-quality taste. Others are flexible, depending on what you have in your pantry. Here’s exactly what you need and why it matters.
For the Dough Base
Unsalted Butter (1 cup / 226g) — I use unsalted because I want to control the saltiness. You need to soften this butter properly. It should be cool to the touch but indent easily when you press it. If it’s melted, your cookies will spread too much and lose their chewy texture. If it’s too hard, you won’t get enough air incorporated when you cream it with sugar.
Granulated White Sugar (1 cup / 200g) — This provides structure and helps with the spread. I use regular white sugar here, not brown, because brown sugar makes things chewier but less crisp on the outside. We want that contrast.
Packed Brown Sugar (1 cup / 220g) — This is where the moisture and chewiness come from. I use dark brown sugar for a deeper molasses flavor, but light brown works too if that’s all you have. Pack it down tightly when measuring!
Large Eggs (2 large) — Room temperature eggs mix better into the batter. If you forget to take them out, just drop them in a bowl of warm water for 5 minutes. Don’t skip this step; it helps the dough emulsify properly.
Vanilla Extract (1 tablespoon) — Use real vanilla, not imitation. The flavor difference is noticeable, especially in a recipe where sugar and spice are the stars. I keep a bottle of pure vanilla extract in my pantry at all times.
Dark Molasses (½ cup / 120ml) — This is the heart of the recipe. Use unsulphured dark molasses. Light molasses is too sweet and mild; blackstrap is too bitter. Dark molasses gives that deep, rich, almost caramel-like flavor that pairs perfectly with ginger. This is the ingredient I’m most particular about.
For the Dry Mix
All-Purpose Flour (2¾ cups / 340g) — I spoon the flour into the measuring cup and level it off. Don’t scoop directly from the bag, or you’ll pack it down and end up with dry cookies. If you don’t have a scale, this spoon-and-level method is your best friend.
Baking Soda (1 teaspoon) — This helps the cookies spread and rise. Make sure it’s fresh! If your baking soda is older than 6 months, test it with a little vinegar. If it doesn’t fizz, throw it out and buy fresh.
Baking Powder (½ teaspoon) — Just a little bit to give them that extra lift. It helps create that tender crumb.
Cornstarch (1 teaspoon) — This is my secret weapon. Cornstarch tenderizes the cookies, making them softer and chewier. It’s the difference between a crisp cookie and a melt-in-your-mouth one.
Ground Ginger (2 teaspoons) — I use ground ginger for consistency. Fresh ginger is too wet for this dough, but if you want extra zing, you can add 1 teaspoon of freshly grated ginger along with the ground ginger.
Ground Cinnamon (1 teaspoon) — Warm and sweet, it balances the spice of the ginger.
Ground Cloves (½ teaspoon) — Don’t skip this! Cloves add that deep, holiday warmth. I use ground cloves because they’re easier to measure, but if you have whole cloves, you can grind them yourself.
Salt (1 teaspoon) — Salt is crucial for balancing the sweetness. It makes the spices pop. I use kosher salt; if you use table salt, reduce to ¾ teaspoon.
For the Coating
Granulated White Sugar (½ cup / 100g) — This is what you roll the dough balls in. It creates that beautiful crackly, snowy exterior. I use regular white sugar here because it sticks well and caramelizes nicely in the oven.
Equipment You’ll Need
You don’t need a fancy kitchen to make these cookies. Here’s what I actually use:
Mixing Bowls — One large bowl for the wet ingredients and one medium for the dry. I use stainless steel bowls because they’re durable and easy to clean.
Electric Mixer — A hand mixer or stand mixer is best for creaming the butter and sugars. It takes about 3-4 minutes and ensures the cookies have the right texture. If you’re mixing by hand, you’ll need some serious arm strength, but it’s doable if you’re patient.
Measuring Cups and Spoons — Standard stuff. I have a set that’s been with me for years.
Whisk — For mixing the dry ingredients together. It breaks up any lumps in the spices.
Silicone Spatula — For scraping down the sides of the bowl and folding in the flour. I love silicone because it doesn’t scratch my bowls.
Baking Sheets — I use rimmed half-sheet pans. Dark pans can cause the bottoms to burn, so I prefer light-colored aluminum or stainless steel. If you only have dark pans, reduce the oven temperature by 25 degrees.
Parchment Paper — Line your baking sheets with parchment paper. It prevents sticking and makes cleanup a breeze. I never bake these cookies directly on the pan because the sugar coating can caramelize and stick.
Cooling Rack — To cool the cookies after baking. If you skip this step, the bottoms will get soggy from the steam.
Small Bowl — For the coating sugar. I keep a shallow bowl on hand for rolling the dough balls.
Ice Cream Scoop or Cookie Scoop — This ensures uniform size. I use a #40 scoop (about 1.5 tablespoons) for these cookies. It makes them look professional and bake evenly.
How to Make Chewy Ginger Molasses Crinkle Cookies: Step-by-Step
Alright, let’s get baking! I’m going to walk you through exactly how I make these cookies, including the little tricks I’ve picked up over the years. It’s easier than you think, and the smell will have your neighbors knocking on your door.
Step 1: Prep Your Dry Ingredients (5 minutes)
Start by whisking together the flour, baking soda, baking powder, cornstarch, ground ginger, cinnamon, cloves, and salt in a medium bowl. Whisk it well to distribute the spices evenly. If you don’t whisk, you might get a mouthful of pure clove in one bite! Set this aside.
Step 2: Cream the Butter and Sugars (3-4 minutes)
In a large bowl, beat the softened unsalted butter, granulated sugar, and brown sugar together on medium-high speed. You’re looking for a light, fluffy texture. This takes about 3-4 minutes. Scrape down the sides of the bowl with a spatula to make sure everything is incorporated. This step is crucial for airiness.
Step 3: Add Wet Ingredients (2 minutes)
Add the eggs one at a time, beating well after each addition. Then stir in the vanilla extract and dark molasses. The mixture might look a little curdled at first—don’t worry, that’s normal. It will come together once you add the flour.
Step 4: Combine Dry and Wet (2-3 minutes)
Reduce the mixer speed to low. Gradually add the dry ingredients to the wet ingredients. Mix just until the flour disappears. Do not overmix! Overmixing develops gluten, which makes cookies tough. You want tender and chewy, not tough and rubbery. If you’re mixing by hand, fold gently with a spatula.
Step 5: Chill the Dough (At least 24 hours)
This is the most important step. Cover the bowl with plastic wrap and refrigerate for at least 24 hours, up to 3 days. The dough will firm up, which makes it easier to handle and roll. It also allows the flavors to meld and deepen. If you bake the dough right away, the cookies will spread too thin and lose their chewy texture. I know it’s tempting, but trust me on this one.
Step 6: Preheat and Prep Pans (5 minutes)
When you’re ready to bake, preheat your oven to 350°F (175°C). Line two baking sheets with parchment paper. Put the ½ cup of granulated sugar for coating in a shallow bowl.
Step 7: Roll and Coat the Dough Balls (10 minutes)
Take the chilled dough out of the fridge. Scoop portions of dough (about 1.5 tablespoons each) and roll them into balls between your palms. Roll each ball in the sugar until it’s completely coated. Place the sugar-coated balls on the prepared baking sheets, spacing them about 2 inches apart. They will spread, so give them room.
Step 8: Bake (10-12 minutes)
Bake for 10-12 minutes. The cookies should look puffed and crackly on top. The centers might look slightly soft, but they will firm up as they cool. Do not overbake! If you bake them until they look firm, they’ll be dry. You want them to look just underdone.
Step 9: Cool and Store
Let the cookies cool on the baking sheet for 5 minutes, then transfer them to a wire rack to cool completely. This prevents the bottoms from getting soggy. Once cooled, store them in an airtight container at room temperature for up to 5 days.
Expert Tips & Tricks for Success
Here’s everything I’ve learned from making these cookies dozens of times. These tips will save you from my mistakes.
Don’t Skip the Chill
I cannot stress this enough. The chilling step is non-negotiable. It firms up the butter, which controls the spread. It also hydrates the flour, which improves the texture. If you’re in a rush, you can freeze the dough balls for 30 minutes, but 24 hours in the fridge is best for flavor.
Use a Cookie Scoop
I know it feels like cheating, but a cookie scoop ensures uniform size. Uniform size means even baking. If you roll them by hand, you might end up with some big and some small, and the small ones will burn while the big ones are still raw.
Double the Sugar Coating
Roll the dough balls in sugar twice if you want extra crackle. Dip them in sugar, roll to coat, dip again, roll again. The extra sugar creates a thicker, more dramatic crinkle pattern.
Check Your Oven Temperature
Ovens can be inaccurate. If your cookies always spread too much, your oven might be too hot. Use an oven thermometer to check. If they’re not spreading at all, your oven might be too cool.
Don’t Overmix the Dough
Once you add the flour, mix until just combined. Overmixing leads to tough cookies. I’ve made this mistake before, and the result was like eating a gingerbread brick. Not fun.
Storage Tip
If you’re storing these for later, add a piece of bread to the airtight container. The cookies will absorb moisture from the bread, staying soft and chewy for days. Just replace the bread every other day.
Variations & Substitutions
Once you’ve nailed the basic version, here’s how you can mix it up. I’ve tried all of these, and they’re all delicious.
Add-Ins
White Chocolate Chips: Fold ½ cup of white chocolate chips into the dough after mixing. The sweetness pairs beautifully with the ginger.
Dried Cranberries: Add ½ cup of dried cranberries for a tart contrast. This is great for a more festive look.
Pecans: Add ½ cup of chopped pecans for crunch. Toast them first for extra flavor.
Gluten-Free
Use a 1:1 gluten-free flour blend. Make sure it contains xanthan gum, or add ½ teaspoon. The texture will be slightly different, but still tasty.
Dairy-Free
Replace the butter with a dairy-free butter alternative. Use coconut oil if you don’t have a blend, but it will add a slight coconut flavor.
Vegan
Replace the eggs with flax eggs (2 tablespoons ground flaxseed + 6 tablespoons water, rested for 5 minutes). Replace the butter with vegan butter. The texture will be slightly denser, but still good.
Spice Level
For extra heat, add ½ teaspoon of cayenne pepper or increase the ginger to 3 teaspoons. For a milder version, reduce the cloves to ¼ teaspoon.
Serving & Storage
These cookies are best served at room temperature. They’re perfect with a glass of cold milk, a cup of coffee, or a glass of wine. I like to serve them on a platter with a dusting of powdered sugar for a fancy look.
Refrigerator
Store in an airtight container at room temperature for up to 5 days. If your kitchen is humid, store them in the fridge to prevent them from getting sticky.
Freezer
These cookies freeze well. Place them in a freezer-safe container with parchment paper between layers. They’ll last for up to 3 months. Thaw at room temperature before serving.
Freezing Dough
You can also freeze the dough balls. Scoop them, roll in sugar, and place on a baking sheet. Freeze until solid, then transfer to a bag. Bake from frozen, adding 1-2 minutes to the bake time.
Nutrition Information
I’m not a nutritionist, but here’s the breakdown if you’re tracking. Keep in mind that these are rich cookies, so a little goes a long way.
Per Cookie (makes about 24 cookies):
- Calories: 180
- Fat: 7g
- Carbs: 28g
- Sugar: 18g
- Fiber: 1g
- Protein: 2g
These cookies are indulgent, which is exactly what holiday baking should be. If you’re watching your sugar, enjoy one or two and share the rest. Or don’t. I won’t judge.
Final Thoughts
So, that’s my recipe for chewy ginger molasses crinkle cookies! I’ve probably talked your ear off at this point, but when you make a recipe this often, you have a lot to say about it. These cookies have saved my holiday baking game more times than I can count. They’re my answer to “what do I bring to the party?” when I’m tired, busy, and still want to impress.
Make it yours! Try different add-ins, swap in your favorite spices, or adjust the sugar coating. The best recipes are the ones you adapt to your family’s tastes. If you make these, drop a comment and let me know what you think! I love hearing how recipes turn out in your kitchen. And if something doesn’t work, tell me that too—I’m here to help troubleshoot.
Happy baking! I hope your kitchen smells half as good as mine does right now.
Frequently Asked Questions
Can I use light molasses instead of dark molasses?
You can, but the flavor won’t be as deep or rich. Dark molasses has a stronger, more robust taste that pairs better with ginger. If you only have light molasses, the cookies will be milder and sweeter. I recommend dark molasses for the best result.
Why did my cookies spread too much?
This usually happens if the butter was too soft or if the dough wasn’t chilled long enough. Make sure your butter is softened, not melted. Also, chill the dough for at least 24 hours. If your oven is too hot, the cookies will spread before they set. Check your oven temperature with a thermometer.
Why did my cookies turn out cakey instead of chewy?
Cakey cookies are often caused by overmixing the dough or using too much baking powder. Make sure you mix the flour just until combined. Also, check your baking powder and baking soda to ensure they’re fresh. If they’re old, they won’t work properly.
Can I make these cookies ahead for a party?
Absolutely! The dough can be made up to 3 days in advance and stored in the fridge. You can also bake the cookies up to 5 days in advance and store them in an airtight container. They actually taste better after a day or two as the flavors meld.
How do I keep the sugar coating from falling off?
Roll the dough balls in sugar while they’re still slightly tacky. If the dough is too dry, the sugar won’t stick. If it’s too wet, the sugar will dissolve. The chilled dough should be firm but pliable. Roll them well in the sugar, and they should stay on during baking.
Can I double this recipe?
Yes, you can double everything. Just make sure you have enough space on your baking sheets to avoid overcrowding. You may need to bake in multiple batches. The cooking time should be the same.
What if I don’t have cloves?
You can omit the cloves, but the flavor will be slightly different. You can add a pinch of nutmeg or allspice as a substitute, but cloves are traditional for gingerbread. If you don’t have any, just skip them, and the cookies will still be good.
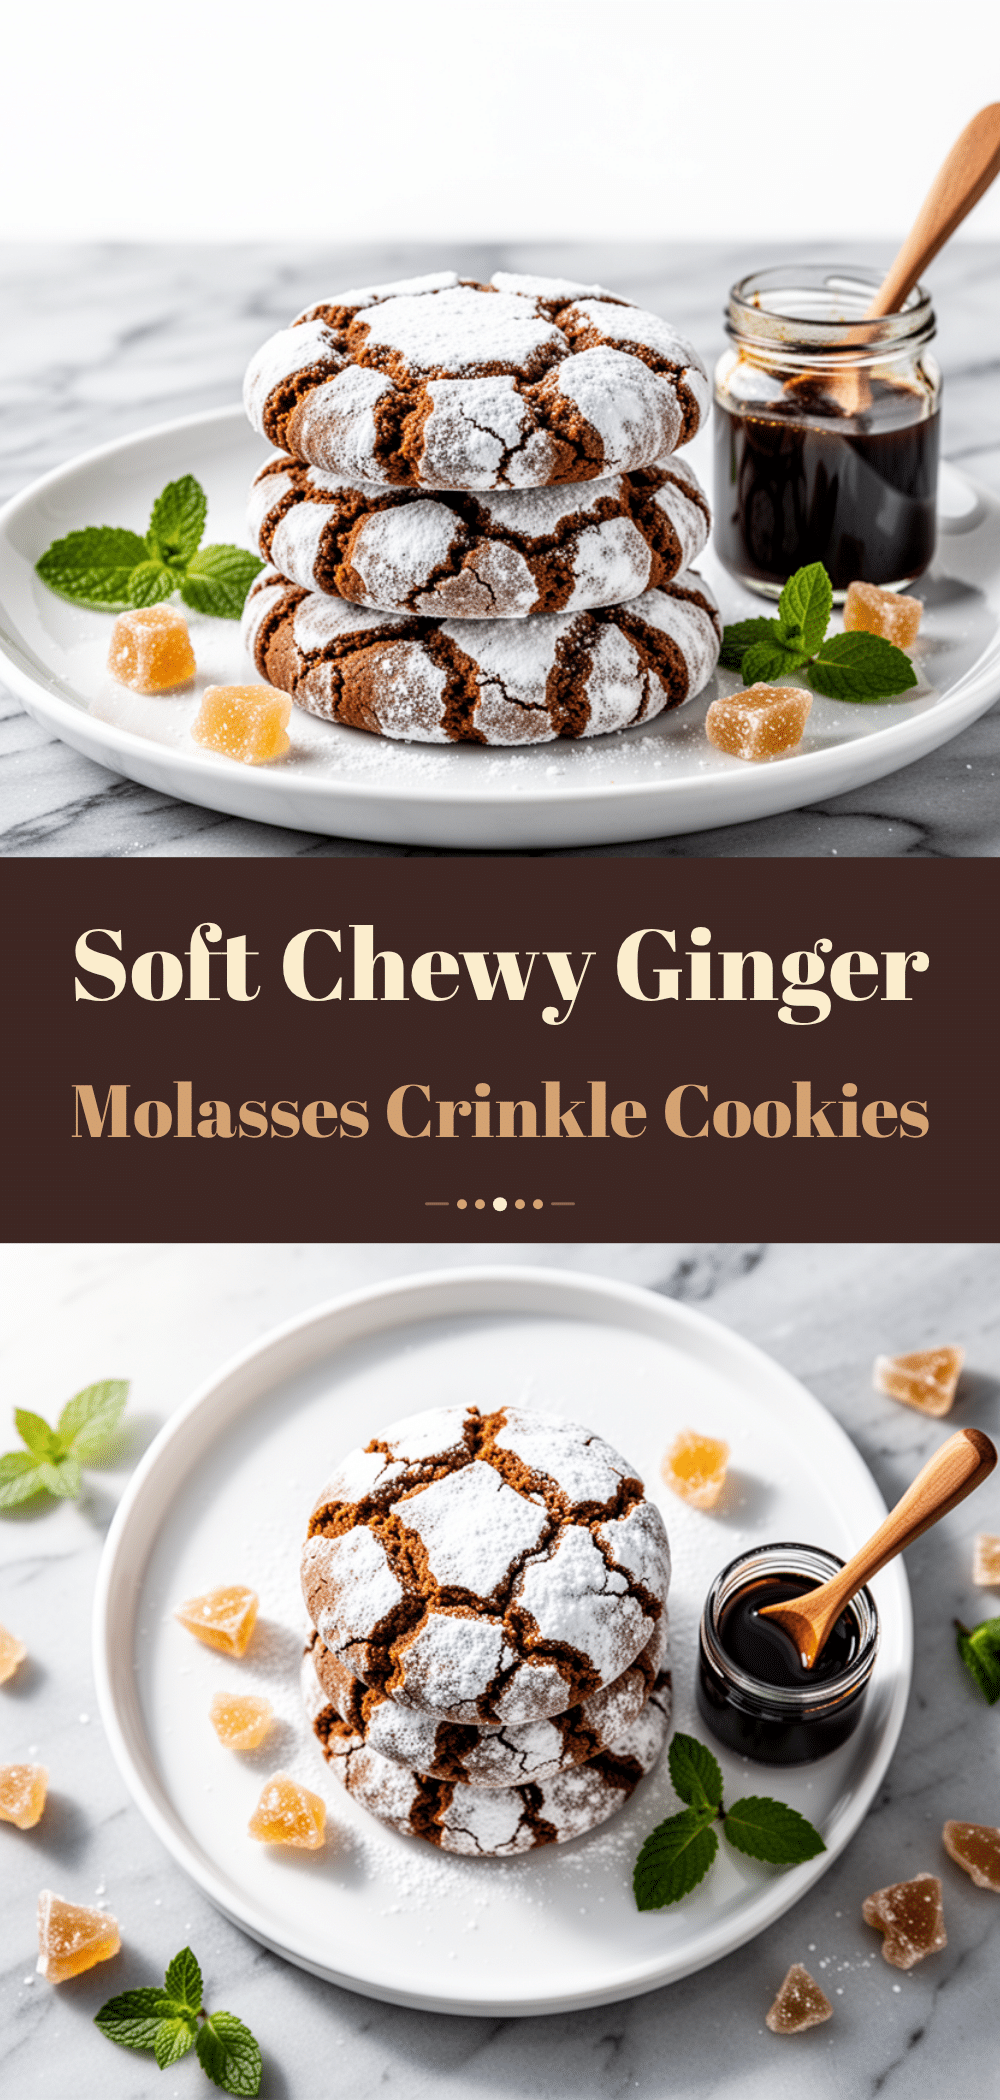
Pin This Recipe!
Chewy Ginger Molasses Crinkle Cookies
- Total Time: 25 hours (including chilling)
- Yield: 24 cookies 1x
Description
These holiday cookies feature a crackly, sugary exterior and a soft, chewy center with deep ginger and molasses flavor. The dough requires chilling for best results, making them perfect for make-ahead baking.
Ingredients
- 1 cup (226g) unsalted butter, softened
- 1 cup (200g) granulated white sugar
- 1 cup (220g) packed dark brown sugar
- 2 large eggs, room temperature
- 1 tablespoon vanilla extract
- ½ cup (120ml) dark molasses
- 2¾ cups (340g) all-purpose flour
- 1 teaspoon baking soda
- ½ teaspoon baking powder
- 1 teaspoon cornstarch
- 2 teaspoons ground ginger
- 1 teaspoon ground cinnamon
- ½ teaspoon ground cloves
- 1 teaspoon kosher salt
- ½ cup (100g) granulated white sugar (for coating)
Instructions
- Whisk together flour, baking soda, baking powder, cornstarch, ground ginger, cinnamon, cloves, and salt in a medium bowl. Set aside.
- In a large bowl, beat softened butter, granulated sugar, and brown sugar on medium-high speed for 3-4 minutes until light and fluffy. Scrape down sides.
- Add eggs one at a time, beating well after each addition. Stir in vanilla extract and dark molasses.
- Reduce mixer speed to low. Gradually add dry ingredients to wet ingredients. Mix just until flour disappears. Do not overmix.
- Cover bowl with plastic wrap and refrigerate dough for at least 24 hours (up to 3 days).
- Preheat oven to 350°F (175°C). Line two baking sheets with parchment paper. Place ½ cup granulated sugar in a shallow bowl.
- Scoop dough (about 1.5 tablespoons) and roll into balls. Roll each ball in sugar to coat completely. Place on baking sheets 2 inches apart.
- Bake for 10-12 minutes until puffed and crackly. Centers may look slightly soft.
- Let cookies cool on baking sheet for 5 minutes, then transfer to a wire rack to cool completely.
Notes
The dough must be chilled for at least 24 hours to prevent spreading and develop flavor. Use dark molasses for best taste. Store in an airtight container with a piece of bread to maintain softness. Cookies can be frozen for up to 3 months.
- Prep Time: 30 minutes
- Cook Time: 10-12 minutes
- Category: Dessert
- Cuisine: American
Nutrition
- Serving Size: 1 cookie
- Calories: 180
- Sugar: 18
- Sodium: 150
- Fat: 7
- Saturated Fat: 4
- Carbohydrates: 28
- Fiber: 1
- Protein: 2
Keywords: ginger cookies, molasses cookies, holiday baking, crinkle cookies, chewy cookies, Christmas cookies, make-ahead dessert


