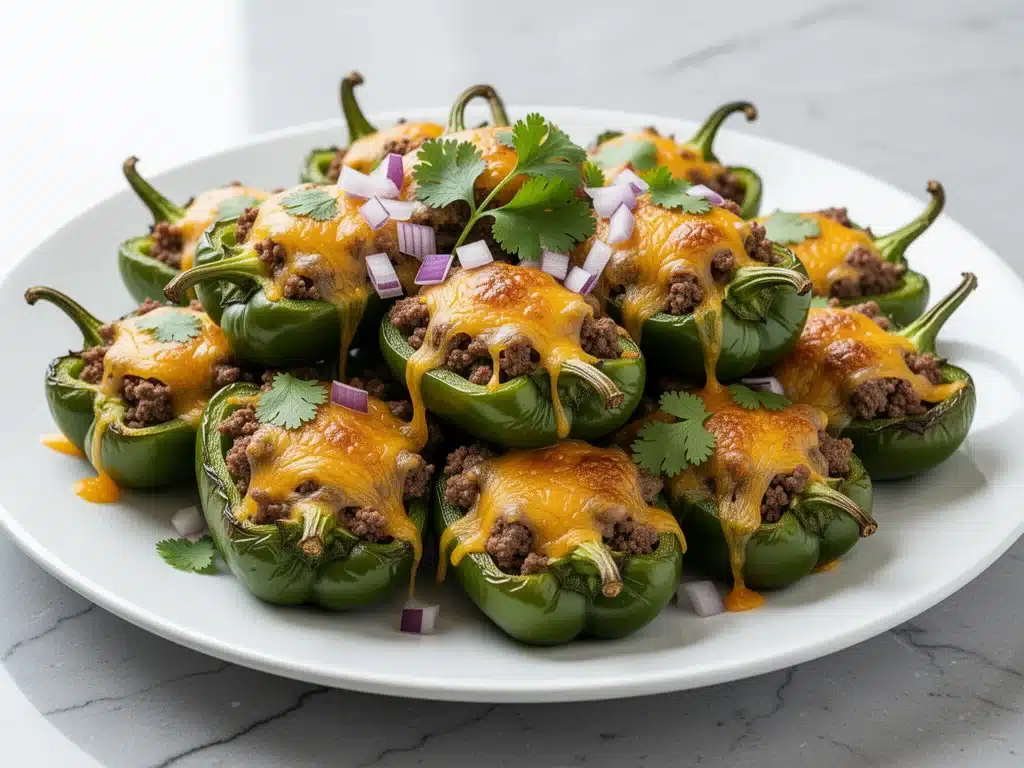
Last Tuesday, I was staring at the clock, realizing it was 3:15 PM and the house was about to fill with three very hungry, very hangry kids. I had zero time for a full dinner prep, and I definitely didn’t want to offer them another bag of chips or a box of crackers. That’s when I spotted the mini sweet peppers in my crisper drawer. They were bright, crisp, and begging to be used. I grabbed some leftover taco meat from Sunday’s dinner, a block of sharp cheddar, and a can of black beans. Ten minutes later, I had a tray of hot, cheesy, taco-stuffed mini peppers that vanished faster than I could blink.
I’ve made these cheesy taco-stuffed mini peppers low-carb after-school snack dozens of times since then. They’ve saved me more times than I care to admit. There’s something magical about how they hit that sweet spot between a snack and a side dish. They’re crunchy enough to satisfy that afternoon craving, but packed with protein and fiber to keep blood sugar stable. Plus, the kids think they’re getting a treat because of the melted cheese, while I feel good knowing they’re eating vegetables. It’s a win-win situation that I’m obsessed with.
What makes this recipe so special isn’t just the flavor—it’s the simplicity. You don’t need a pantry full of exotic spices or hours of prep time. It’s essentially deconstructed tacos stuffed into edible spoons. I’ve tested this with ground beef, ground turkey, and even lentils, and every version works. The key is getting the ratio of meat to veggies just right so each bite is juicy but not messy. I also learned the hard way that you have to roast the peppers just enough to soften them, but not so much that they collapse. Once you nail that timing, you’ll be making these weekly. Trust me, your kids (and your wallet) will thank you.
Why You’ll Love This Recipe
There are about a million after-school snack ideas out there, but this cheesy taco-stuffed mini peppers low-carb after-school snack is the one that keeps coming back to the top of my list. It’s not just because it’s tasty, though it is delicious. It’s because it solves real problems for busy families. Here’s why this recipe has earned a permanent spot in our weekly rotation:
- Zero Fuss, Maximum Flavor — Seriously, if you can mix a bowl and scoop it, you can make this. I’ve walked my 10-year-old through the entire process over FaceTime while I was at work. It’s that simple. The taco seasoning does all the heavy lifting, so you don’t need to be a chef to get great results.
- Low-Carb Friendly — We’ve been trying to cut back on refined carbs in our house, and these peppers are perfect. They give you that crunchy, savory satisfaction without the wheat or corn. My husband, who is usually skeptical of “diet” food, asks for seconds because the cheese and meat make it feel indulgent.
- Meal Prep Superstar — I make a big batch on Sunday evening while I’m prepping other things. The filling can be made ahead, and the peppers can be prepped too. By Wednesday, I just need 10 minutes to assemble and bake them. It’s like having dinner ready to go, but for snacks.
- Kid-Approved (Even the Picky Ones) — My youngest used to refuse anything green that wasn’t a pea. But these peppers? He loves them. The cheese melts into the pepper, and the taco flavor masks any “veggie” taste. I’ve served this to friends’ kids too, and it’s always the first thing to disappear from the platter.
- Protein-Packed — Unlike chips or pretzels, this snack actually keeps you full. The combination of ground meat, beans, and cheese provides a solid hit of protein. I’ve noticed my kids aren’t asking for more snacks an hour later, which is a miracle in our house.
This recipe has completely changed our afternoon routine. No more frantic searches for something quick, no more guilt over empty calories. Just reliable, delicious food that makes everyone happy. It’s my go-to when I need dinner to just work, but honestly, it works for lunchboxes, game day spreads, or even a light weeknight meal.
Ingredients You’ll Need
Here’s the best part: you probably have most of this already. This cheesy taco-stuffed mini peppers low-carb after-school snack relies on simple, accessible ingredients. I’m particular about three things here, and I’ll tell you exactly why.
For the Peppers
Mini sweet peppers (24-30 peppers, about 1.5 lbs / 680g) — Look for bright, firm peppers with no soft spots. I prefer the red and yellow ones because they’re sweeter and more appealing to kids, but orange works too. Green ones are more bitter, so I avoid them for this snack. You want them to be small enough to eat in one or two bites.
For the Filling
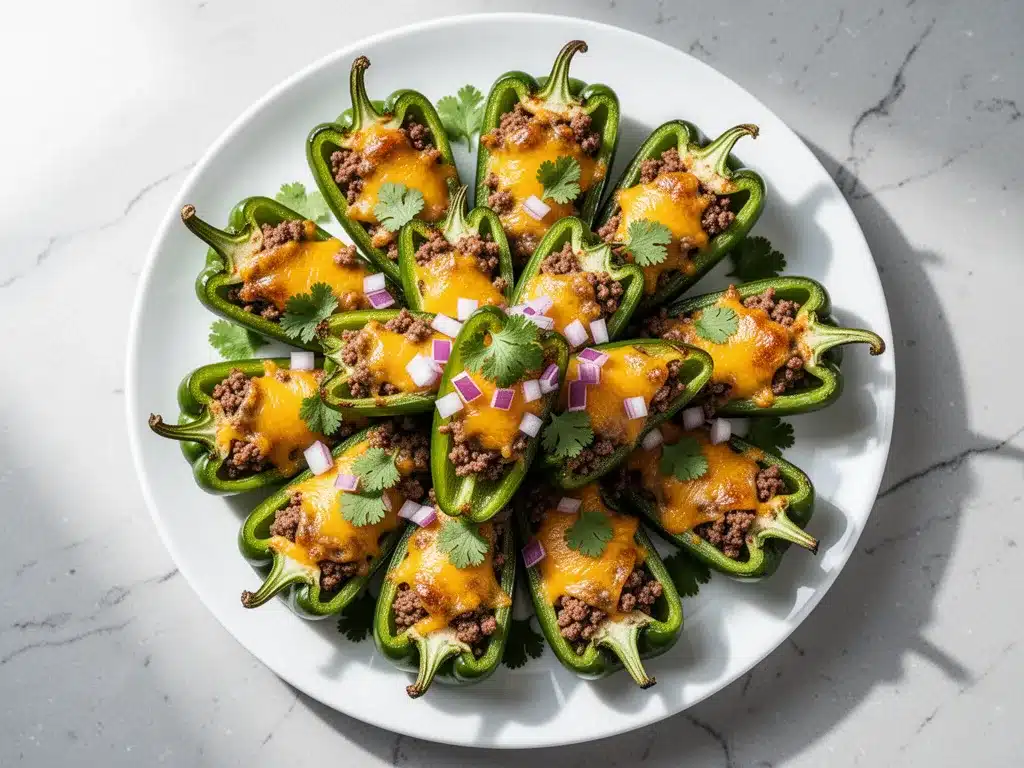
Ground beef or turkey (1 lb / 450g) — I use 85% lean ground beef for the best flavor, but 93% lean turkey works great if you want it lighter. Drain the fat well after browning—nobody wants a greasy snack. If you’re doing a vegetarian version, use crumbled tofu or lentils.
Black beans (1 can / 15 oz / 425g, drained and rinsed) — These add bulk and fiber without adding carbs. Rinsing them thoroughly is crucial to remove the slimy liquid and excess sodium. Canned is fine, but if you have leftover cooked beans from a previous meal, use those to save money.
Taco seasoning (2 tablespoons) — I make my own blend (see tips below) because store-bought packets often have fillers like cornstarch or excessive salt. But if you’re in a pinch, a low-carb packet works. Avoid packets with added sugar if you’re strictly watching carbs.
Cheddar cheese (2 cups / 200g, shredded) — Buy the block and shred it yourself. Pre-shredded cheese has cellulose that prevents it from melting smoothly. You want that gooey, stretchy cheese pull. Sharp cheddar has more flavor than mild, so I always go sharp.
For the Finish
Green onions (2-3 stalks, sliced) — For garnish. They add a fresh, oniony kick that cuts through the richness of the cheese. If you don’t have green onions, fresh cilantro works too.
Salsa (optional, for serving) — I like to serve these with a side of mild salsa for dipping. It adds moisture and extra flavor. Just make sure it’s not too watery, or the peppers will get soggy.
Lime wedges — A squeeze of fresh lime juice right before eating brightens everything up. It’s the secret step that makes these taste restaurant-quality.
Equipment Needed
You don’t need fancy equipment for this. Here’s what I actually use:
Baking sheet — I use a standard 18×13 inch sheet pan. Line it with parchment paper or foil for easy cleanup. A rimmed sheet is best so any juices don’t spill over.
Skillet — A 12-inch cast iron or stainless steel skillet is perfect for browning the meat. It gives you enough surface area to get a good sear without steaming the meat.
Mixing bowl — Medium-sized bowl for combining the filling. Any bowl works, but one with a spout makes it easier to pour into the peppers if you’re using a spoon.
Pepper corer or small knife — To remove the seeds and membranes. A small paring knife works fine, but a melon baller or apple corer makes it faster and cleaner. I use a paring knife because I like to see exactly what I’m removing.
Measuring cups and spoons — Standard stuff. Dollar store versions work fine.
Wooden spoon — For stirring the meat and beans. Silicone works too.
Optional: Piping bag — If you want to get fancy, you can put the filling in a piping bag and squeeze it into the peppers. It’s faster than spooning, but not necessary. I usually just use a spoon.
How to Make It: Step-by-Step
Alright, let’s make this! I’m walking you through exactly how I do it, including the little tricks I’ve picked up over the years.
Step 1: Prep the Peppers (5 minutes)
Preheat your oven to 400°F (200°C). Line a baking sheet with parchment paper. Wash the mini peppers and pat them dry. Using a small paring knife, cut off the stem end of each pepper. Remove the seeds and white membranes inside. Be gentle—you want to keep the pepper intact. If a pepper is too large to eat in two bites, you can halve it lengthwise. Arrange the peppers hollow-side up on the baking sheet. They should stand upright. If they wobble, trim a tiny slice off the bottom so they sit flat.
Step 2: Brown the Meat (5-7 minutes)
Heat a large skillet over medium-high heat. Add the ground beef or turkey. Break it up with a wooden spoon as it cooks. Cook until browned and no pink remains, about 5-7 minutes. Drain any excess fat. This step is crucial for flavor—browning adds depth. Don’t rush it; let the meat get a nice crust.
Step 3: Season the Filling (2 minutes)
Reduce heat to medium. Add the drained black beans and taco seasoning to the skillet. Stir well to coat the meat and beans. Cook for 1-2 minutes until the spices are fragrant. Taste and adjust salt if needed. Remember, the cheese and beans have some salt, so go easy. Remove from heat and let the filling cool slightly while you assemble.
Step 4: Stuff the Peppers (5 minutes)
Using a spoon, pack the filling firmly into each pepper. Don’t be shy—pack it in tight so it doesn’t fall out during baking. You’ll use about 1-2 tablespoons per pepper. If you have leftover filling, save it for another use or eat it straight from the spoon (I won’t judge).
Step 5: Add Cheese and Bake (10-12 minutes)
Divide the shredded cheddar cheese evenly over the stuffed peppers. Make sure each one gets a good mound of cheese. Bake in the preheated oven for 10-12 minutes, or until the cheese is melted and bubbly and the peppers are tender-crisp. You’ll know they’re ready when you can pierce a pepper with a fork and it goes in easily, but the pepper still holds its shape. Watch them closely in the last few minutes to prevent burning.
Step 6: Garnish and Serve
Remove from the oven and let cool for 2-3 minutes. The filling will be hot! Sprinkle with sliced green onions and serve with lime wedges and salsa on the side. These are best eaten warm, but they’re still good at room temperature.
Total Time: About 30 minutes (10 minutes active, 20 minutes mostly hands-off)
Expert Tips & Tricks
Here’s everything I’ve learned from making this dozens of times. These tips will save you from my mistakes.
Don’t Overstuff
It’s tempting to pile the filling high, but if you overstuff them, the peppers can burst or the filling can spill out. Pack them firmly but moderately. You want the cheese to cover the top, not sit on a mountain of meat.
Drain the Beans Well
I cannot stress this enough. Wet beans make the filling soggy. Rinse them, then spread them on a paper towel to dry for a minute. It takes 30 seconds but makes a huge difference in texture.
Use Sharp Cheddar
Mild cheddar is too bland for this. Sharp or extra-sharp cheddar has a stronger flavor that stands up to the taco spices. If you want a twist, mix in some pepper jack cheese for a little heat.
Roast, Don’t Steam
Make sure your oven is fully preheated. If the oven is too cool, the peppers will steam instead of roast, and they’ll be mushy. A hot oven ensures they stay crisp-tender.
Make-Ahead Strategy
You can prep the peppers and filling up to 24 hours ahead. Store them separately in the fridge. Assemble and bake when ready. The flavors actually meld better if you let them sit for a bit.
Variations & Substitutions
Once you’ve nailed the basic version, here’s how you can mix it up. I’ve tried all of these.
Vegetarian Option
Skip the meat and use 2 cups of cooked lentils or crumbled tofu instead. Season with the same taco spices. Add a handful of corn kernels for sweetness. It’s surprisingly satisfying.
Chicken Taco Version
Use ground chicken instead of beef. It’s leaner and milder. I like to add a teaspoon of cumin and a pinch of garlic powder to boost the flavor.
Spicy Kick
Add a diced jalapeño to the filling. Or use pepper jack cheese. For extra heat, sprinkle crushed red pepper flakes on top before baking.
Gluten-Free
This recipe is naturally gluten-free. Just make sure your taco seasoning is certified gluten-free, as some brands use wheat as a filler.
Dairy-Free
Use a dairy-free cheese shreds. They don’t melt as well, so you might want to add a little olive oil to help them brown. Or skip the cheese and top with avocado slices after baking.
Protein Boost
Add a scoop of collagen peptides or protein powder to the filling. It doesn’t change the taste much and adds an extra 10g of protein per serving.
Serving & Storage
I usually serve these straight from the baking sheet at the dinner table—it looks rustic and stays warm. But here are other ways I’ve enjoyed them:
Side Dishes
- Simple green salad with lime vinaigrette
- Rice and beans (if you want a full meal)
- Cauliflower rice for a low-carb base
Toppings Bar
When I have guests, I put out: extra cheese, sour cream, salsa, guacamole, and crushed tortilla chips (for non-low-carb guests). Everyone customizes their bowl.
Storage Instructions
Refrigerator: Store in an airtight container for up to 4 days. The peppers will soften slightly, but they’re still good. Reheat in the oven or microwave.
Reheating: Best method: Oven at 350°F for 10 minutes. This keeps them crisp. Microwave works in a pinch, but they’ll get softer. Heat in 30-second intervals.
Freezing: Honestly, these don’t freeze well. The peppers become mushy when thawed. Make them fresh or store in the fridge for up to 4 days.
Nutrition Information
I’m not a nutritionist, but here’s the breakdown if you’re tracking.
Per Serving (based on 6 servings, 4 peppers each):
| Nutrient | Amount |
|---|---|
| Calories | 180 |
| Protein | 14g |
| Carbs | 6g |
| Fiber | 2g |
| Sugar | 3g |
| Fat | 10g |
| Sodium | 320mg |
What’s Good: High protein, low carb, good fiber from beans and peppers. What to Know: Higher in sodium if you use processed taco seasoning. Use homemade or low-sodium to reduce. Contains dairy and beef (or turkey).
Final Thoughts
So that’s my go-to cheesy taco-stuffed mini peppers low-carb after-school snack! I’ve probably talked your ear off at this point, but when you make a recipe this often, you have a lot to say about it. This has saved weeknight dinners more times than I can count. It’s my answer to “what’s for a snack” when I’m tired, don’t want takeout, and still want something that tastes really good. My kids are happy, my husband’s happy, and I’m happy because I’m not stressed about cooking.
Make it yours! Try different cheeses, swap in your favorite veggies, adjust the spice level. The best recipes are the ones you adapt to your family’s tastes. If you make this, drop a comment and let me know what you think! I love hearing how recipes turn out in your kitchen. And if something doesn’t work, tell me that too—I’m here to help troubleshoot.
Happy cooking! And I hope your kitchen smells half as good as mine does right now.
Frequently Asked Questions
Can I use bell peppers instead of mini sweet peppers?
You can, but they’ll be much larger. You’ll need to cut them into quarters or halves and adjust the baking time. Mini peppers are perfect because they’re bite-sized and cook evenly. If you use large peppers, the filling-to-pepper ratio will be off.
Why did my peppers get soggy?
Usually means you didn’t drain the beans and meat well enough, or you baked them too long. Make sure to drain everything thoroughly, and check them at 10 minutes. They should be tender-crisp, not mushy.
Can I make the filling ahead?
Yes! The filling can be made up to 3 days ahead. Store it in the fridge. When you’re ready to assemble, just scoop it into the peppers and bake. The flavors will actually be better the next day.
Is this recipe kid-friendly?
Absolutely. The mild sweetness of the peppers and the gooey cheese are a hit with most kids. If your kids are sensitive to spice, use mild taco seasoning and skip the jalapeños. Most kids love these.
Can I freeze these?
I don’t recommend freezing them. The peppers lose their texture and become watery when thawed. It’s best to make them fresh. If you need to prep ahead, assemble them and refrigerate for up to 24 hours before baking.
What if I don’t have taco seasoning?
You can make your own! Mix 1 teaspoon cumin, 1 teaspoon paprika, ½ teaspoon garlic powder, ½ teaspoon onion powder, ½ teaspoon chili powder, and ¼ teaspoon salt. It’s easy and tastes better than store-bought.
Can I use ground turkey?
Yes, ground turkey works great. It’s leaner, so you might want to add a little olive oil to the skillet to prevent sticking. The flavor is milder, so you might want to add a bit more seasoning.
Pin This Recipe!
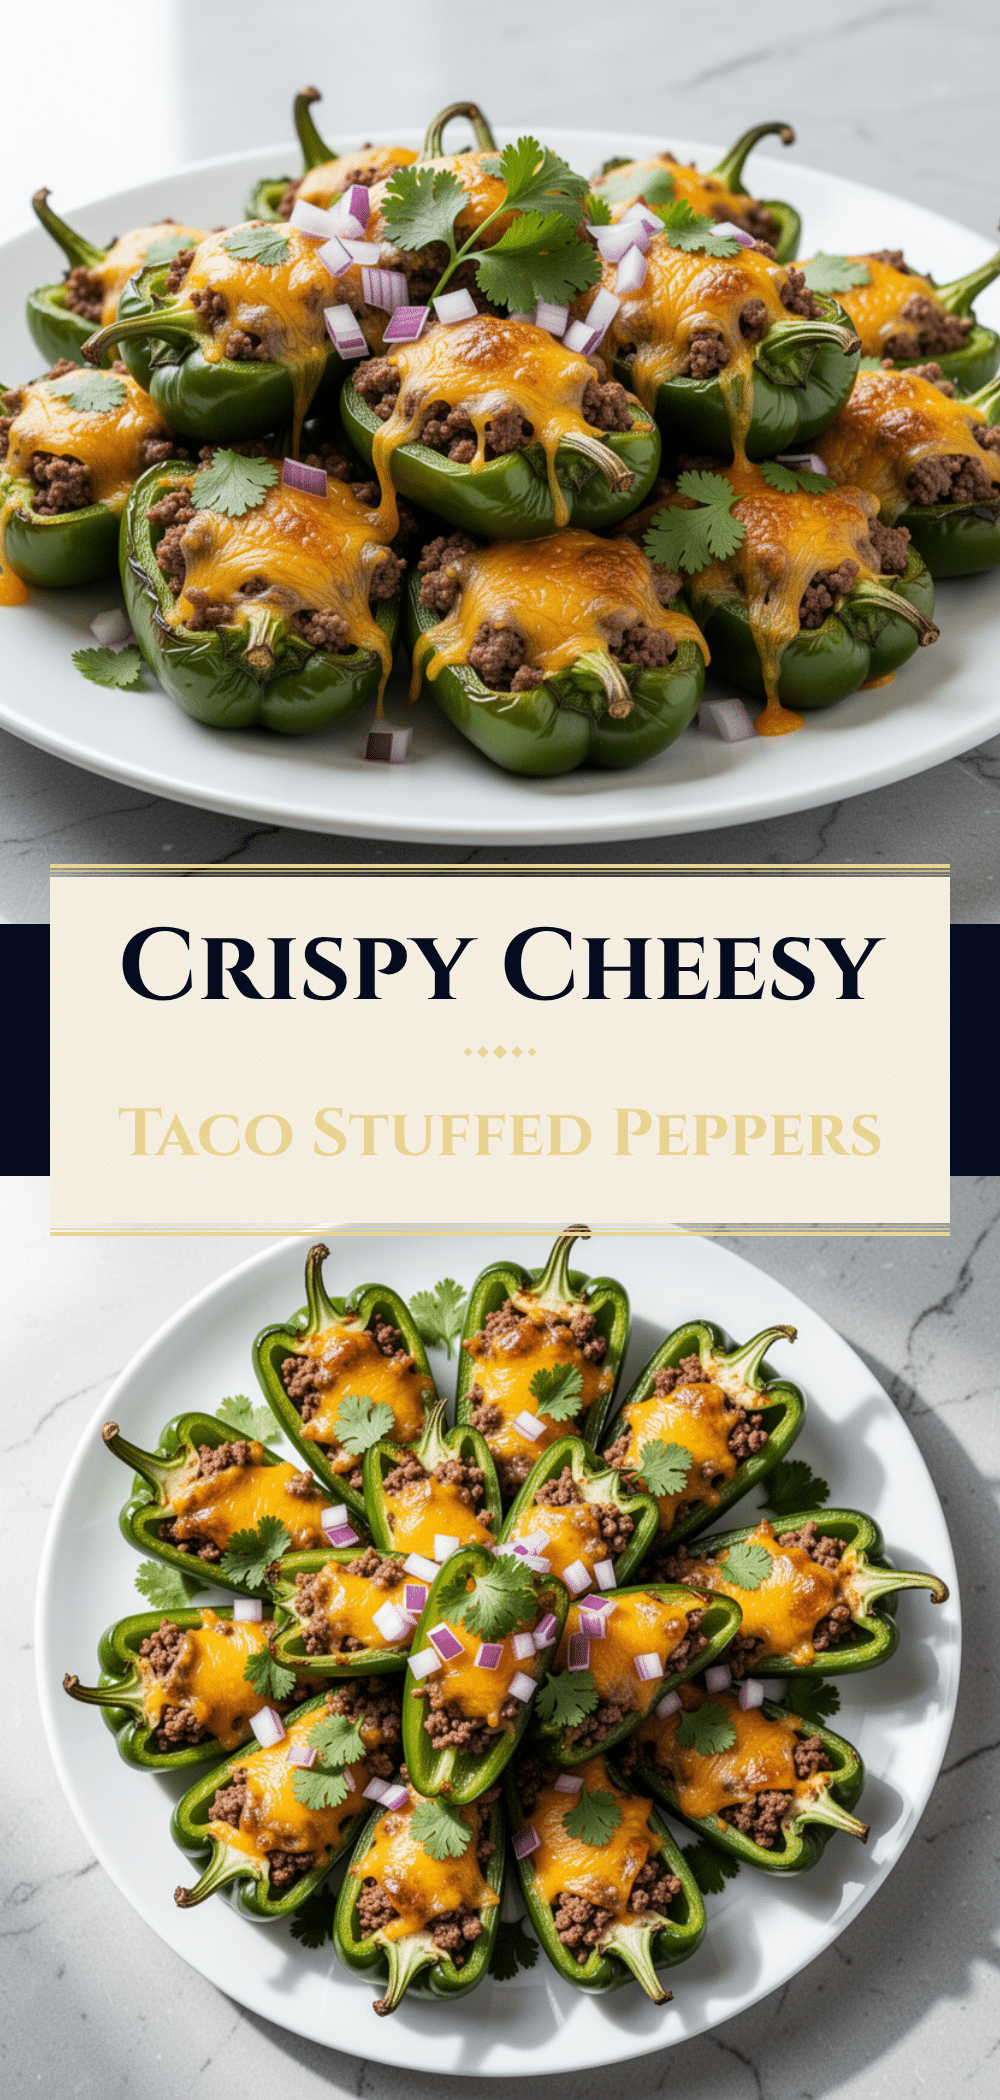

Cheesy Taco Stuffed Mini Peppers: 3-Ingredient Low Carb Snack
- Total Time: 30 minutes
- Yield: 6 servings 1x
Description
A quick, low-carb after-school snack featuring mini sweet peppers stuffed with seasoned ground meat, black beans, and sharp cheddar cheese. Kid-approved and ready in 30 minutes.
Ingredients
- 24–30 mini sweet peppers (about 1.5 lbs / 680g)
- 1 lb (450g) ground beef (85% lean) or ground turkey
- 1 can (15 oz / 425g) black beans, drained and rinsed
- 2 tablespoons taco seasoning
- 2 cups (200g) sharp cheddar cheese, shredded
- 2–3 stalks green onions, sliced
- Salsa (optional, for serving)
- Lime wedges (for serving)
Instructions
- Preheat oven to 400°F (200°C). Line a baking sheet with parchment paper.
- Wash and dry mini peppers. Cut off stem ends and remove seeds and membranes. Arrange hollow-side up on the baking sheet.
- Heat a large skillet over medium-high heat. Brown the ground meat, breaking it up with a spoon, until no pink remains (5-7 minutes). Drain excess fat.
- Reduce heat to medium. Add drained black beans and taco seasoning to the skillet. Stir to coat and cook for 1-2 minutes until fragrant. Remove from heat and let cool slightly.
- Pack the meat and bean mixture firmly into each pepper (about 1-2 tablespoons per pepper).
- Divide shredded cheddar cheese evenly over the stuffed peppers.
- Bake for 10-12 minutes until cheese is melted and bubbly and peppers are tender-crisp.
- Remove from oven and let cool for 2-3 minutes. Garnish with green onions and serve with lime wedges and salsa.
Notes
Ensure beans are thoroughly drained and rinsed to prevent soggy filling. Use sharp cheddar for better flavor and melting. Do not overstuff peppers to prevent bursting. These do not freeze well; store in the refrigerator for up to 4 days.
- Prep Time: 10 minutes
- Cook Time: 20 minutes
- Category: Snack
- Cuisine: Mexican
Nutrition
- Serving Size: 4 peppers per servin
- Calories: 180
- Sugar: 3
- Sodium: 320
- Fat: 10
- Saturated Fat: 5
- Carbohydrates: 6
- Fiber: 2
- Protein: 14
Keywords: low carb, keto snack, mini peppers, taco stuffed peppers, kid friendly, quick dinner, gluten free, high protein


