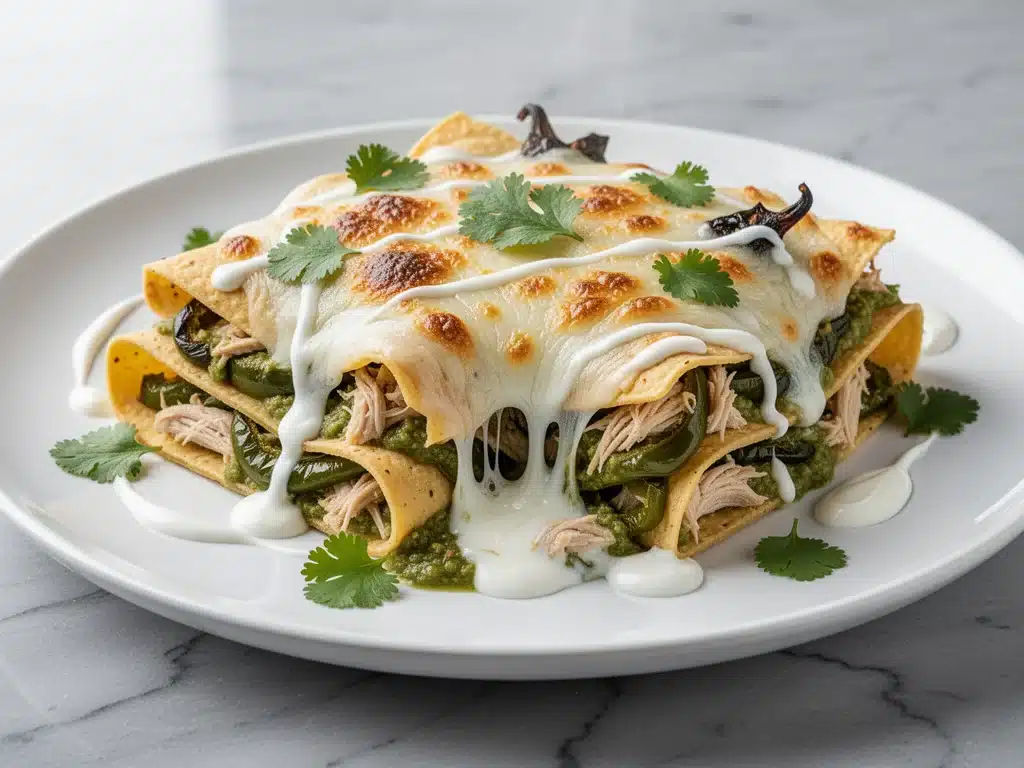
It was a Tuesday in July, and the kind of heat that makes you question every life choice leading up to opening your oven. I was staring at a grocery list that felt impossible to satisfy. I wanted something flavorful—something with a little kick to cut through the humidity—but I absolutely did not want to stand over a stove for an hour. The answer, as it often is, came from a bag of Hatch chiles.
If you’ve never encountered a Hatch chile, consider yourself lucky until you aren’t. They only grow for a few weeks in August in New Mexico, and they are the holy grail of green chiles. Smoky, bright, and just hot enough to make you sweat but not so hot that you can’t enjoy the flavor. I grabbed a bag of roasted Hatch chiles at the store, along with some rotisserie chicken, a block of cheese, and a few cans of green enchilada sauce. I threw them together in a casserole dish, expecting a mediocre dinner to scrape off the plates.
Instead, my kids came running from the backyard because the smell hit them first. That specific, savory, cheesy aroma that makes everyone forget their screens. We ate it straight from the pan because the kids demanded seconds before the plates were even set. That was six months ago. Since then, I’ve made this Baked Hatch Chile Green Enchilada Casserole at least twelve times. It’s become my secret weapon for busy nights when I need dinner to taste like I spent all day on it, but it actually takes less time than ordering takeout.
There’s something magical about deconstructing the classic enchilada. You know the ones—the ones where you’re rolling tortillas, worrying they’ll tear, and realizing you forgot to dice the onions until it was already in the oven. This casserole skips the rolling. It keeps all the gooey, spicy, cheesy goodness but turns it into a dish that’s easy to scoop, easy to serve, and impossible to mess up. It’s the kind of meal that feels like a hug in a bowl. And if you’re a fan of cheesy baked chicken parmesan sliders, you’re going to love how this dish plays with similar comfort food vibes but with a serious Southwest twist.
Why You’ll Love This Green Enchilada Casserole
Let’s be real: weeknight cooking is a battle. You’re tired, the kids are hangry, and the fridge is mostly empty. This recipe is my peace treaty. Here’s why this Baked Hatch Chile Green Enchilada Casserole has earned a permanent spot in our rotation, right alongside my homemade turkey stackers for quick lunches.
Zero Rolling Required — Seriously. The biggest pain point with enchiladas is the tortilla rolling. It’s tedious. It’s messy. With this casserole, you just layer. You chop, you mix, you bake. It’s perfect for when your hands are full or your patience is thin. I’ve made this while helping my son with homework, and it didn’t miss a beat.
Hatch Chiles Make a Difference — I know you can use canned green chiles from anywhere, but if you can find fresh or frozen Hatch chiles (usually in August/September), use them. The flavor is smokier and brighter. Even if you can’t find Hatch, use your favorite roasted green chiles. The distinct flavor profile is what makes this casserole special, not just “spicy.”
Uses Up Leftovers — This is the ultimate cleanup meal. Got half a rotisserie chicken? Use it. Got a sad bunch of cilantro? Chop it in. The base is flexible enough to handle whatever your fridge is trying to get rid of. I’ve made this with leftover pork, leftover steak, and even just veggies when I needed to lighten it up.
Freezer-Friendly — I often make two of these. One for dinner tonight, one to freeze for a future “I don’t want to cook” day. It freezes beautifully. Just assemble it, wrap it tight in foil, and freeze. When you’re ready, thaw it overnight and bake it. It’s a meal-prep game changer.
Crowd-Pleasing Spice Level — The green enchilada sauce provides a mild heat that most people enjoy, but you can turn it up if you like. It’s approachable enough for kids but flavorful enough for adults who want something with personality. No one complains about “too much flavor” here.
Ingredients You’ll Need
Here’s the thing about this recipe: it’s simple, but the quality of a few key ingredients really shines through. You don’t need anything exotic, but don’t skimp on the cheese or the chiles. Here’s what I grab from the store.
For the Base
Rotisserie Chicken (2 cups, shredded / about 300g) — I buy the pre-cooked bird because I’m not a masochist. But if you have leftover roasted chicken, that works too. Just make sure it’s shredded into bite-sized pieces. If you’re using raw chicken, you’ll need to cook and shred it first.
Rolled Tortillas (12-16 large flour tortillas) — Flour tortillas are essential here. Corn tortillas are brittle and will crumble in a casserole. You want something soft and pliable that can hold the sauce without disintegrating. I use the medium-large size, not the tiny ones.
Green Enchilada Sauce (2 cups / 480ml) — I make my own from scratch sometimes, but honestly, a good jarred version saves time. Look for one with real chiles in the ingredient list, not just artificial flavors. Tomatillo-based sauces are the standard and work perfectly here.
Hatch Chile Peppers (1-2 cups, chopped / about 150g) — This is the star. If you’re in season, get fresh roasted Hatch chiles. If not, frozen roasted Hatch chiles work great. As a last resort, standard canned diced green chiles (like Ro*Tel or El Pato) will work, but the flavor won’t be as complex. Don’t use jalapeños unless you want serious heat.
For the Cheese & Creaminess
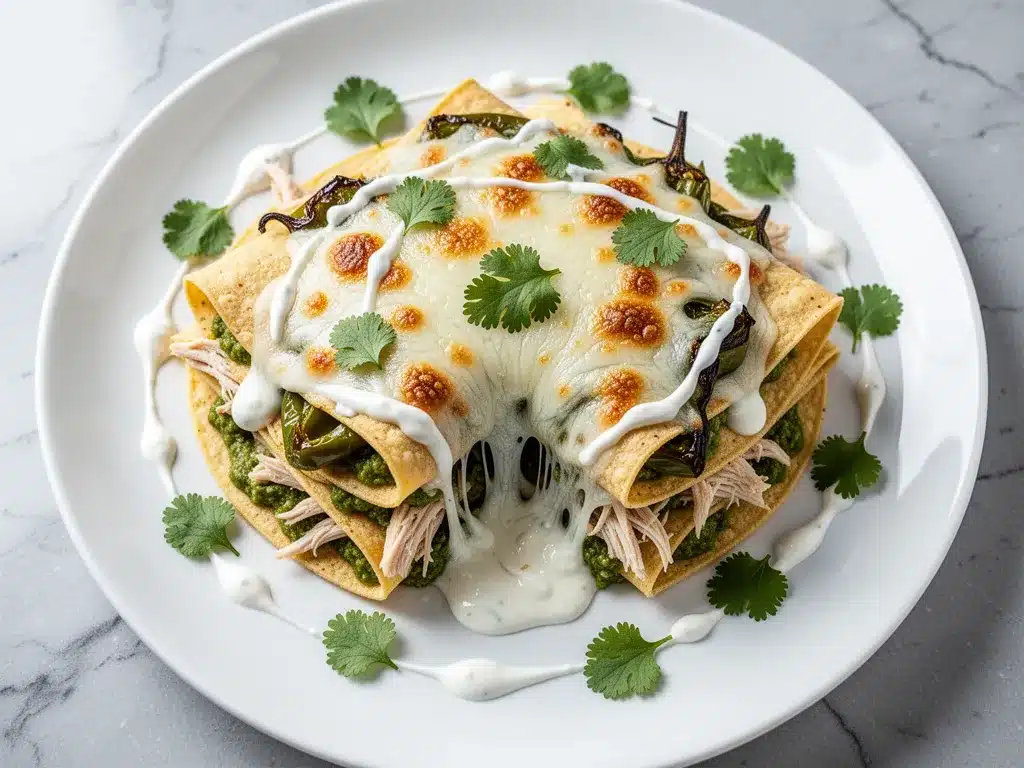
Monterey Jack Cheese (2 cups, shredded / 200g) — This cheese melts beautifully and has a mild, creamy flavor that lets the chiles shine. Don’t use pre-shredded cheese if you can help it; it has anti-caking agents that prevent smooth melting. Buy a block and shred it yourself. It takes two minutes.
Cheddar Cheese (1 cup, shredded / 100g) — I use a sharp cheddar for flavor depth. A mild cheddar works too, but sharp adds a nice tang that cuts through the richness. Again, shred it yourself.
Sour Cream (½ cup / 120g) — This adds tang and creaminess to the filling. It keeps the casserole from being too dry. Full-fat is best here; light versions can make the texture weird.
For the Flavor
White Onion (1 medium, diced / about 150g) — Sweet and mild, it provides a base flavor without overpowering the chiles. Yellow onion works too, but white is traditional for this style.
Cilantro (½ cup, chopped / about 15g) — Fresh cilantro adds a bright, herbal note. If you’re one of those people who thinks cilantro tastes like soap, skip it or use parsley. But for most, it’s essential for that fresh finish.
Garlic (3 cloves, minced / about 1 tablespoon) — Fresh garlic only. Jarred garlic has a metallic taste that doesn’t belong in a fresh green sauce. Mince it finely so it disperses evenly.
Cumin (1 teaspoon) — Just a teaspoon. It adds warmth and earthiness. Don’t go overboard, or it’ll taste like taco seasoning.
Salt and Black Pepper — To taste. Remember, the cheese and sauce are salty, so taste before you add too much.
Optional Add-ins
Black Beans (1 can, drained / 15oz) — Adds protein and fiber. I like to add this when I want to stretch the meal further. Rinse them well to remove the canning liquid.
Avocado (1, diced) — Add this on top when serving for a creamy, fresh contrast. It’s the perfect garnish.
Jalapeños (1-2, sliced) — If you want more heat, add sliced jalapeños between the layers. Just be careful with the seeds.
Equipment Needed
You don’t need anything fancy for this. Here’s what I actually use in my kitchen.
9×13 Inch Baking Dish — A standard glass or ceramic baking dish works best. Glass heats evenly and lets you see the bottom browning. I use a Pyrex dish that’s seen better days but still does the job perfectly.
Large Skillet — For sautéing the onions and garlic. A 10-inch skillet is ideal. If you’re using a non-stick, make sure it’s in good shape so nothing sticks.
Knife and Cutting Board — For chopping the chiles, onions, and cilantro. A sharp chef’s knife makes quick work of the chiles.
Box Grater — For shredding the cheese blocks. It’s faster and gives you better strands than a food processor for this amount of cheese.
Mixing Bowls — Two medium bowls. One for the chicken mixture, one for the cheese blend. I keep them separate so I don’t cross-contaminate or forget ingredients.
Measuring Cups and Spoons — Standard stuff. I use the metal spoons for dry ingredients and the plastic cups for wet. Doesn’t matter much, but consistency helps.
How to Make It: Step-by-Step
Alright, let’s make this! I’m walking you through exactly how I do it, including the little tricks I’ve picked up over the years. This process is straightforward, but attention to detail makes the difference between good and amazing.
Step 1: Prep Your Ingredients (10 minutes)
Before you turn on the stove, get everything ready. Chop the onions, mince the garlic, and chop the Hatch chiles if they aren’t already. Shred your cheese. Measure out the sour cream and cilantro. I know it seems like extra work, but it makes the actual cooking much less stressful. Once you start cooking, things move fast, and you don’t want to be digging for ingredients.
Step 2: Sauté the Aromatics (5 minutes)
Heat a tablespoon of olive oil or vegetable oil in a large skillet over medium heat. Add the diced onions and cook for 3-4 minutes until they are soft and translucent. Don’t rush this—sweet onions need time to caramelize slightly. Add the minced garlic and cumin, and cook for another minute until fragrant. Be careful not to burn the garlic; it turns bitter instantly. If you hear sizzling getting too loud, turn the heat down.
Step 3: Mix the Chicken Filling (5 minutes)
In a large mixing bowl, combine the shredded chicken, sautéed onion mixture, chopped Hatch chiles, sour cream, half of the cilantro, and half of the shredded cheese (Monterey Jack and cheddar). Stir everything together until well combined. Taste the mixture and add salt and pepper as needed. The mixture should be moist but not soupy. If it’s too dry, add a splash of the enchilada sauce. If it’s too wet, add a bit more cheese or chicken.
Step 4: Assemble the Casserole (10 minutes)
Preheat your oven to 375°F (190°C). Lightly grease your 9×13 baking dish. Now, start layering. Take a tortilla and cut it in half or into quarters, depending on how you want your pieces. I prefer cutting them into quarters for easier serving. Lay a layer of tortillas on the bottom of the dish. You don’t need to overlap them perfectly; just cover the bottom.
Spread about a third of the chicken mixture over the tortillas. Sprinkle a layer of cheese on top. Repeat this process: tortillas, chicken mixture, cheese. Do this two more times. End with a final layer of tortillas. Pour the remaining enchilada sauce evenly over the top. It should soak into the tortillas. If some spots look dry, add a little more sauce or a splash of water.
Step 5: Bake Until Bubbly (25-30 minutes)
Place the dish in the preheated oven. Bake for 25-30 minutes. You’ll know it’s done when the sauce is bubbling around the edges and the cheese on top is melted and slightly golden. If you want a crispy top, you can broil it for the last 2-3 minutes, but watch it closely—it goes from golden to burnt in seconds.
Step 6: Rest and Serve (10 minutes)
Remove the casserole from the oven and let it rest for 10 minutes. This is crucial. If you cut into it immediately, everything will slide apart. Resting lets the layers set and the flavors meld. Sprinkle the remaining fresh cilantro on top. Serve with diced avocado, a dollop of sour cream, and maybe some crispy tortilla chips on the side.
Total Time: About 1 hour (15 minutes active, 45 minutes mostly hands-off)
Expert Tips & Tricks
Here’s everything I’ve learned from making this dozens of times. These tips will save you from my mistakes.
Don’t Skip the Resting Time
I know it’s tempting to dig in immediately, but patience pays off. Letting the casserole sit for 10 minutes allows the tortillas to absorb the sauce and the cheese to set. If you cut it too soon, you’ll get a messy plate. Trust me on this one.
Use Freshly Shredded Cheese
Pre-shredded cheese contains cellulose to prevent clumping, which means it won’t melt as smoothly. Your casserole will be greasy and clumpy. Buy blocks of Monterey Jack and cheddar and shred them yourself. It takes three minutes and makes a huge difference in texture.
Adjust the Heat Level
The spice level depends on your chiles and sauce. Hatch chiles vary in heat. If you want it mild, use the white parts of the chiles and remove the seeds. If you want it hot, keep the seeds and add a diced jalapeño. Taste your chicken mixture before assembling—it’s easier to adjust at this stage.
Make It Ahead
You can assemble the entire casserole up to 24 hours in advance. Cover it tightly with plastic wrap and refrigerate. When you’re ready to cook, take it out of the fridge and let it sit for 20 minutes before baking. You may need to add 5-10 minutes to the baking time since it starts cold.
Freezing Instructions
This freezes beautifully. Assemble the casserole, wrap it tightly in plastic wrap and then foil. Freeze for up to 3 months. To thaw, move it to the fridge overnight. Bake as directed, adding 10-15 minutes if baking from frozen (though thawing is recommended for even cooking).
Variations & Substitutions
Once you’ve nailed the basic version, here’s how you can mix it up. I’ve tried all of these.
Vegetarian Version
Swap the chicken for black beans or pinto beans. Or just skip the protein entirely and add extra roasted vegetables like bell peppers or zucchini. The flavors still work beautifully. I make this version when I want something lighter.
Shrimp Enchilada Casserole
Use cooked, peeled shrimp instead of chicken. Shrimp cooks faster, so add it at the end of the sauté step so it doesn’t get rubbery. It’s a nice change of pace.
Pork Version
Use shredded pork shoulder (carnitas style). Pork pairs amazingly with green chiles. This is a favorite in my house for dinner parties.
Gluten-Free
Use corn tortillas instead of flour. Note that corn tortillas are more brittle, so handle them gently. You might need to soften them in the microwave for 10 seconds before layering. Also, check your enchilada sauce label to ensure it’s gluten-free.
Dairy-Free
Use dairy-free cheese shreds and coconut cream instead of sour cream. It’s not quite the same, but it works in a pinch. I prefer to just skip the dairy and add extra avocado for creaminess.
Serving & Storage
How to Serve:
I usually serve this straight from the baking dish at the dinner table—it looks rustic and stays warm. But here are other ways I’ve enjoyed it:
Side Dishes:
- Mexican Street Corn Salad (Esquites): The creamy, tangy corn complements the spicy casserole perfectly.
- Simple Green Salad: A light vinaigrette helps cut through the richness of the cheese.
- Rice and Beans: If you’re hungry, add a side of cilantro-lime rice.
Toppings Bar:
When I have guests, I put out: extra sour cream, diced avocado, sliced jalapeños, crushed tortilla chips, and fresh lime wedges. Everyone customizes their bowl.
Storage Instructions:
Refrigerator: Store leftovers in an airtight container for up to 4 days. The flavors actually get better after a day or two as they meld.
Reheating: Reheat in the microwave for 1-2 minutes, or in the oven at 350°F for 15-20 minutes until warmed through. If it looks dry, add a splash of water or broth before reheating.
Freezing: As mentioned, freeze for up to 3 months. Thaw in the fridge overnight before baking.
Nutrition Information
I’m not a nutritionist, but here’s the breakdown if you’re tracking. Note that this is an estimate based on standard ingredients.
Per Serving (based on 8 servings):
- Calories: 450
- Protein: 25g
- Carbs: 35g
- Fiber: 3g
- Sugar: 2g
- Fat: 22g
- Sodium: 680mg
What’s Good: High in protein from chicken and cheese. Good source of calcium. The Hatch chiles provide vitamins A and C.
What to Know: Higher in calories and sodium due to cheese and sauce. If you’re watching sodium, use low-sodium sauce and cheese.
Final Thoughts
So that’s my go-to Baked Hatch Chile Green Enchilada Casserole! I’ve probably talked your ear off at this point, but when you make a recipe this often, you have a lot to say about it. This has saved weeknight dinners more times than I can count. It’s my answer to “what’s for dinner” when I’m tired, don’t want takeout, and still want something that tastes really good. My kids are happy, my husband’s happy, and I’m happy because I’m not stressed about cooking.
Make it yours! Try different add-ins, swap in your favorite vegetables, adjust the garlic (though more is always better in my opinion). The best recipes are the ones you adapt to your family’s tastes. If you make this, drop a comment and let me know what you think! I love hearing how recipes turn out in your kitchen. And if something doesn’t work, tell me that too—I’m here to help troubleshoot.
Happy cooking! And I hope your kitchen smells half as good as mine does right now.
Frequently Asked Questions
Can I use canned green chiles instead of Hatch chiles?
Yes, you can. Standard canned diced green chiles (like El Pato or Ro*Tel) work fine. However, Hatch chiles have a distinct smoky flavor that canned ones lack. If you can’t find Hatch, look for “roasted green chiles” in the frozen section, which are usually closer in flavor. Just avoid using jalapeños unless you want significant heat.
Why did my casserole turn out watery?
This usually happens if the chicken wasn’t drained well or if you added too much sauce. Make sure to drain the shredded chicken thoroughly after pulling it from the rotisserie bird. Also, taste your enchilada sauce—it can vary in thickness. If it’s very thin, simmer it down a bit before using. Adding extra cheese to the filling can also help absorb moisture.
Can I make this ahead for a dinner party?
Absolutely. Assemble the casserole up to 24 hours in advance. Cover it tightly and refrigerate. When ready to serve, let it sit at room temperature for 20 minutes, then bake as directed. You may need to add 5-10 minutes to the baking time. This is a great way to reduce stress during a party.
Can I freeze this casserole?
Yes, it freezes very well. Assemble the casserole, wrap it tightly in plastic wrap and then foil. Freeze for up to 3 months. Thaw in the refrigerator overnight before baking. Do not bake from frozen, as the center may not heat through evenly.
What cheese is best for this recipe?
Monterey Jack is the best melting cheese for this dish. It’s mild and creamy. Cheddar adds flavor, so I use a mix of both. Avoid hard cheeses like Parmesan or Pecorino, as they don’t melt well in a casserole context. If you’re lactose intolerant, use a dairy-free melting cheese alternative.
How spicy is this casserole?
The spice level is mild to medium, depending on the chiles and sauce. Hatch chiles are typically mild to medium. Green enchilada sauce varies by brand. If you want it milder, use mild sauce and remove seeds from the chiles. If you want it hotter, add diced jalapeños or use a hot enchilada sauce.
Can I use corn tortillas?
You can, but they are more brittle than flour tortillas. To prevent cracking, warm the corn tortillas in the microwave for 10-15 seconds before layering. They will also absorb more sauce, so you might need a little extra sauce to keep them moist.
Pin This Recipe!
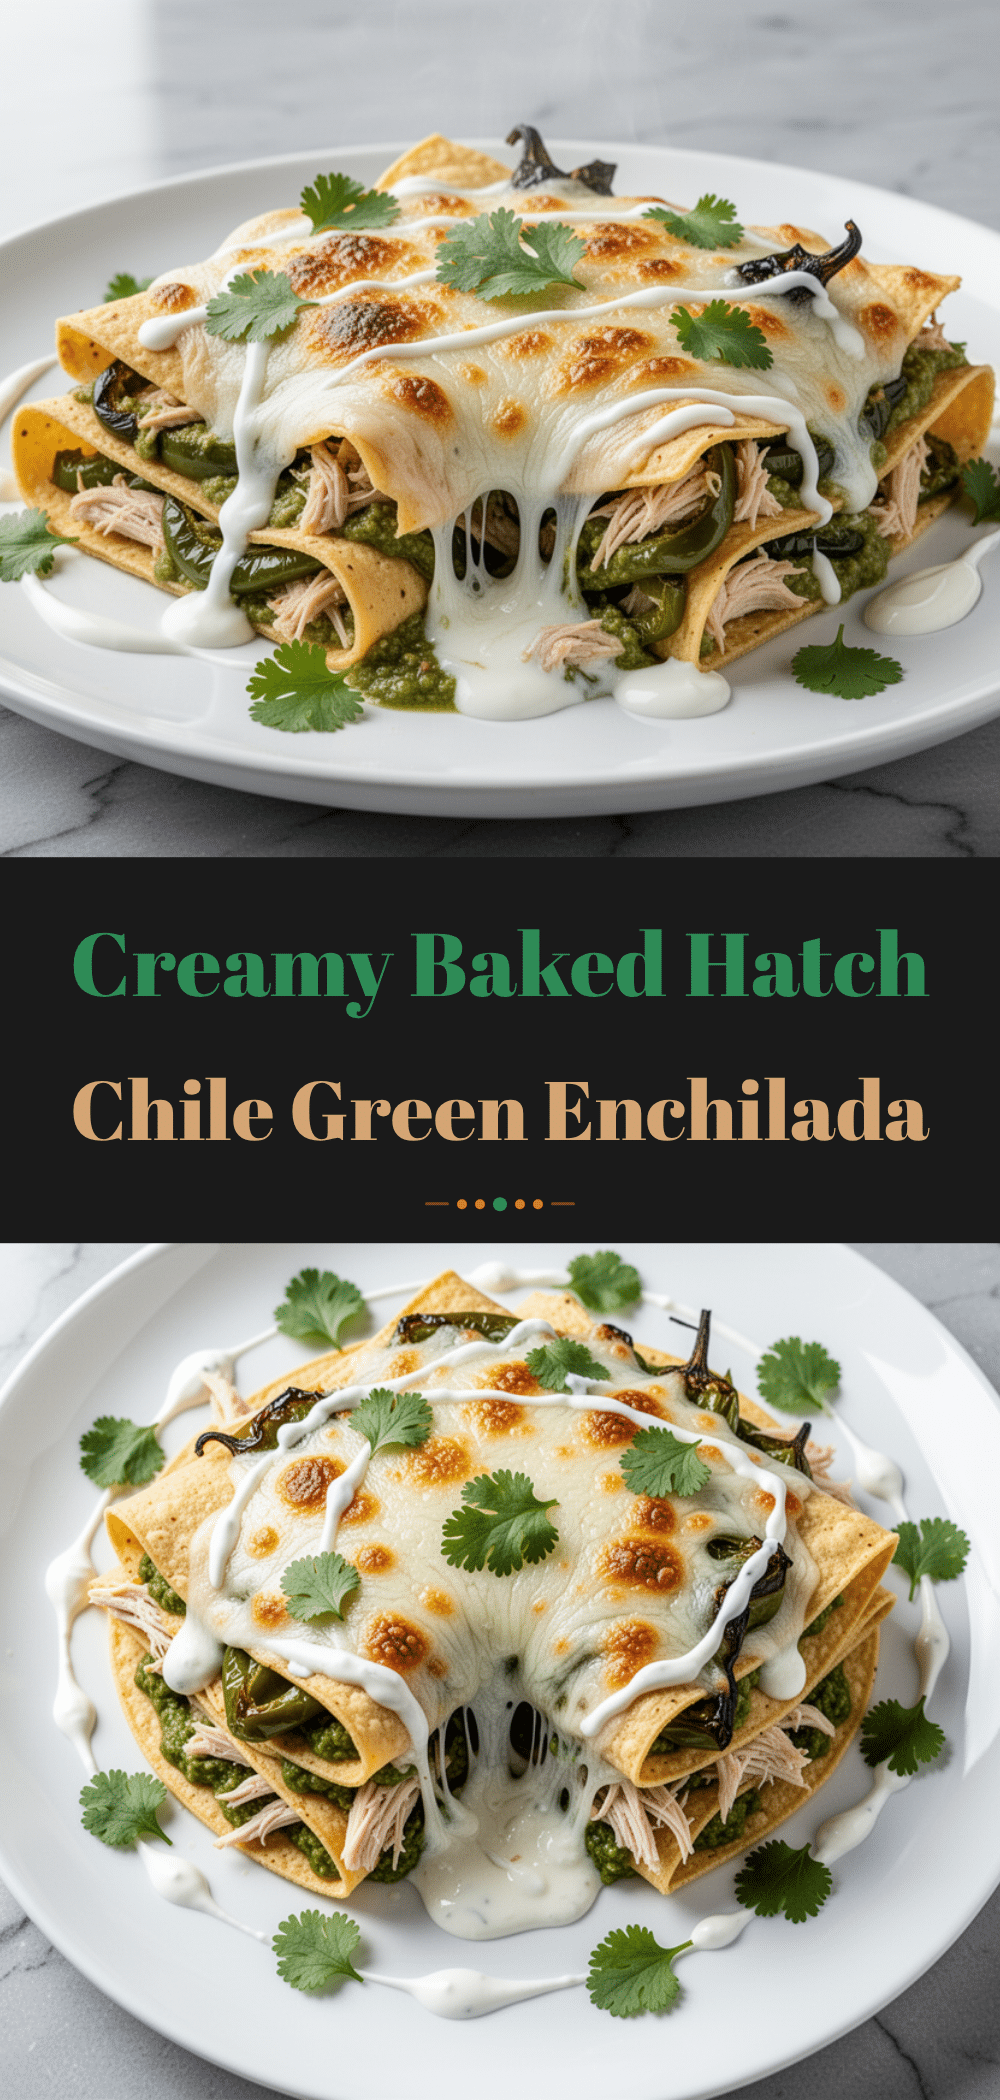
Baked Hatch Chile Green Enchilada Casserole
- Total Time: 45 minutes
- Yield: 8 servings 1x
Description
An easy, family-friendly casserole that deconstructs classic enchiladas by skipping the rolling. It features shredded rotisserie chicken, smoky Hatch chiles, and a gooey cheese blend baked in green enchilada sauce.
Ingredients
- 2 cups shredded rotisserie chicken (about 300g)
- 12–16 large flour tortillas
- 2 cups green enchilada sauce (480ml)
- 1–2 cups chopped Hatch chile peppers (about 150g)
- 2 cups shredded Monterey Jack cheese (200g)
- 1 cup shredded sharp cheddar cheese (100g)
- 1/2 cup sour cream (120g)
- 1 medium white onion, diced (about 150g)
- 1/2 cup chopped fresh cilantro (about 15g)
- 3 cloves garlic, minced (about 1 tablespoon)
- 1 teaspoon cumin
- Salt and black pepper to taste
- 1 tablespoon olive oil or vegetable oil
- Optional: 1 can black beans (15oz), 1 avocado diced, 1-2 jalapeños sliced
Instructions
- Preheat oven to 375°F (190°C) and lightly grease a 9×13 inch baking dish.
- Heat oil in a large skillet over medium heat. Sauté diced onions for 3-4 minutes until soft and translucent.
- Add minced garlic and cumin to the skillet; cook for 1 minute until fragrant. Remove from heat.
- In a large mixing bowl, combine shredded chicken, sautéed onion mixture, chopped Hatch chiles, sour cream, half of the cilantro, and half of the shredded cheese. Stir to combine. Season with salt and pepper to taste.
- Cut tortillas into quarters or halves. Layer a portion of tortillas on the bottom of the prepared baking dish.
- Spread one-third of the chicken mixture over the tortillas, followed by a layer of cheese. Repeat this layering process two more times, ending with a final layer of tortillas.
- Pour the remaining enchilada sauce evenly over the top. Ensure tortillas are soaked; add a splash of water or extra sauce if spots look dry.
- Bake for 25-30 minutes until the sauce is bubbling and the cheese is melted and slightly golden. Optional: Broil for 2-3 minutes for a crispy top.
- Remove from oven and let rest for 10 minutes before serving to allow layers to set.
- Garnish with remaining fresh cilantro and serve with diced avocado, sour cream, or tortilla chips.
Notes
For best results, shred cheese from blocks rather than using pre-shredded cheese to ensure smooth melting. If using corn tortillas, warm them in the microwave for 10 seconds before layering to prevent cracking. The casserole can be assembled up to 24 hours in advance and refrigerated, or frozen for up to 3 months.
- Prep Time: 15 minutes
- Cook Time: 30 minutes
- Category: Main Course
- Cuisine: Mexican
Nutrition
- Serving Size: 1 slice (approx. 1/8
- Calories: 450
- Sugar: 2
- Sodium: 680
- Fat: 22
- Saturated Fat: 10
- Carbohydrates: 35
- Fiber: 3
- Protein: 25
Keywords: Hatch chile, green enchilada casserole, rotisserie chicken, easy dinner, family favorite, Southwest cuisine, cheesy casserole, weeknight meals


