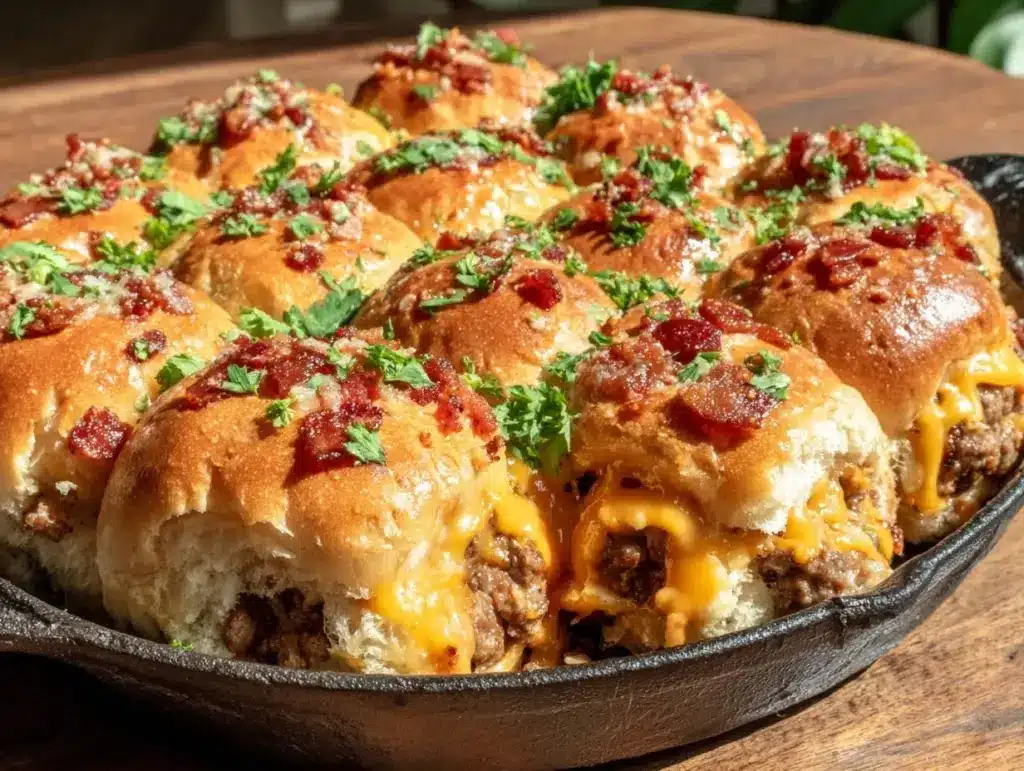
It was 11:45 PM on a Sunday, and the house was quiet. Too quiet. I was sitting on the couch, staring at a half-eaten bag of chips, wondering if I had it in me to actually cook dinner the next night. But then, Monday morning hit, and my stomach growled loud enough to wake the neighbors. I didn’t want cereal. I didn’t want toast. I wanted something savory, salty, and utterly comforting. Something that tasted like a Friday night at the stadium but was ready in my kitchen by noon.
I tried to order out. The delivery app showed a 45-minute wait time and a $12 minimum order for what amounted to sad, cold burger patties. So I did what any reasonable person would do: I raided my pantry, grabbed five ingredients from the fridge, and threw together what I now call my Game Day Bacon Cheeseburger Sliders. They are better than takeout. They are better than the drive-thru. And honestly? They are the only reason I’ve stopped stressing about what to feed people when they come over.
This recipe is stupidly simple. It’s five ingredients. That’s it. You really can’t mess this up. If you can assemble a sandwich, you can make these. I’ve made them for Super Bowl parties, for last-minute dinner guests, and just for myself on lazy Sundays when I want to feel like I put in effort (spoiler: I didn’t). The result is a warm, gooey, bacon-studded bite of happiness that disappears faster than I can count them. Let’s get into why these are the king of sliders and how to make them without breaking a sweat.
Why You’ll Love This Recipe
I’ve tried dozens of slider recipes over the years. Some are too fancy, requiring ingredients I don’t have on hand. Some are too complicated, involving multiple pans and complicated sauces. These Game Day Bacon Cheeseburger Sliders cut through all that noise. Here’s why they’ve earned a permanent spot in my rotation:
- Five Ingredients, Zero Stress — Seriously. Five. Not seven, not ten. Five. I keep these ingredients stocked all the time because I know I can pull them together in under 20 minutes. It’s the ultimate “I didn’t plan this but I’m still feeding you” meal.
- Beginner-Proof — I’ve walked my teenage nephew through this recipe via text message while he was in his dorm kitchen. He didn’t burn anything. He didn’t even use a timer. If you can heat up a pan and sprinkle cheese, you are qualified to make this.
- Better Than Takeout — And I don’t say that lightly. Takeout burgers arrive soggy and cold. These sliders are served hot, with crispy bacon and melted cheese that actually stays melted. Plus, you control the salt and freshness. No mystery meat, just good, honest beef.
- Party-Proof — These are finger food. No forks needed. No plates required (though I recommend them so you don’t get grease on your couch). They disappear fast, which means you need to make a double batch. Trust me.
- Foolproof Flavor — The combination of savory beef, salty bacon, and melty cheese on a soft, buttery bun is a classic for a reason. It works every single time. There is no “meh” here. It’s just delicious.
Look, if you can only make one thing this week, make these sliders. They are forgiving, they are fast, and they make everyone happy. Even the picky eaters at the table can’t say no to a warm, cheesy slider.
Ingredients You’ll Need
Here’s the best part: you probably have most of this already. I’m not asking you to go to three different stores for obscure spices. This is pantry-friendly, fridge-staple cooking. I’m particular about three things here, and I’ll tell you exactly why.
The Base
Ground beef (1 pound / 450g) — I use 80/20 blend. Yes, the fat content matters. Lean beef will make these sliders dry and crumbly. You want that juiciness to keep the buns moist. If you can’t find 80/20, mix 90/10 beef with a tablespoon of olive oil when cooking.
Hawaiian rolls (1 package / 12 rolls) — This is non-negotiable. Do not use standard slider buns. Do not use burger buns. Hawaiian rolls stay soft, hold their shape, and have just enough sweetness to balance the salty beef and bacon. I buy the big packs of 12 or 24 because they freeze well.
Butter (2 tablespoons, melted) — This is for brushing the tops. It creates that golden, bakery-style crust. Use unsalted butter so you can control the salt, but if you only have salted, just reduce the salt in the beef mix slightly.
The Flavor
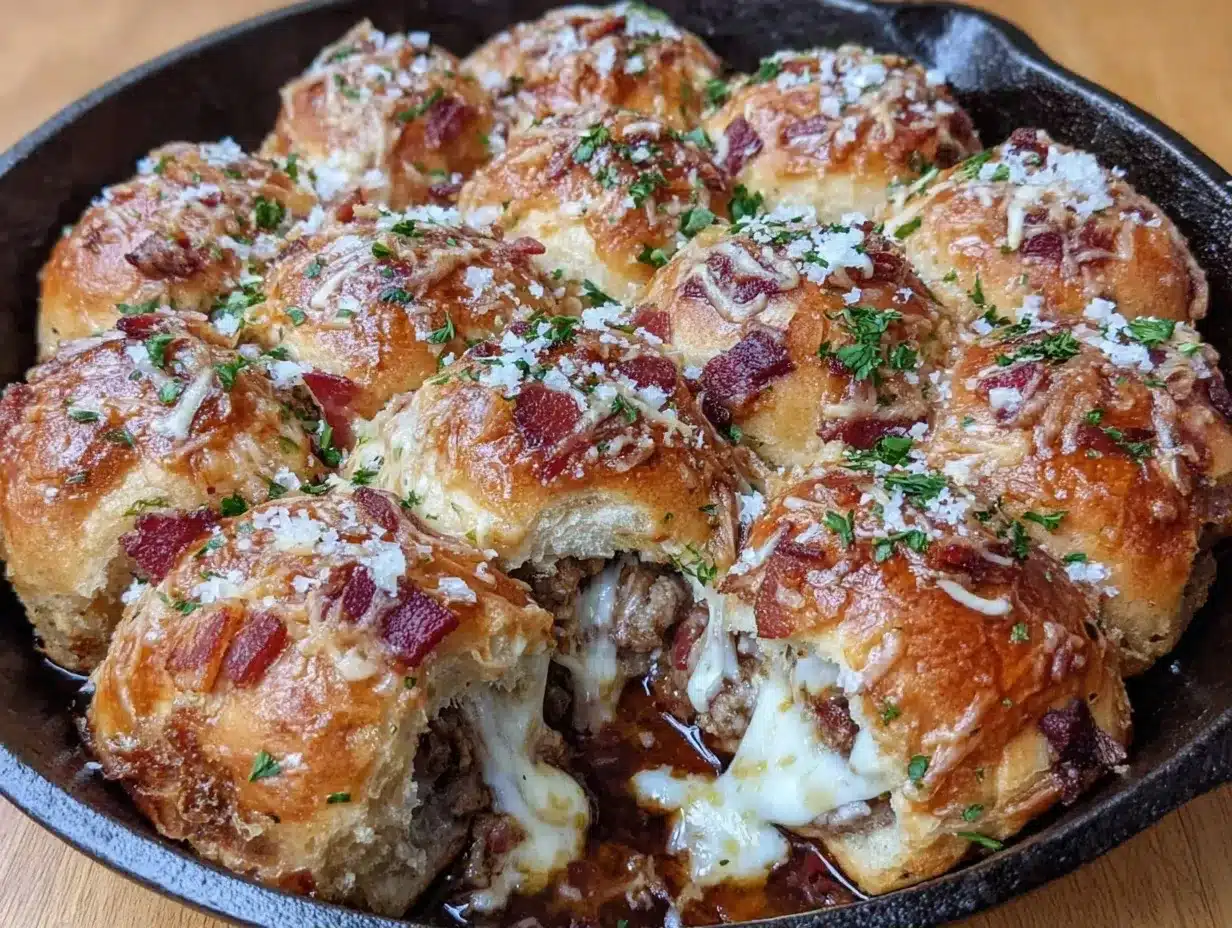
Cheese slices (6-8 slices) — American cheese is the traditional choice for a reason. It melts like a dream and has that mild, creamy flavor that complements beef perfectly. Cheddar works too, but it can be sharper and might not melt as smoothly. I stick with American for that classic slider feel.
Bacon (6-8 strips, cooked and crumbled) — I use thick-cut bacon if I can find it. It holds up better to the heat and doesn’t turn to dust. Cook it until it’s crisp but not burnt, then crumble it into bite-sized pieces. Don’t skip this step—chopped bacon distributes better than whole strips.
The Mix-In
Seasoning (1 teaspoon salt, ½ teaspoon black pepper) — Keep it simple. Salt and pepper are all the beef needs. If you want to get fancy, you can add a pinch of garlic powder, but I like the pure beef flavor. Oh, and if you’re looking for other easy ways to use ground beef, check out my crispy smashed cheeseburger tacos for a fun twist.
Optional Add-ins — I sometimes add diced pickles or a little ketchup to the beef mix, but honestly? The simplicity is the star. Don’t overcomplicate it. If you want a bit of crunch, add some finely diced onions, but that’s it.
Equipment Needed
You don’t need fancy equipment for this. Here’s what I actually use.
Large skillet or frying pan — I use a 12-inch cast iron skillet. It holds heat well and gives the beef a nice crust. Stainless steel or non-stick works fine too. Just make sure it’s big enough to fit all the beef in one layer.
Baking dish — A 9×13 inch baking dish is perfect for holding the whole pack of Hawaiian rolls. Glass or ceramic works best so you can see the bottom browning.
Pastry brush — For brushing the butter on top. A silicone brush is easy to clean, but a regular basting brush works too. I use a fork if I’m being lazy, but the brush gives more even coverage.
Sharp knife — For chopping the bacon. A regular kitchen knife is fine. Just be careful when chopping crispy bacon—it can jump around.
Measuring spoons — For the salt and pepper. Standard stuff. Dollar store versions work fine.
Paper towels — To drain the bacon and blot excess grease from the beef if needed. I don’t usually blot the beef, but if your pan gets too greasy, you can spoon some out.
Optional but nice:
- Aluminum foil — To cover the sliders if they’re browning too fast. I rarely need this, but it’s good to have on hand.
- Spatula — For flipping the beef if you’re cooking it in batches. Not needed if you have a big enough pan.
How to Make It: Step-by-Step
Alright, let’s make this! I’m walking you through exactly how I do it, including the little tricks I’ve picked up. This is the part where you prove to yourself that cooking is easy.
Step 1: Prep the Bacon (5 minutes)
Cook your bacon in a skillet until it’s crisp. I like it well-done because it stays crunchy even after baking. Once it’s done, transfer it to a paper towel-lined plate to drain. While it’s still warm, crumble it into small pieces. You want bits, not strips. Set aside. Don’t skip crumbling it—you want that bacon flavor in every bite.
Step 2: Season the Beef (2 minutes)
In a medium bowl, add the ground beef, salt, and pepper. Mix it gently with your hands or a fork. Don’t overmix it, or the burgers will get tough. You just want the seasoning distributed evenly. If you’re adding other spices like garlic powder or onion powder, now’s the time. Keep it simple.
Step 3: Form the Patties (3 minutes)
Divide the beef into 12 equal portions. Roll each one into a ball, then flatten it slightly into a small patty. They don’t need to be perfect. Just make them about the same size so they cook evenly. Aim for patties that fit comfortably on the Hawaiian rolls. If you’re making hatch chile green chile cheeseburgers later, you can adapt this method by adding diced chiles to the mix.
Step 4: Cook the Patties (5-7 minutes)
Heat your large skillet over medium-high heat. Add the patties in a single layer. Cook for 2-3 minutes per side. You want them browned on the outside but still slightly pink in the middle. They’ll finish cooking in the oven, so don’t overcook them here. If your pan is small, do this in two batches. Transfer cooked patties to a plate.
Step 5: Assemble the Sliders (3 minutes)
Preheat your oven to 350°F (175°C). Place the Hawaiian rolls in your baking dish, keeping them attached as a single unit. Place one beef patty on each roll. Top each patty with a slice of cheese. Then, sprinkle the crumbled bacon over the cheese. The cheese will help the bacon stick. Simple, right?
Step 6: Butter and Bake (10 minutes)
Melt the butter and brush it generously over the tops of the rolls. This is what makes them golden and delicious. Place the dish in the oven and bake for 8-10 minutes, or until the cheese is melted and the tops are golden brown. Keep an eye on them—ovens vary, so you don’t want them to burn.
Step 7: Serve and Enjoy
Remove from the oven and let them cool for 2 minutes. The cheese will be molten hot, so be careful. Slide them apart and serve immediately. They are best eaten warm, with your fingers, while watching the game. Or just eating them alone in the kitchen. I don’t judge.
Total Time: About 25 minutes (5 minutes prep, 20 minutes cooking).
Expert Tips & Tricks
Here’s everything I’ve learned from making this dozens of times. These tips will save you from my mistakes.
Don’t Overcook the Beef
This is the #1 mistake. The patties cook twice—once in the pan, once in the oven. If you cook them until they’re well-done in the pan, they’ll be dry and tough after baking. Aim for medium-rare to medium in the pan. They’ll finish to medium-well in the oven.
Crumble the Bacon Small
Whole strips of bacon are annoying to eat on a slider. Crumble them into tiny pieces so you get a bit of bacon in every bite. It also distributes the flavor more evenly. I use my hands to crumble it—it’s faster than chopping.
Brush the Butter Well
Don’t skimp on the butter. It’s what gives the rolls that bakery-style crust and flavor. If you skip it, you’re just eating warm buns with beef. The butter makes it a slider. Make sure you get it between the rolls too, so they don’t stick to the pan.
Use a Big Enough Pan
If your skillet is too small, the beef won’t brown properly. It’ll steam instead. Brown meat = flavor. If you’re struggling, cook in batches. It takes two extra minutes, but it’s worth it for the better texture.
Make-Ahead Strategy
You can assemble these sliders up to 4 hours ahead of time. Cover them with plastic wrap and refrigerate. When you’re ready to bake, let them sit at room temperature for 15 minutes, then bake as directed. Add 2-3 minutes to the baking time if they’re cold from the fridge. This is great for game day prep.
Variations & Substitutions
Once you’ve nailed the basic version, here’s how you can mix it up. I’ve tried all of these.
Double Bacon
Use 12 strips of bacon instead of 6. I double the bacon if I’m feeding a crowd. It’s salty, crunchy, and irresistible. My husband prefers this version—he’s a bacon purist.
Add Pickles
Place a pickle spear on each patty before adding the cheese. It adds a nice tang that cuts through the richness. This is how I get my kids to eat vegetables (okay, pickles are technically vegetables). It’s a classic burger combo for a reason.
Spicy Kick
Add a slice of jalapeño on top of each patty. Or mix some diced jalapeños into the beef. If you like heat, this version is for you. It’s like a spicy burger slider.
BBQ Glaze
Brush the tops with BBQ sauce instead of butter. It adds a sweet and smoky flavor. I use this version when I want something different. It pairs well with the bacon.
Dietary Modifications
Gluten-Free — Use gluten-free Hawaiian-style rolls. They hold up well to baking. I’ve used vegan-friendly rolls too, but regular gluten-free works best for structure.
Dairy-Free — Use dairy-free cheese slices and butter alternatives. It’s not quite the same, but it works. My lactose-intolerant friend uses this method.
Lower-Carb — Use lettuce wraps instead of buns. Reduce the recipe to individual servings. It’s not the same experience, but it’s lighter.
Serving & Storage
How to Serve
I usually serve these straight from the baking dish. They look rustic and stay warm. But here are other ways I’ve enjoyed them:
- With Fries — Obviously. Crispy fries are the perfect side.
- With Coleslaw — Adds crunch and freshness.
- With Pickles — On the side, for extra tang.
- With a Side Salad — If you want something lighter.
Storage Instructions
Refrigerator: Store leftovers in an airtight container for up to 3 days. The buns will soften, but the flavors meld nicely.
Reheating: Best method: Reheat in the oven at 350°F for 5-7 minutes. This keeps the buns from getting soggy. Microwave method: Heat in 30-second intervals, but they’ll get soft. I prefer the oven for texture.
Freezing: These don’t freeze well. The buns get mushy when thawed. Make them fresh or store in the fridge for up to 3 days. If you have extra beef, freeze the raw patties and cook them fresh later.
Pro tip: If you’re making these for a party, double the recipe. They disappear fast. I’ve had guests ask for the recipe before they’ve even finished their third slider.
Nutrition Information
I’m not a nutritionist, but here’s the breakdown if you’re tracking. This is comfort food, so it’s not diet food.
Per Slider (based on 12 sliders):
- Calories: 280
- Protein: 14g
- Carbs: 22g
- Fat: 16g
- Sodium: 520mg
What’s Good: Decent protein from the beef and cheese. The beef is a good source of iron.
What to Know: Higher in sodium from the bacon and cheese. Use low-sodium bacon if you’re watching salt. The carbs come from the buns—use lettuce wraps to reduce.
My Take: Look, this is a treat. It’s not a daily meal. But it’s way better than fast food, and you know exactly what’s in it. When I want to make it lighter, I use leaner beef and less cheese. But usually? I just enjoy it and move on.
Final Thoughts
So that’s my Game Day Bacon Cheeseburger Sliders! I’ve probably talked your ear off at this point, but when you make a recipe this often, you have a lot to say about it.
This has saved weeknight dinners more times than I can count. It’s my answer to “what’s for dinner” when I’m tired, don’t want takeout, and still want something that tastes really good. My kids are happy, my husband’s happy, and I’m happy because I’m not stressed about cooking.
Make it yours! Try different add-ins, swap in your favorite vegetables, adjust the bacon. The best recipes are the ones you adapt to your family’s tastes.
If you make this, drop a comment and let me know what you think! I love hearing how recipes turn out in your kitchen. And if something doesn’t work, tell me that too—I’m here to help troubleshoot.
Happy cooking! And I hope your kitchen smells half as good as mine does right now.
Frequently Asked Questions
Can I use ground turkey instead of beef?
You can, but the flavor will be different. Turkey is leaner, so add a tablespoon of olive oil to the mix to keep it moist. It’s lighter, but not as rich. I prefer beef for the classic slider taste.
Can I make these ahead of time?
Yes! Assemble them up to 4 hours ahead and refrigerate. Let them sit at room temperature for 15 minutes before baking. Add 2-3 minutes to the baking time if they’re cold. This is great for party prep.
Why did my sliders get dry?
Overcooked beef. Remember, they cook twice. Cook the patties until they’re just browned in the pan, then finish in the oven. Don’t cook them until they’re well-done in the pan.
Can I use regular burger buns?
You can, but Hawaiian rolls are softer and sweeter, which makes better sliders. Regular buns can be too dense or dry. If you use regular buns, brush them with butter to keep them moist.
How do I reheat leftovers without them getting soggy?
Reheat in the oven at 350°F for 5-7 minutes. This crisps up the buns. Avoid the microwave—it makes them soft and chewy. If you must use the microwave, heat in short bursts and let them rest for a minute.
Can I freeze the raw patties?
Yes! Form the patties, freeze them on a baking sheet, then transfer to a freezer bag. Cook them fresh when you’re ready. This is a great meal prep strategy.
What cheese melts best?
American cheese melts the smoothest. Cheddar is good but can be oily. Provolone is a nice middle ground. I stick with American for that classic slider experience.
Pin This Recipe!
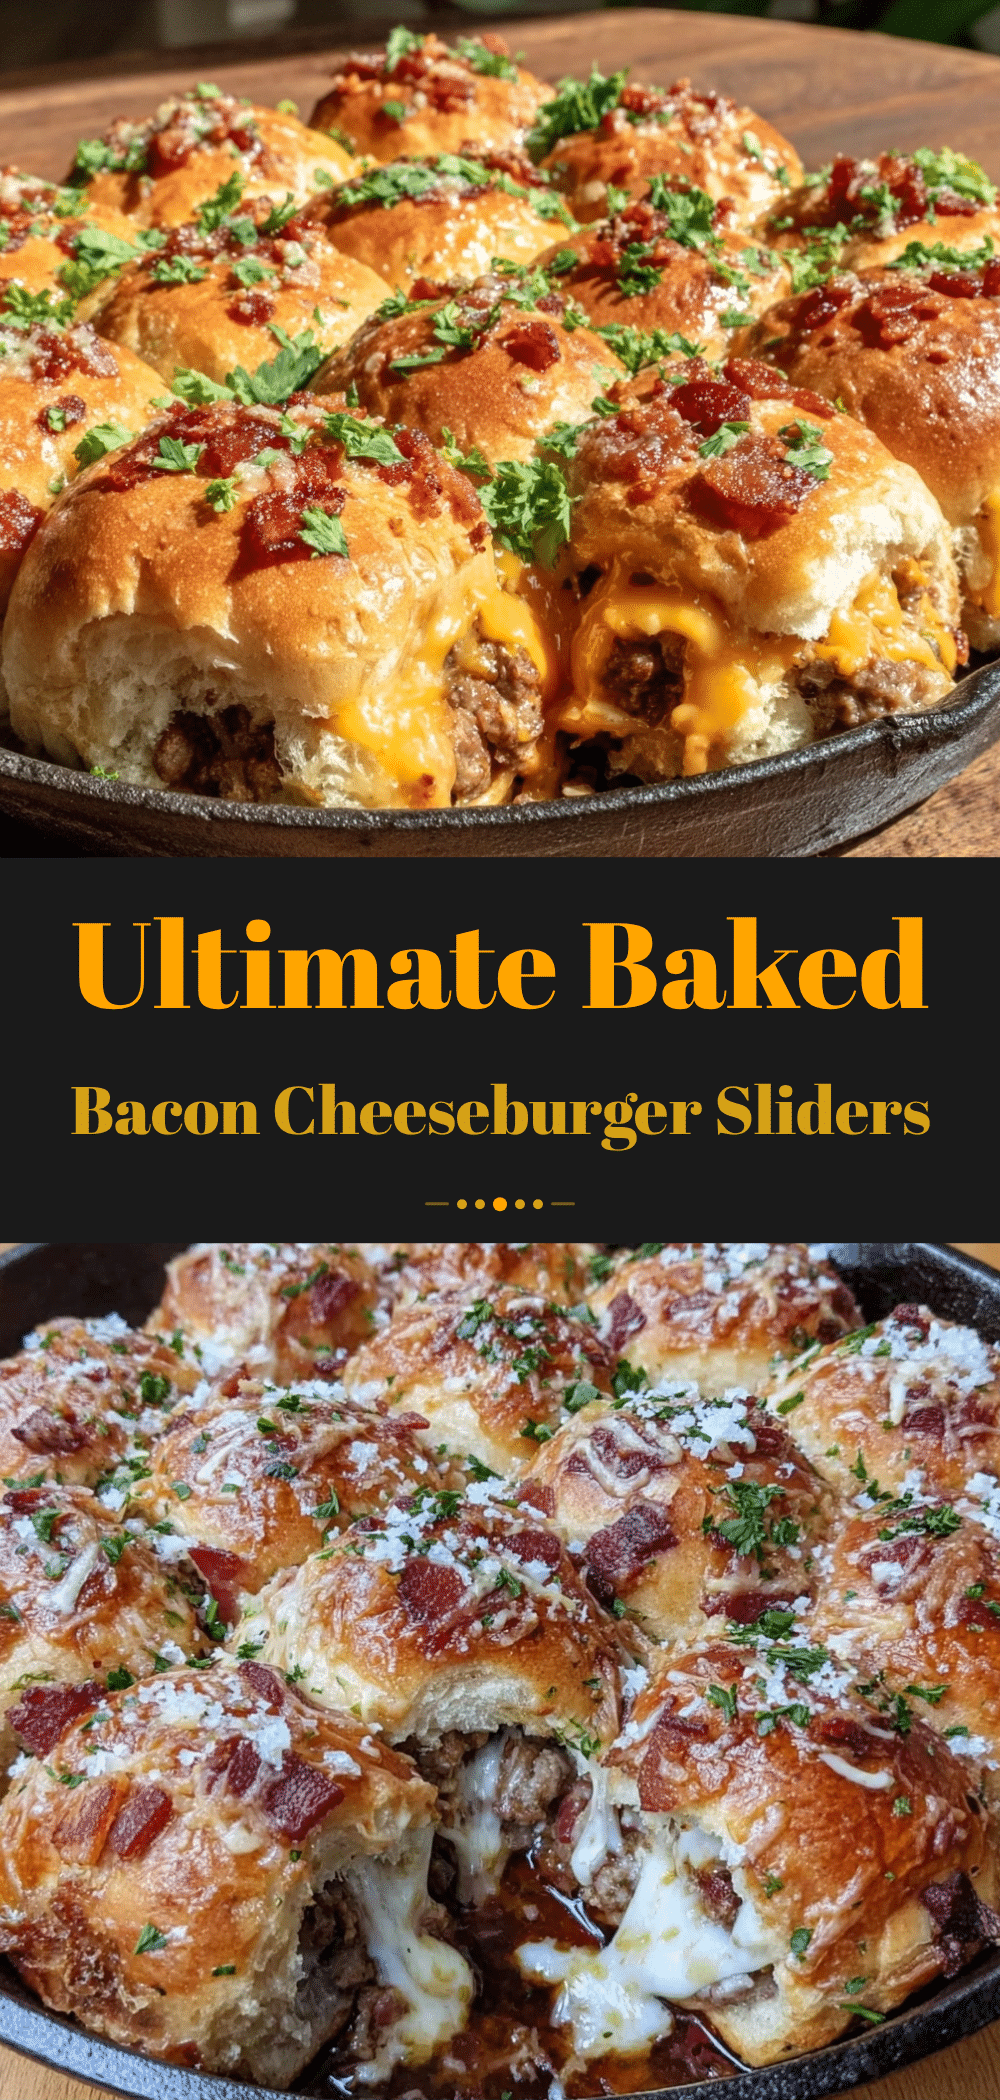

Game Day Bacon Cheeseburger Sliders: 5 Ingredients
- Total Time: 25 minutes
- Yield: 12 servings 1x
Description
These simple, beginner-proof sliders combine savory ground beef, crispy bacon, and melted American cheese on sweet Hawaiian rolls. Ready in under 30 minutes, they are the perfect comfort food for game day or lazy weeknight dinners.
Ingredients
- 1 pound (450g) ground beef (80/20 blend recommended)
- 1 package (12 rolls) Hawaiian rolls
- 2 tablespoons butter, melted
- 6–8 slices American cheese
- 6–8 strips thick-cut bacon, cooked and crumbled
- 1 teaspoon salt
- 1/2 teaspoon black pepper
Instructions
- Preheat oven to 350°F (175°C).
- Cook bacon in a skillet until crisp. Transfer to a paper towel-lined plate to drain, then crumble into small pieces while warm. Set aside.
- In a medium bowl, gently mix ground beef with salt and pepper. Do not overmix.
- Divide beef into 12 equal portions. Roll into balls and flatten slightly into small patties.
- Heat a large skillet over medium-high heat. Cook patties in a single layer for 2-3 minutes per side until browned but still slightly pink in the middle. Transfer to a plate.
- Place the Hawaiian rolls in a 9×13 inch baking dish, keeping them attached as a single unit.
- Place one beef patty on each roll. Top each patty with a slice of cheese, then sprinkle crumbled bacon over the cheese.
- Brush the tops of the rolls generously with melted butter.
- Bake for 8-10 minutes, or until the cheese is melted and the tops are golden brown.
- Remove from oven and let cool for 2 minutes before sliding apart and serving.
Notes
Do not overcook the beef in the pan as it will finish cooking in the oven. Crumble bacon into small pieces for even distribution. You can assemble these up to 4 hours ahead and refrigerate; add 2-3 minutes to baking time if cold from the fridge. For a gluten-free version, use gluten-free Hawaiian-style rolls.
- Prep Time: 15 minutes
- Cook Time: 10 minutes
- Category: Appetizer
- Cuisine: American
Nutrition
- Serving Size: 1 slider
- Calories: 280
- Sugar: 6
- Sodium: 520
- Fat: 16
- Saturated Fat: 7
- Carbohydrates: 22
- Fiber: 1
- Protein: 14
Keywords: game day food, sliders, bacon cheeseburger, easy dinner, 5 ingredient recipe, party food, comfort food, beef sliders


