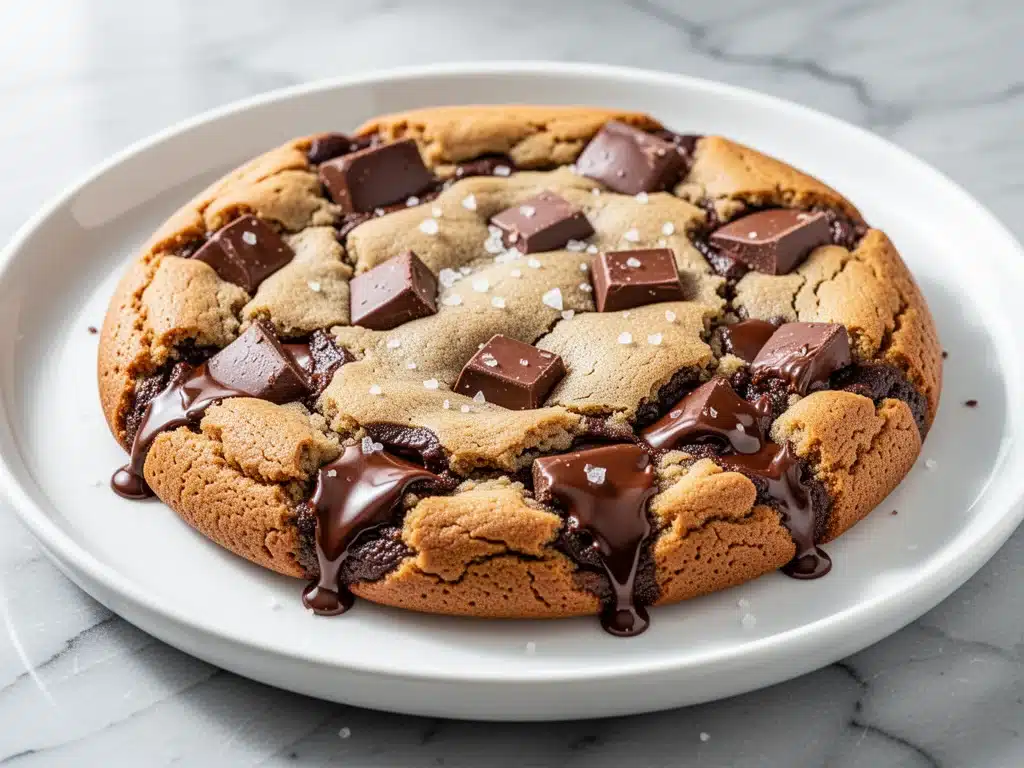
I still remember the smoke alarm going off on a rainy Tuesday in November. It wasn’t a fire, exactly, but it was close. I had been trying to recreate that viral TikTok cookie trend where you scoop dough into a cast iron skillet and bake it until the edges are crispy and the center is molten. I got impatient. I cranked the oven to 425°F because I wanted it done before my husband walked in the door from work. The result? A carbonized disc that looked like a hockey puck and tasted like regret.
I scraped the blackened edges off (don’t tell my kids) and ate the tiny bit of gooey center that survived. It was good, but it was ruined by the char. That night, I made a promise to myself: I would master the Warm Skillet Chocolate Chip Cookie. I wanted that perfect contrast—the crunch on the outside, the soft chew in the middle, and that irresistible warm, melty center that makes you pull a spoon right out of the dough.
It took me four more attempts. I adjusted the sugar ratios, played with the butter temperature, and finally figured out the exact baking time that keeps the center alive without being raw. Now, this cookie is my go-to when I need to impress guests without looking like I tried too hard, or when I just want to eat dessert straight out of the pan for dinner. It’s cozy, it’s indulgent, and it smells like heaven while it bakes.
What makes this Warm Skillet Chocolate Chip Cookie different from the ones you make in muffin tins? It’s the surface area. The skillet gives you a massive, continuous edge that gets caramelized and crisp, while the center stays thick and fudgy. It’s basically a giant cookie that serves a crowd (or just you, with zero judgment). I’ve made this for dinner parties, potlucks, and lazy Sunday mornings, and it never fails to get asked for the recipe. Let me show you how to get it right every single time.
Why You’ll Love This Skillet Cookie Recipe
There’s something deeply satisfying about pulling a sizzling cast iron skillet out of the oven and watching the cheese-like chocolate bubbles bubble up. But beyond the aesthetics, here’s why this Warm Skillet Chocolate Chip Cookie has earned a permanent spot in my baking rotation:
- Zero Cleanup Stress — Seriously, if you can mix batter in a bowl, you can make this. No rolling dough balls, no greasing individual cookie sheets. Just scoop, spread, and bake. I’ve made this on nights when I was too tired to think, and it still came out perfect.
- The Texture Contrast — This is the big one. Most cookies are uniform. This one has crispy, caramelized edges that give way to a soft, chewy, almost brownie-like center. It’s the best of both worlds.
- Impresses Without Effort — Serve this warm with a scoop of vanilla ice cream on top, and people will think you spent hours in the kitchen. In reality, it’s 15 minutes of prep and 12 minutes of baking. It’s my secret weapon for last-minute guests.
- Perfectly Portable — Unlike delicate layer cakes or fragile pastries, this cookie is sturdy. You can cut it into wedges, pack it in a box, or just pass around a spatula at the table. It travels well and stays moist for days.
- Customizable Canvas — While chocolate chips are classic, this base is flexible. You can swap in nuts, different chocolates, or even add a swirl of peanut butter. I’ve made versions with sea salt, brown butter, and even matcha. It’s forgiving.
This isn’t just a cookie; it’s a mood. It’s comfort food in its purest form. Once you taste that warm, gooey center, you’ll never go back to individual cookies again. Trust me, your family will thank you.
Ingredients You’ll Need
Here’s the best part: you probably have most of this already in your pantry. This Warm Skillet Chocolate Chip Cookie relies on simple, high-quality ingredients. The fewer fancy items, the better—because we want this to be accessible, not intimidating.
For the Dough
Unsalted butter (½ cup / 113g, softened) — This is the foundation. Softened means it should yield to gentle pressure but not be melted. If it’s too cold, it won’t cream properly. If it’s melted, your cookies will spread too thin. Room temperature is the sweet spot.
Granulated sugar (½ cup / 100g) — This adds crispness to the edges. Don’t skip it for all brown sugar; you need that sugar contrast for the texture.
Brown sugar (½ cup / 110g, packed) — This is what makes the center chewy and moist. Dark brown sugar has more molasses, which gives a deeper flavor, but light works fine too. Pack it tightly when measuring.
Large egg (1, at room temperature) — Room temperature eggs emulsify better into the butter and sugar mixture. Cold eggs can cause the batter to separate. If you forgot to take it out, drop the egg in warm water for 5 minutes.
Vanilla extract (1 teaspoon / 5ml) — Use real vanilla, not imitation. It makes a noticeable difference in the aroma and depth of flavor. I use pure vanilla bean paste sometimes for those pretty little specks, but extract is totally fine.
All-purpose flour (1 ¾ cups / 220g) — Spoon and level this method. Scooping directly from the bag packs too much flour, leading to dry cookies. I use a kitchen scale for accuracy, but if you don’t have one, fluff the flour, spoon it into the cup, and level it off with a knife.
Baking soda (½ teaspoon / 3g) — This helps the cookie spread and brown. Make sure it’s not expired! I check my baking soda every few months by dropping a bit in vinegar—it should fizz like crazy.
Salt (½ teaspoon / 3g) — Even though we’re using unsalted butter, salt is crucial. It balances the sweetness and enhances the chocolate flavor. Don’t skip it.
For the Topping
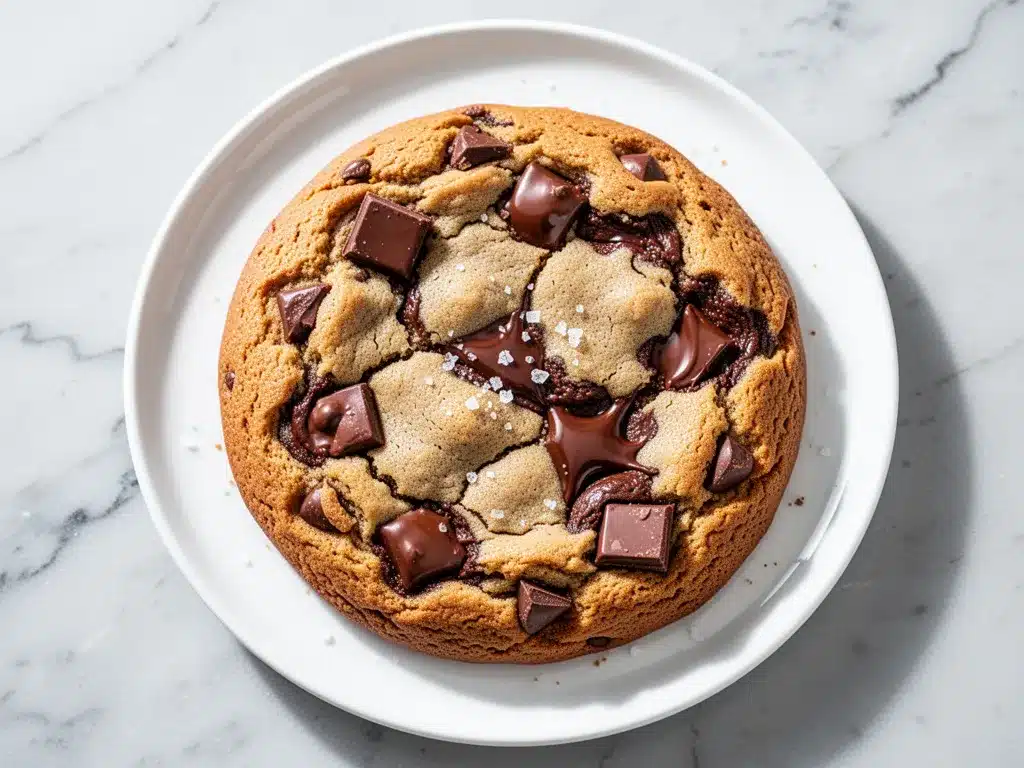
Chocolate chips (1 cup / 170g) — I use a mix of semi-sweet and milk chocolate. Semi-sweet keeps it from being too sweet, while milk chocolate adds creaminess. You can also use chunks for bigger melty pockets.
Flaky sea salt (optional, for finishing) — A sprinkle of Maldon or similar flaky salt right after baking elevates the flavor profile. The salt crystals crunch against the sweet dough. It’s a game-changer.
Vanilla ice cream (for serving) — Cold ice cream on hot cookie is non-negotiable. It’s the temperature contrast that makes this dessert addictive.
Equipment Needed
You don’t need fancy gadgets for this. Here’s what I actually use:
8-inch Cast Iron Skillet — This is the star of the show. It holds heat beautifully and creates those crispy edges. If you don’t have cast iron, a 9-inch oven-safe pie dish or a small baking pan works, but cast iron is best for the texture.
Mixing Bowl — A medium-sized bowl is perfect. Glass or stainless steel is easiest to clean.
Electric Mixer or Wooden Spoon — I prefer an electric hand mixer for creaming the butter and sugar. It takes 2 minutes and makes the texture lighter. If you’re doing it by hand, bring your arm muscles.
Spatula — A silicone spatula is great for folding in the chocolate chips and scraping the bowl clean.
Measuring Cups and Spoons — Standard stuff. Accuracy matters here, especially with flour.
Cooling Rack — Optional, but good for letting the skillet cool slightly before serving.
How to Make It: Step-by-Step
Alright, let’s make this! I’m walking you through exactly how I do it, including the little tricks I’ve picked up along the way. This process is straightforward, but attention to detail makes the difference between good and amazing.
Step 1: Prep Your Oven and Skillet (2 minutes)
Preheat your oven to 350°F (175°C). If your cast iron skillet is new, make sure it’s seasoned. If it’s well-seasoned, you don’t need to grease it—the butter in the dough is plenty. If you’re worried about sticking, brush the inside lightly with a little extra butter. Set it aside while you make the dough.
Step 2: Cream the Butter and Sugars (3 minutes)
In your mixing bowl, combine the softened unsalted butter, granulated sugar, and brown sugar. Using an electric mixer on medium speed, beat them together until the mixture is light, fluffy, and pale in color. This usually takes about 2-3 minutes. This step incorporates air, which helps the cookie rise slightly and get that tender crumb. If you’re doing it by hand, it’ll take longer, but keep at it!
Step 3: Add Wet Ingredients (1 minute)
Crack the egg into the bowl and add the vanilla extract. Mix on low speed until just combined. Don’t overmix here; you just want the egg incorporated. Scrape down the sides of the bowl with a spatula to make sure everything is evenly mixed.
Step 4: Mix Dry Ingredients (1 minute)
In a separate small bowl (or just right into the main bowl), whisk together the flour, baking soda, and salt. I like to whisk them separately to ensure the baking soda is evenly distributed. Then, add the dry ingredients to the wet mixture. Mix on low speed until just combined. Stop as soon as you no longer see streaks of flour. Overmixing develops gluten, which leads to tough cookies.
Step 5: Fold in Chocolate Chips (1 minute)
Using your spatula, gently fold in the chocolate chips. Make sure they’re distributed evenly throughout the dough. You want chips in every bite.
Step 6: Press Dough into Skillet (2 minutes)
Transfer the dough into your prepared cast iron skillet. Use your hands or the spatula to press it evenly into the pan. It should cover the entire bottom and go up the sides slightly. Don’t worry if it’s not perfectly smooth; it will spread as it bakes. If the dough is too stiff, let it sit at room temperature for 10 minutes to soften slightly.
Step 7: Bake (12-14 minutes)
Place the skillet in the preheated oven. Bake for 12-14 minutes. You’ll know it’s done when the edges are golden brown and set, but the center still looks slightly underbaked and soft. It might look raw in the middle, but that’s intentional! It will continue to cook from residual heat. Do not overbake, or you’ll lose that gooey center.
Step 8: Cool and Serve (5-10 minutes)
Remove the skillet from the oven. If you’re using flaky sea salt, sprinkle it over the hot cookie now. Let it cool in the skillet for 5-10 minutes. This allows the center to set slightly so it’s scoopable but still warm. Serve warm with a generous scoop of vanilla ice cream.
Total Time: About 20 minutes (5 minutes prep, 12 minutes bake, 5 minutes cool)
Expert Tips & Tricks
Here’s everything I’ve learned from making this dozens of times. These tips will save you from my mistakes.
Don’t Overbake
This is the #1 mistake people make. The cookie looks done when the edges are set, but the center should still jiggle slightly. It will firm up as it cools. If you wait until the center is firm in the oven, it’ll be dry and cakey when it cools. Pull it when it looks 90% done.
Room Temperature Ingredients
I cannot stress this enough. Cold butter doesn’t cream properly. Cold eggs don’t emulsify. Take your butter and egg out 30 minutes before you start. If you’re short on time, microwave the butter in 5-second bursts until soft, and warm the egg in water. It makes a huge difference in texture.
Chill the Dough (Optional but Recommended)
If you have time, chill the dough in the skillet for 30 minutes before baking. This solidifies the fat, which helps the cookie hold its shape and develop a deeper flavor as the butter rests. It also prevents spreading too much. I do this when I’m planning ahead.
Use Good Chocolate
Don’t use the cheapest chips you can find. The chocolate is a main flavor component. I prefer Ghirardelli or Guittard semi-sweet chips. Chopping up a chocolate bar gives you irregular chunks that melt differently, which I love, but chips are easier.
Salt is Your Friend
The flaky sea salt on top isn’t just for looks. It cuts through the sweetness and makes the chocolate flavor pop. Don’t skip it. Even a tiny pinch makes a big difference.
Common Mistakes
Mistake: Cookie is too flat — Fix: Your butter was too warm or melted. Next time, use cooler butter. Also, make sure your baking soda is fresh.
Mistake: Cookie is too dry — Fix: You overbaked it. Trust your eyes, not just the timer. Pull it when it looks slightly underdone.
Mistake: Dough sticks to skillet — Fix: Make sure your skillet is well-seasoned or lightly greased. If it’s a new pan, season it first.
Variations & Substitutions
Once you’ve nailed the basic version, here’s how you can mix it up. I’ve tried all of these, and they’re all winners.
Brown Butter Skillet Cookie
Take the butter in a saucepan over medium heat until it turns golden brown and smells nutty. Let it cool slightly before using. This adds a deep, complex flavor that’s incredible. It’s my personal favorite variation.
Peanut Butter Swirl
Before baking, dollop spoonfuls of peanut butter on top of the dough and swirl it in with a knife. The saltiness of the peanut butter pairs perfectly with the chocolate. It’s rich and indulgent.
Red Velvet
Add 1 tablespoon cocoa powder and 1 teaspoon red food coloring to the dough. Top with cream cheese frosting after baking. It’s festive and delicious.
Matcha White Chocolate
Swap the chocolate chips for white chocolate chips and add 1 teaspoon of matcha powder to the dry ingredients. The earthy green tea flavor is surprising and sophisticated.
Nutty
Add ½ cup of chopped pecans or walnuts along with the chocolate chips. Toast the nuts first for extra flavor. This adds crunch and richness.
Dietary Modifications
Gluten-Free — Use a 1:1 gluten-free flour blend. The texture might be slightly more crumbly, but it still works well.
Dairy-Free — Use dairy-free butter and dairy-free chocolate chips. The texture will be slightly different, but it’s still tasty. My dairy-free friends love this version.
Serving & Storage
How to Serve
I usually serve this straight from the skillet at the dinner table. It looks rustic and stays warm. But here are other ways I’ve enjoyed it:
- Classic: Warm cookie with a scoop of vanilla ice cream and a drizzle of caramel sauce.
- Breakfast: Yes, really. I’ve eaten this for breakfast with coffee. It’s sweet, filling, and satisfying.
- Party Style: Cut into wedges and serve with a variety of dips: peanut butter, Nutella, whipped cream, or fresh berries.
Storage Instructions
Room Temperature: Store leftovers in an airtight container at room temperature for up to 2 days. The cookie will stay soft, but the edges might soften too. If you want crispy edges, reheat in the oven.
Refrigerator: Store in an airtight container for up to 5 days. The cookie will firm up in the fridge. Let it come to room temperature or microwave for 10 seconds before eating.
Freezing: You can freeze the baked cookie. Wrap it tightly in plastic wrap and then foil. It will last for up to 3 months. Thaw at room temperature or reheat in the oven.
Reheating: To restore that warm, gooey texture, microwave individual portions for 10-15 seconds, or bake the whole skillet at 350°F for 5 minutes. Avoid the microwave if you want crispy edges; use the oven instead.
Pro Tip: If you’re meal-prepping, bake the cookie, let it cool completely, then cut into wedges. Store them in a container. Reheat each wedge as needed. It’s convenient and portion-controlled.
Nutrition Information
I’m not a nutritionist, but here’s the breakdown if you’re tracking. Keep in mind, this is a rich dessert, so portions matter.
| Per Serving (1/8 of cookie) | Amount |
|---|---|
| Calories | 280 |
| Protein | 3g |
| Carbs | 35g |
| Fiber | 1g |
| Sugar | 22g |
| Fat | 15g |
| Saturated Fat | 9g |
| Cholesterol | 35mg |
| Sodium | 180mg |
What’s Good: It’s a single-serving treat, so it’s easy to control portions. The chocolate provides some antioxidants.
What to Know: It’s high in sugar and saturated fat due to the butter and chocolate. Enjoy it as a special treat, not a daily snack. If you want to lighten it up, use less sugar and more dark chocolate.
Final Thoughts
So that’s my Warm Skillet Chocolate Chip Cookie! I’ve probably talked your ear off at this point, but when you make a recipe this often, you have a lot to say about it. This has saved me on countless nights when I needed something sweet but didn’t want to bake 24 individual cookies. It’s my answer to “what’s for dessert?” when I’m tired, don’t want takeout, and still want something that tastes really good.
Make it yours! Try different chocolates, add nuts, or swirl in peanut butter. The best recipes are the ones you adapt to your family’s tastes. If you make this, drop a comment and let me know what you think! I love hearing how recipes turn out in your kitchen. And if something doesn’t work, tell me that too—I’m here to help troubleshoot.
Happy baking! And I hope your kitchen smells half as good as mine does right now.
Frequently Asked Questions
Can I use a different pan instead of cast iron?
Yes! You can use a 9-inch oven-safe pie dish, a small baking pan, or even a stainless steel skillet. Cast iron is best for the crispy edges, but other pans will work. Just keep an eye on the baking time; it might cook slightly faster in thinner pans.
Why did my cookie spread too much?
This usually happens if the butter was too warm or melted before mixing. It can also happen if your baking soda is old. Make sure your butter is softened, not melted, and check the expiration date on your leavening agents.
Can I make this ahead of time?
You can make the dough ahead and store it in the skillet in the fridge for up to 2 days. Let it come to room temperature before baking, or bake it cold (it’ll take a minute longer). You can also bake it ahead and reheat it, but the texture won’t be as fresh.
How do I store leftovers?
Store in an airtight container at room temperature for up to 2 days. For longer storage, refrigerate for up to 5 days or freeze for up to 3 months. Reheat in the oven or microwave to restore warmth.
Can I double this recipe?
Absolutely! Just use a larger skillet (10-12 inch) and double the ingredients. The baking time might increase by 2-3 minutes. Keep an eye on it to avoid overbaking.
What kind of chocolate chips work best?
I recommend semi-sweet for balance, but milk chocolate is sweeter and creamier. Dark chocolate (60-70% cacao) is less sweet and more intense. You can also mix them for variety. Avoid chocolate bars that are too hard to chop; semi-sweet chips are easiest.
Is this cookie similar to other desserts?
It’s kind of a cross between a cookie and a brownie. It’s thicker than a regular cookie and chewier than a cake. If you like soft sugar cookie bars, you’ll love this for its similar chewy texture but richer flavor profile.
Pin This Recipe!
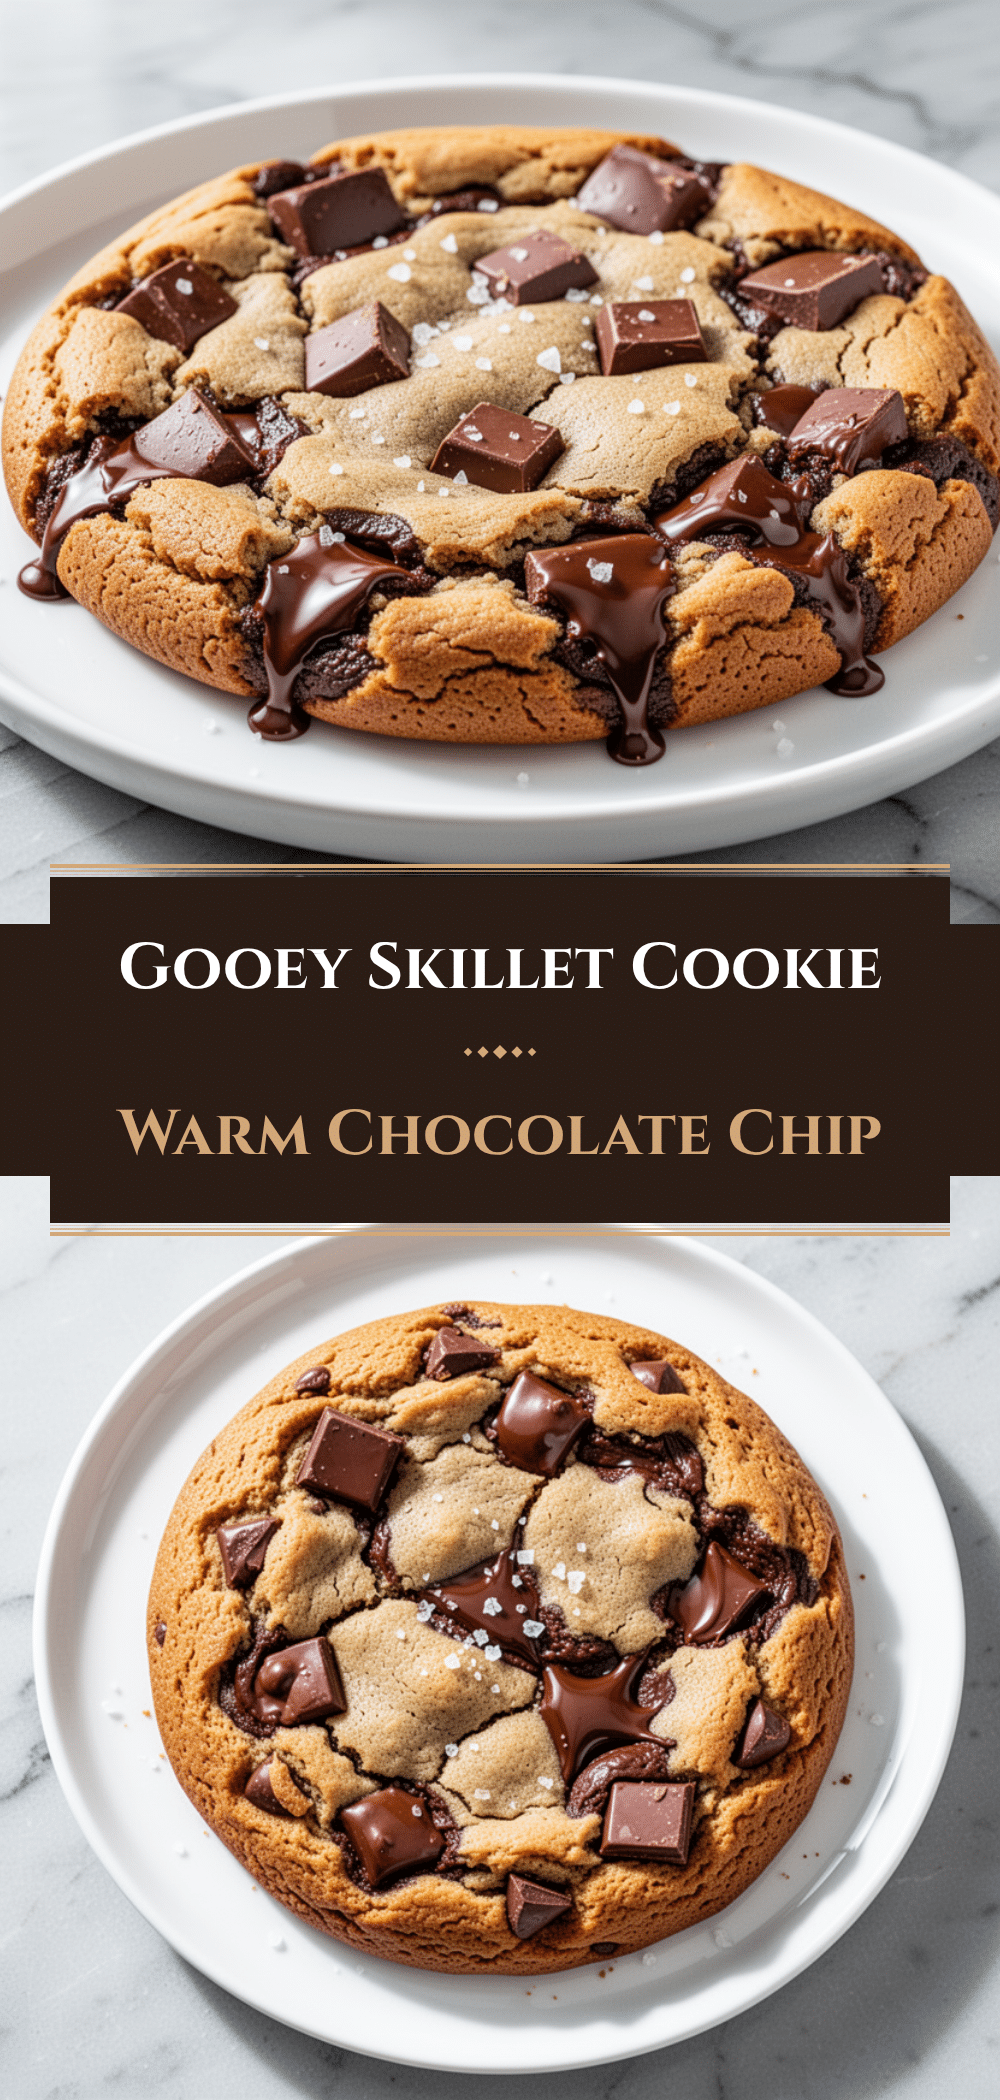
Warm Skillet Chocolate Chip Cookie: Best Easy Recipe
- Total Time: 20 minutes
- Yield: 8 servings 1x
Description
A cozy, indulgent dessert featuring a giant cookie baked in a cast iron skillet with crispy caramelized edges and a soft, molten center. Perfect for impressing guests or satisfying a sweet craving with minimal effort.
Ingredients
- 1/2 cup (113g) unsalted butter, softened
- 1/2 cup (100g) granulated sugar
- 1/2 cup (110g) packed brown sugar
- 1 large egg, room temperature
- 1 teaspoon vanilla extract
- 1 3/4 cups (220g) all-purpose flour
- 1/2 teaspoon baking soda
- 1/2 teaspoon salt
- 1 cup (170g) chocolate chips (semi-sweet and milk mix recommended)
- Flaky sea salt, optional for finishing
- Vanilla ice cream, for serving
Instructions
- Preheat oven to 350°F (175°C). If using a new cast iron skillet, ensure it is seasoned; lightly grease if concerned about sticking.
- In a mixing bowl, combine softened butter, granulated sugar, and brown sugar. Beat with an electric mixer on medium speed until light, fluffy, and pale (2-3 minutes).
- Add the egg and vanilla extract. Mix on low speed until just combined. Scrape down the sides of the bowl.
- In a separate bowl, whisk together flour, baking soda, and salt. Add dry ingredients to the wet mixture and mix on low until just combined. Do not overmix.
- Gently fold in chocolate chips using a spatula until evenly distributed.
- Transfer dough to the prepared skillet. Press evenly into the pan, covering the bottom and going slightly up the sides.
- Bake for 12-14 minutes. The edges should be golden brown and set, while the center remains slightly soft and underbaked.
- Remove from oven and immediately sprinkle with flaky sea salt if using. Let cool in the skillet for 5-10 minutes to allow the center to set slightly.
- Serve warm with vanilla ice cream.
Notes
Ensure butter is softened, not melted, to prevent spreading. Room temperature eggs emulsify better. Do not overbake; the center should look slightly underdone as it will firm up while cooling. For crispier edges, reheat in the oven rather than the microwave.
- Prep Time: 5 minutes
- Cook Time: 12 minutes
- Category: Dessert
- Cuisine: American
Nutrition
- Serving Size: 1/8 of the cookie
- Calories: 280
- Sugar: 22
- Sodium: 180
- Fat: 15
- Saturated Fat: 9
- Carbohydrates: 35
- Fiber: 1
- Protein: 3
Keywords: skillet cookie, chocolate chip cookie, cast iron dessert, easy cookie recipe, warm cookie, molten center, dessert for crowd


