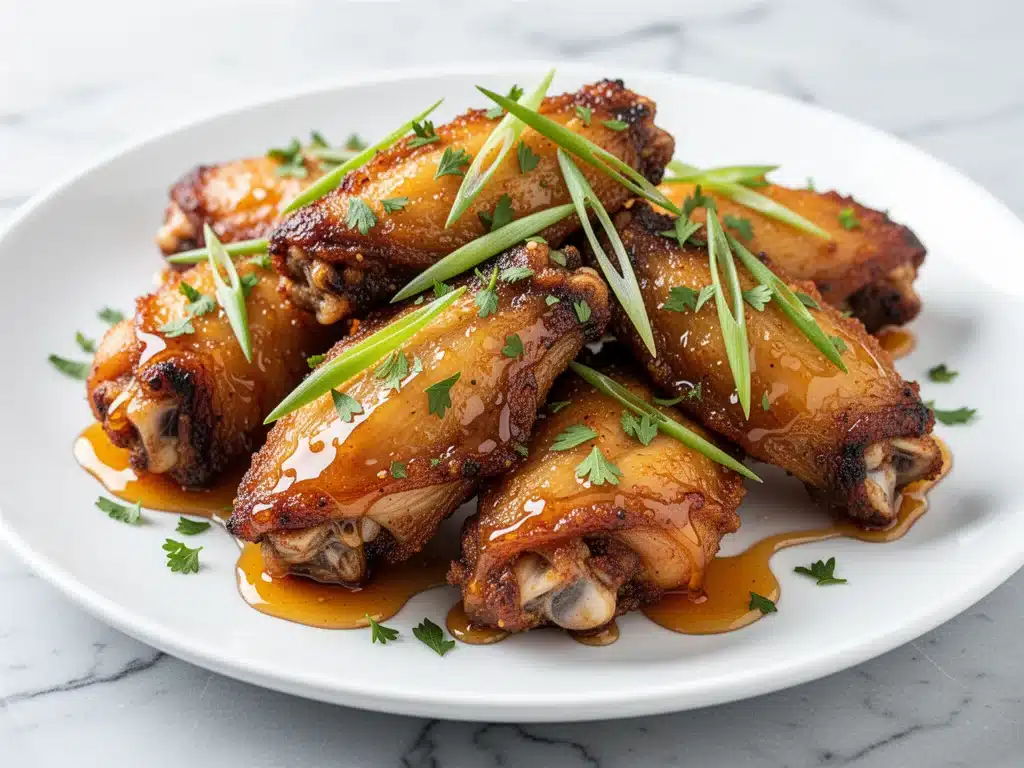
I still remember the first time I made chicken wings in an air fryer. I was standing in my kitchen at 11 PM, hungry, tired, and absolutely refusing to order takeout. The idea of heating up the oven for just a few wings felt like too much effort, but I also knew that deep-fried wings from the bar were going to leave me feeling sluggish and guilty by morning. So, I tossed some frozen wings into the basket, set the timer, and waited.
When that timer dinged, I opened the lid and was greeted by wings that looked… actually perfect. Crispy. Golden. Not steamed. Not soggy. I dipped one in a quick honey garlic sauce I threw together in a mug, took a bite, and nearly cried. It was the texture of deep-fried without the mess, the grease, or the 45-minute cook time. That was three years ago, and I haven’t looked back since.
These air fryer chicken wings with honey garlic glaze have completely replaced my takeout habit. They’re the ultimate weeknight snack, the star of any football party, and honestly, the reason my pantry always has a bag of wingettes on hand. I’ve tested this method so many times—trying different temperatures, different sauces, different wing cuts—that I’ve finally cracked the code on getting that restaurant-quality crunch every single time. No powder hacks needed. No double-frying. Just simple, reliable air frying magic.
If you’ve tried air frying wings before and ended up with rubbery or dry meat, you’re not alone. I’ve been there. The secret isn’t complicated, but it does require a few specific steps that most people skip. Once you get the hang of it, you’ll wonder why you ever bothered with anything else. Let’s get into the details so you can make these tonight.
Why You’ll Love This Air Fryer Chicken Wings Recipe
There are about a million reasons I keep coming back to this honey garlic wing recipe, but I’ll stick to the ones that actually matter when you’re deciding what to cook for dinner (or dinner, and breakfast, and a midnight snack).
Stupid Simple Cleanup — Seriously, if you can line a basket with parchment paper, you can make this. I usually just spray the basket with oil and toss the wings in. No deep fryer to scrub, no splatter guard to wash, no grease stains on the stove. Just toss the basket in the dishwasher or wipe it down. It’s the best part of air frying, hands-down.
Lightning Fast Cook Time — From fridge to table in about 30 minutes. The air fryer preheats in three minutes, and the wings cook in 25. That’s faster than waiting for a delivery driver, faster than heating up a full oven, and faster than boiling water for pasta. I make these on weeknights when I’m running on fumes.
Perfectly Crispy Every Time — I’ve tried baking them in the oven (too dry), pan-frying them (too much oil splatter), and deep-frying them (too messy). The air fryer circulates hot air around the wing, rendering out the fat and crisping the skin evenly. The result is a crunch that shatters when you bite it, with juicy meat underneath. It’s a game-changer.
Sauce Sticks Perfectly — One of the biggest complaints about oven-baked wings is that the sauce slides right off. Because air-fried wings have that textured, slightly porous skin from the high heat, the honey garlic glaze clings to every nook and cranny. You get that perfect sticky-sweet-savory balance in every bite.
Budget-Friendly — Chicken wings are one of the cheapest cuts of meat you can buy, especially if you grab the “party mix” (which includes drumettes and flats). I usually get a 2-3 pound bag for around $8-10. That feeds 2-3 people easily, or 4-5 if you have sides. It’s way cheaper than ordering from Wingstop or Buffalo Wild Wings.
Great for Entertaining — I’ve served these to my pickiest friends, and they always ask for the recipe. They look fancy on a platter, especially when you pile them high and garnish with sesame seeds and green onions. They’re perfect for game day, movie nights, or just because you want something delicious. Pair them with some easy holiday party snacks for a full spread, or serve them alongside crispy baked parmesan kale chips for a lighter appetizer option.
Ingredients You’ll Need
The beauty of this recipe is that the ingredient list is short. You don’t need a pantry full of weird spices. You just need good quality wings and a few basics for the glaze. Here’s what you’ll need, and why each part matters.
For the Wings
Chicken wings (2-3 pounds / 900g-1.3kg) — I recommend buying “party cut” wings, which come separated into drumettes and flats. If you get whole wings, ask your butcher to separate them, or do it yourself with kitchen shears. Cut off the tips and discard them (or save them to make stock later). Fresh wings work best, but frozen works too if you thaw them completely first. Don’t cook frozen wings straight from the freezer—they’ll steam instead of crisp.
Neutral oil (1-2 tablespoons) — Avocado oil, canola oil, or light olive oil work great. You don’t need a lot, just enough to coat the wings so the skin crisps up. Olive oil has a lower smoke point, so avoid extra virgin if you’re running the air fryer hot.
Seasoning blend (1 teaspoon each) — Salt, black pepper, and garlic powder. I keep it simple here because the honey garlic glaze is going to be the star. You just want a savory base. Some people add onion powder or paprika, but I find garlic powder alone pairs best with the garlic in the sauce. If you like heat, add a pinch of cayenne.
For the Honey Garlic Glaze
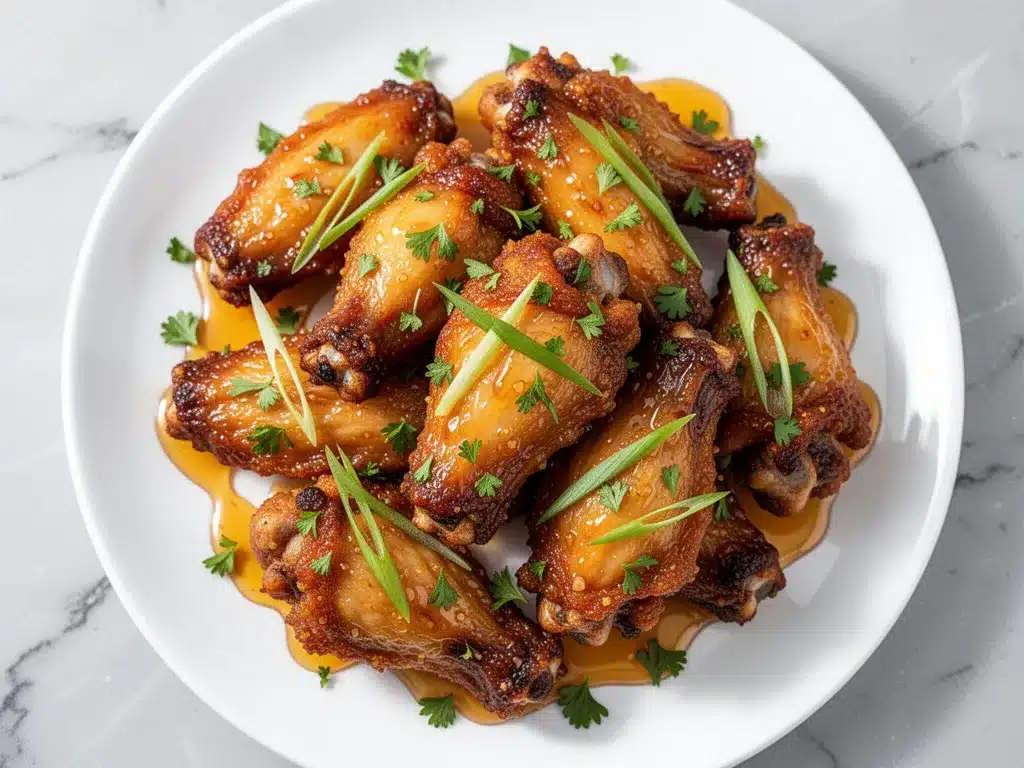
Honey (1/3 cup / 115g) — Use good quality honey. If it’s crystallized, just microwave it for 10 seconds to liquefy. Clover or wildflower honey works well. Manuka honey is too expensive for this, and corn syrup isn’t the same.
Soy sauce (3 tablespoons / 45ml) — Regular soy sauce is fine, but tamari if you want gluten-free. It adds that salty, umami depth that balances the sweetness. Don’t skip this—it’s what makes it “garlic soy” style rather than just “honey wings.”
Fresh garlic (4-5 cloves, minced) — Yes, fresh. Jarred garlic has a different flavor profile that doesn’t work well in a quick glaze. Mince it finely so it disperses evenly. If you’re really lazy, you can use garlic paste, but fresh tastes brighter.
Fresh ginger (1 teaspoon, grated) — This is optional but highly recommended. It adds a warm, zesty kick that cuts through the richness of the honey and chicken. If you don’t have fresh ginger, 1/4 teaspoon of ground ginger works, but it’s not as vibrant.
Rice vinegar or apple cider vinegar (1 tablespoon / 15ml) — A splash of acid balances the sweetness. Rice vinegar is milder and more traditional, but apple cider vinegar works too. Don’t use white vinegar—it’s too harsh.
Sesame oil (1 teaspoon) — Toasted sesame oil adds that nutty aroma that screams “Asian-inspired.” A little goes a long way. Don’t use untoasted sesame oil for cooking; it’s too mild.
Red pepper flakes (1/2 teaspoon) — Optional, but adds a nice background heat. Adjust based on your spice tolerance. I usually add a full teaspoon if I’m feeding a crowd.
Garlic powder (1/2 teaspoon) — Extra garlic flavor to boost the fresh garlic. This helps ensure the garlic flavor stands up to the chicken.
For Garnish (Optional but Recommended)
Green onions (2 stalks, sliced) — Adds color and a fresh, sharp bite to cut the sweet sauce.
White sesame seeds (1 tablespoon) — Adds texture and looks professional on the plate.
Chili crisp or Sriracha — For extra heat on the side. I like to drizzle a little chili crisp over the top at the end for extra crunch and flavor.
Equipment Needed
You don’t need fancy equipment for this. Here’s what I actually use in my kitchen.
Air fryer — Obviously. I use a 5.8-quart basket style. If you have a smaller air fryer, you’ll need to cook in two batches. Do not overcrowd the basket—that’s the number one reason wings fail to crisp. Air needs to circulate.
Baking sheet or parchment liners — I use perforated parchment paper liners designed for air fryers. They make cleanup instant. If you don’t have them, just spray the basket generously with oil. The wings will stick if you don’t.
Small saucepan or microwave-safe bowl — For heating the glaze. I usually heat it in a small saucepan on the stove for 2 minutes, but you can do it in the microwave in 30-second bursts.
Large mixing bowl — To toss the wings with oil and seasoning before cooking.
Tongs — For flipping the wings. Metal tongs work best. If you’re using parchment liners, be gentle so you don’t tear them.
Brush or spoon — For coating the wings in sauce. I usually toss them in a bowl with the sauce, but you can brush them on for a thinner layer.
How to Make It: Step-by-Step
Alright, let’s make these wings! I’m walking you through exactly how I do it, including the little tricks I’ve picked up over the last few years.
Step 1: Prep the Wings (5 minutes)
If your wings are frozen, make sure they’re completely thawed. Pat them dry with paper towels. This is crucial. Moisture is the enemy of crispiness. If the skin is wet, it’ll steam. I usually lay them on a paper towel-lined plate for 10 minutes to absorb excess moisture.
Once dry, toss the wings in a large bowl with the oil, salt, pepper, and garlic powder. Use your hands to massage the seasoning into the skin. You want every wing evenly coated. Don’t be shy with the seasoning—the skin needs flavor too.
Step 2: Preheat the Air Fryer (3 minutes)
Preheat your air fryer to 380°F (193°C). Most air fryers take about 3-5 minutes to preheat. If your model doesn’t have a preheat setting, just run it empty for 3 minutes. This ensures the wings start cooking immediately and crisp up fast.
Step 3: Arrange the Wings (2 minutes)
Place the wings in the air fryer basket in a single layer. Do not stack them! Overcrowding is the #1 mistake people make. If you have a small air fryer, cook in batches. Give each wing space so the hot air can circulate around it. If they’re touching, they’ll steam against each other and get soggy.
Step 4: Cook the Wings (20-25 minutes)
Insert the basket and cook at 380°F (193°C) for 20-25 minutes. At the 10-minute mark, pause the air fryer and flip the wings. This ensures even browning on all sides. If your air fryer has a strong fan, you might not need to flip, but I always do to be safe.
The wings are done when the skin is golden brown, crispy, and the internal temperature reaches 165°F (74°C). If you want them extra crispy, you can bump the temp to 400°F for the last 2-3 minutes, but watch them closely so they don’t burn.
Step 5: Make the Glaze (5 minutes)
While the wings cook, make the honey garlic glaze. In a small saucepan over medium heat, combine the honey, soy sauce, minced fresh garlic, grated ginger, rice vinegar, sesame oil, red pepper flakes, and garlic powder. Whisk constantly for 2-3 minutes until the mixture bubbles and thickens slightly. It should coat the back of a spoon. If it gets too thick, add a splash of water. If it’s too thin, let it simmer a bit longer. Remove from heat.
Quick tip: If you don’t want to use a saucepan, you can microwave the ingredients in a microwave-safe bowl for 1 minute, stirring halfway through. It won’t reduce as much, but it works in a pinch.
Step 6: Toss and Serve (2 minutes)
Transfer the hot wings to a large mixing bowl. Pour about 3/4 of the glaze over the wings. Toss gently but thoroughly until every wing is coated. You can save the rest of the sauce for dipping or drizzling later.
Transfer to a serving platter. Garnish with sliced green onions and sesame seeds. Serve immediately while they’re hot and crispy. The sauce will start to soften the skin if you let them sit too long, so get them on the table fast.
Expert Tips & Tricks
Here’s everything I’ve learned from making this dozens of times. These tips will save you from my mistakes.
Pat Them Dry — I can’t stress this enough. Wet wings = soggy wings. Use paper towels. Press down on them. Get them as dry as possible before adding oil.
Don’t Skip the Preheat — Putting cold wings into a cold air fryer takes longer and results in uneven cooking. Preheating ensures immediate crisping.
Single Layer Only — I know it’s tempting to stack them, but don’t. Cook in batches. The extra time is worth the crispiness.
Flip Halfway — Even if your air fryer has a strong fan, flipping ensures all sides get exposed to the heat. It’s a small step that makes a big difference.
Glaze Timing — Add the sauce after cooking, not before. If you put wet sauce on raw wings, it prevents the skin from crisping. Tossing them in hot sauce after they’re cooked gives you the best of both worlds: crispy skin and flavorful coating.
Save the Wing Tips — Don’t throw away the tips! Toss them in a pot with water, onion, and bay leaves, and simmer for an hour to make homemade chicken stock. It’s free flavor for your soups.
For Extra Crunch — Some people toss wings in a little cornstarch before air frying. I’ve tried it, and it works, but I prefer the natural texture of the skin. If you want that extra crunch, dust the dried wings with 1 tablespoon of cornstarch before oiling them.
Variations & Substitutions
Once you’ve nailed the basic version, here’s how you can mix it up. I’ve tried all of these.
Soy Ginger Wings — Skip the honey and add 2 tablespoons of brown sugar and extra ginger. Less sweet, more savory.
Buffalo Style — Toss the cooked wings in Frank’s RedHot sauce and a tablespoon of melted butter. Classic game day fare.
Korean Gochujang Wings — Mix 2 tablespoons gochujang paste, 1 tablespoon honey, 1 tablespoon soy sauce, and 1 teaspoon sesame oil for the glaze. Spicy, sweet, and funky.
Teriyaki Wings — Use teriyaki sauce instead of the honey-soy mix. Add a little cornstarch to the sauce to make it thicker.
BBQ Wings — Use your favorite BBQ sauce. Smoke paprika in the dry rub helps here.
Dietary Modifications — For gluten-free, use tamari instead of soy sauce. For lower sugar, use a sugar-free honey alternative like Lakanto. The texture will be slightly different, but the flavor is still good.
Serving & Storage
How to Serve — I serve these straight from the platter at the table. They’re perfect with roasted root vegetables or a simple green salad. For drinks, a crisp lager or a spicy margarita works great.
Leftovers — Store leftovers in an airtight container in the fridge for up to 3 days. The wings will lose some crispiness, but they’re still delicious.
Reheating — Reheat in the air fryer at 380°F for 3-4 minutes to restore crispiness. Do not microwave—they’ll get chewy and soggy. If you must microwave, do it for 30 seconds and finish in a toaster oven.
Freezing — You can freeze cooked wings for up to 2 months. Thaw in the fridge and reheat in the air fryer. Do not freeze raw wings with sauce on them.
Nutrition Information
I’m not a nutritionist, but here’s the breakdown if you’re tracking. Note that this is an estimate and varies based on wing size and sauce amount.
Per serving (based on 4 servings, about 8 wings each):
- Calories: 320
- Protein: 22g
- Carbs: 18g
- Fiber: 0g
- Sugar: 16g
- Fat: 18g
- Sodium: 580mg
Look, this is chicken wings with honey and soy sauce. It’s not a diet food. But it’s way better than takeout, and you control the ingredients. If you want to lighten it up, use less honey and skip the added sugar in the glaze.
Final Thoughts
So that’s my go-to air fryer chicken wings with honey garlic glaze! I’ve probably talked your ear off at this point, but when you make a recipe this often, you have a lot to say about it.
This has saved weeknight dinners more times than I can count. It’s my answer to “what’s for dinner” when I’m tired, don’t want takeout, and still want something that tastes really good. My kids are happy, my husband’s happy, and I’m happy because I’m not stressed about cooking.
Make it yours! Try different add-ins, swap in your favorite vegetables, adjust the garlic (though more is always better in my opinion). The best recipes are the ones you adapt to your family’s tastes.
If you make this, drop a comment and let me know what you think! I love hearing how recipes turn out in your kitchen. And if something doesn’t work, tell me that too—I’m here to help troubleshoot.
Happy cooking! And I hope your kitchen smells half as good as mine does right now.
Frequently Asked Questions
Can I use frozen wings?
You can, but they must be completely thawed before cooking. Cooking frozen wings will result in steamed, soggy skin. If you’re in a rush, thaw them in the microwave or in a bowl of cold water. Pat them dry thoroughly before seasoning.
Why are my wings not crispy?
Usually, this means the basket was overcrowded, or the wings weren’t patted dry enough. Air needs to circulate around each wing for crispiness. Also, make sure you’re not adding sauce before cooking. Sauce on raw wings prevents crisping.
Can I make the glaze ahead of time?
Yes! The glaze keeps in the fridge for up to a week. Reheat it gently before tossing with the wings. It might thicken in the fridge, so add a splash of water when reheating.
What’s the best temperature for air frying wings?
380°F (193°C) is the sweet spot. It’s high enough to crisp the skin but not so high that it burns the outside before the inside is cooked. If you want extra crunch, finish them at 400°F for 2-3 minutes.
Can I use chicken drumsticks instead?
You can, but the cooking time will be longer. Drumsticks are thicker and take about 30-35 minutes to cook. Make sure they reach an internal temperature of 165°F.
How do I prevent the sauce from burning?
Don’t add the sauce until after the wings are cooked. Honey burns easily at high temperatures. If you want a caramelized finish, you can brush a little sauce on the wings and air fry them for 1 more minute, but watch them closely.
Can I double this recipe?
Absolutely! Just cook in batches. Do not try to fit double the wings in one layer—they won’t cook evenly. Double the glaze recipe to match.
Pin This Recipe!
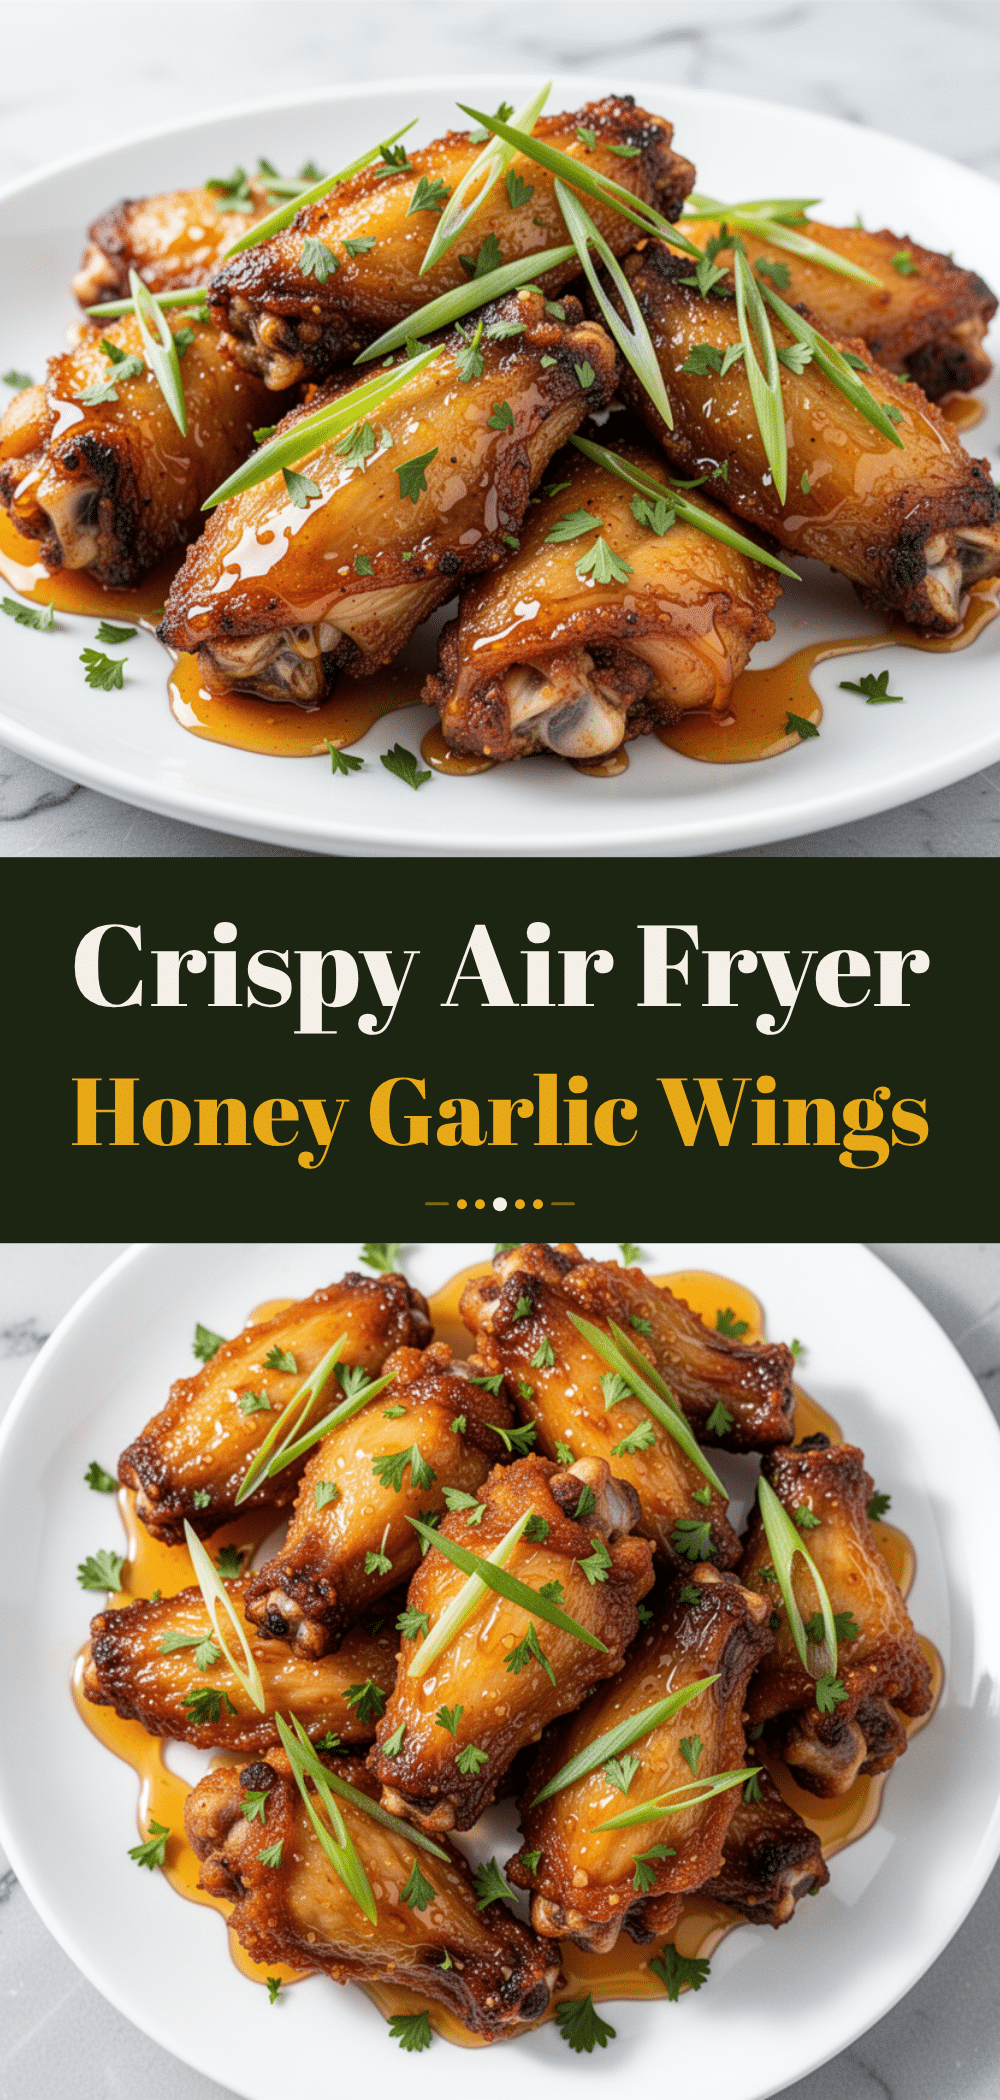
Perfect Air Fryer Chicken Wings: Easy Honey Garlic Recipe
- Total Time: 30 minutes
- Yield: 4 servings 1x
Description
Crispy, golden air fryer chicken wings tossed in a sticky, sweet, and savory honey garlic glaze. This recipe delivers restaurant-quality crunch without the mess or grease of deep frying.
Ingredients
- 2–3 pounds chicken wings (party cut, drumettes and flats)
- 1–2 tablespoons neutral oil (avocado, canola, or light olive oil)
- 1 teaspoon salt
- 1 teaspoon black pepper
- 1 teaspoon garlic powder
- 1/3 cup honey
- 3 tablespoons soy sauce (or tamari for gluten-free)
- 4–5 cloves fresh garlic, minced
- 1 teaspoon fresh ginger, grated
- 1 tablespoon rice vinegar or apple cider vinegar
- 1 teaspoon toasted sesame oil
- 1/2 teaspoon red pepper flakes
- 1/2 teaspoon garlic powder
- 2 stalks green onions, sliced (for garnish)
- 1 tablespoon white sesame seeds (for garnish)
Instructions
- Thaw wings completely if frozen. Pat them very dry with paper towels to ensure crispiness.
- In a large bowl, toss wings with neutral oil, salt, black pepper, and 1 teaspoon garlic powder until evenly coated.
- Preheat air fryer to 380°F (193°C) for 3 minutes.
- Arrange wings in the air fryer basket in a single layer, ensuring they do not touch or overlap. Cook in batches if necessary.
- Air fry at 380°F for 20-25 minutes, flipping the wings halfway through the cooking time.
- Wings are done when skin is golden brown and crispy, and internal temperature reaches 165°F.
- While wings cook, combine honey, soy sauce, minced garlic, grated ginger, rice vinegar, sesame oil, red pepper flakes, and 1/2 teaspoon garlic powder in a small saucepan.
- Heat glaze over medium heat, whisking constantly for 2-3 minutes until it bubbles and thickens slightly. Remove from heat.
- Transfer cooked wings to a large bowl and pour about 3/4 of the glaze over them. Toss gently to coat evenly.
- Serve immediately on a platter, garnished with sliced green onions and sesame seeds.
Notes
Patting wings dry is crucial for crispiness. Do not overcrowd the air fryer basket; cook in batches if needed. Add sauce after cooking to prevent burning and ensure skin stays crispy. Leftovers can be stored in the fridge for up to 3 days and reheated in the air fryer to restore crispness.
- Prep Time: 5 minutes
- Cook Time: 25 minutes
- Category: Appetizer
- Cuisine: Asian Fusion
Nutrition
- Serving Size: Approximately 8 wing
- Calories: 320
- Sugar: 16
- Sodium: 580
- Fat: 18
- Saturated Fat: 4
- Carbohydrates: 18
- Protein: 22
Keywords: air fryer chicken wings, honey garlic wings, crispy chicken wings, easy appetizer, weeknight dinner, gluten-free options, party food


