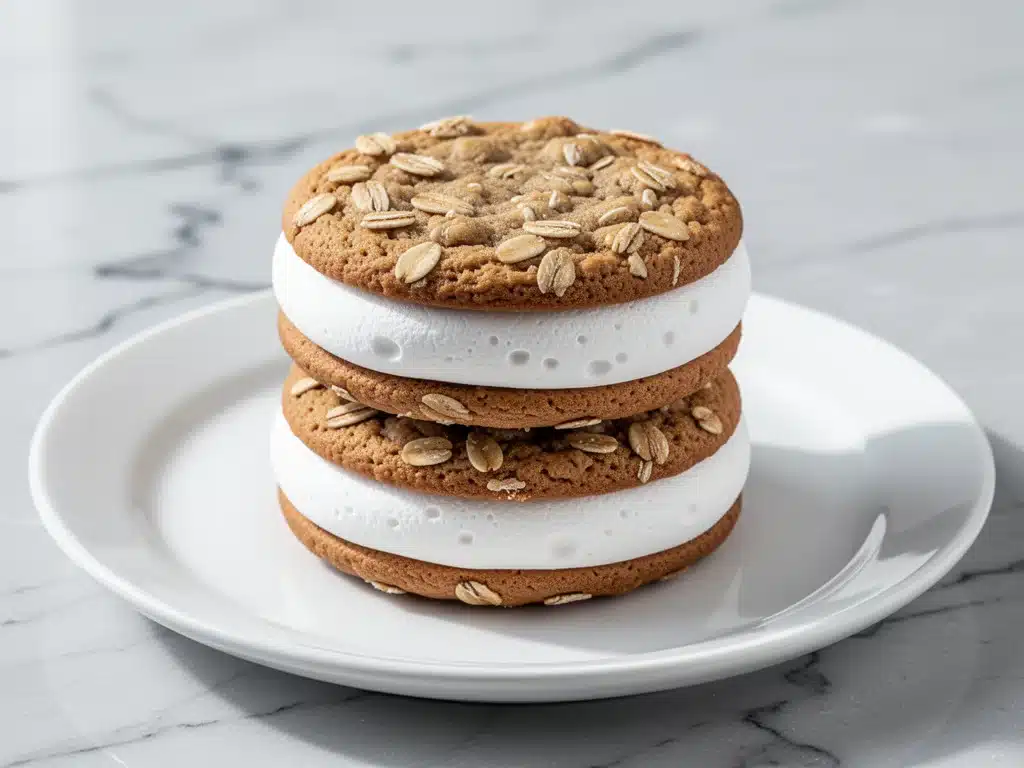
My kitchen smells like a bakery right now, and I have absolutely zero regrets about it.
There is something magical about baking cookies that smell like your childhood but taste like you’ve actually grown up and refined your palate. I remember the first time I tried a store-bought oatmeal cream pie. It was that soft, squishy kind that tasted faintly of artificial vanilla and regret. I loved it anyway. But I never thought I could make one that was better—the kind with a cookie that’s actually chewy (not cakey, not crisp, but that perfect tender chew) and a filling that’s pillowy soft and not overly sweet.
Well, I spent the last month failing. I made these chewy oatmeal cream pies with fluffy marshmallow filling so many times that my family started eyeing the oven with suspicion. Did I lose my mind? No. I was just chasing perfection. And I think I found it.
These aren’t just cookies sandwiched together. They’re little clouds of comfort. The cookies have that deep, caramelized oat flavor, and the filling? It’s the real star. It’s light, airy, and melts on your tongue. I’ve been making these for everything—from my daughter’s school bake sales (where they vanished in seconds) to late-night snack attacks when I need something sweet but satisfying.
If you’ve ever wondered how to make a homemade oatmeal cream pie that actually rivals the classic brands, you’re in the right place. This recipe is foolproof, uses ingredients you probably have, and results in treats that everyone always asks for. Seriously, I’ve had neighbors knock on my door just to ask for the recipe. So, let’s get baking.
Why You’ll Love This Recipe
Look, I know there are a million cookie recipes out there. But this one? It’s special. Here’s why I keep making it:
- Texture Perfection — Most oatmeal cookies are either too dry or too cakey. These are tender and chewy, with a slight crisp on the edges. The filling adds that soft, marshmallowy contrast that makes every bite interesting.
- Fluffy Marshmallow Filling — I’m not using pre-made marshmallow fluff. I’m making a whipped marshmallow cream from scratch (yes, really), and it’s lighter than air. It’s not cloyingly sweet, just pure vanilla comfort.
- Easy to Make — You don’t need fancy equipment. Just a stand mixer or hand mixer, a few bowls, and about 30 minutes of active time. The dough chills while you whip the filling, so you’re not standing over the stove.
- Great for Gifting — These look like they came from a fancy bakery. I package them in little boxes with tissue paper, and they make incredible gifts. They also freeze beautifully, so you can make a batch and keep them for later.
- Customizable — Want to add chocolate chips to the cookies? Go for it. Want to add a hint of cinnamon to the filling? Done. This recipe is a canvas.
I’ve made these for holidays, birthdays, and random Tuesdays. They’re versatile, reliable, and always a hit. If you’re looking for a dessert that’s more impressive than chewy s’mores cookie bars but just as easy to throw together, this is it.
Ingredients You’ll Need
Here’s the best part: you probably have most of this already in your pantry. I’m particular about three ingredients here, and I’ll tell you exactly why.
For the Chewy Oatmeal Cookies
Unsalted butter (1 cup / 226g) — Room temperature. This is crucial. If your butter is too cold, it won’t cream properly with the sugar, and your cookies will be dense. If it’s too melted, they’ll spread too thin. I leave mine out for about an hour before baking.
Light brown sugar (1 cup / 200g) — Packed. Brown sugar adds moisture and that deep molasses flavor. I use light brown sugar because it’s not too overpowering, but dark brown sugar works if you like a stronger caramel taste.
Granulated sugar (½ cup / 100g) — This helps with the crisp edges. It balances the moisture from the brown sugar.
Egg (1 large) — Room temperature. Again, helps with proper mixing. I crack mine into a small bowl first to check for shells.
Vanilla extract (2 teaspoons) — Use real vanilla. Fake vanilla tastes… well, fake. I use McCormick or Nielsen-Massey.
All-purpose flour (2 cups / 250g) — Don’t scoop and level. Spoon it into the cup and level it off. Scooping packs it down, and you’ll end up with dry cookies.
Baking soda (1 teaspoon) — Fresh! If your baking soda is more than six months old, it might not work. Test it with a little vinegar—if it doesn’t fizz, toss it.
Cornstarch (1 teaspoon) — This is my secret weapon. It keeps the cookies soft and chewy. I learned this trick from a professional baker friend, and it’s a game-changer.
Cinnamon (1 teaspoon) — Ground cinnamon. Adds warmth and depth.
Salt (½ teaspoon) — Balances the sweetness. Don’t skip it.
Old-fashioned rolled oats (3 cups / 270g) — Not quick oats. Quick oats make the cookies mushy. Old-fashioned oats give that hearty, chewy texture. I use Quaker, but any brand works.
For the Fluffy Marshmallow Filling
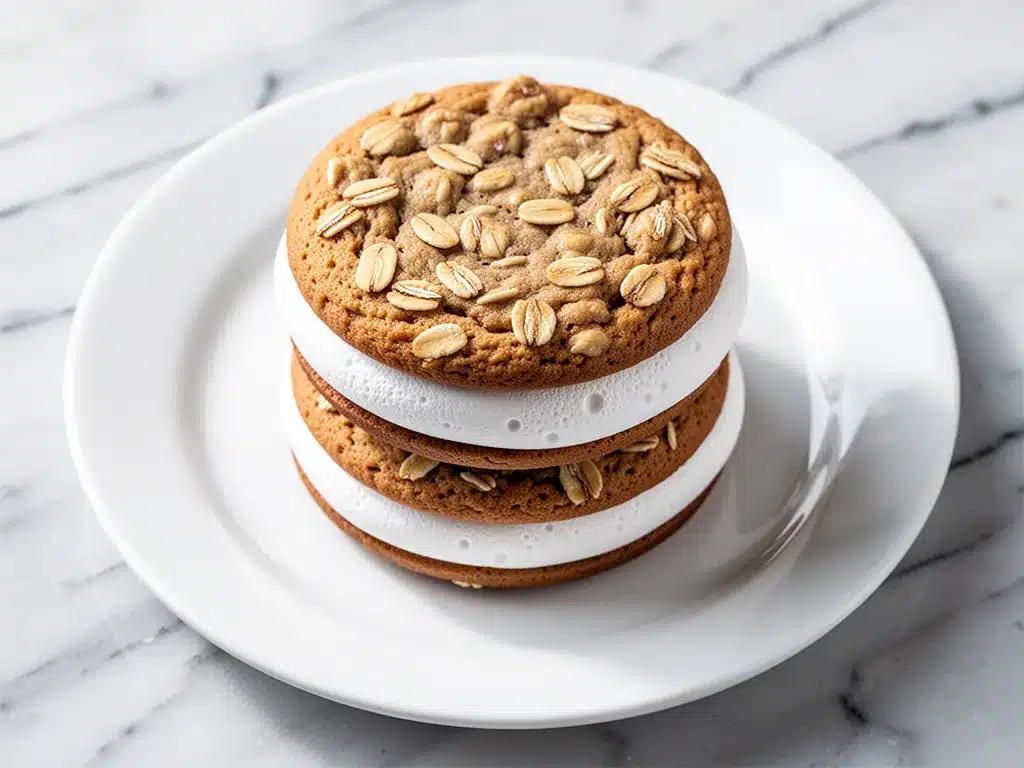
Marshmallow fluff (1 jar / 7 ounces) — Yes, we’re starting with store-bought fluff. Don’t worry, we’re going to whip it up with butter and powdered sugar to make it lighter and less sweet. I use Jet-Puffed because it’s widely available and has a neutral taste.
Unsalted butter (½ cup / 113g) — Room temperature. Softened, not melted.
Powdered sugar (2 cups / 240g) — Sifted. This prevents lumps in the filling. I use a fine-mesh sieve for this.
Vanilla extract (1 teaspoon) — For extra flavor.
Salt (a pinch) — To cut the sweetness.
Heavy cream (1-2 tablespoons) — Only if needed. Sometimes the filling is too stiff, and a splash of cream helps lighten it. Add gradually.
Equipment Needed
You don’t need fancy equipment for this. Here’s what I actually use:
Stand mixer or hand mixer — For creaming the butter and sugar, and for whipping the filling. I have a KitchenAid, but a hand mixer works just as well.
Mixing bowls — One large bowl for the cookie dough, one medium for the filling.
Measuring cups and spoons — Standard stuff. Dollar store versions work fine.
Baking sheets — I use two large sheet pans. If you only have one, you’ll need to bake in batches.
Parchment paper — Lining your baking sheets prevents sticking and makes cleanup easier. I never bake without it.
Spreader — I use an offset spatula to spread the filling on the cookies. A butter knife works too.
Cooling rack — Essential for cooling the cookies completely before filling. Warm cookies will melt the filling.
Spatula — For scraping down the bowl. Never waste any dough!
How to Make It: Step-by-Step
Alright, let’s make this! I’m walking you through exactly how I do it, including the little tricks I’ve picked up.
Step 1: Prep Your Ingredients (5 minutes)
Before you start, make sure your butter is at room temperature. It should be soft enough to leave an indent when you press it but not melted. Measure out all your dry ingredients: flour, baking soda, cornstarch, cinnamon, and salt. Whisk them together in a medium bowl. This ensures even distribution. Set aside.
Step 2: Cream the Butter and Sugars (3-4 minutes)
In a large mixing bowl, beat the unsalted butter, light brown sugar, and granulated sugar together on medium-high speed. You’re looking for a light, fluffy mixture, about 2-3 minutes. Scrape down the sides of the bowl with a spatula. This step incorporates air, which helps the cookies rise slightly and stay tender.
Step 3: Add Wet Ingredients (1 minute)
Beat in the egg and vanilla extract until fully combined. The mixture might look a bit curdled at first—that’s okay. It will come together in the next step.
Step 4: Combine Dry and Wet (2 minutes)
Reduce the mixer speed to low. Gradually add the flour mixture to the butter mixture. Mix just until the flour disappears. Overmixing develops gluten, which makes cookies tough. Stop as soon as you don’t see streaks of flour.
Step 5: Fold in the Oats (1 minute)
Switch to a spatula. Fold in the rolled oats until evenly distributed. The dough should be thick and sticky. If it’s too dry, add a teaspoon of milk. If it’s too wet, add a tablespoon of flour. But it should be pretty close to perfect at this stage.
Step 6: Chill the Dough (30 minutes)
Cover the bowl with plastic wrap and refrigerate for at least 30 minutes. This step is non-negotiable. Chilled dough spreads less, resulting in thicker, chewier cookies. While the dough chills, you can make the filling.
Step 7: Make the Fluffy Marshmallow Filling (5 minutes)
In a medium bowl, beat the softened butter until creamy. Add the marshmallow fluff and vanilla extract. Beat until smooth. Gradually add the sifted powdered sugar, beating on low speed to avoid a sugar cloud. Once combined, increase speed to medium-high and whip for 2-3 minutes until light and fluffy. If it’s too stiff, add heavy cream, one tablespoon at a time, until you reach a spreadable consistency. Taste and adjust salt if needed. The filling should be sweet but not cloying.
Step 8: Scoop and Bake the Cookies (15-18 minutes)
Preheat your oven to 350°F (175°C). Line baking sheets with parchment paper. Scoop the dough into balls (about 2 tablespoons each) and place them on the baking sheets, spacing them 2 inches apart. Flatten them slightly with your palm or the bottom of a glass. Bake for 12-15 minutes, or until the edges are lightly golden. The centers will still look soft—that’s how they stay chewy. Let them cool on the baking sheet for 5 minutes, then transfer to a wire rack to cool completely.
Step 9: Assemble the Cream Pies (10 minutes)
Once the cookies are completely cool, spread a generous amount of filling on the flat side of one cookie. Top with another cookie, flat side down, to form a sandwich. Repeat with the remaining cookies. You’ll get about 15-18 cream pies, depending on how thick you spread the filling.
Expert Tips & Tricks
Here’s everything I’ve learned from making this dozens of times. These tips will save you from my mistakes.
Don’t Overbake — The cookies will continue to cook on the hot baking sheet after you take them out of the oven. Pull them when the edges are just starting to turn golden. If they’re brown before they come out, they’ll be crunchy, not chewy.
Chill the Dough — I know it’s tempting to skip this, but it makes a huge difference. Chilled dough holds its shape better, resulting in thicker cookies. If you’re short on time, freeze the dough balls for 15 minutes instead.
Whip the Filling — Don’t skip the whipping step. It incorporates air and makes the filling lighter. If you just mix it, it’ll be dense and heavy. Whip it until it’s pale and fluffy.
Use Parchment Paper — It prevents sticking and ensures even baking. I’ve tried baking without it once, and the cookies stuck to the pan. Never again.
Store Properly — Keep the assembled cream pies in an airtight container at room temperature for up to 5 days. They actually taste better after a day, as the filling softens the cookies slightly.
Freezing — You can freeze the unbaked dough balls for up to 3 months. Just thaw them in the fridge before baking. You can also freeze the assembled cream pies. Wrap them individually in plastic wrap, then put them in a freezer bag. Thaw at room temperature before eating.
Variations & Substitutions
Once you’ve nailed the basic version, here’s how you can mix it up. I’ve tried all of these.
Chocolate Chip Oatmeal Cream Pies — Add 1 cup of chocolate chips to the dough. Classic combo.
Double Chocolate — Replace ½ cup of flour with cocoa powder. Add chocolate chips to the dough. Use chocolate marshmallow fluff for the filling.
Cinnamon Sugar Coating — Roll the cookie dough balls in cinnamon sugar before baking. Adds a crunchy, spiced exterior.
Gluten-Free — Use a 1:1 gluten-free flour blend. Make sure your oats are certified gluten-free. The texture might be slightly different, but it’s still delicious.
Vegan — Use vegan butter and vegan marshmallow fluff (like Dandies). Use flax eggs instead of regular eggs. The filling might be slightly less fluffy, but it’s still good.
Pumpkin Spice — Add 1 cup of pumpkin puree to the dough (reduce flour by ¼ cup) and add pumpkin pie spice. This pairs beautifully with the marshmallow filling. If you like pumpkin, you might also enjoy my ultra-moist pumpkin bread.
Serving & Storage
How to Serve: I usually serve these with a cold glass of milk. It’s the classic pairing. You can also serve them with coffee or tea for a cozy afternoon treat. They’re perfect for picnics, potlucks, or just a quiet night in.
Storage: Store in an airtight container at room temperature for up to 5 days. If it’s hot and humid, keep them in the fridge. They’ll firm up a bit, so let them sit at room temperature for 10 minutes before eating.
Reheating: You don’t need to reheat these. They’re best at room temperature. If you want them warm, you can microwave one for 10 seconds, but the filling might get a bit runny.
Freezing: As mentioned, freeze the assembled cream pies in a single layer on a baking sheet, then transfer to a freezer bag. They’ll keep for up to 3 months. Thaw at room temperature.
Nutrition Information
I’m not a nutritionist, but here’s the breakdown if you’re tracking. This is per cream pie (based on 18 servings).
- Calories: 280
- Protein: 3g
- Carbs: 42g
- Fiber: 2g
- Sugar: 26g
- Fat: 12g
- Saturated Fat: 7g
- Cholesterol: 25mg
- Sodium: 180mg
Look, these are treats. They’re sweet, buttery, and marshmallowy. Enjoy them in moderation. If you’re looking for something lighter, try my high-protein cookie dough bites. But if you want pure comfort, these are your guys.
Final Thoughts
So that’s my recipe for chewy oatmeal cream pies with fluffy marshmallow filling. I’ve probably talked your ear off at this point, but when you make a recipe this often, you have a lot to say about it.
These cookies have saved my bake sales, my holiday gifts, and my late-night cravings. They’re easy to make, impressive to serve, and absolutely delicious. My family loves them, my friends request them, and I hope you’ll love them too.
Make it yours! Try different add-ins, swap in your favorite extracts, or adjust the sweetness to your taste. The best recipes are the ones you adapt to your family’s tastes.
If you make this, drop a comment and let me know what you think! I love hearing how recipes turn out in your kitchen. And if something doesn’t work, tell me that too—I’m here to help troubleshoot.
Happy baking! And I hope your kitchen smells half as good as mine does right now.
Frequently Asked Questions
Can I use quick oats instead of old-fashioned oats?
I don’t recommend it. Quick oats are finer and will make the cookies cakey rather than chewy. Old-fashioned oats provide that hearty texture that defines an oatmeal cream pie. If you must, you can pulse the quick oats in a food processor a few times to break them down, but old-fashioned is still best.
Why did my cookies spread too much?
This usually happens if the butter was too warm or if you didn’t chill the dough. Make sure your butter is room temperature but not melted. Also, chill the dough for at least 30 minutes. If you’re baking on a warm day, consider chilling the baking sheets before scooping the dough.
Can I make the filling ahead of time?
Yes! You can make the filling up to 3 days ahead. Store it in an airtight container in the fridge. Let it come to room temperature and give it a quick whip before using. It might need a little extra whipping to get fluffy again.
How do I keep the filling from leaking out?
Make sure you’re not overfilling the cookies. A tablespoon or two is usually enough. Also, ensure the cookies are completely cool before adding the filling. Warm cookies will melt the filling, causing it to ooze out. If you’re worried, you can refrigerate the assembled cream pies for 30 minutes to set the filling.
Can I freeze the dough balls?
Absolutely! Scoop the dough into balls and freeze them on a baking sheet until solid. Then transfer to a freezer bag. You can bake them straight from frozen, just add 1-2 minutes to the baking time. This is great for meal prep.
Is there a substitute for marshmallow fluff?
If you can’t find marshmallow fluff, you can make a simple marshmallow cream by melting marshmallows with a little corn syrup and butter, then whipping it. But store-bought fluff is much easier and works perfectly for this recipe. I’ve tried both, and fluff is the way to go.
Can I use dark brown sugar?
Yes, you can. Dark brown sugar has a stronger molasses flavor, which will give the cookies a deeper, richer taste. Light brown sugar is milder, so it depends on your preference. I use light brown sugar because I like the cookies to be sweet and buttery, not too molassy.
Pin This Recipe!
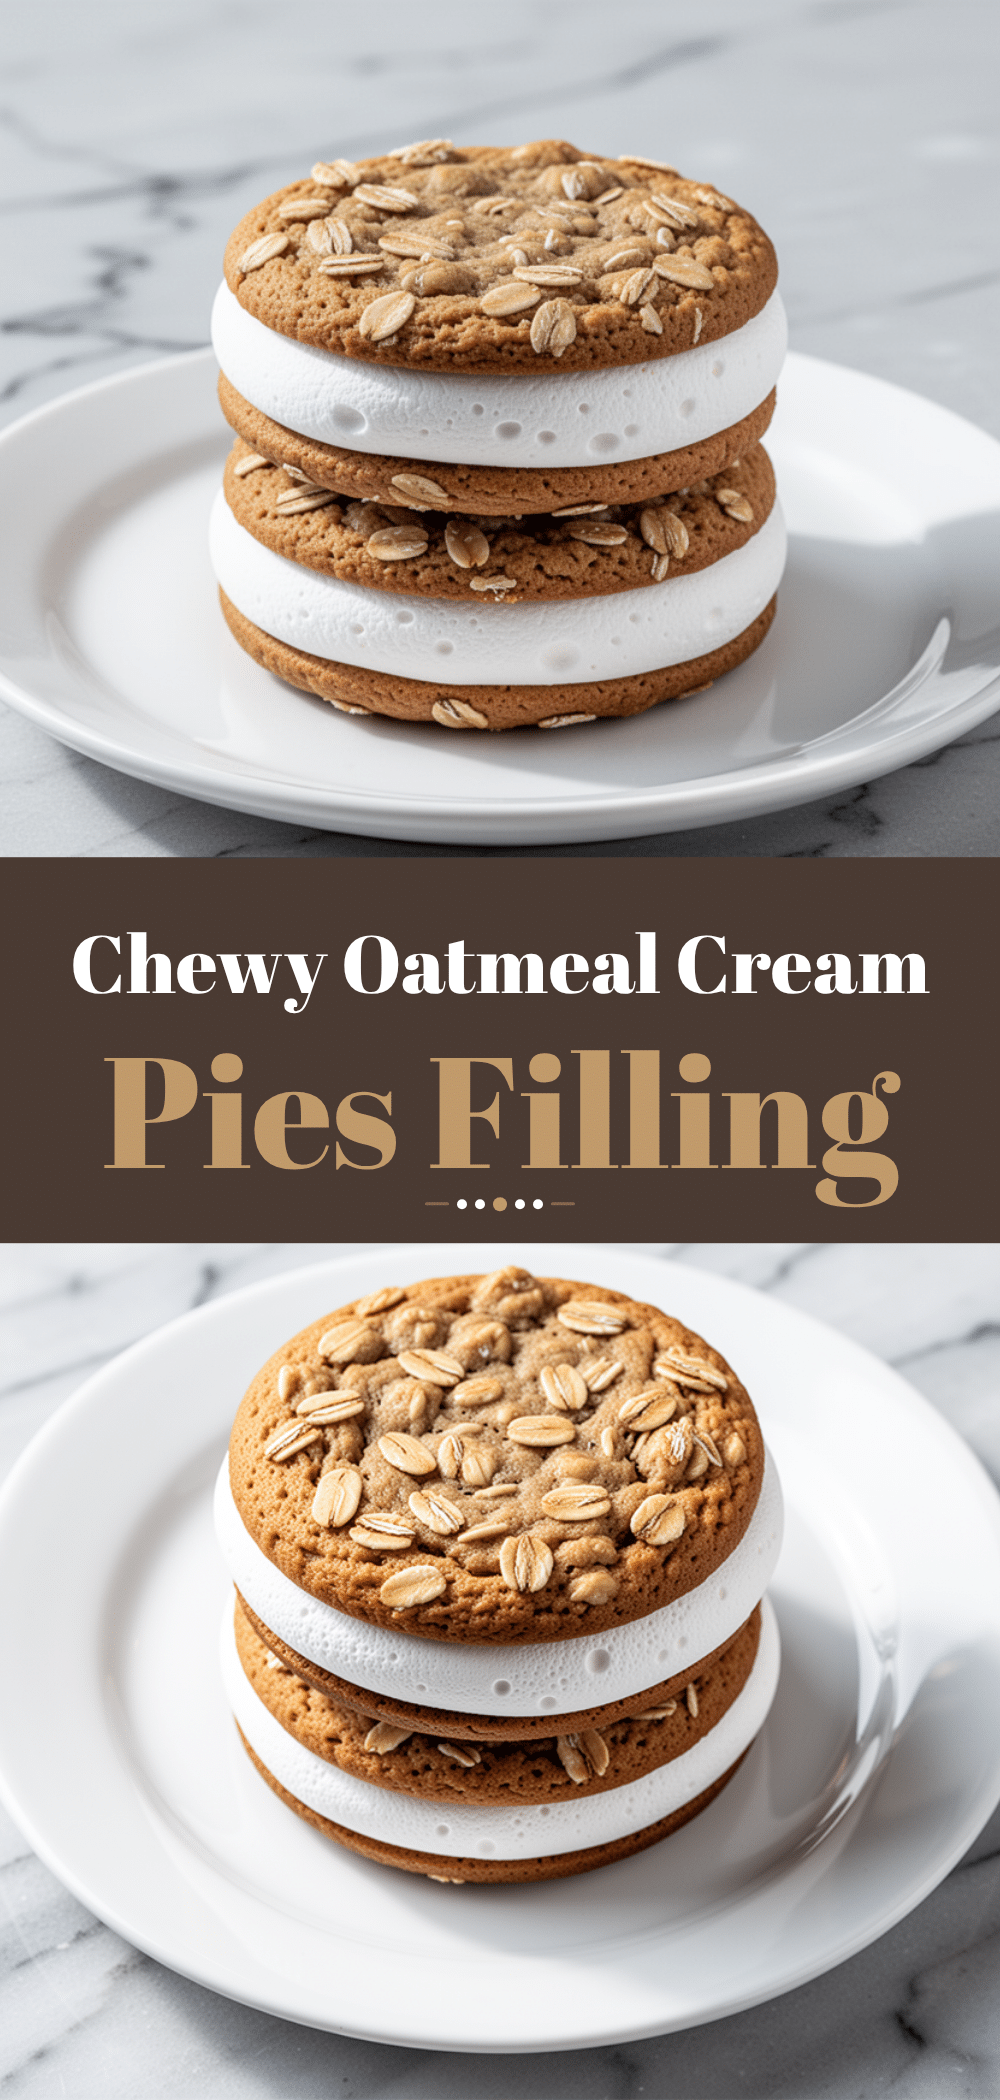
Chewy Oatmeal Cream Pies: 5 Easy Marshmallow Treats
- Total Time: 45 minutes
- Yield: 15-18 servings 1x
Description
Homemade oatmeal cream pies featuring tender, chewy oatmeal cookies sandwiched with a light, airy, and fluffy marshmallow filling. A refined twist on a childhood classic that rivals store-bought versions.
Ingredients
- 1 cup (226g) unsalted butter, room temperature
- 1 cup (200g) light brown sugar, packed
- 1/2 cup (100g) granulated sugar
- 1 large egg, room temperature
- 2 teaspoons vanilla extract
- 2 cups (250g) all-purpose flour
- 1 teaspoon baking soda
- 1 teaspoon cornstarch
- 1 teaspoon ground cinnamon
- 1/2 teaspoon salt
- 3 cups (270g) old-fashioned rolled oats
- 1 jar (7 ounces) marshmallow fluff
- 1/2 cup (113g) unsalted butter, softened
- 2 cups (240g) powdered sugar, sifted
- 1 teaspoon vanilla extract
- Pinch of salt
- 1–2 tablespoons heavy cream (optional, for consistency)
Instructions
- Preheat oven to 350°F (175°C). Line baking sheets with parchment paper.
- Whisk together flour, baking soda, cornstarch, cinnamon, and salt in a medium bowl. Set aside.
- In a large mixing bowl, beat 1 cup butter, brown sugar, and granulated sugar on medium-high speed until light and fluffy (2-3 minutes). Scrape down sides.
- Beat in egg and 2 teaspoons vanilla extract until combined.
- Reduce mixer speed to low. Gradually add dry ingredients and mix just until flour disappears.
- Fold in rolled oats with a spatula until evenly distributed.
- Cover dough and refrigerate for at least 30 minutes.
- While dough chills, make filling: Beat 1/2 cup softened butter until creamy. Add marshmallow fluff and 1 teaspoon vanilla. Beat until smooth.
- Gradually add sifted powdered sugar and pinch of salt, beating on low then increasing to medium-high. Whip for 2-3 minutes until light and fluffy. Add heavy cream if needed for spreadable consistency.
- Scoop dough into 2-tablespoon balls, place on sheets 2 inches apart, and flatten slightly.
- Bake for 12-15 minutes until edges are lightly golden. Centers should look soft.
- Cool cookies on baking sheet for 5 minutes, then transfer to a wire rack to cool completely.
- Spread filling on flat side of one cookie, top with another to form a sandwich. Repeat to make 15-18 cream pies.
Notes
Ensure butter is room temperature but not melted for proper creaming. Do not overbake cookies to maintain chewiness. Chill dough to prevent excessive spreading. Store assembled pies in an airtight container at room temperature for up to 5 days. Can be frozen for up to 3 months.
- Prep Time: 30 minutes
- Cook Time: 15 minutes
- Category: Dessert
- Cuisine: American
Nutrition
- Serving Size: 1 cream pie
- Calories: 280
- Sugar: 26
- Sodium: 180
- Fat: 12
- Saturated Fat: 7
- Carbohydrates: 42
- Fiber: 2
- Protein: 3
Keywords: oatmeal cream pies, marshmallow filling, chewy cookies, homemade treats, baking, dessert recipe, easy cookies


