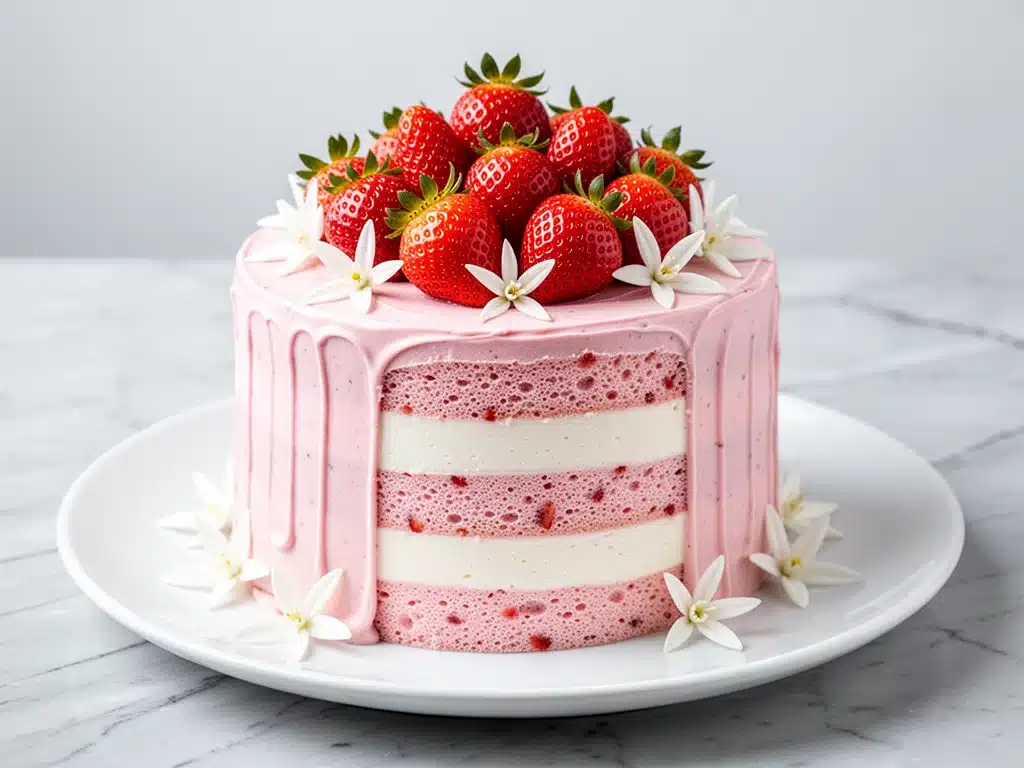
I still remember the first time I saw a Neapolitan cake that wasn’t just a box mix disaster. It was at my cousin’s 10th birthday party in 1998. The cake sat on the kitchen counter like a holy grail—three distinct, towering layers of white, chocolate, and strawberry, separated by thick ribbons of pink buttercream. I remember thinking it looked like something from a fairy tale, or at least from a very fancy bakery window. My mom bought a box mix that same year, but it never quite captured that magic. The layers were muddy, the frosting was grainy, and the “strawberry” flavor tasted like artificial candy rather than fruit.
That disappointment stuck with me. For years, I avoided Neapolitan cake like the plague, associating it with stale party favors and artificial flavoring. But last month, while scrolling through old photos from that same party, I decided enough was enough. I wanted to recreate that memory, but this time, I wanted it to taste like actual cake. Not just “good for a kid’s party” good, but genuinely delicious enough for a wedding or a holiday gathering.
So I went into the kitchen. I spent three weekends testing different ratios of cocoa powder, experimenting with real strawberry reduction for the frosting, and figuring out the perfect balance between the vanilla sponge and the rich chocolate layer. I burned a few batches. I over-whipped the buttercream until it split. I even accidentally made a double batch of chocolate cake when I was supposed to be testing the strawberry layer. (Turns out, I really like chocolate cake, which complicated things.)
But eventually, I cracked the code. This Classic Neapolitan Layer Cake with Strawberry Buttercream isn’t just a nostalgia trip. It’s a legitimate, show-stopping dessert that tastes like vanilla bean, rich cocoa, and fresh strawberries. It’s the kind of cake that makes people stop mid-bite and ask, “How did you make this?” The answer? A little bit of patience, real ingredients, and a trick or two I’m about to share with you.
If you’re looking for a dessert that feels special but doesn’t require a culinary degree, this is it. It’s the ultimate crowd-pleaser, whether you’re celebrating a birthday, an anniversary, or just because it’s Tuesday. And trust me, once you taste the difference between real strawberry buttercream and the pink stuff from a can, you’ll never go back.
Why You’ll Love This Neapolitan Layer Cake Recipe
There are a lot of cakes out there, but few have the visual impact and emotional resonance of a Neapolitan cake. It’s colorful, it’s classic, and it’s incredibly satisfying to make. Here’s why this recipe has earned a permanent spot in my rotation:
It’s a Visual Showstopper — Seriously, the moment you slice into this cake, it’s a party. The three distinct colors—creamy white, deep chocolate, and bright pink—create a striking contrast that looks amazing on a plate. I’ve made this for everything from bridal showers to casual weekend brunches, and it always gets compliments. It’s the kind of dessert that looks like it came from a high-end bakery, but you made it in your own kitchen.
Real Strawberry Flavor — Most Neapolitan cakes rely on artificial strawberry extract or food coloring. Not this one. I use a reduced strawberry puree in the buttercream, which gives it a deep, fruity flavor that actually tastes like strawberries. It’s not just pink; it’s genuinely strawberry-tasting. If you’ve ever wondered what real strawberry frosting tastes like, this is your answer. It’s tart, sweet, and perfectly balanced.
Perfectly Balanced Layers — One of the hardest parts of making a layered cake is getting the flavors to complement each other without competing. In this recipe, the vanilla layer is light and airy, the chocolate layer is rich and fudgy, and the strawberry buttercream ties it all together with a bright, creamy finish. Each bite has a bit of everything, and no single flavor overwhelms the others. It’s a harmonious combination that keeps you coming back for more.
Great for Special Occasions — Whether it’s a birthday, a holiday, or a dinner party, this cake fits the bill. It’s elegant enough for a formal event but fun enough for a casual get-together. I’ve paired it with simple sides like fresh raspberry lemonade spritzer for summer parties, or served it alongside warm coffee for a cozy winter gathering. It’s versatile in a way that few other cakes are.
Makes Amazing Leftovers — Let’s be honest: a whole cake is a lot. But this one freezes beautifully. I often make one layer ahead of time and freeze it for later. The next day, I thaw it and frost it fresh. The flavors actually meld and improve overnight, making it even better than when it’s first made. Plus, the leftovers taste amazing for breakfast with a cup of coffee. (Don’t judge me; I’ve done it.)
This cake is my go-to when I want to impress without stressing. It’s reliable, delicious, and always a hit. Once you make it, you’ll understand why it’s considered a classic for a reason.
Ingredients You’ll Need for the Perfect Neapolitan Cake
Here’s the thing about Neapolitan cake: the quality of your ingredients matters more than you think. Because the flavors are so distinct, any weakness in one component will show up clearly. I’m particular about a few key items here, and I’ll tell you exactly why they’re important.
For the Vanilla Layer:
All-purpose flour (3 cups / 375g) — I use King Arthur or Gold Medal. Avoid cake flour unless you want a very tender, delicate crumb, which might not hold up well under the weight of the frosting. All-purpose gives that perfect balance of structure and tenderness.
Granulated sugar (2 cups / 400g) — Don’t skimp on sugar. It’s not just for sweetness; it helps keep the cake moist. I use regular white sugar, but you can substitute half with brown sugar for a slightly deeper flavor.
Unsalted butter (1 cup / 226g) — Room temperature is non-negotiable. Cold butter won’t cream properly with the sugar, and you’ll end up with dense cake. Take it out of the fridge at least an hour before you start. I use Kerrygold or Plugrá for their rich flavor.
Eggs (4 large) — Room temperature eggs emulsify better into the batter. If you forget to take them out, just drop them in a bowl of warm water for 5 minutes. Don’t use cold eggs; it’ll shock the batter.
Vanilla bean paste (2 tablespoons) — Or 1 tablespoon of high-quality vanilla extract. I prefer paste because you get those little black specks, which look beautiful and taste amazing. If you can’t find paste, use pure extract, not imitation.
Baking powder (2 teaspoons) — Make sure it’s fresh! Old baking powder won’t make the cake rise properly. I check the date on every new can I buy.
Salt (1 teaspoon) — Enhances all the flavors. Don’t skip it.
For the Chocolate Layer:
All-purpose flour (2 cups / 250g) — Same as above.
Cocoa powder (¾ cup / 75g) — Use high-quality Dutch-processed cocoa. It has a deeper, richer flavor and darker color. I use Ghirardelli or Callebaut. Natural cocoa will taste brighter and lighter, which isn’t what we want for this classic look.
Baking soda (1 teaspoon) — Reacts with the cocoa to create a tender crumb. Don’t substitute with baking powder.
Buttermilk (1 cup / 240g) — Adds tang and tenderness. If you don’t have buttermilk, make your own by adding 1 tablespoon of lemon juice or vinegar to 1 cup of milk and letting it sit for 10 minutes.
For the Strawberry Buttercream:
Unsalted butter (2 cups / 452g) — Again, room temperature. This is the base of the frosting, so quality matters.
Confectioners’ sugar (6 cups / 750g) — Sifted! This is crucial. Unsifted sugar will leave lumps in your frosting. I sift it twice for the smoothest texture.
Strawberry puree (½ cup / 120g) — Reduced from fresh or frozen strawberries. I simmer fresh strawberries with a little sugar until they break down, then strain out the seeds. This gives you a concentrated strawberry flavor without adding too much liquid.
Vanilla extract (1 teaspoon) — Complements the strawberry flavor.
Salt (½ teaspoon) — Balances the sweetness.
Optional Add-ins:
Fresh strawberries — Sliced thin for decoration. I use them to garnish the top and sides of the cake. They look beautiful and add a fresh contrast to the rich frosting.
Edible gold dust — For a fancy touch. I sprinkle a little on the top layer for special occasions. It’s not necessary, but it adds a bit of sparkle.
Equipment You’ll Need
You don’t need fancy equipment to make this cake, but having the right tools will make your life easier. Here’s what I actually use:
Three 8-inch round cake pans — I use metal pans for even baking. Line them with parchment paper circles at the bottom to ensure easy removal. Grease and flour the sides, or use baking spray with flour.
Stand mixer or hand mixer — A stand mixer is ideal for creaming the butter and sugar, but a hand mixer works too. Just be prepared to mix for a few extra minutes.
Large mixing bowls — You’ll need at least two large bowls for the different batters.
Wire whisk — For combining the dry ingredients.
Offset spatula — Essential for spreading the buttercream smoothly between layers and on the outside of the cake. I use a 6-inch offset spatula.
Cake turntable — Optional but highly recommended. It makes decorating so much easier. If you don’t have one, just rotate the cake plate by hand.
Parchment paper — For lining the pans. Don’t skip this step; it’s the only way to guarantee your cakes don’t stick.
Saucepan — For reducing the strawberry puree. A small saucepan works best.
Strainer — For removing seeds from the strawberry puree. A fine-mesh strainer is ideal.
How to Make It: Step-by-Step
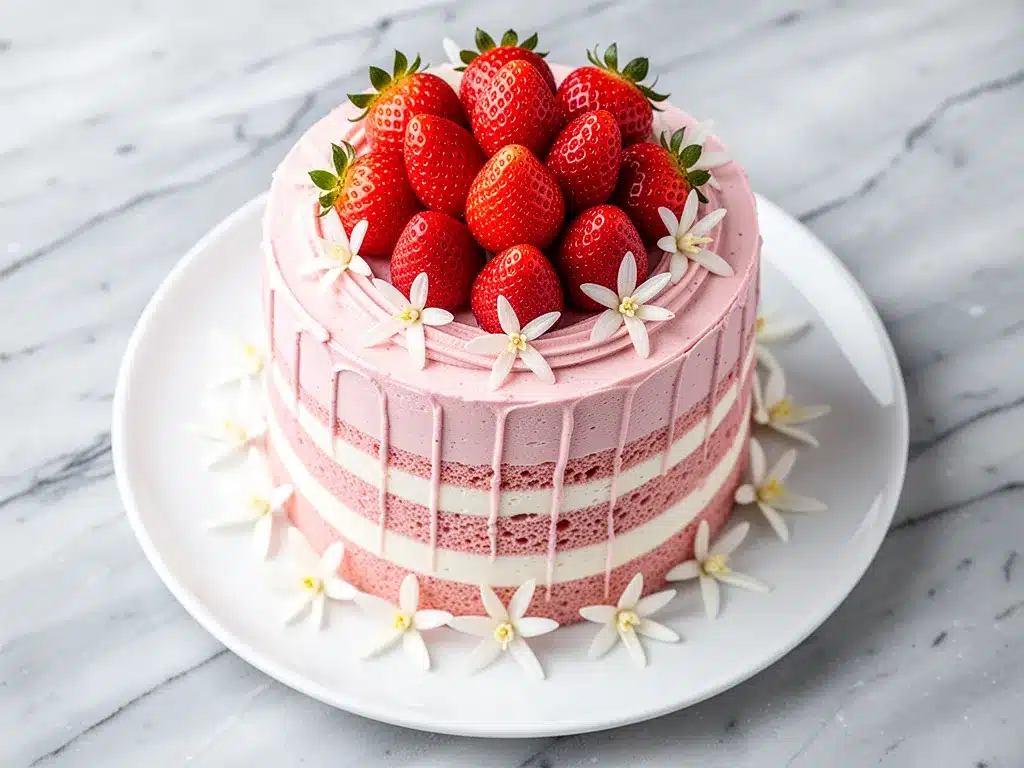
Alright, let’s make this cake! I’m walking you through exactly how I do it, including the little tricks I’ve picked up over the years. This recipe makes three 8-inch layers, so you’ll be working in batches.
Step 1: Prep Your Pans and Oven (10 minutes)
Preheat your oven to 350°F (175°C). Line three 8-inch round cake pans with parchment paper circles at the bottom. Grease the sides and dust with flour, tapping out the excess. This ensures your cakes release cleanly. If you’re worried about sticking, you can also line the sides with baking strips (wet strips of fabric that wrap around the pans), but parchment is usually enough.
Step 2: Make the Vanilla Batter (10 minutes)
In a large bowl, whisk together the flour, baking powder, and salt. In the bowl of a stand mixer fitted with the paddle attachment, cream the butter and sugar on medium-high speed for 3-4 minutes, until light and fluffy. Add the eggs one at a time, mixing well after each addition. Scrape down the sides of the bowl. Add the vanilla bean paste and mix to combine. With the mixer on low, gradually add the dry ingredients, alternating with water (if using), until just combined. Do not overmix!
Step 3: Make the Chocolate Batter (10 minutes)
In a separate bowl, whisk together the flour, cocoa powder, baking soda, and salt. In the mixer bowl (you can reuse it if you scrape it out well), cream the butter and sugar until fluffy. Add the eggs one at a time. Add the vanilla. On low speed, add the dry ingredients, alternating with the buttermilk, until just combined. The batter will be thick and rich.
Step 4: Bake the Layers (25-30 minutes)
Divide the vanilla batter evenly among the three pans (or bake two batches if you’re only making two layers). For the chocolate batter, divide it evenly among the remaining pans. Bake at 350°F for 25-30 minutes, or until a toothpick inserted into the center comes out clean. The cakes should spring back when gently pressed. Let them cool in the pans for 10 minutes, then turn them out onto a wire rack to cool completely. This is crucial; if you try to frost warm cakes, the frosting will melt and slide off.
Step 5: Make the Strawberry Buttercream (15 minutes)
While the cakes cool, make the buttercream. In a saucepan, combine the strawberries and 2 tablespoons of sugar. Simmer over medium heat for 10-15 minutes, until the strawberries break down and the mixture thickens. Strain through a fine-mesh sieve to remove seeds. Let the puree cool completely. In the mixer bowl, beat the butter on medium-high until light and creamy. Add the cooled strawberry puree, vanilla, and salt. Gradually add the sifted confectioners’ sugar, one cup at a time, beating on low until incorporated, then high until fluffy. The frosting should be smooth and spreadable.
Step 6: Assemble the Cake (20 minutes)
Place one cake layer on your serving plate or turntable. Spread a generous layer of strawberry buttercream over the top. Repeat with the second layer. Top with the third layer. Crumb coat the entire cake with a thin layer of frosting to seal in crumbs. Chill for 15 minutes. Then, apply the final layer of frosting, smoothing the sides and top with an offset spatula. Decorate with fresh strawberry slices and a dusting of powdered sugar if desired.
Expert Tips & Tricks
Here’s everything I’ve learned from making this cake dozens of times. These tips will save you from my mistakes.
Room Temperature Ingredients Are Non-Negotiable
I can’t stress this enough. Cold butter, cold eggs, cold buttermilk—they will ruin your batter. Take everything out of the fridge at least an hour before you start. If you’re short on time, warm the eggs in a bowl of warm water for 5 minutes. The butter should be soft enough to indent with a finger but not melted.
Don’t Overmix the Batter
Once you add the dry ingredients, mix until just combined. Overmixing develops gluten, which leads to tough, dense cakes. It’s okay if there are a few small lumps; they’ll disappear during baking.
Use Real Strawberries for the Frosting
I know it’s more work to reduce the strawberries, but it’s worth it. Artificial strawberry flavoring tastes fake and cloying. Real strawberries have a complexity that elevates the entire cake. If you’re short on time, you can use high-quality strawberry jam, but reduce the sugar in the frosting slightly to compensate.
Chill Between Layers
After you crumb coat the cake, chill it for 15-20 minutes. This firms up the frosting and makes it easier to apply the final layer without dragging crumbs. It also helps the cake layers settle, making them easier to frost evenly.
Level Your Cakes
After baking, the tops of the cakes might dome slightly. Use a serrated knife to level them off. This ensures your cake layers are flat and even, which makes assembly much easier and results in a professional-looking cake.
Variations & Substitutions
Once you’ve nailed the basic version, here’s how you can mix it up. I’ve tried all of these, and they work great.
Gluten-Free Version
Use a 1:1 gluten-free flour blend. Make sure it contains xanthan gum, or add ½ teaspoon per cup of flour. The texture will be slightly different, but it’s still delicious.
Dairy-Free Version
Use dairy-free butter (like Miyoko’s or Earth Balance) and almond milk instead of buttermilk. For the buttermilk substitute, add 1 tablespoon of lemon juice to 1 cup of almond milk and let it sit for 10 minutes. The frosting will be slightly less rich, but still tasty.
Chocolate-Strawberry Only
If you’re not a fan of vanilla, skip the vanilla layer and make two chocolate layers and one strawberry layer (using a vanilla base with strawberry puree). This is my personal favorite combination.
Add Fresh Fruit
Between the layers, you can add a layer of fresh strawberries or raspberries. Just make sure to pat them dry so they don’t make the cake soggy. I add them for birthday cakes to give a fresh contrast to the sweet frosting.
Flavor Variations
Add 1 teaspoon of almond extract to the vanilla layer for a classic French touch. Or swap the vanilla extract in the chocolate layer for 1 teaspoon of espresso powder to deepen the chocolate flavor.
Serving & Storage
How to Serve:
I usually serve this cake at room temperature. Cold buttercream can be hard and waxy, so let the cake sit out for 30 minutes before slicing. Pair it with a simple green salad or fall salted caramel pear crumble bars for a dessert spread that feels abundant and thoughtful.
Storage:
Store leftovers in an airtight container at room temperature for up to 2 days. If your kitchen is hot, refrigerate the cake, but let it come to room temperature before serving. The cake freezes well for up to 3 months. Wrap individual layers tightly in plastic wrap and then in foil. Thaw overnight in the fridge before frosting.
Make-Ahead Strategy:
You can bake the layers up to 2 days ahead and freeze them. Make the frosting the day of serving. This takes the stress out of the day of the party.
Nutrition Information
I’m not a nutritionist, but here’s the breakdown if you’re tracking. This is a rich, indulgent cake, so enjoy in moderation.
Per Serving (based on 12 servings):
- Calories: 520
- Protein: 6g
- Carbs: 65g
- Fiber: 2g
- Sugar: 45g
- Fat: 28g
- Saturated Fat: 17g
- Cholesterol: 95mg
- Sodium: 220mg
My Take:
Look, this is a celebratory cake. It’s not a health food. But it’s better than store-bought options because you control the ingredients. When I make it, I use real butter and real strawberries, which makes a huge difference in how it tastes and how it sits in your stomach. If you’re watching sugar, reduce the sugar in the frosting by ¼ cup, though it will be less sweet.
Final Thoughts
So that’s my take on the Classic Neapolitan Layer Cake with Strawberry Buttercream. I know it’s a lot of steps, but I promise it’s worth it. The first time I made this from scratch, I was nervous. I thought it would be too hard, or that it wouldn’t taste as good as the memories I had. But it did. Better, actually.
This cake has become my go-to for special occasions. It’s elegant, it’s nostalgic, and it’s delicious. I’ve made it for weddings, birthdays, and just because. Every time, it gets compliments. Every time, people ask for the recipe. And every time, I’m reminded that baking isn’t just about following instructions; it’s about creating something that brings people together.
If you make this cake, I’d love to hear how it turns out. Drop a comment below and let me know what you think. And if you try any variations, share those too! I’m always looking for new ideas. Happy baking, and I hope your kitchen smells as good as mine does right now.
Frequently Asked Questions
Can I use boxed cake mix for this recipe?
You can, but I don’t recommend it if you want the best flavor. Boxed mixes often taste artificial and can result in a dense texture. This recipe uses real ingredients that make a huge difference. If you’re short on time, you can use a high-quality boxed mix as a base, but I’d still recommend making the buttercream from scratch.
Why did my cake layers sink in the middle?
This usually happens if the oven door was opened too early, or if the batter was overmixed. Make sure your oven is properly preheated, and don’t open the door for the first 20 minutes of baking. Also, check that your baking powder is fresh. Old baking powder won’t give the cake enough lift.
Can I freeze the cake layers?
Yes! This is actually the best way to bake ahead. Let the cakes cool completely, then wrap them tightly in plastic wrap and foil. They’ll keep in the freezer for up to 3 months. Thaw overnight in the fridge before frosting. The texture remains moist and tender.
What if I don’t have a stand mixer?
A hand mixer works fine. Just be prepared to mix for a few extra minutes to get the butter and sugar properly creamed. You’ll also need to scrape down the bowl frequently. It’s more work, but the results will still be great.
Can I make this cake ahead of time?
Absolutely. Bake the layers a day or two ahead and freeze them. Make the frosting the day you serve the cake. Assemble the cake at least 4 hours before serving to allow the frosting to set. This actually improves the flavor as the layers meld together.
How do I store leftover Neapolitan cake?
Store it in an airtight container at room temperature for up to 2 days. If your kitchen is warm, refrigerate it. Let it come to room temperature before serving for the best texture and flavor. The cake freezes well for up to 3 months if wrapped tightly.
Can I use frozen strawberries for the buttercream?
Yes, frozen strawberries work great. Just thaw them completely, then drain off any excess liquid before reducing. You may need to simmer them longer to reduce the moisture. The flavor will be just as good as fresh strawberries.
Pin This Recipe!
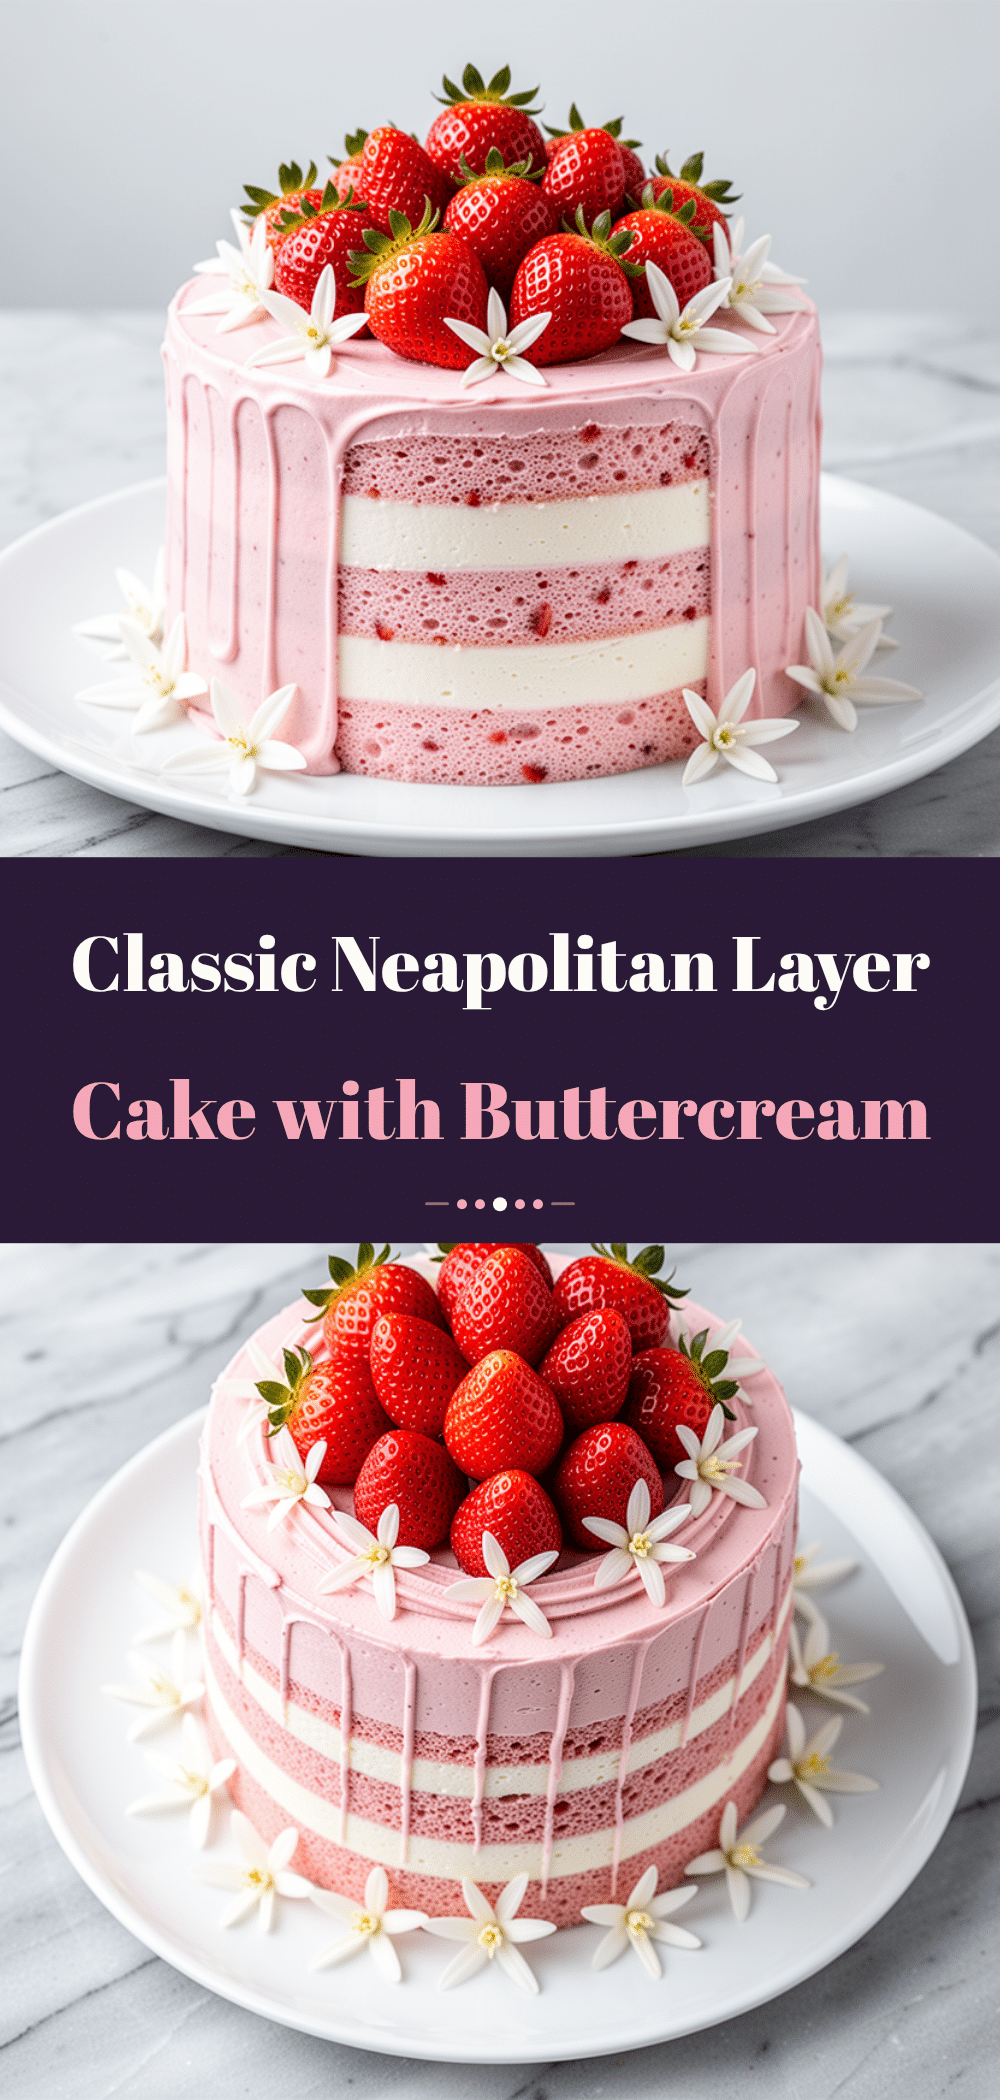
Classic Neapolitan Layer Cake: Easy Strawberry Buttercream
- Total Time: 75 minutes
- Yield: 12 servings 1x
Description
A show-stopping three-layer cake featuring distinct vanilla, chocolate, and strawberry flavors, finished with rich, real strawberry buttercream.
Ingredients
- 3 cups all-purpose flour
- 2 cups granulated sugar
- 1 cup unsalted butter (room temperature)
- 4 large eggs (room temperature)
- 2 tablespoons vanilla bean paste
- 2 teaspoons baking powder
- 1 teaspoon salt
- 2 cups all-purpose flour
- 3/4 cup Dutch-processed cocoa powder
- 1 teaspoon baking soda
- 1 cup buttermilk
- 2 cups unsalted butter (room temperature)
- 6 cups confectioners’ sugar (sifted)
- 1/2 cup strawberry puree (reduced)
- 1 teaspoon vanilla extract
- 1/2 teaspoon salt
- Fresh strawberries (optional, for garnish)
Instructions
- Preheat oven to 350°F (175°C). Line three 8-inch round cake pans with parchment paper and grease/flour the sides.
- For the vanilla layer: Whisk flour, baking powder, and salt. Cream butter and sugar until light and fluffy. Add eggs one at a time, then vanilla. Mix in dry ingredients alternately with water until just combined.
- For the chocolate layer: Whisk flour, cocoa powder, baking soda, and salt. Cream butter and sugar until fluffy. Add eggs and vanilla. Mix in dry ingredients alternately with buttermilk until just combined.
- Divide vanilla batter among pans (or bake in batches) and chocolate batter in remaining pans. Bake for 25-30 minutes until a toothpick comes out clean. Cool in pans for 10 minutes, then turn out onto a wire rack to cool completely.
- For the buttercream: Simmer strawberries with sugar until thickened, then strain to remove seeds and cool completely. Beat butter until creamy, add strawberry puree, vanilla, and salt. Gradually add sifted confectioners’ sugar, beating until fluffy.
- Assemble cake by spreading buttercream between layers. Apply a thin crumb coat and chill for 15 minutes. Apply final layer of frosting and decorate with fresh strawberries.
Notes
Ensure all ingredients are at room temperature for best results. Do not overmix the batter to avoid dense cakes. Chill the cake between frosting layers to set the crumb coat. The cake can be frozen for up to 3 months.
- Prep Time: 45 minutes
- Cook Time: 30 minutes
- Category: Dessert
- Cuisine: American
Nutrition
- Serving Size: 1 slice
- Calories: 520
- Sugar: 45
- Sodium: 220
- Fat: 28
- Saturated Fat: 17
- Carbohydrates: 65
- Fiber: 2
- Protein: 6
Keywords: Neapolitan cake, strawberry buttercream, layer cake, vanilla cake, chocolate cake, homemade cake, birthday cake, dessert recipe


