It was late October, and the air outside had finally turned crisp enough to warrant a proper jacket. I was standing in my kitchen, staring out the window at the last few amber leaves clinging to the oak tree, feeling that specific brand of autumn melancholy that hits right around Halloween. I didn’t want a heavy, floury dessert that would leave me feeling stuffed and sluggish. I didn’t want another bowl of soup. I wanted something warm, something nostalgic, but something that felt like a treat rather than a meal.
So, I did what I always do when inspiration strikes: I raided the pantry. I had a half-empty bottle of spiced apple cider, a stick of butter, some brown sugar, and a pint of good-quality vanilla bean ice cream. I figured, “Why not just mix it all together?” I expected a weird, soupy mess. What I got was magic.
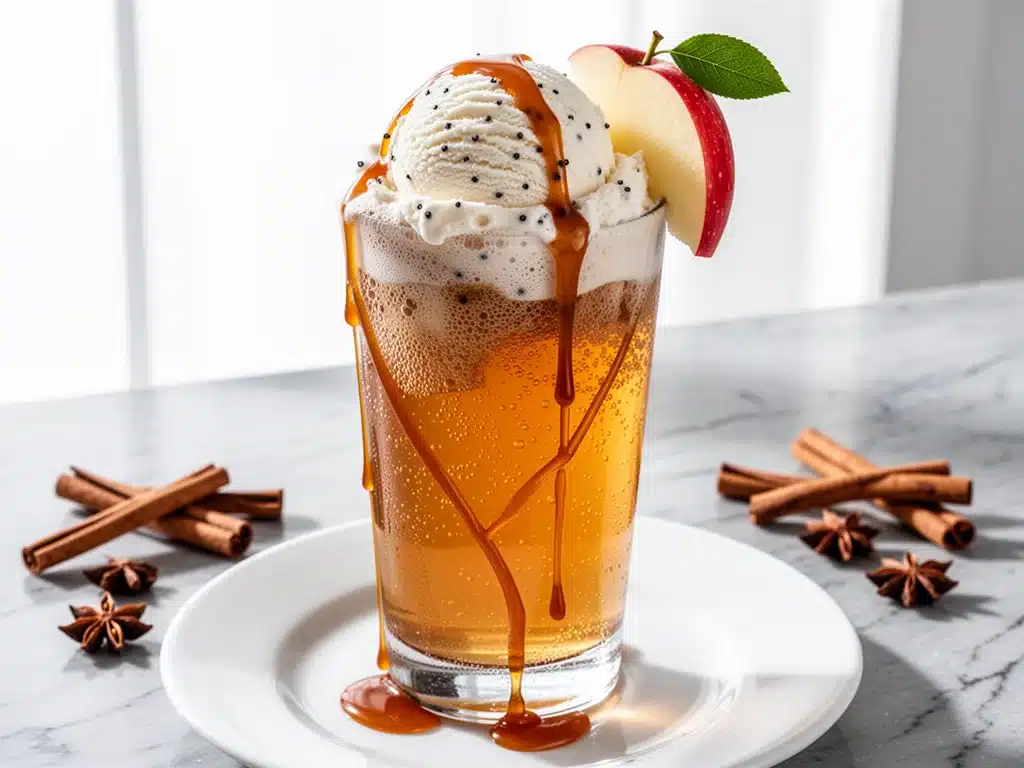
This fall caramel apple cider float isn’t just a drink; it’s a hug in a glass. It’s the liquid equivalent of walking through a pumpkin patch with a hot cup of cider in your hand. The tartness of the apple cuts through the sweetness of the caramel, while the vanilla ice cream adds that creamy, rich texture that makes you close your eyes and sigh. It’s ridiculously easy to make, requires only five ingredients, and takes about ten minutes from start to finish.
I’ve made this float dozens of times since that first accidental creation. I’ve served it to friends during book clubs, to my kids after trick-or-treating, and to myself on rainy Sunday mornings. Every single time, it tastes just as good as the first. It’s become my go-to when I want to feel festive without spending hours in the kitchen. If you’re looking for a way to celebrate the season without the fuss, this is it. It’s simple, it’s seasonal, and it’s absolutely delicious.
Why You’ll Love This Fall Caramel Apple Cider Float
There are a million things to love about this drink, but let’s be real—you’re probably here because you want something easy that tastes impressive. Here’s why this fall caramel apple cider float has earned a permanent spot in my rotation:
- Stupid Simple — Seriously, if you can melt butter and stir, you can make this. I’ve made this while answering work emails and helping my kid with homework. It’s that low-stress.
- Lightning Fast — 10 minutes total. Five minutes of active cooking for the caramel, five minutes to assemble. I make this on weeknights when I have zero energy but still want something sweet.
- Pantry-Friendly — You probably have most of this already. Apple cider (bottled is fine), butter, brown sugar, and ice cream. If you have those, you’re golden.
- Seasonal Magic — It captures the entire essence of autumn in one glass. Spices, apples, caramel, cream—it’s like fall in a bottle.
- Makes Amazing Leftovers — Well, technically you don’t have leftovers because you drink it, but the caramel sauce keeps in the fridge for weeks. I make extra sauce just so I can have this float on demand.
- Budget-Smart — Bottled apple cider is cheap, and you don’t need fancy ingredients. This feeds 2-4 people for under $10.
This is my go-to when I need dessert to just work. No complicated techniques, no weird ingredients, just reliable, delicious food that makes everyone happy. It’s the kind of recipe that makes people ask, “Wait, you made that? How?” And the answer is always: “It’s actually super easy.”
Ingredients You’ll Need
Here’s the best part: you probably have most of this already. This fall caramel apple cider float relies on high-quality basics rather than a long list of obscure items. The fewer ingredients, the more you taste each one.
For the Caramel Sauce Base
Unsalted butter (1/2 cup / 113g) — This is the foundation. Use good quality butter here. I usually stick to standard grocery store brands, but if you have a local farm butter, use it. It makes a difference in the flavor.
Brown sugar (1 cup / 200g) — Light or dark brown sugar both work. Dark brown has a deeper molasses flavor, which I prefer for fall, but light works too. Don’t use white sugar; you’ll miss that toasty depth.
Heavy cream (1/2 cup / 120ml) — This is non-negotiable for a smooth caramel. If you use milk, it’ll seize up and turn grainy. Full-fat heavy cream keeps it silky. Take it out of the fridge 15 minutes before you start so it’s not ice-cold.
Salt (1/2 teaspoon) — A pinch of flaky sea salt on top at the end is crucial. It balances the sweetness. I use Maldon salt if I have it, but table salt works in the sauce.
For the Float Assembly
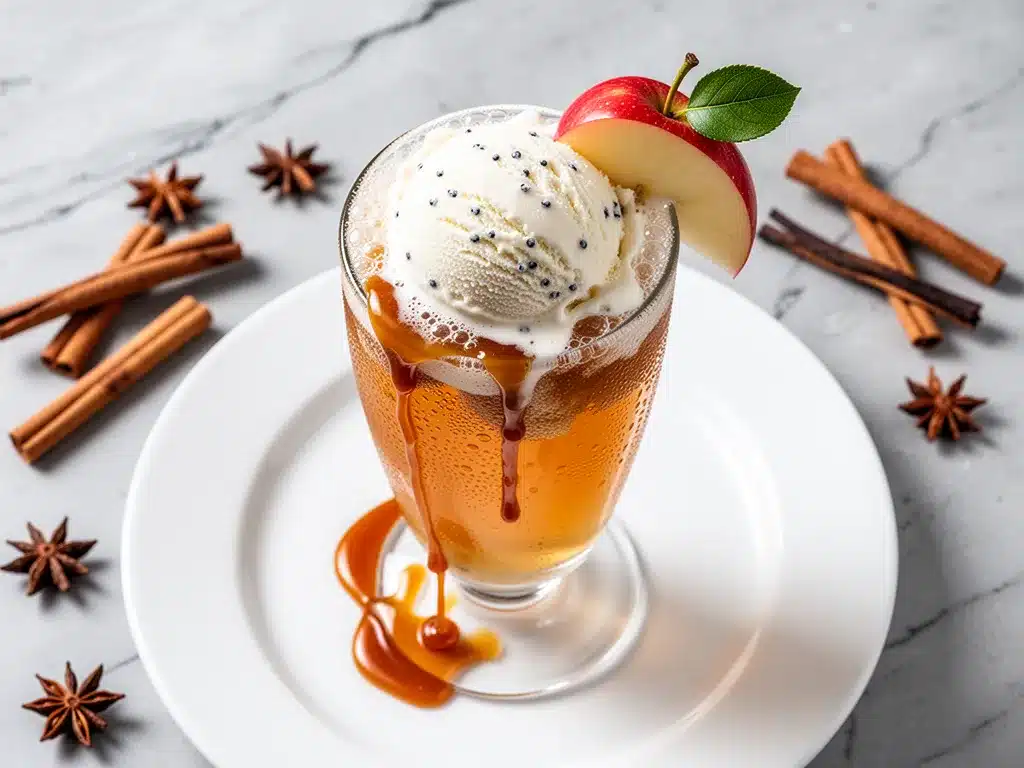
Apple cider (2-3 cups / 480-720ml) — This is the star. Look for “100% apple juice” or “apple cider” that is pasteurized but not from concentrate if you can find it. It tastes fresher. If you can’t find fresh cider, bottled is totally fine. Just make sure it’s not apple juice cocktail with added sugar.
Vanilla bean ice cream (4-6 scoops) — Don’t skimp here. This is what makes it a float. Use a high-quality brand with real vanilla beans visible. I love Ben & Jerry’s or a local dairy brand. If you can’t find vanilla bean, good vanilla extract ice cream works too.
Cinnamon sticks (2-3 sticks) — Optional, but I highly recommend heating the cider with these first. It infuses the drink with that warm, spicy aroma that screams “autumn.” It’s the same trick I use in my fall apple cider donut muffins for extra flavor.
Whipped cream (optional) — For the top. If you want to go all out, whip some heavy cream with a little powdered sugar and vanilla. It looks gorgeous and adds another layer of texture.
Apple chips (optional garnish) — Thinly sliced dried apples. You can buy these or make your own. They add a nice crunch and visual appeal.
Pro Tip: I always buy a large bottle of apple cider in the fall, even if I don’t plan to use it all immediately. It freezes well, and having it on hand means I can make this float on a whim. Just thaw it in the fridge overnight.
Equipment Needed
You don’t need fancy equipment for this. Here’s what I actually use:
Small saucepan — I use a 2-quart saucepan. It needs to be wide enough to let the caramel bubble without boiling over. My old stainless steel pan works perfectly.
Whisk — Essential for the caramel sauce. You need to whisk constantly to prevent burning and ensure a smooth texture. Silicone whisks work great because they don’t scratch the pan.
Measuring cups and spoons — Standard stuff. Dollar store versions work fine for this.
Mugs or heat-safe glasses — I use large ceramic mugs for serving. They keep the drink warm longer than glass. But if you want that classic “float” look, use tall glasses.
Spoon — For scooping the ice cream. And for stirring. Lots of stirring.
Optional but nice: A microwave-safe bowl if you want to melt the butter quickly before starting the sauce. But honestly, melting it in the pan is fine.
Tool Tip: Don’t have a saucepan? You can use a small skillet, but be careful—the caramel can bubble up higher in a wide pan. A saucepan gives you more control.
How to Make It: Step-by-Step
Alright, let’s make this! I’m walking you through exactly how I do it, including the little tricks I’ve picked up to ensure your caramel is smooth and your float is perfect.
Step 1: Heat the Apple Cider (5-7 minutes)
Before you start the caramel, get the cider warm. Pour your apple cider into a large saucepan or microwave-safe bowl. If using a stovetop, heat it over medium-low until it’s steaming but not boiling. If using the microwave, heat in 30-second intervals, stirring in between. I like to throw in the cinnamon sticks now to infuse the flavor. It smells amazing already. Set aside.
Step 2: Make the Caramel Sauce (5 minutes)
In a small saucepan, melt the butter over medium heat. Once it’s foamy and bubbly, add the brown sugar. Whisk constantly. The sugar will clump at first, but keep whisking. It’ll look like wet sand, then suddenly it’ll turn into a smooth, glossy sauce. This takes about 2-3 minutes. Don’t rush it, but don’t walk away.
Step 3: Add the Cream (2 minutes)
Slowly pour in the heavy cream while whisking like crazy. The sauce will bubble up violently—don’t panic. Keep whisking until it’s smooth and combined. It will thicken slightly. Remove from heat immediately. Stir in the salt. This is your caramel sauce. It should be pourable but thick. If it’s too thick, add a splash more cream.
Step 4: Assemble the Float (2 minutes)
Grab your mugs or glasses. Scoop 2-3 scoops of vanilla bean ice cream into each. Pour the warm apple cider over the ice cream. It will fizz and bubble—that’s the magic moment. Drizzle the warm caramel sauce generously over the top. The contrast of hot cider and cold ice cream is everything.
Step 5: Garnish and Serve
Add a dollop of whipped cream if you’re feeling fancy. Top with a cinnamon stick for stirring and an apple chip for garnish. Serve immediately. The ice cream will melt into the cider, creating a creamy, frothy mixture that’s pure bliss.
Visual Cue: You’ll know the caramel is ready when it coats the back of a spoon and has a deep amber color. If it’s too light, cook it 30 seconds longer. If it’s too dark, it’ll taste bitter.
Troubleshooting: If your caramel seizes up, don’t throw it away. Add a splash of warm cream and whisk vigorously over low heat. It’ll usually come back together.
Expert Tips & Tricks
Here’s everything I’ve learned from making this dozens of times. These tips will save you from my mistakes.
Don’t Burn the Sugar
This is the #1 mistake. Brown sugar burns faster than you think. Keep the heat at medium, not high. And keep whisking. If you see dark spots forming in the pan, take it off the heat immediately. A slightly undercooked caramel is better than a burnt one.
Warm the Cider, Don’t Boil It
If you boil the apple cider, you’ll lose some of that fresh apple flavor and it might taste cooked or stewed. Just warm it until it’s steaming hot. It’s enough to melt the ice cream slightly without killing the flavor.
Use Good Ice Cream
Since there are only five ingredients, the ice cream matters. Cheap, icy ice cream will ruin the texture. Look for brands with a high fat content and real vanilla beans. It’s worth the extra dollar.
Make Extra Caramel Sauce
This sauce is incredible on its own. I always make a double batch. Store it in a jar in the fridge for up to two weeks. Warm it up in the microwave for 15 seconds before using. I put it on pancakes, oatmeal, and even fall caramel apple sheet cake when I want to double down on the flavor.
Room Temperature Cream
If your cream is ice-cold, it can make the caramel seize when you add it. Let it sit out for 15 minutes. If you forget, microwave it for 10 seconds. It shouldn’t be hot, just not cold.
Variations & Substitutions
Once you’ve nailed the basic version, here’s how you can mix it up. I’ve tried all of these.
Spiced Cider Float
Add a pinch of nutmeg, allspice, and cloves to the caramel sauce while it’s cooking. It adds a deeper, more complex spice profile. This is great if you’re serving it for a holiday gathering.
Maple Cider Float
Swap half the brown sugar for pure maple syrup. It gives a more earthy, woodsy flavor. I love this version with fall maple pecan sticky buns for a full autumn brunch.
Boozy Version
Add a splash of bourbon or rum to the warm cider before pouring it over the ice cream. It’s a grown-up version that’s perfect for dinner parties. Just be careful not to add too much—it should still taste like a float, not a cocktail.
Dairy-Free Option
Use coconut milk instead of heavy cream in the caramel, and dairy-free vanilla ice cream. It’s not exactly the same, but it’s still delicious. My lactose-intolerant friend loves this version.
Gluten-Free
This recipe is naturally gluten-free. Just make sure your apple cider and ice cream are certified gluten-free if you have celiac disease. Most brands are, but always check labels.
Serving & Storage
How to Serve: I usually serve this straight in large mugs at the dinner table. It’s rustic and cozy. But for parties, I set up a “float bar” with different toppings—whipped cream, caramel drizzle, cinnamon sticks, apple chips. Everyone customizes their drink.
Side Dishes: This pairs well with savory autumn dishes like fall sheet pan sausage and root veggies or a creamy pumpkin bread on the side.
Storage: The caramel sauce can be stored in an airtight jar in the fridge for up to 2 weeks. Reheat gently in the microwave. The apple cider should be stored in the fridge and used within 5-7 days. Do not freeze the assembled float—the ice cream will separate.
Reheating: If you have leftover caramel sauce, warm it in the microwave for 15-20 seconds and stir. If it’s too thick, add a teaspoon of water or cream.
Nutrition Information
I’m not a nutritionist, but here’s the breakdown if you’re tracking. This is a treat, so enjoy it mindfully.
Per Serving (based on 4 servings):
- Calories: 450
- Protein: 6g
- Carbs: 65g
- Fiber: 1g
- Sugar: 55g
- Fat: 20g
- Saturated Fat: 12g
- Cholesterol: 60mg
- Sodium: 150mg
What’s Good: It’s a relatively simple ingredient list. No artificial flavors or preservatives if you make the caramel from scratch.
What to Know: It’s high in sugar and calories due to the caramel and ice cream. If you’re watching your intake, use less caramel sauce or a smaller scoop of ice cream. Or just enjoy it as a special treat.
Final Thoughts
So that’s my go-to fall caramel apple cider float! I’ve probably talked your ear off at this point, but when you make a recipe this often, you have a lot to say about it.
This has saved my dessert routine more times than I can count. It’s my answer to “what’s for dessert” when I want something sweet but don’t want to bake. My kids are happy, my friends are happy, and I’m happy because I’m not stressed about cooking.
Make it yours! Try different spices, swap the ice cream flavor, or add a splash of bourbon. The best recipes are the ones you adapt to your tastes. If you make this, drop a comment and let me know what you think! I love hearing how recipes turn out in your kitchen.
Happy cooking! And I hope your kitchen smells half as good as mine does right now.
Frequently Asked Questions
Can I use apple juice instead of apple cider?
You can, but the flavor will be milder. Apple cider has a more robust, fresh apple taste that works better with the caramel. If you use juice, I’d recommend adding a little extra cinnamon and maybe a teaspoon of apple cider vinegar to boost the flavor.
Why did my caramel seize up?
This usually happens if the cream is too cold or if you add it too quickly. Make sure your cream is room temperature, and add it slowly while whisking constantly. If it seizes, don’t panic—keep whisking over low heat, and it should smooth out.
Can I make this ahead for a party?
Yes! Make the caramel sauce ahead of time and store it in the fridge. Warm the apple cider just before serving. Assemble the floats right before guests arrive so the ice cream doesn’t melt too much. It’s the perfect make-ahead dessert.
Can I use coconut milk instead of heavy cream?
Yes, but the caramel will be thinner and less rich. Full-fat coconut milk works best. You might need to simmer it a bit longer to thicken it. It’s a good option for dairy-free diets, but the texture will be different.
How long does the caramel sauce last?
It lasts up to 2 weeks in the fridge in an airtight container. It will thicken in the fridge, so just warm it up and stir before using. It also freezes well for up to 3 months.
Can I add alcohol to this?
Absolutely. A splash of bourbon, rum, or brandy adds a wonderful warmth. Add it to the warm cider before pouring it over the ice cream. Start with a tablespoon per serving and adjust to taste.
Why is my float too watery?
This happens if you use too much cider or if the ice cream melts too quickly. Use less cider, or add the ice cream to the glass first and pour the cider slowly. Also, make sure your ice cream is very cold—straight from the freezer.
Pin This Recipe!

Fall Caramel Apple Cider Float
- Total Time: 10 minutes
- Yield: 4 servings 1x
Description
A warm, nostalgic autumn dessert drink made with spiced apple cider, homemade caramel sauce, and vanilla bean ice cream. It’s a quick, easy, and festive treat that captures the essence of fall.
Ingredients
- 1/2 cup unsalted butter
- 1 cup brown sugar
- 1/2 cup heavy cream
- 1/2 teaspoon salt
- 2–3 cups apple cider
- 4–6 scoops vanilla bean ice cream
- 2–3 cinnamon sticks (optional)
- Whipped cream (optional)
- Apple chips (optional garnish)
Instructions
- Heat the apple cider in a saucepan or microwave until steaming but not boiling. Add cinnamon sticks if using, and set aside.
- In a small saucepan, melt the butter over medium heat. Add the brown sugar and whisk constantly until the mixture becomes a smooth, glossy sauce (about 2-3 minutes).
- Slowly pour in the heavy cream while whisking vigorously. The sauce will bubble up; continue whisking until smooth and slightly thickened. Remove from heat and stir in the salt.
- Scoop 2-3 scoops of vanilla bean ice cream into mugs or heat-safe glasses.
- Pour the warm apple cider over the ice cream.
- Drizzle the warm caramel sauce generously over the top.
- Garnish with whipped cream, a cinnamon stick, and apple chips if desired. Serve immediately.
Notes
Ensure the heavy cream is at room temperature to prevent the caramel from seizing. Do not boil the apple cider to preserve its fresh flavor. The caramel sauce can be made ahead and stored in the fridge for up to 2 weeks.
- Prep Time: 5 minutes
- Cook Time: 5 minutes
- Category: Dessert
- Cuisine: American
Nutrition
- Serving Size: 1 mug/glass
- Calories: 450
- Sugar: 55
- Sodium: 150
- Fat: 20
- Saturated Fat: 12
- Carbohydrates: 65
- Fiber: 1
- Protein: 6
Keywords: fall dessert, apple cider float, caramel sauce, autumn drink, easy dessert, seasonal recipe, vanilla ice cream


