I have a confession to make. I used to buy those little individual ramekins for baking. You know the ones? The cute, tiny ceramic dishes that promise “single-serving perfection.” I bought a set of four in a moment of delusion, thinking I’d be the kind of person who regularly bakes small desserts. Spoiler alert: I’m not. I’m the kind of person who buys ingredients, gets distracted, and ends up with a half-used stick of butter and a cup of oats going stale in the back of the pantry.
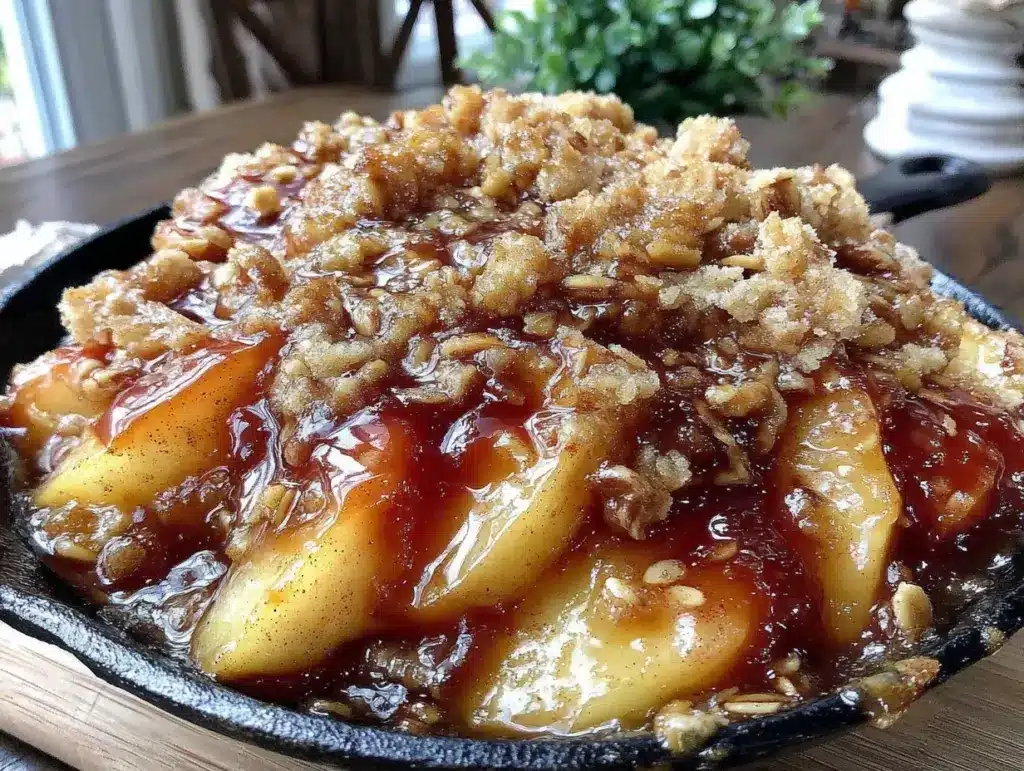
That was until I stopped trying to fit my life into tiny, expensive dishes and started using what I already had. Specifically, a small cast iron skillet. Maybe a 6-inch one, maybe an 8-inch if I’m feeling fancy. The result? This cast iron apple crisp with brown butter oat streusel. It’s crispy, it’s buttery, it’s the kind of dessert that tastes like it came from a high-end bakery but costs less than a dollar to make. And because it’s in cast iron, there’s no cleanup. You just pop the skillet in the dishwasher or scrub it while it’s still warm. Win-win.
This recipe is my answer to “I want something sweet but I don’t want to eat a whole pie by myself.” It’s practical. It’s cheap. And honestly? It’s better than the single-serve desserts you buy at the grocery store because you can control the sugar and get that incredible brown butter flavor that most mass-produced treats skip entirely. Let’s get into how to make this budget-friendly magic.
Why You’ll Love This Single-Serve Dessert
There are about ten reasons I keep coming back to this cast iron apple crisp, but let’s be real—you don’t need ten reasons. You need to know why this is going to save your wallet and your sanity.
It Costs Pennies — Seriously. If you buy apples in season and keep basic staples like oats and flour, this dessert costs less than $2.00 to make. That’s less than a candy bar at the gas station, and it actually tastes good. I’ve calculated the cost per serving multiple times, and it’s consistently under $1.50 depending on where you shop.
One Pan, Zero Stress — I’m a minimalist when it comes to cleanup. This recipe requires one skillet, one bowl for the streusel, and a spoon. No fancy molds, no parchment paper (unless you want it), and definitely no washing a dozen dishes afterward. It’s the ultimate lazy-chef hack.
Brown Butter Changes Everything — You might think brown butter is complicated or fancy. It’s not. It’s just butter cooked until the milk solids turn golden brown. It adds this deep, nutty, caramel-like flavor that makes you question why you ever bought plain butter before. It elevates this from “okay snack” to “I need to write this down” in about thirty seconds.
Perfect Portion Control — Let’s be honest. Sometimes you just want one serving. Not a plate for you and a plate for your spouse. Just one. This recipe respects that. It gives you a generous, hearty portion that feels like a treat without the guilt of eating three slices of pie.
Uses Up Impending-Expiration Fruit — I make this whenever my apples start to get a little soft. They’re still perfectly good for baking! In fact, soft apples cook down faster and get softer in the filling, which I prefer. It’s a zero-waste dessert that saves you from tossing fruit.
This is my go-to when I need a little comfort food that doesn’t require a trip to the store. It’s reliable, it’s cheap, and it smells amazing while it bakes. Seriously, the smell of brown butter and cinnamon will have your neighbors wondering what you’re up to.
Ingredients You’ll Need
Here’s the best part: you probably have most of this already. This isn’t a recipe that requires a special trip to a specialty store. It’s built on cheap, reliable staples. I’m particular about three things here, but overall, this is a pantry-friendly list.
For the Apple Filling
Apples (2 medium, about 300g peeled and sliced) — I use Granny Smith or Honeycrisp. Granny Smith gives a nice tartness that cuts the sweetness, while Honeycrisp is juicier and sweeter. Don’t use Red Delicious; they turn to mush. Peel them if you want a smoother texture, but leave the skin on for extra fiber and color. I usually peel mine because I like the consistency better.
Lemon Juice (1 tablespoon / 15ml) — Just a splash to keep the apples from browning and to add a little brightness. It balances the sweetness. Fresh is best, but bottled works in a pinch.
Granulated Sugar (2 tablespoons / 25g) — You don’t need much. The apples release their own juices. I use white sugar because it dissolves easily, but brown sugar works too if you want a deeper molasses flavor.
Cinnamon (½ teaspoon) — Ground cinnamon is standard. If you have pumpkin pie spice, you can use that, but keep it simple. You want the apple flavor to shine.
Cornstarch (1 teaspoon) — This thickens the apple juices so you don’t end up with a soupy mess. It’s a tiny amount, so it doesn’t add calories, just texture.
For the Brown Butter Oat Streusel
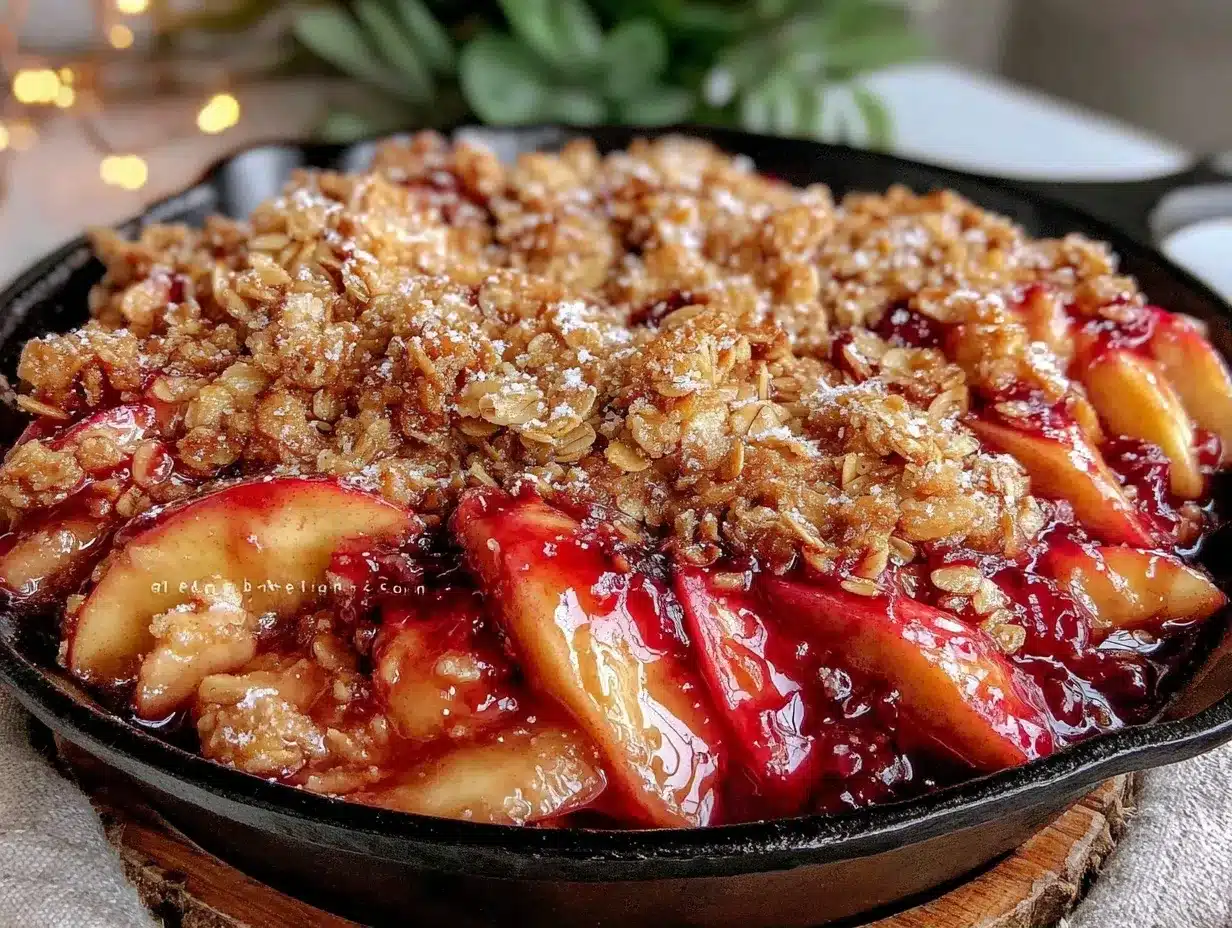
Unsalted Butter (2 tablespoons / 30g) — This is where the magic happens. You need to brown this butter. Use good quality butter if you can find it on sale. Since you’re only using two tablespoons, buy a small package or use what you have. Don’t substitute with margarine; it won’t brown the same way.
All-Purpose Flour (¼ cup / 30g) — Basic pantry staple. If you’re out, you can use whole wheat pastry flour, but it will make the topping denser. Regular AP flour gives that nice crumbly texture.
Old-Fashioned Oats (¼ cup / 20g) — Not quick oats. Quick oats will turn into paste. Old-fashioned oats give you that chewy, crunchy texture. If you only have quick oats, pulse them in a blender for a few seconds to break them up, but old-fashioned is ideal.
Brown Sugar (2 tablespoons / 25g) — Light or dark brown sugar both work. Dark sugar has more molasses, so it’ll taste a bit more like a cookie. I usually use whatever is in my cupboard.
Pinch of Salt — Just a tiny pinch to enhance the flavors. If your butter is salted, skip this.
Optional Add-ins — I sometimes throw in a tablespoon of chopped pecans or walnuts if I have them lying around. It adds a nice crunch and stretches the recipe slightly. But it’s not necessary.
Equipment Needed
You don’t need fancy equipment for this. Here’s what I actually use.
Small Cast Iron Skillet — A 6-inch skillet is perfect. It fits one generous serving. If you don’t have cast iron, a small oven-safe baking dish or even a ramekin works, but cast iron gives the edges a nice crispiness. I use my small skillet for everything from cornbread to this crisp. It’s versatile and durable.
Small Saucepan — To brown the butter. You can do it in a microwave, but a saucepan gives you more control. You want to watch it closely so it doesn’t burn. A small pan is best so you can see the color change easily.
Small Mixing Bowl — For tossing the apples with sugar and cinnamon, and for mixing the streusel. Any small bowl will do.
Measuring Spoons — Standard stuff. Dollar store versions work fine.
Knife and Peeler — For prepping the apples. A sharp knife makes this go faster. I’ve burned my fingers peeling with a dull peeler; learned that the hard way.
Wooden Spoon or Spatula — For stirring the butter and mixing the streusel.
How to Make It: Step-by-Step
Alright, let’s make this! I’m walking you through exactly how I do it, including the little tricks I’ve picked up over time.
Step 1: Prep the Apples (5 minutes)
Peel, core, and slice your apples. I cut them into thin, uniform slices—about ¼ inch thick. This ensures they cook evenly. Toss them in a small bowl with the lemon juice, granulated sugar, cinnamon, and cornstarch. Mix well until the apples are coated. Set aside while you brown the butter.
Step 2: Brown the Butter (5 minutes)
This is the most important step. Melt the 2 tablespoons of butter in a small saucepan over medium heat. Swirl it occasionally. It will foam up, then settle down. Watch the color. You’re looking for a golden brown color and a nutty aroma. This takes about 3-5 minutes. If it starts to smoke, it’s too hot. Take it off the heat immediately. Pour the brown butter into a small heat-proof bowl to stop the cooking. Don’t skip this—it’s what makes the topping special.
Step 3: Make the Streusel (2 minutes)
In a small bowl, combine the flour, oats, brown sugar, and salt. Pour the warm brown butter over the dry ingredients. Stir with a fork until the mixture looks like wet sand with some larger clumps. You don’t want it to be a paste. The clumps are what give you the crunchy texture. If it’s too dry, add a teaspoon more brown butter. If it’s too wet, add a sprinkle more flour.
Step 4: Assemble in the Skillet (2 minutes)
Preheat your oven to 375°F (190°C). Pour the apple mixture into your cast iron skillet. Spread it out evenly. Spoon the streusel topping over the apples. You don’t need to cover every single apple; just distribute it evenly. The apples will release juice, and the streusel will soak it up and crisp up.
Step 5: Bake (25-30 minutes)
Place the skillet in the preheated oven. Bake for 25-30 minutes. You’ll know it’s done when the streusel is golden brown and the apple juices are bubbling around the edges. If the topping is browning too fast, you can loosely tent it with foil. But usually, it’s fine.
Step 6: Cool and Serve (10 minutes)
Remove from the oven and let it cool for 10 minutes. This is hard, I know, but it lets the filling thicken. If you dig in immediately, it’ll be soupy. Serve warm. I like it with a dollop of whipped cream or a scoop of vanilla ice cream, but it’s delicious on its own. Save the leftovers for tomorrow.
Expert Tips & Tricks
Here’s everything I’ve learned from making this dozens of times. These tips will save you from my mistakes.
Don’t Rush the Brown Butter — It’s tempting to crank the heat, but low and slow is better. You want that nutty flavor, not burnt butter. If it smells like burnt popcorn, start over. It’s only two tablespoons, so it’s not a big loss.
Use Cold Apples — I know it sounds weird, but if your apples are cold from the fridge, they hold their shape better. Room temperature apples can get mushy faster. I usually slice them right before cooking.
Adjust Sweetness — Apples vary in sweetness. If your apples are very tart, add an extra tablespoon of sugar. If they’re super sweet, reduce it. Taste the apple mixture before baking if you’re unsure.
Save That Skillet — Cast iron is durable, but don’t use soap if you can help it. Just scrub it with hot water and a stiff brush. Dry it thoroughly and rub a tiny bit of oil on it to keep it seasoned. It’ll last forever.
Leftovers Are Better — I won’t lie, the leftovers the next day are amazing. The flavors meld together, and the topping gets even crispier. Reheat in the microwave for 30 seconds or in the oven for 10 minutes.
Variations & Substitutions
Once you’ve nailed the basic version, here’s how you can mix it up. I’ve tried all of these.
Pear Crisp — Swap apples for pears. Pears are softer, so reduce baking time by 5 minutes. Add a teaspoon of cardamom for a nice twist.
Berry Crisp — Use frozen mixed berries. Add 1 extra tablespoon of cornstarch because berries release more liquid. No need to peel or core!
Gluten-Free — Use gluten-free oats and gluten-free flour. Everything else is naturally gluten-free. I’ve used Bob’s Red Mill GF flour and it works great.
Dairy-Free — Replace butter with coconut oil or a dairy-free butter alternative. It won’t brown the same way, but it still works. Use coconut sugar instead of brown sugar for a vegan version.
Nutty Version — Add 2 tablespoons of chopped walnuts or pecans to the streusel. It adds a nice crunch and makes it feel more like a dessert from a cafe.
Serving & Storage
How to Serve: I usually serve this straight from the skillet at the table—it looks rustic and stays warm. But here are other ways I’ve enjoyed it:
- With a scoop of vanilla ice cream (classic)
- With a dollop of Greek yogurt (for a protein boost)
- With a drizzle of caramel sauce (if you’re feeling fancy)
Storage Instructions:
Refrigerator: Store in the skillet (covered with foil or a lid) for up to 3 days. The topping will soften in the fridge, but it’s still good.
Reheating: Best method: Oven at 350°F for 10 minutes. This restores the crispiness. Microwave works but makes the topping soggy. If you must microwave, do it in short bursts.
Freezing: You can freeze the unbaked crisp. Assemble it, wrap it tightly in plastic and foil, and freeze for up to 3 months. Thaw in the fridge overnight and bake as directed.
Nutrition Information
I’m not a nutritionist, but here’s the breakdown if you’re tracking.
Per Serving (based on 1 serving):
| Calories | 320 |
| Protein | 3g |
| Carbs | 45g |
| Fiber | 4g |
| Fat | 14g |
| Sugar | 28g |
What’s Good: Decent fiber from the oats and apples. Calcium from the dairy if you add ice cream.
What to Know: Higher in sugar from the apples and added sugar. It’s a treat, so enjoy it in moderation. If you want to cut sugar, reduce the granulated sugar by half and rely on the natural sweetness of the apples.
Final Thoughts
So that’s my cast iron apple crisp for one! I’ve probably talked your ear off at this point, but when you make a recipe this often, you have a lot to say about it.
This has saved me from buying overpriced single-serve desserts and from wasting ingredients. It’s my answer to “I want something sweet” when I’m tired and don’t want to cook a big meal. It’s cheap, it’s easy, and it tastes amazing.
Make it yours! Try different apples, add nuts, or swap the spices. The best recipes are the ones you adapt to your tastes.
If you make this, drop a comment and let me know what you think! I love hearing how recipes turn out in your kitchen. And if something doesn’t work, tell me that too—I’m here to help troubleshoot.
Happy cooking! And I hope your kitchen smells half as good as mine does right now.
Frequently Asked Questions
Can I use any type of apple?
You can, but some work better than others. Granny Smith, Honeycrisp, Fuji, and Braeburn are great for baking because they hold their shape. Avoid Red Delicious or McIntosh if you want a firm texture. They’ll turn to mush. If you use mushy apples, reduce the baking time.
Why did my streusel turn out soggy?
This usually happens if the butter wasn’t browned correctly or if the apples released too much liquid. Make sure your brown butter is cooled slightly before mixing with the dry ingredients. Also, ensure your cornstarch is evenly distributed in the apples to thicken the juices.
Can I make this ahead of time?
Yes! Assemble the crisp in the skillet, cover it tightly, and refrigerate for up to 24 hours. When you’re ready to eat, bake it as directed, adding 5-10 minutes to the baking time since it’s starting cold.
What if I don’t have a cast iron skillet?
You can use any oven-safe dish. A small ramekin, a baking dish, or even a microwave-safe bowl works. The cooking time might vary slightly, so check for bubbling juices and golden topping.
Is brown butter necessary?
It’s not strictly necessary, but it makes a huge difference in flavor. Melted butter works, but brown butter adds that nutty, caramel-like depth. If you’re in a rush, melted butter is fine. But take the extra 5 minutes; you won’t regret it.
How do I store leftovers?
Store in the skillet covered with foil or in an airtight container in the fridge for up to 3 days. Reheat in the oven to restore crispiness. Microwave reheating works but softens the topping.
Pin This Recipe!
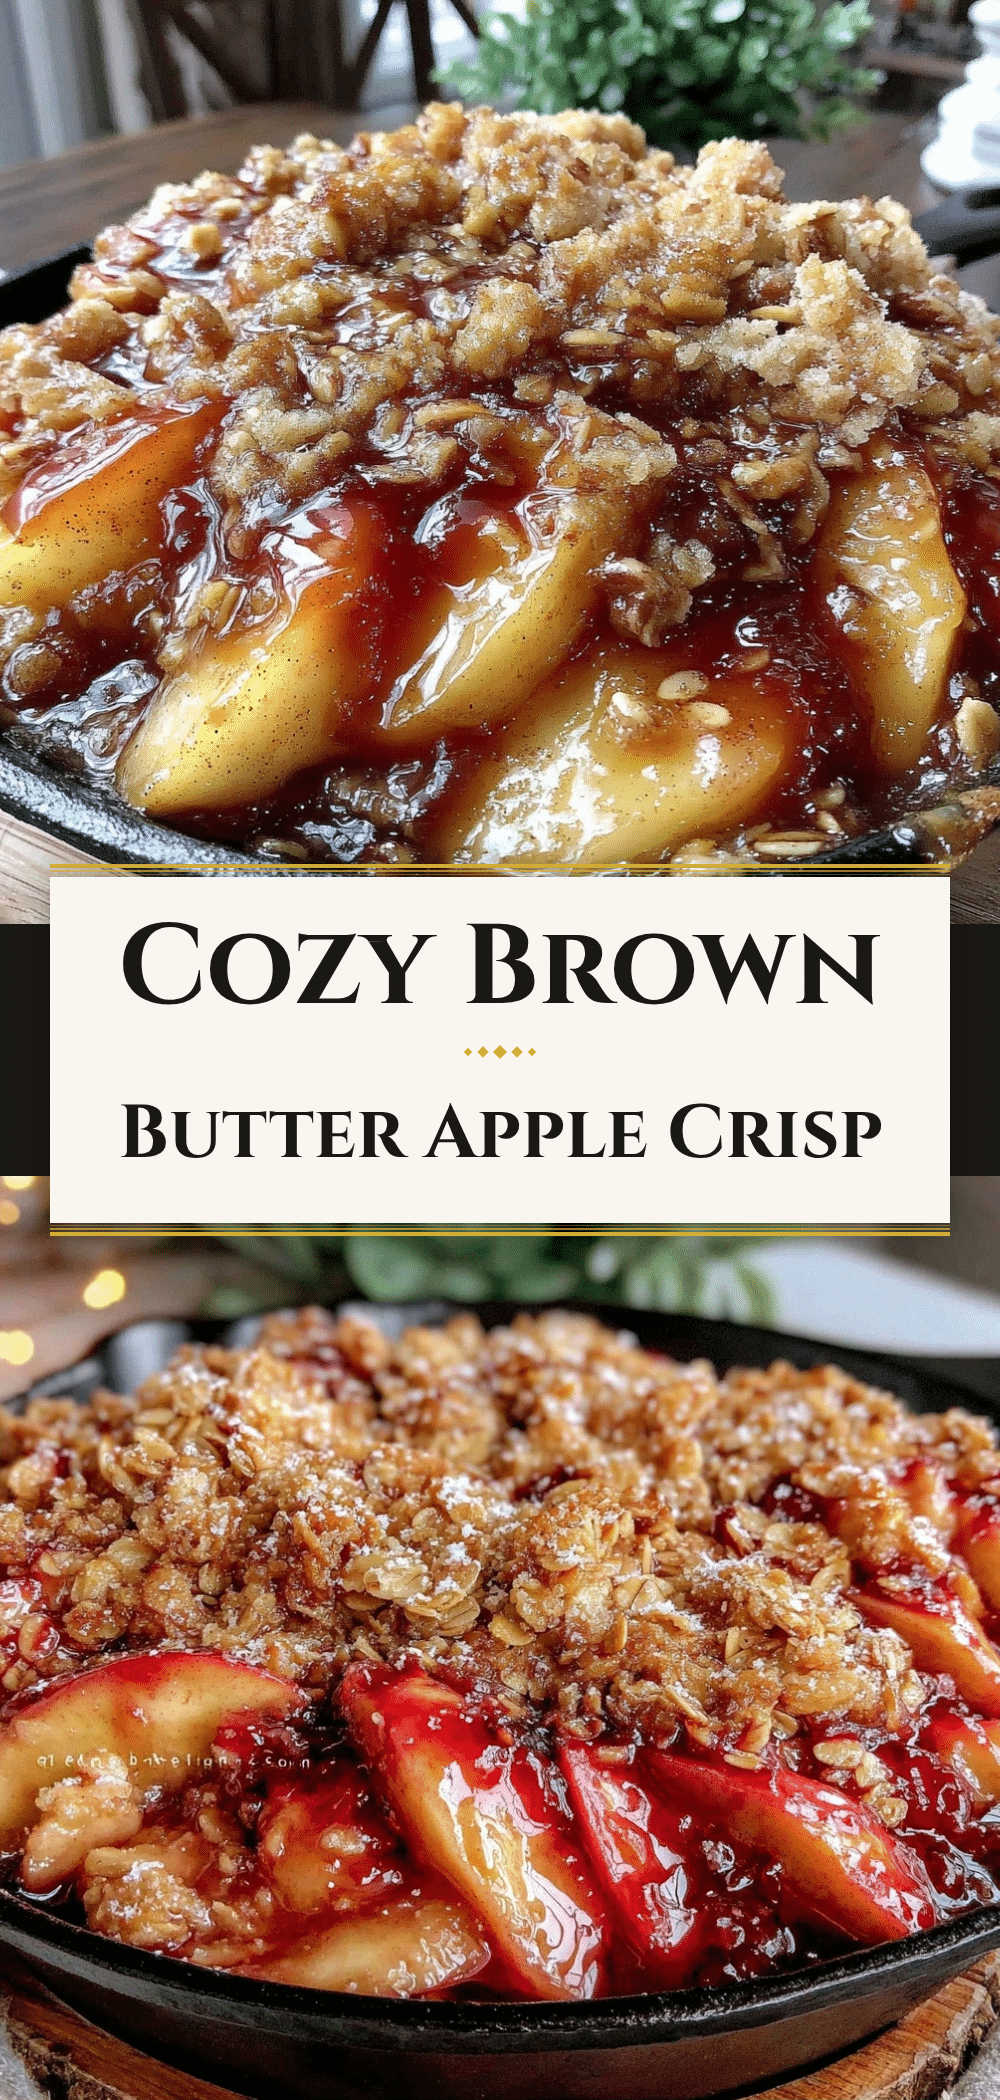

Cast Iron Apple Crisp for One: Easy Budget Dessert
- Total Time: 40 minutes
- Yield: 1 serving 1x
Description
A budget-friendly, single-serve apple crisp made in a small cast iron skillet with a brown butter oat streusel topping. It offers perfect portion control, minimal cleanup, and bakery-quality flavor for under $2.
Ingredients
- 2 medium apples (about 300g), peeled and sliced (Granny Smith or Honeycrisp recommended)
- 1 tablespoon lemon juice
- 2 tablespoons granulated sugar
- 1/2 teaspoon ground cinnamon
- 1 teaspoon cornstarch
- 2 tablespoons unsalted butter
- 1/4 cup all-purpose flour
- 1/4 cup old-fashioned oats
- 2 tablespoons brown sugar
- Pinch of salt
- Optional: 1 tablespoon chopped pecans or walnuts
Instructions
- Preheat oven to 375°F (190°C).
- Peel, core, and slice apples into 1/4-inch thick slices. Toss with lemon juice, granulated sugar, cinnamon, and cornstarch in a small bowl. Set aside.
- Melt butter in a small saucepan over medium heat. Swirl occasionally until it foams, settles, and turns golden brown with a nutty aroma (3-5 minutes). Remove from heat immediately and pour into a heat-proof bowl to stop cooking.
- In a small bowl, combine flour, oats, brown sugar, and salt. Pour the warm brown butter over the dry ingredients and stir with a fork until the mixture resembles wet sand with clumps.
- Pour the apple mixture into a small cast iron skillet (6-inch) and spread evenly. Spoon the streusel topping over the apples.
- Bake for 25-30 minutes until the streusel is golden brown and apple juices are bubbling.
- Let cool for 10 minutes to allow the filling to thicken before serving warm.
Notes
Brown butter is key for flavor but requires attention to prevent burning. Cold apples hold their shape better. Leftovers can be stored in the fridge for up to 3 days or frozen unbaked for up to 3 months. Reheat in the oven to restore crispiness. For gluten-free, use GF oats and flour. For dairy-free, substitute butter with coconut oil.
- Prep Time: 10 minutes
- Cook Time: 30 minutes
- Category: Dessert
- Cuisine: American
Nutrition
- Serving Size: 1 generous serving
- Calories: 320
- Sugar: 28
- Sodium: 150
- Fat: 14
- Saturated Fat: 8
- Carbohydrates: 45
- Fiber: 4
- Protein: 3
Keywords: single serve dessert, cast iron apple crisp, budget dessert, brown butter, oat streusel, easy baking, gluten-free option, dairy-free option


