Last Thanksgiving, I stood in my aunt’s kitchen watching her wrestle with a massive, flour-dusted rolling pin. She was trying to make a crust for a pumpkin pie that would survive the journey from the oven to the table without cracking or collapsing. I remember thinking, “This is a lot of stress for one slice of pie.” We ended up ordering takeout because the kitchen was a disaster zone, and honestly? The store-bought cheesecake we grabbed on the way home was surprisingly good. That night, I made a mental note: I wanted the rich, creamy comfort of holiday dessert without the oven drama or the cleanup nightmare.
That was three years ago, and I’ve finally cracked the code. This no-bake pumpkin cheesecake with buttery gingersnap crust is my answer to holiday stress. It’s creamy, it’s spiced, and it tastes like autumn in a bowl. I’ve tested this recipe at least seven times—once for a small family dinner, twice for potlucks, and several times just because I wanted to see if I could get the texture perfectly smooth. It works. It’s reliable. And best of all, it requires zero oven time.
I call this “holiday fuel” because, unlike heavy baked goods that leave you feeling sluggish, this version uses full-fat cream cheese and a touch of maple syrup to balance the sweetness. It’s satisfying enough to curb those late-night cookie cravings but light enough that you won’t feel like you need a nap after eating it. If you’re looking for a dessert that looks impressive but actually respects your time, this is it. I’ve paired it with a side of my sweet and spicy candied pecans for the holidays, and it’s become a staple in our fall menu.
So, forget the rolling pins. Forget the cracking crusts. Let’s make something that just works.
Why You’ll Love This No-Bake Pumpkin Cheesecake
There are about ten reasons I keep making this, but let’s be real—you’re here because you want dessert that doesn’t require a degree in pastry arts or a 12-hour window in the kitchen. Here’s why this no-bake pumpkin cheesecake with buttery gingersnap crust has earned a permanent spot in my fridge:
- Zero Oven Heat — Seriously. If you’re tired of heating up your kitchen in October, this is your best friend. You mix, you press, you chill. That’s it. No preheating, no baking, no waiting for it to cool down.
- The Crust is Non-Negotiable — Most no-bake crusts are just sweet and boring. Ours uses crushed gingersnaps with butter and a pinch of cinnamon. It’s spicy, crunchy, and buttery. It cuts through the richness of the filling perfectly. I’ve tried using graham crackers, but they just don’t have that kick.
- Meal-Prep Friendly — This cake actually tastes better the next day. The flavors meld together while it chills. I make this on Sunday for a Wednesday dinner party, and it’s always ready to go. It’s the ultimate stress-free hostess gift.
- Rich but Not Heavy — I use full-fat cream cheese, obviously, but I balance it with a bit of Greek yogurt. It adds a tangy brightness that keeps the slice light on your palate. It’s fuel for your sweet tooth, not a nap trigger.
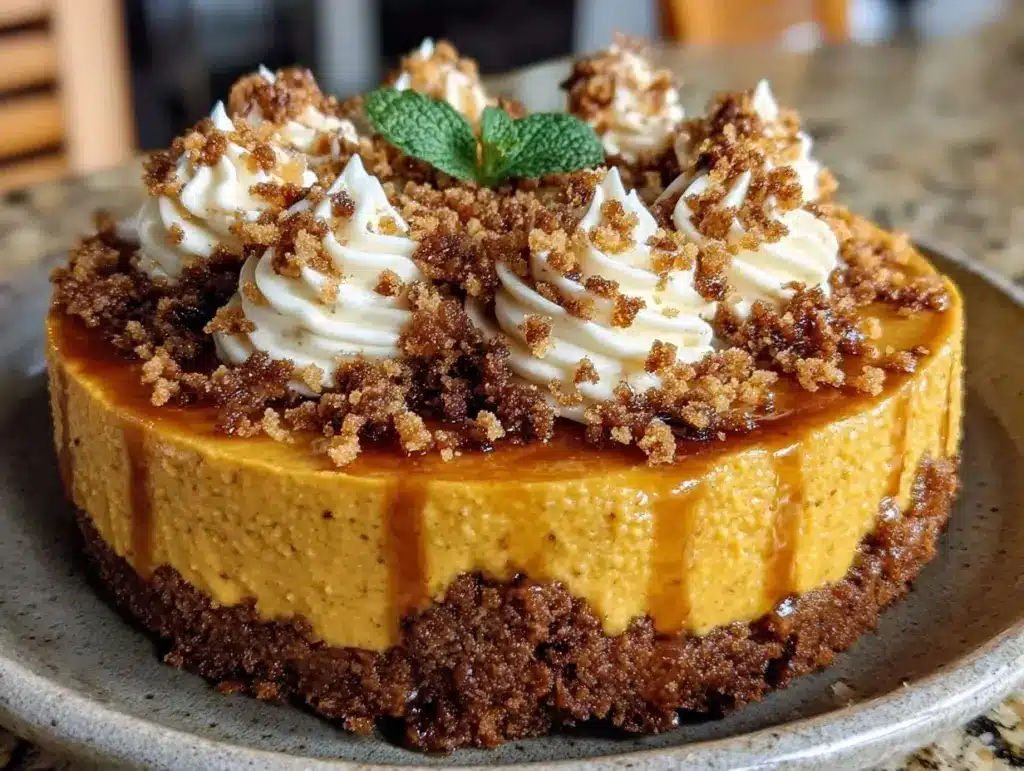
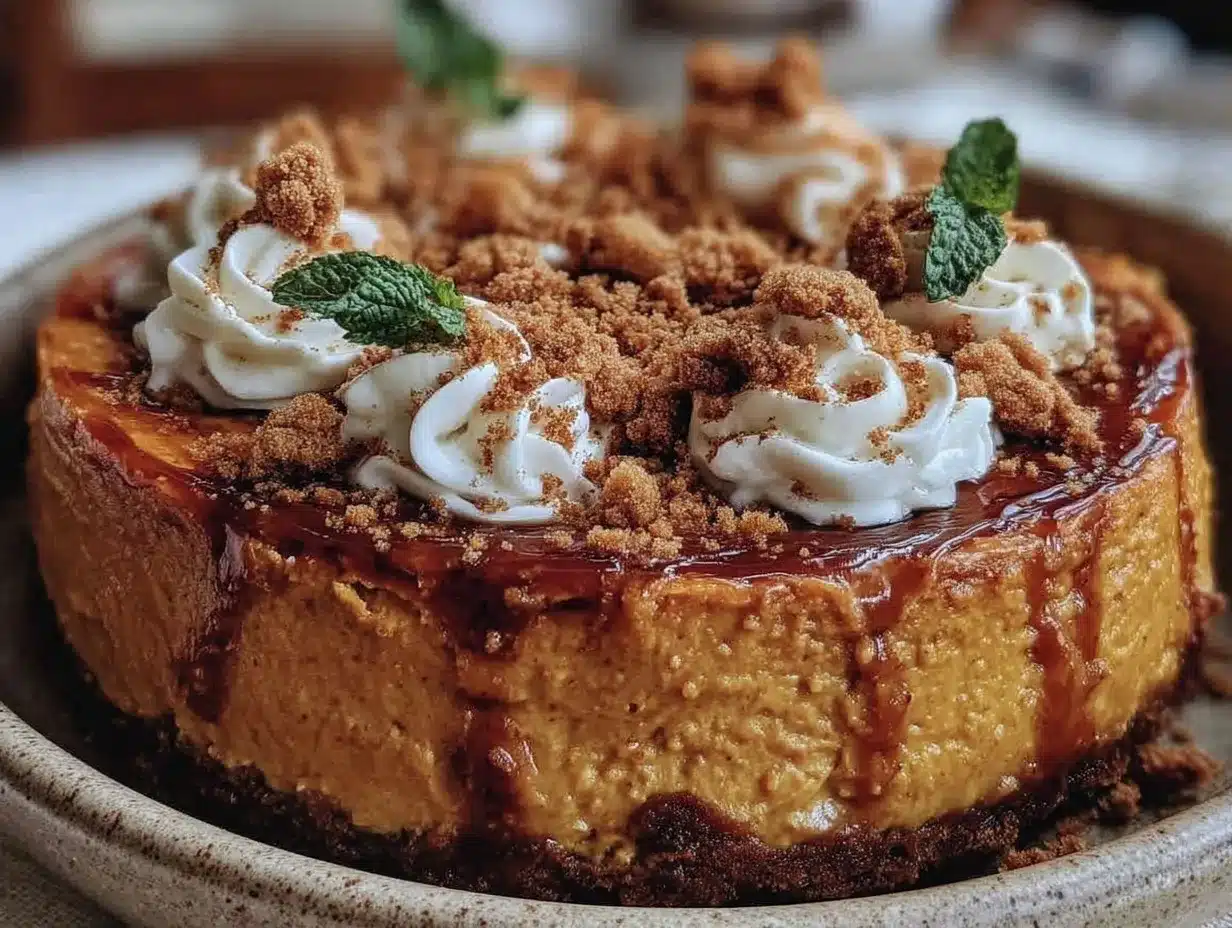
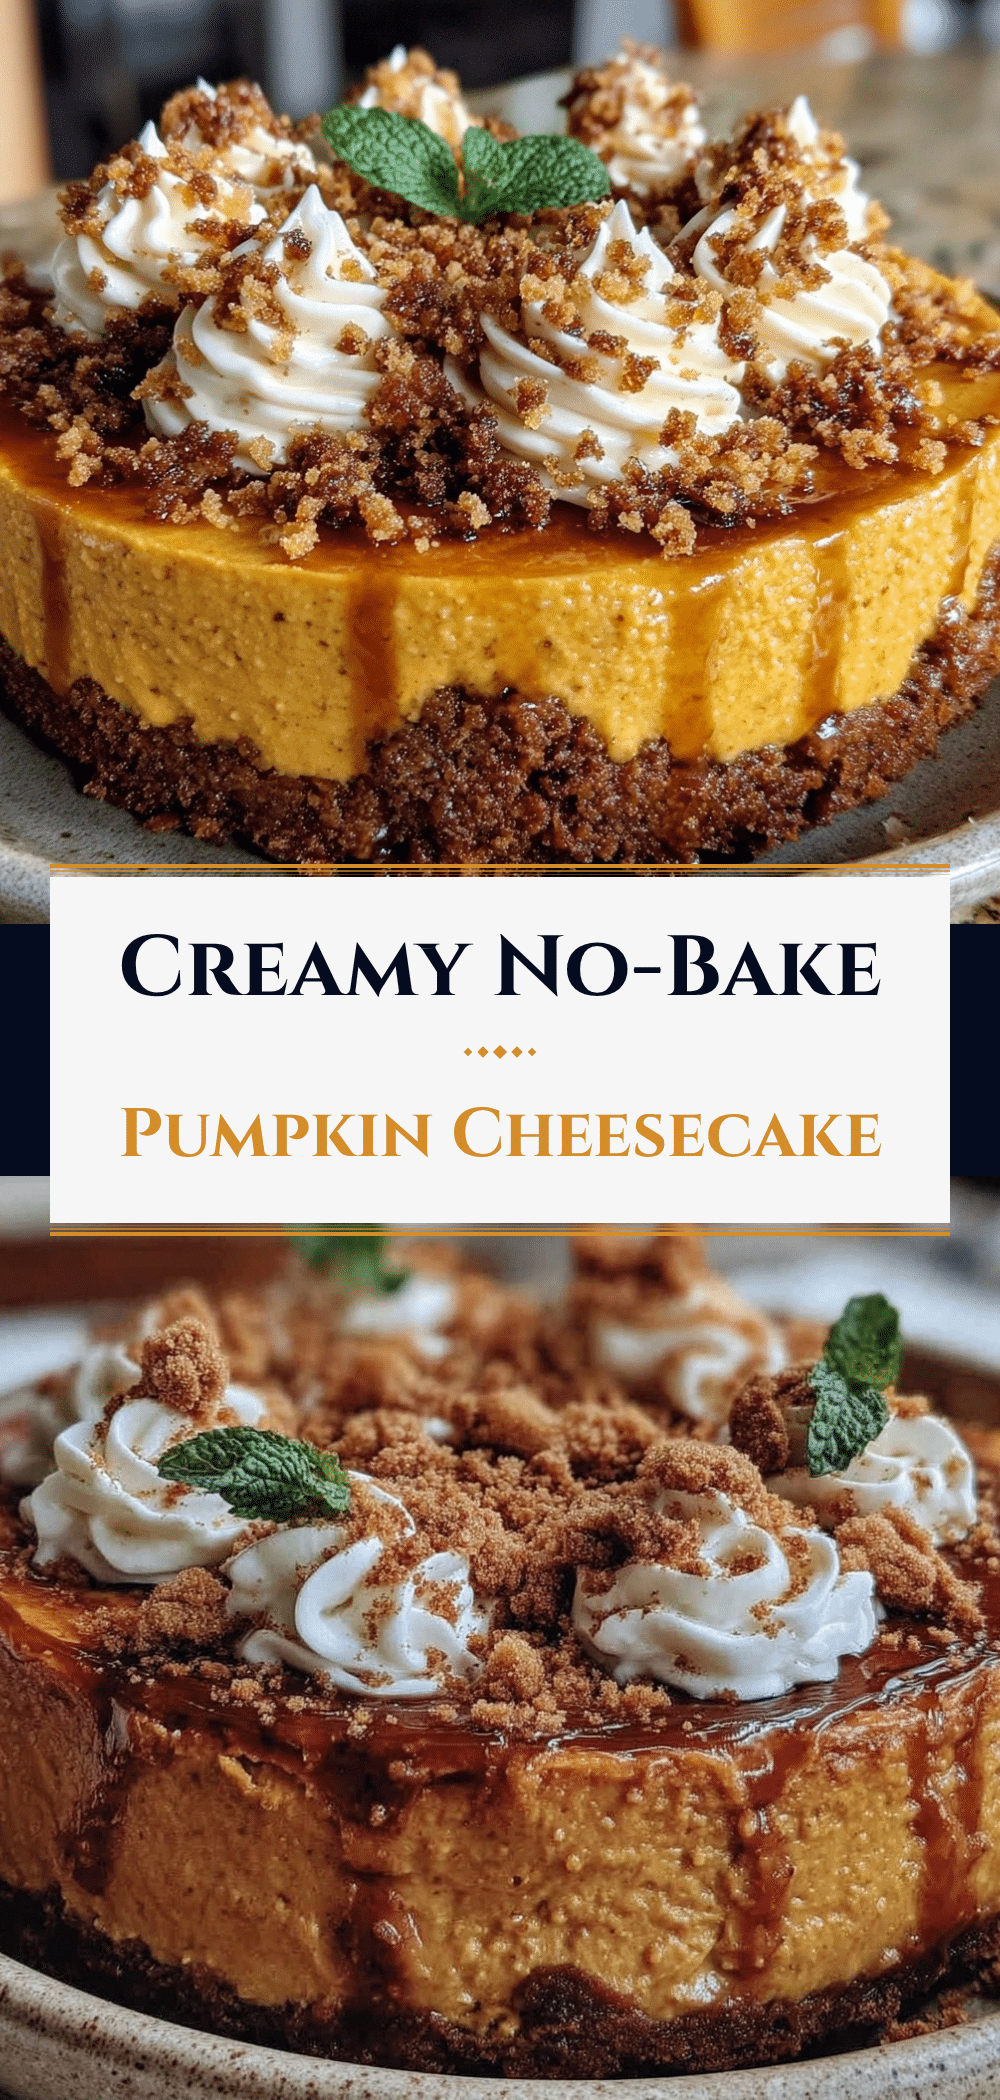
- Looks Fancy, Is Actually Simple — When you unmold it (if you unmold it), it looks like something from a high-end bakery. The orange hue is vibrant, and the whipped cream topping makes it look professional. But you’ll know it took less effort than making a sandwich.
This is my go-to when I need to impress people without impressing myself with my cooking skills. It’s reliable, delicious, and totally worth the 15 minutes of active work.
Ingredients You’ll Need
Here’s the best part: you probably have most of this already. I’m particular about three ingredients here, and I’ll tell you exactly why. Don’t skip the quality checks.
For the Crust
Gingersnap cookies (3 cups / about 300g, finely crushed) — Do not use ginger snaps that are super soft or molasses-heavy. You want the crisp, dry ones that snap when you break them. They crush into perfect crumbs. I buy the store brand; they’re cheap and work perfectly.
Unsalted butter (6 tablespoons / 85g, melted) — This binds the crust. Use good quality butter. If it’s too salty, the crust will be overpowering. Melt it completely before mixing.
Granulated sugar (2 tablespoons / 25g) — Just a little bit to help the crust brown slightly and bind. Since the cookies are already sweet, you don’t need much.
Cinnamon (½ teaspoon) — Enhances the ginger flavor. Don’t skip it.
For the Filling
Cream cheese (2 packages / 16 oz / 450g, full-fat, softened) — This is the base. It MUST be softened to room temperature. If you try to mix cold cream cheese, you’ll end up with lumpy cheesecake. I take it out of the fridge two hours before I start.
Heavy cream (1 cup / 240ml, cold) — This gives the cheesecake its airy, whipped texture. It needs to be cold so it whips properly.
Maple syrup (¼ cup / 60ml) — I use this instead of all sugar. It adds a deeper, earthy sweetness that pairs beautifully with pumpkin. Grade A amber is perfect.
Pure pumpkin puree (1 cup / 240g) — Not pumpkin pie filling! Pumpkin pie filling has sugar and spices added. You want 100% pure pumpkin. It adds moisture and fiber without making it too dense.
Pumpkin pie spice (2 teaspoons) — The classic combo of cinnamon, ginger, nutmeg, and cloves. If you don’t have it, mix your own, but store-bought is fine for this.
Vanilla extract (1 teaspoon) — Pure vanilla. Artificial stuff tastes harsh in a dessert this simple.
Greek yogurt (½ cup / 120g, plain, full-fat) — This is my secret ingredient. It adds protein and tang, balancing the richness. It keeps the slice from feeling like a brick.
For the Topping
Whipped cream (1 cup / 240ml) — I make my own because it’s lighter and tastes fresher. But store-bought works in a pinch.
Extra gingersnaps — For crumbling on top. Adds texture and visual appeal.
Pumpkin seeds (pepitas) — A nice garnish for that festive green pop of color.
Equipment Needed
You don’t need fancy equipment for this. Here’s what I actually use.
9-inch Springform Pan — This is essential. The sides pop off, making it easy to unmold the cheesecake for that clean, bakery look. If you don’t have one, you can use a 9-inch round cake pan lined with parchment, but unmolding will be harder.
Food Processor — For crushing the gingersnaps. It takes 30 seconds and gives you uniform crumbs. Alternatively, put the cookies in a zip-top bag and crush them with a rolling pin. It takes more elbow grease but works.
Stand Mixer or Hand Mixer — Mixing cream cheese by hand is possible, but it’s tiring. A mixer ensures you get a smooth, lump-free filling. I use my hand mixer; it’s lighter and easier to clean.
Large Mixing Bowl — Something big enough to fold in the whipped cream without spilling. I use a glass bowl because I can see how smooth the mixture is.
Spatula — A silicone spatula is best for scraping the bowl and folding the whipped cream gently.
Parchment Paper — Line the bottom of the springform pan with a circle of parchment. It makes unmolding 100% easier. I learned this the hard way after a stuck crust nightmare.
Refrigerator Space — You need room for the pan to sit flat and undisturbed for at least 4 hours. Plan accordingly.
How to Make It: Step-by-Step
Alright, let’s make this! I’m walking you through exactly how I do it, including the little tricks I’ve picked up.
Step 1: Prep Your Pan
Line the bottom of your 9-inch springform pan with a circle of parchment paper. Grease the sides lightly with butter or cooking spray. This ensures the crust doesn’t stick and the cheesecake slides out cleanly later.
Step 2: Make the Crust
Place your gingersnap cookies in a food processor. Pulse until they turn into fine crumbs. If you’re doing it by hand, put them in a bag and crush them until they’re sandy. In a medium bowl, mix the crumbs, melted butter, sugar, and cinnamon. It should look like wet sand. If it’s too dry, add a teaspoon more melted butter. If it’s too wet, add a few more crumbs.
Press the mixture firmly into the bottom and slightly up the sides of the springform pan. Use the bottom of a measuring cup to pack it down tight. A loose crust will crumble when you slice it. Put the pan in the fridge while you make the filling. This helps it set faster.
Step 3: Mix the Cream Cheese Base
In a large bowl, beat the softened cream cheese and Greek yogurt on medium speed until smooth and creamy. This is crucial. Scrape down the sides and bottom of the bowl. You want no lumps. Add the maple syrup, pumpkin puree, pumpkin pie spice, and vanilla extract. Beat on low until just combined. Don’t overmix once the pumpkin is in, or you’ll incorporate too much air, which can cause cracks later (even though it’s no-bake, air bubbles can expand).
Step 4: Whip the Cream
In a separate cold bowl, whip the heavy cream until stiff peaks form. This means when you lift the beaters, the cream stands up straight. Be careful not to over-whip it into butter.
Step 5: Fold It All Together
Add one-third of the whipped cream to the pumpkin cream cheese mixture. Fold it in gently with a spatula to lighten the base. Then, add the remaining whipped cream. Fold gently until just combined. You want to keep as much air in the mixture as possible for that light, fluffy texture. It should look like a thick, orange mousse.
Step 6: Assemble and Chill
Pour the filling into the prepared crust. Smooth the top with a spatula. Cover the pan loosely with plastic wrap. Refrigerate for at least 4 hours, but ideally overnight. This gives the cheesecake time to set firmly. If you cut it too soon, it will be mushy.
Step 7: Serve
Before serving, run a hot knife around the edge of the springform pan to loosen it. Unlatch the ring and lift it off. If you’re feeling fancy, top with a dollop of whipped cream, a crumbled gingersnap, and a few pumpkin seeds. Slice with a sharp knife dipped in hot water for clean cuts.
Expert Tips & Tricks
Here’s everything I’ve learned from making this dozens of times. These tips will save you from my mistakes.
Softened Cream Cheese is Key
I cannot stress this enough. Cold cream cheese will result in lumpy cheesecake. If you forgot to take it out, microwave it in 10-second bursts until it’s soft to the touch but not melted. It should yield to slight pressure from your finger.
Don’t Skimp on the Crunch
When pressing the crust, go heavy. Press it down hard. I use the bottom of a glass to pack it. If the crust is loose, your first slice will fall apart. A tight crust holds everything together.
Pure Pumpkin Only
Double-check your can. It should say “100% Pure Pumpkin.” Pumpkin pie filling is a different product entirely and will make your cheesecake too sweet and spicy. You control the sweetness with the maple syrup.
Folding Technique
When adding the whipped cream, use a “cut and fold” motion. Don’t stir vigorously. You’re trying to keep the air bubbles intact. This is what makes the texture light and airy rather than dense and heavy.
Cooling Time
Patience pays off. I’ve tried to cut it after 2 hours, and it was a disaster. Let it chill for at least 4 hours. Overnight is best. The flavors develop and the texture firms up perfectly.
Variations & Substitutions
Once you’ve nailed the basic version, here’s how you can mix it up. I’ve tried all of these.
Gluten-Free Option
Use gluten-free gingersnaps. Most major brands make them now. Make sure your pumpkin puree and spices are certified gluten-free if you have celiac disease.
Dairy-Free Version
Swap the cream cheese for a vegan cream cheese alternative (like Kite Hill or Miyoko’s). Use coconut cream instead of heavy cream, and maple syrup works great. The texture will be slightly different but still delicious.
Less Sweet
Reduce the maple syrup to 2 tablespoons and use unsweetened almond milk yogurt instead of Greek yogurt. This balances the sweetness of the gingersnaps.
Chocolate Twist
Add 2 tablespoons of cocoa powder to the filling for a pumpkin chocolate swirl. It’s a weird combo, but it’s surprisingly good. Or drizzle melted dark chocolate on top.
Spice It Up
Add a pinch of cayenne pepper to the filling for a subtle heat that complements the ginger. It’s a nice surprise for those who like a little kick.
No-Bake Key Lime Pie Cups
If you like this no-bake style, you might also enjoy my no-bake key lime pie cups. They’re similar in technique but with a bright, citrusy twist.
Serving & Storage
How to Serve:
I usually serve this straight from the springform pan. It looks rustic and homemade. But here are other ways I’ve enjoyed it:
- With Coffee: The spices pair beautifully with a hot cup of coffee or tea.
- With Fruit: Top with fresh cranberries or pomegranate seeds for a festive pop of color.
- With Whipped Cream: Don’t skip the whipped cream. It adds a lightness that balances the dense crust.
Storage Instructions:
Refrigerator:
Store in an airtight container or covered with plastic wrap for up to 5 days. It actually gets firmer and tastier as it sits.
Freezing:
This doesn’t freeze well. The texture of the cream cheese and whipped cream can change, becoming grainy or watery when thawed. It’s best eaten fresh from the fridge.
Meal Prep:
Make this on Sunday for a Wednesday dinner. It’s the ultimate make-ahead dessert. Just keep it covered so it doesn’t absorb any fridge smells.
Nutrition Information
I’m not a nutritionist, but here’s the breakdown if you’re tracking. This recipe makes 12 slices.
Per Serving (1 slice):
– Calories: 320
– Protein: 6g
– Carbs: 28g
– Fiber: 2g
– Sugar: 18g
– Fat: 20g
– Saturated Fat: 12g
– Cholesterol: 55mg
– Sodium: 180mg
What’s Good:
– The Greek yogurt adds protein and probiotics.
– The pumpkin puree adds fiber and Vitamin A.
– It’s not loaded with refined sugar thanks to the maple syrup.
What to Know:
– It’s still a dessert, so it’s higher in fat and calories.
– Contains dairy and gluten (unless modified).
My Take:
Look, this is comfort food. It’s rich and creamy. But it’s way better than store-bought because you control the ingredients. When I make it, I feel like I’m treating myself without feeling guilty. Just enjoy a slice and savor it.
Final Thoughts
So that’s my go-to no-bake pumpkin cheesecake with buttery gingersnap crust! I’ve probably talked your ear off at this point, but when you make a recipe this often, you have a lot to say about it.
This has saved holiday dinners more times than I can count. It’s my answer to “what’s for dessert?” when I’m tired, don’t want to bake, and still want something that tastes really good. My family is happy, my guests are impressed, and I’m happy because I’m not stressed about cooking.
Make it yours! Try different toppings, swap in your favorite spices, or adjust the sweetness to your taste. The best recipes are the ones you adapt to your family’s tastes.
If you make this, drop a comment and let me know what you think! I love hearing how recipes turn out in your kitchen. And if something doesn’t work, tell me that too—I’m here to help troubleshoot.
Happy cooking! And I hope your kitchen smells half as good as mine does right now.
Frequently Asked Questions
Can I use pumpkin pie filling instead of pure pumpkin?
You can, but the cheesecake will be much sweeter and spicier. If you do use it, reduce the maple syrup to 2 tablespoons and omit the pumpkin pie spice. I prefer pure pumpkin because I control the sweetness, but it’s not a dealbreaker.
Why did my cheesecake turn out watery?
Usually, this happens if you didn’t chill it long enough, or if the cream cheese wasn’t fully softened before mixing. Also, make sure you’re not adding too much liquid. If it’s watery, you can try whipping it again with a bit more heavy cream to stabilize it, but it’s best to chill it for at least 4 hours.
Can I make this ahead for a dinner party?
Absolutely! This is actually better when made ahead. Make it 1-2 days before the party. Store it in the fridge. Just add the toppings right before serving so they don’t get soggy.
Why did my crust crumble when I sliced it?
The crust wasn’t packed down firmly enough. When you press the crumbs into the pan, use the bottom of a glass to pack it tight. Also, make sure the cheesecake is fully set before cutting. If it’s too soft, the crust will break.
Can I use a different type of cookie for the crust?
Yes! Gingersnaps are my favorite because of the spice, but you can use ginger snaps, speculoos, or even shortbread. Just adjust the sugar in the crust recipe if the cookies are sweeter or less sweet.
How do I reheat leftovers?
You don’t need to reheat it. This cheesecake is best served cold. If you prefer it at room temperature, let it sit out for 15-20 minutes before serving. Microwaving will melt the texture, so avoid that.
Can I double this recipe?
Yes! Double all ingredients and use a 10-inch springform pan. The chilling time stays the same. I do this when I’m feeding a crowd. Just make sure your mixer is big enough to handle the volume.
Pin This Recipe!
No-Bake Pumpkin Cheesecake with Buttery Gingersnap Crust
- Total Time: 4 hours 15 minutes
- Yield: 12 servings 1x
Description
A creamy, spiced no-bake pumpkin cheesecake with a crunchy gingersnap crust. This stress-free dessert requires zero oven time and is perfect for holiday gatherings or meal prep.
Ingredients
- 3 cups finely crushed gingersnap cookies (about 300g)
- 6 tablespoons unsalted butter, melted
- 2 tablespoons granulated sugar
- 1/2 teaspoon cinnamon
- 2 packages (16 oz / 450g) full-fat cream cheese, softened to room temperature
- 1 cup cold heavy cream
- 1/4 cup maple syrup
- 1 cup pure pumpkin puree
- 2 teaspoons pumpkin pie spice
- 1 teaspoon vanilla extract
- 1/2 cup plain full-fat Greek yogurt
- 1 cup whipped cream (for topping)
- Extra gingersnaps, crushed (for garnish)
- Pumpkin seeds (pepitas) (for garnish)
Instructions
- Line the bottom of a 9-inch springform pan with parchment paper and lightly grease the sides.
- Pulse gingersnap cookies in a food processor until fine crumbs form. Mix crumbs with melted butter, sugar, and cinnamon until it resembles wet sand.
- Press the crust mixture firmly into the bottom and slightly up the sides of the pan. Refrigerate while making the filling.
- Beat softened cream cheese and Greek yogurt in a large bowl until smooth. Add maple syrup, pumpkin puree, pumpkin pie spice, and vanilla; beat on low until just combined.
- Whip heavy cream in a separate cold bowl until stiff peaks form.
- Gently fold one-third of the whipped cream into the pumpkin mixture to lighten it, then fold in the remaining whipped cream until just combined.
- Pour filling into the prepared crust and smooth the top. Cover loosely with plastic wrap and refrigerate for at least 4 hours, or ideally overnight.
- Before serving, run a hot knife around the edge to loosen, remove the springform ring, and top with whipped cream, crushed gingersnaps, and pumpkin seeds.
Notes
Ensure cream cheese is fully softened to room temperature to avoid lumps. Use 100% pure pumpkin puree, not pumpkin pie filling. Press the crust firmly to prevent crumbling. The cheesecake tastes better if chilled overnight.
- Prep Time: 15 minutes
- Cook Time: 0 minutes
- Category: Dessert
- Cuisine: American
Nutrition
- Serving Size: 1 slice
- Calories: 320
- Sugar: 18
- Sodium: 180
- Fat: 20
- Saturated Fat: 12
- Carbohydrates: 28
- Fiber: 2
- Protein: 6
Keywords: no-bake, pumpkin cheesecake, gingersnap crust, holiday dessert, fall recipes, easy dessert, meal prep dessert


