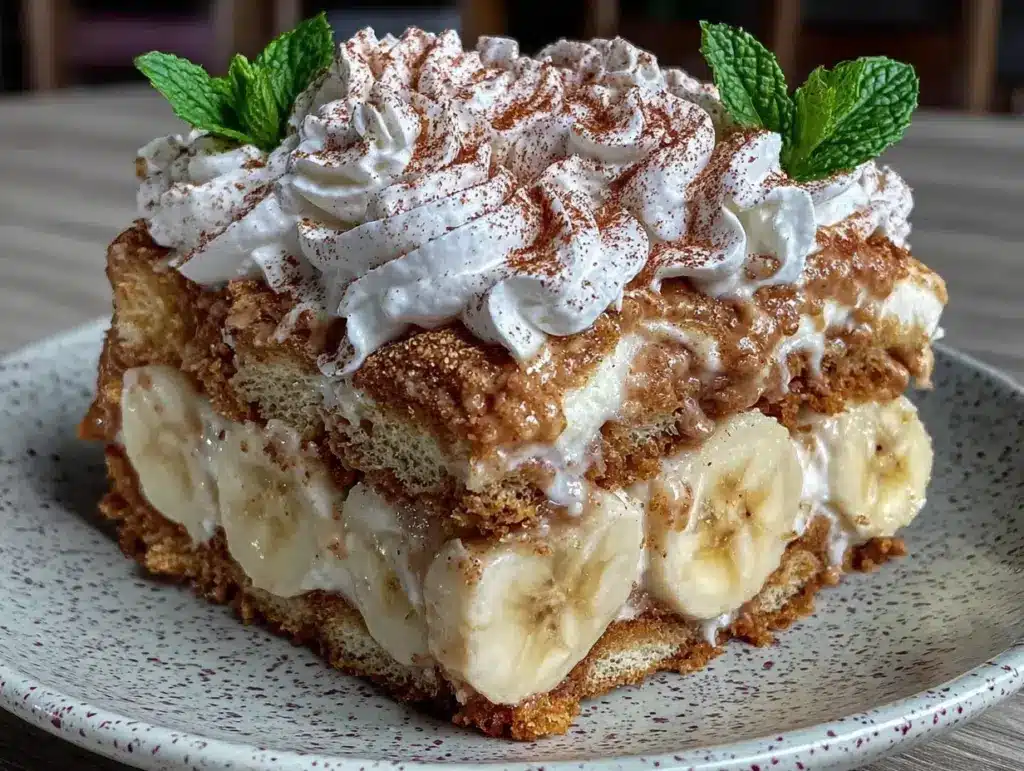
I have a confession to make: I used to be terrified of making dessert for a crowd. Not because I can’t cook, but because I hate the idea of being stuck in the kitchen when everyone else is outside enjoying the sun, the grill smoke, and good company. So, for years, I bought those plastic tubs of store-bought pudding cups and layered them with Oreos. It was easy, sure, but it wasn’t good.
Then, a few years ago, I tried a no-bake banana pudding icebox cake at a friend’s Labor Day party. It sat on the counter while we played cornhole. I grabbed a plate, took one bite, and stopped talking. It was cold, creamy, and had that perfect crunch from the wafers that softened just enough to become cake-like, but not soggy. It was the kind of dessert that felt like a hug from the inside out.
I rushed home and tried to recreate it. My first attempt was too watery. My second was too sweet. But by the third time, I had it down. I’ve made this Labor Day No-Bake Banana Pudding Icebox Cake for every summer holiday since. It’s become my go-to for anything that requires a crowd-pleasing, make-ahead dessert that doesn’t require turning on the oven. And honestly? It’s so simple that if you can stack cookies and pour pudding, you can make this. You really can’t mess it up.
There’s something magical about this specific combination of flavors. The tartness of the bananas cuts through the rich vanilla pudding, and the Nilla Wafers act as the structural backbone. It’s not complicated. It’s not high-maintenance. It’s just delicious, cold, and creamy. If you’re looking for a dessert that looks impressive but takes almost zero effort, this is the one. It’s the kind of recipe you’ll find yourself making on repeat, even when it’s not Labor Day.
Why You’ll Love This Recipe
Let’s be real. Summer cooking is hard. The heat is oppressive, the grill is already full, and nobody wants to stand over a stove. This banana pudding icebox cake solves all of those problems. Here’s why it’s earned a permanent spot in my rotation:
Zero Oven Required — Seriously. Keep your kitchen cool. This dessert relies on chilling, not baking. You’re literally just layering ingredients in a dish and putting it in the fridge. I’ve made this on 95-degree days without breaking a sweat.
It’s Foolproof — I’m not exaggerating when I say this is beginner-proof. There are no techniques to master. No tempering chocolate, no whipping egg whites to stiff peaks, no judging the doneness of a cake. You just layer. If you can layer, you can make this. It’s forgiving, it’s simple, and it tastes like you spent hours on it.
Make-Ahead Magic — This is the ultimate stress-buster for hosting. You assemble it the morning of the party (or even the night before). Then you just sit back and wait. When your guests arrive, the dessert is already done, cold, and ready to serve. It’s the opposite of last-minute panic.
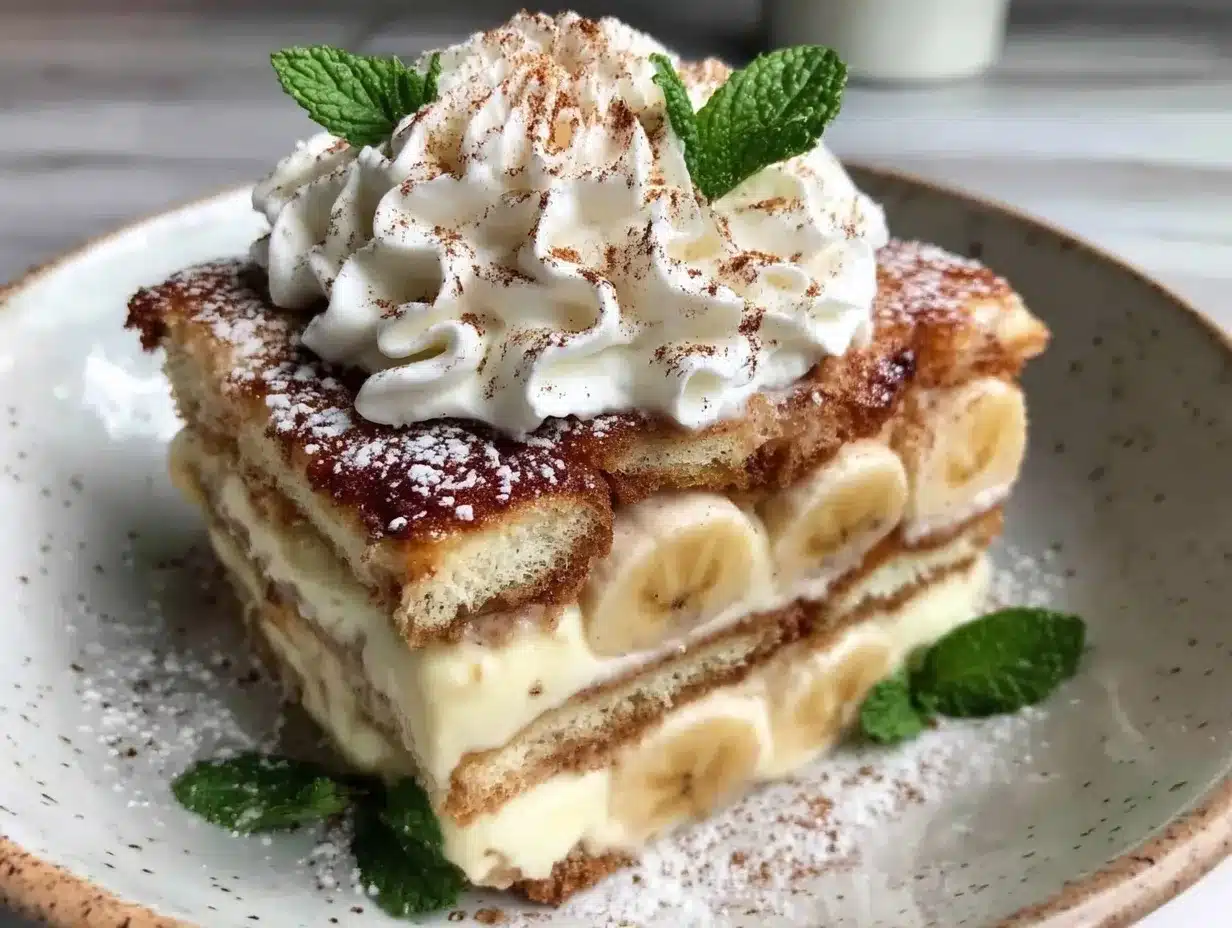
Textural Perfection — The best part? The texture transformation. After sitting in the fridge for at least 6 hours, the dry wafers absorb the pudding and the banana juices. They turn into a soft, cake-like layer that holds together beautifully when sliced. It’s unlike any other banana pudding you’ve had.
Uses Simple Ingredients — You don’t need fancy specialty stores. This is pantry-friendly. You likely have the wafers and pudding mix already. The bananas are cheap and in season. It’s budget-friendly and accessible.
I’ve served this to my picky eater uncle, my health-conscious sister (who still ate three servings), and my neighbors. Everyone loves it. It’s my answer to “what should I bring to the potluck?” It’s reliable, delicious, and absolutely foolproof.
Ingredients You’ll Need
This recipe is deceptively simple. The fewer ingredients, the more they need to be good. I’m not using anything fancy here, just high-quality basics that come together to create something special. Here’s what you need:
For the Layers
Nilla Wafers (1 box, about 30-40 cookies) — Don’t skimp on the brand. Generic store-brand wafers are often too dry or too sweet. Nilla Wafers have that perfect buttery vanilla flavor and sturdy texture that holds up to the pudding. I always buy the big box because I’ll use some for other things too, like my fresh fig and honey ricotta tart crust or just straight out of the box.
Vanilla Pudding Mix (2 boxes, instant, 3.4 oz each) — Yes, instant. Do not use cook-and-serve. We need it to set quickly in the fridge. I use Jell-O or a similar brand. Some people argue for homemade pudding, but for an icebox cake, the instant mix gives that specific, smooth, slightly gelatinous texture that works best. It’s the secret weapon.
Whole Milk (4 cups total) — Use cold whole milk. Skim milk won’t give you the richness this dessert needs. The fat content helps the pudding set properly and makes the final result creamy rather than watery. If you’re watching dairy, you can try a full-fat coconut milk, but the flavor profile changes significantly.
Ripe Bananas (4-5 medium) — This is crucial. They need to be ripe but not brown and mushy. Look for bananas with some brown spots. They’ll be sweet enough to balance the vanilla. Avoid green bananas—they’ll be starchy and unpleasant. Peel and slice them into ¼-inch rounds. Uniform slices are key for even layering.
Heavy Cream (1 cup, chilled) — This is what elevates it from “pudding cup” to “dessert.” Whipping the cream adds air and stability. It makes the layers light and fluffy instead of dense and heavy. If you don’t have heavy cream, you can skip it, but I highly recommend it. It’s the difference between good and great.
Whipped Topping (1 tub, thawed) — I use Cool Whip or a similar brand. It adds volume and a light sweetness that balances the richness of the cream and pudding. It also helps keep the structure stable if the cake sits out for a while.
Optional: Mini Chocolate Chips (½ cup) — I like to sprinkle these between layers for little pockets of chocolate. It turns it into a sort of “banana split” vibe. Not traditional, but delicious.
Optional: Fresh Mint Leaves — For garnish. It adds a pop of color and a fresh aroma that cuts through the sweetness.
Equipment Needed
You don’t need a lot of fancy tools for this. Here’s what you actually need to have on hand:
9×13 Inch Baking Dish — A glass Pyrex dish is ideal because it’s easy to see the layers and clean. Ceramic works too. Avoid metal if you can, as it might react with the acidic bananas over time. Just make sure it’s deep enough to hold all the layers without spilling.
Mixing Bowls — You’ll need two large bowls. One for the pudding, one for the whipped cream. A 4-quart bowl is perfect. If your bowls are too small, you’ll struggle to fold the cream in.
Electric Mixer or Whisk — For whipping the heavy cream. Hand-whisking takes about 5-7 minutes of vigorous effort. An electric mixer takes 2 minutes. Use whatever you prefer, but get those peaks stiff so the cake holds its shape.
Spatula — A flexible silicone spatula is best for folding the whipped cream into the pudding without deflating it. You’ll also use it to spread the pudding layers evenly.
Knife — For slicing the bananas. A serrated knife works well if the bananas are soft, but a regular chef’s knife is fine for ripe ones. Just be gentle so you don’t mash them.
Measuring Cups and Spoons — Standard stuff. Make sure you measure the milk accurately for the pudding mix. Too much milk = runny pudding. Too little = thick, gloppy pudding.
Plastic Wrap — To cover the dish while it chills. This prevents the top from drying out or absorbing fridge smells. I’ve had this happen before, and it’s no fun. Just cover it tightly.
Icebox Cake Dish — Actually, any 9×13 dish works. You don’t need a special “icebox” container. Just something with a lid or something you can cover well.
How to Make It: Step-by-Step
Alright, let’s make this! It’s so easy that you might feel like you’re cheating. But that’s the beauty of it. I’m walking you through exactly how I do it, including the little tricks that keep it from getting soggy.
Step 1: Prep Your Bananas (5 minutes)
Peel your bananas and slice them into ¼-inch rounds. Try to keep them uniform. If some are thicker and some are thinner, the layers won’t sit evenly. Place the sliced bananas in a bowl. If you’re worried about browning, you can toss them with a teaspoon of lemon juice, but it’s not strictly necessary if you’re assembling right away. Just get them sliced and ready.
Step 2: Make the Pudding (5 minutes)
In your large mixing bowl, combine the instant vanilla pudding mix with the cold whole milk. Whisk vigorously for about 2 minutes. The mixture will thicken almost immediately. Scrape down the sides of the bowl to make sure there are no dry pockets at the bottom. The pudding should be thick and smooth. If it looks too thick, add a splash more milk. If it’s too thin, you added too much milk—try to fix it by whisking harder or adding a tiny bit more pudding mix. Set it aside.
Step 3: Whip the Cream (3 minutes)
In a second large bowl, pour the cold heavy cream. Using an electric mixer on medium-high speed, whip the cream until stiff peaks form. This means when you lift the beaters, the cream stands up straight and doesn’t droop. Be careful not to over-whip it into butter. It should look like thick, glossy whipped cream. If you’re doing this by hand, it will take a few minutes of arm workout. Worth it.
Step 4: Fold the Cream into the Pudding (2 minutes)
This is the most important step for texture. Take about one-third of the whipped cream and fold it into the pudding. This lightens the pudding, making it easier to spread. Then, gently fold in the remaining whipped cream. Use a spatula and use a gentle hand—fold from the bottom up, like you’re wrapping a gift. You want to keep as much air in the mixture as possible. It should look fluffy and uniform. If you overmix, it will turn into a dense, heavy paste. Be gentle.
Step 5: Layer One (2 minutes)
Start your first layer of Nilla Wafers in the bottom of your 9×13 dish. You’ll need about 10-12 cookies to cover the bottom completely. Break cookies as needed to fill gaps. Don’t worry if it’s not perfect; they’ll soften anyway. Spread half of the pudding mixture over the wafers. Use your spatula to smooth it out to the edges. Then, layer half of the sliced bananas over the pudding. Distribute them evenly.
Step 6: Layer Two (2 minutes)
Add a second layer of Nilla Wafers on top of the bananas. Again, fill any gaps. Spread the remaining pudding mixture over the wafers. Smooth it out carefully. Then, layer the remaining bananas on top. You want the bananas to be sandwiched between pudding layers, not just on top, so they infuse the flavor throughout.
Step 7: Top and Chill (6+ hours)
For the final touch, you can add a layer of whipped topping (Cool Whip) on top, or just leave it with the pudding. I like a thin layer of whipped topping for extra fluffiness. If you’re adding chocolate chips, sprinkle them over the top now. Cover the dish tightly with plastic wrap. Place it in the fridge for at least 6 hours, but overnight is best. This chilling time is non-negotiable. It allows the wafers to soften and become cake-like. If you try to eat it immediately, it will just be dry cookies and cold pudding. Patience pays off.
Step 8: Serve
Remove from the fridge. Slice into squares. Garnish with fresh mint leaves if you’re feeling fancy. Serve cold. It’s ready to go!
Expert Tips & Tricks
Here’s everything I’ve learned from making this dozens of times. These tips will save you from my mistakes.
Use Cold Ingredients
The heavier the cream, the better it whips. Keep your bowl and beaters cold. If you’re in a rush, put your mixing bowl in the freezer for 10 minutes before whipping. It makes a huge difference.
Don’t Skip the Fold
I know it’s tempting to just mix everything together. But folding the whipped cream into the pudding adds air. This air is what makes the dessert light and fluffy instead of a dense, heavy block. Take the time to fold gently.
Choose the Right Bananas
Too green? Not sweet enough. Too brown? Mushy and overpowering. Look for bananas that are bright yellow with just a few brown spots. They should smell sweet but still hold their shape when sliced.
Press the Wafers Gently
When you layer the cookies, press them down lightly with your hand. This helps them absorb the pudding faster and creates a more cohesive cake structure. But don’t crush them. They need to retain some structure.
Chill Longer, Not Shorter
6 hours is the minimum. Overnight is ideal. I’ve tried cutting it to 4 hours, and the wafers were still too crunchy. Give it the full time. The texture transformation is worth the wait.
Common Mistakes (and how to avoid them):
– Mistake: Pudding is too runny. Fix: Make sure you’re using cold milk and measuring accurately. If it’s still runny after whisking, add a bit more pudding mix.
– Mistake: Wafers are too hard. Fix: You didn’t chill it long enough. Or you didn’t press the wafers down enough. Next time, give it 12 hours.
– Mistake: Dessert is too sweet. Fix: Use less whipped topping or skip the mini chocolate chips. The bananas and pudding are already sweet. Taste as you go.
Pro Trick: The Lemon Juice Trick
If you’re serving the cake a few hours after taking it out of the fridge, the bananas might start to brown on top. Toss the sliced bananas with a teaspoon of lemon juice before layering. It prevents browning without affecting the taste.
Variations & Substitutions
Once you’ve nailed the basic version, here’s how you can mix it up. I’ve tried all of these, and they all work.
Chocolate Banana Icebox Cake
Swap the vanilla pudding for chocolate pudding mix. Use chocolate wafers instead of Nilla Wafers. Add mini chocolate chips between layers. It’s like a banana split in cake form. My kids love this version.
Strawberry Banana Icebox Cake
Add sliced strawberries between the banana layers. It adds a nice tartness and beautiful color. You can also use strawberry pudding mix instead of vanilla.
Caramel Banana Icebox Cake
Drizzle caramel sauce between the layers. It’s indulgent and rich. I like to use a store-bought caramel sauce for convenience, but homemade is better if you have time.
Coconut Banana Icebox Cake
Use coconut milk instead of whole milk for the pudding. Use coconut whipped topping. Sprinkle toasted coconut flakes on top. It’s tropical and delicious.
Gluten-Free Version
Use gluten-free vanilla wafers. Most major brands make GF versions now. Just check the label. The rest of the ingredients are naturally gluten-free.
Dairy-Free Version
Use coconut milk for the pudding (thicken with cornstarch if needed). Use coconut whipped cream. Use dairy-free wafers. It’s not exactly the same, but it’s still good.
Lighter Version
Use skim milk for the pudding. Use light whipped topping instead of heavy cream. It’s less rich but still satisfies the craving.
Serving & Storage
How to Serve:
I usually serve this straight from the dish at the dinner table. It looks rustic and inviting. But here are other ways I’ve enjoyed it:
Side Dishes:
This dessert stands on its own, but if you want sides, keep it light. A simple green salad with vinaigrette works well. Or some grilled fruit, like peaches or pineapple, to continue the summer theme. I also love serving it with a sparkling watermelon basil cooler to keep the drinks refreshing.
Toppings Bar:
When I have guests, I put out extra toppings: whipped cream, chocolate chips, crushed cookies, fresh mint. Everyone customizes their bowl.
Wine Pairing:
A sweet Riesling or a Moscato pairs beautifully with this dessert. The acidity cuts through the sweetness. If you’re not drinking wine, a lemonade spritz is also great.
Storage Instructions:
Store in an airtight container or covered tightly with plastic wrap in the fridge for up to 3 days. The wafers will continue to soften, so it might get a bit mushier after day 2. Eat it within 3 days for best texture.
Reheating:
Do not reheat this dessert. It’s meant to be served cold. If you try to heat it, the wafers will disintegrate.
Freezing:
I don’t recommend freezing this. The bananas will become watery and mushy when thawed, and the texture of the wafers will be off. Make it fresh.
Pro Tip:
If you’re making this for a party, assemble it the night before. It will be perfectly set and ready to go. Just take it out 15 minutes before serving so it’s not freezing cold.
Nutrition Information
I’m not a nutritionist, but here’s the breakdown if you’re tracking. Keep in mind that this is a rich dessert, so portion control is key.
Per Serving (based on 12 servings):
| Nutrient | Amount |
|---|---|
| Calories | 280 |
| Protein | 4g |
| Carbs | 42g |
| Fiber | 2g |
| Sugar | 28g |
| Fat | 10g |
| Saturated Fat | 6g |
| Sodium | 180mg |
What’s Good:
It provides some potassium from the bananas. It’s relatively low in protein, so it’s not a filling meal, but it’s a satisfying treat.
What to Know:
Higher in sugar from the pudding mix, wafers, and bananas. Contains dairy and gluten. Moderate in fat from the cream and pudding.
My Take:
Look, this is a dessert. It’s sweet, rich, and indulgent. It’s not a health food. But it’s way better than store-bought, and it’s made with simple ingredients. When I want to make it lighter, I use the skim milk version and less whipped topping. But usually? I just enjoy a small slice and savor it.
Final Thoughts
So that’s my go-to Labor Day No-Bake Banana Pudding Icebox Cake! I’ve probably talked your ear off at this point, but when you make a recipe this often, you have a lot to say about it.
This has saved me from dessert disasters more times than I can count. It’s my answer to “what should I bring?” when I want to impress but don’t want to stress. My family is happy, my guests are happy, and I’m happy because I’m not stuck in the kitchen.
Make it yours! Try different add-ins, swap in your favorite berries, adjust the sweetness. The best recipes are the ones you adapt to your tastes. And if you’re looking for other easy desserts, check out my gooey salted caramel chocolate cookies for a no-bake option that’s also a crowd-pleaser.
If you make this, drop a comment and let me know what you think! I love hearing how recipes turn out in your kitchen. And if something doesn’t work, tell me that too—I’m here to help troubleshoot.
Happy cooking! And I hope your kitchen smells half as good as mine does right now.
Frequently Asked Questions
Can I use homemade pudding instead of instant?
You can, but the texture will be different. Homemade pudding is usually thicker and less settable than instant pudding, which relies on cornstarch and stabilizers to hold its shape in the fridge. If you use homemade, make sure it’s very thick and cool before folding in the whipped cream. But for this specific recipe, instant pudding is the key to getting that classic icebox cake texture.
Why did my wafers stay crunchy?
This usually means you didn’t chill it long enough, or you didn’t use enough pudding. The wafers need time to absorb the moisture. Make sure you’re using enough milk for the pudding mix, and chill it for at least 6 hours, preferably overnight. Also, press the wafers down gently when layering to help them absorb the pudding faster.
Can I make this ahead for a dinner party?
Yes! This is actually the best way to make it. Assemble it the night before. It will be perfectly set and ready to serve. Just take it out of the fridge 15 minutes before serving so it’s not freezing cold. It holds up well for up to 3 days in the fridge.
Can I use whipped cream instead of whipped topping?
Absolutely. In fact, I prefer real whipped cream. Just make sure it’s stiffly whipped so it holds its shape. Whipped topping (like Cool Whip) is easier and more stable, but real whipped cream tastes better. You can also mix half and half for the best of both worlds.
Why did my bananas turn brown?
Bananas oxidize when exposed to air. If you sliced them too far in advance, they might have browned. To prevent this, toss them with a teaspoon of lemon juice before layering. Also, make sure they’re covered by pudding layers as much as possible to limit air exposure.
Can I freeze this dessert?
I don’t recommend it. The bananas will become watery and mushy when thawed, and the texture of the wafers will be off. It’s best made fresh and eaten within 3 days. If you need to make it ahead, just keep it in the fridge.
Can I double this recipe?
Yes, but you’ll need a larger dish. A 9×13 might be too small for double. Use a 9×13 dish but make it taller, or use a 10×15 jelly roll pan. Just adjust the chilling time accordingly—it might take a bit longer to set if it’s thicker.
Pin This Recipe!
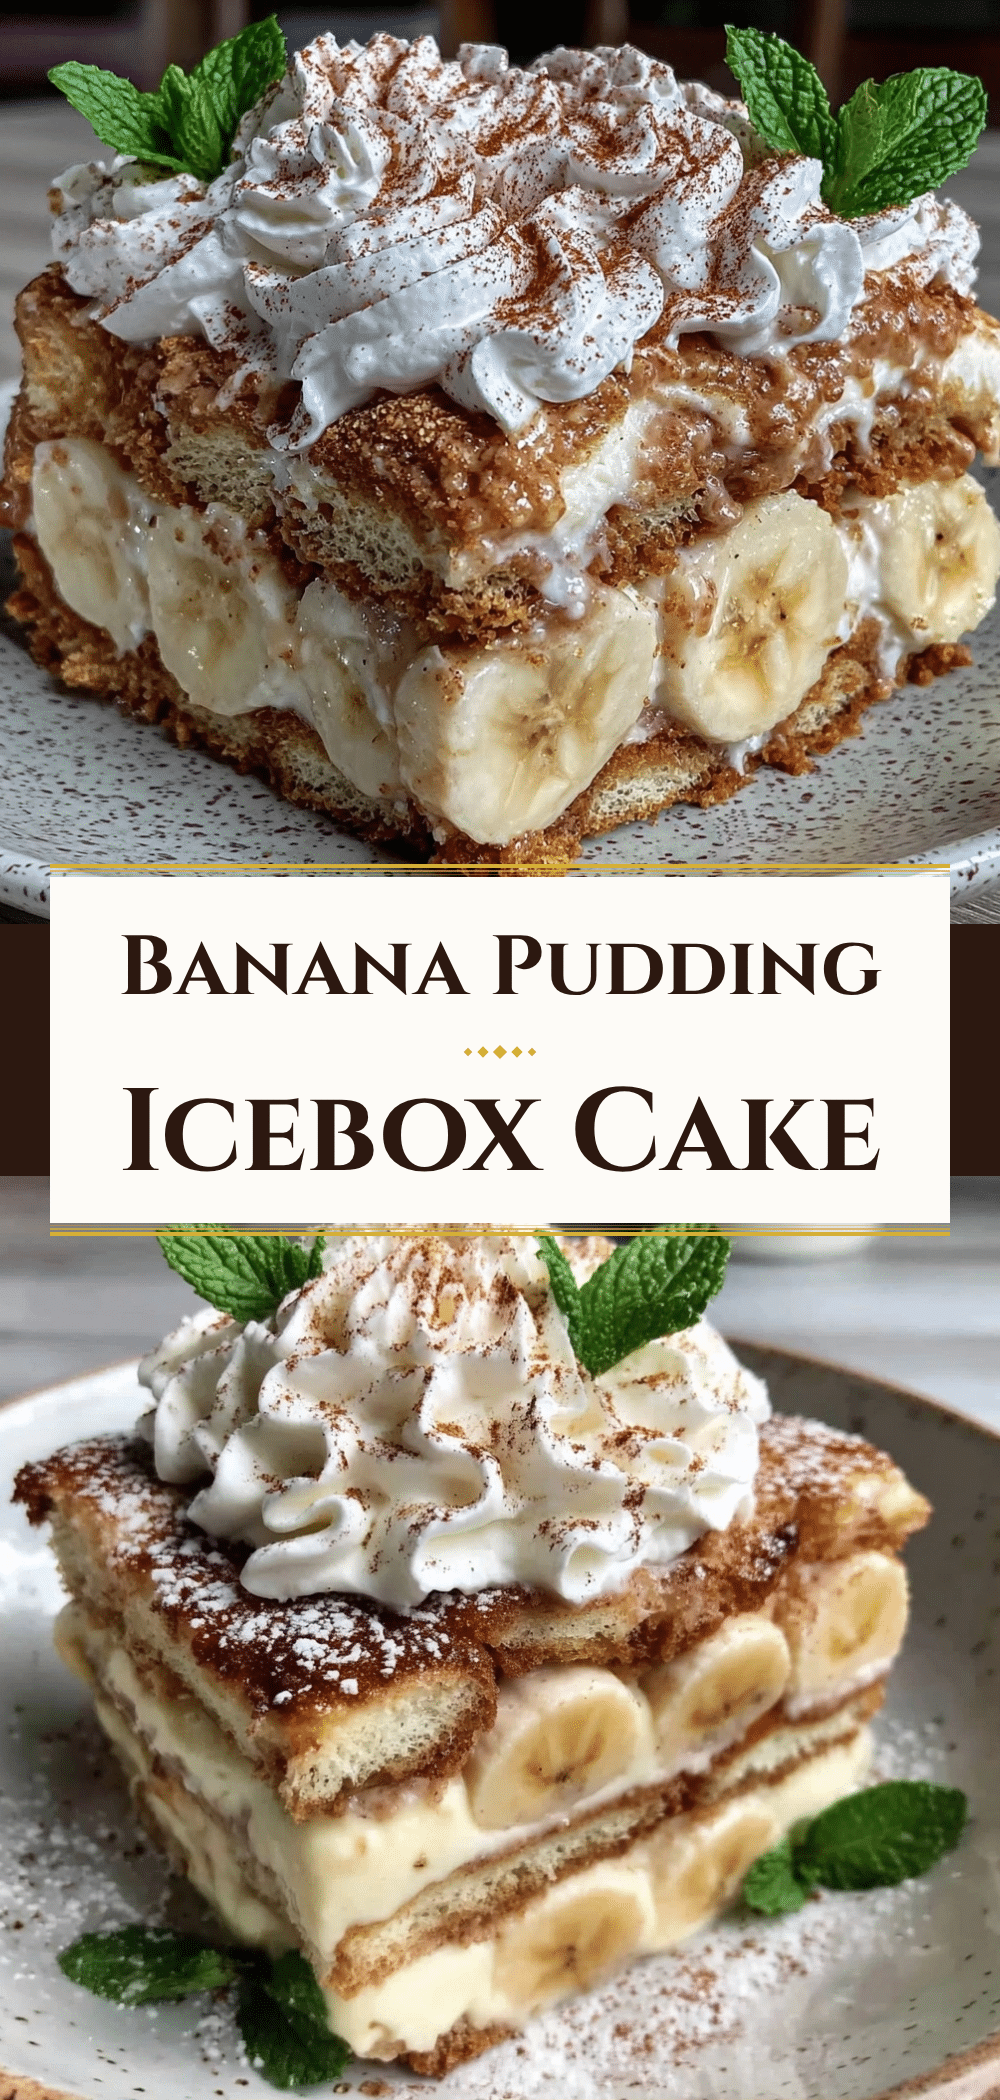
Labor Day No-Bake Banana Pudding Icebox Cake
- Total Time: 6 hours 15 minutes
- Yield: 12 servings 1x
Description
A foolproof, no-bake dessert featuring layers of Nilla Wafers, creamy vanilla pudding, whipped cream, and ripe bananas. This make-ahead icebox cake chills in the fridge to create a soft, cake-like texture without using an oven.
Ingredients
- 1 box Nilla Wafers (about 30–40 cookies)
- 2 boxes instant vanilla pudding mix (3.4 oz each)
- 4 cups cold whole milk
- 4–5 medium ripe bananas, sliced into ¼-inch rounds
- 1 cup chilled heavy cream
- 1 tub whipped topping (e.g., Cool Whip), thawed
- ½ cup mini chocolate chips (optional)
- Fresh mint leaves for garnish (optional)
Instructions
- Peel and slice bananas into ¼-inch rounds. If desired, toss with a teaspoon of lemon juice to prevent browning.
- In a large mixing bowl, whisk the instant vanilla pudding mix with cold whole milk vigorously for 2 minutes until thick and smooth. Set aside.
- In a second large bowl, whip the heavy cream using an electric mixer on medium-high speed until stiff peaks form.
- Fold one-third of the whipped cream into the pudding to lighten it, then gently fold in the remaining whipped cream until fluffy and uniform.
- Create Layer 1: Line the bottom of a 9×13 inch dish with Nilla Wafers. Spread half of the pudding mixture over the wafers, then layer half of the sliced bananas on top.
- Create Layer 2: Add a second layer of Nilla Wafers. Spread the remaining pudding mixture over the wafers, then layer the remaining bananas on top.
- Top with whipped topping or leave as is. Sprinkle with mini chocolate chips if using.
- Cover the dish tightly with plastic wrap and refrigerate for at least 6 hours, preferably overnight, until the wafers are soft and cake-like.
- Slice into squares and garnish with fresh mint leaves before serving cold.
Notes
Use cold ingredients, especially the milk and heavy cream, for best results. Do not skip the chilling time; the wafers need at least 6 hours to soften properly. For a gluten-free version, use gluten-free vanilla wafers. For a dairy-free version, substitute coconut milk and coconut whipped cream. Do not freeze this dessert as the texture will suffer.
- Prep Time: 15 minutes
- Cook Time: 0 minutes
- Category: Dessert
- Cuisine: American
Nutrition
- Serving Size: 1 slice
- Calories: 280
- Sugar: 28
- Sodium: 180
- Fat: 10
- Saturated Fat: 6
- Carbohydrates: 42
- Fiber: 2
- Protein: 4
Keywords: no-bake dessert, banana pudding, icebox cake, Labor Day recipe, easy dessert, make-ahead dessert, crowd-pleaser, Nilla Wafers


