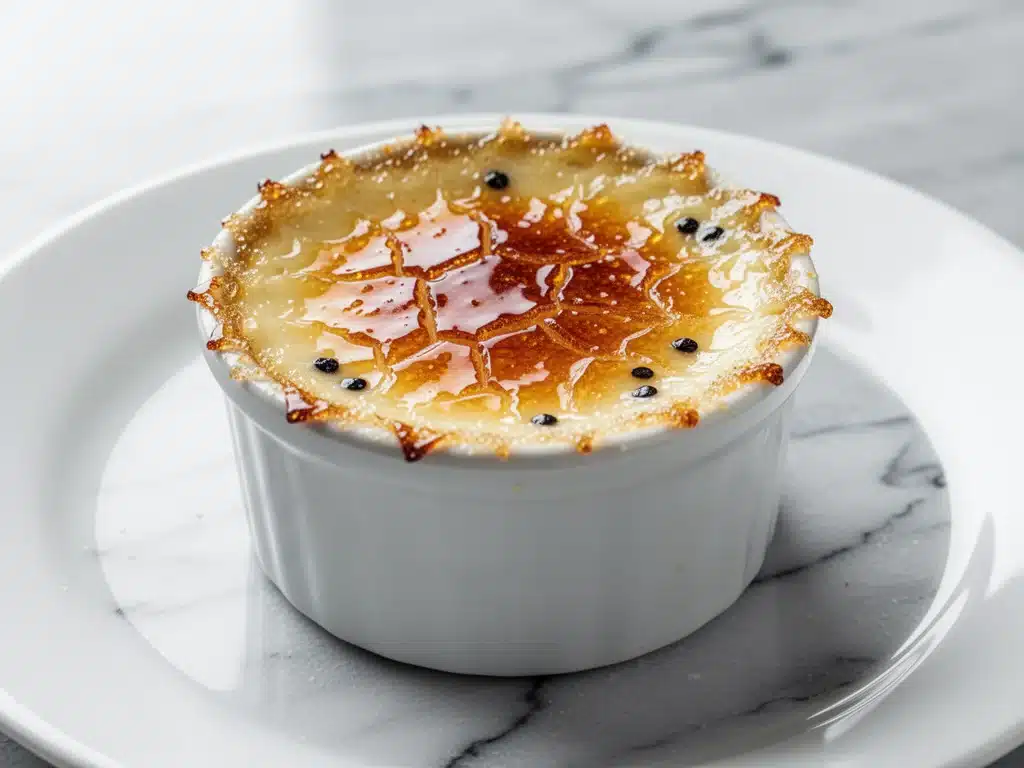
I still remember the first time I tried to make creme brulee at home. I was twenty-three, living in a tiny apartment with a oven that ran way too hot, and I was convinced that restaurant-quality dessert was reserved for people with professional culinary degrees and endless patience. I followed a fancy magazine recipe to the letter. I strained the custard three times. I used a water bath. And what did I get? A curdled, eggy mess that looked nothing like the glossy, perfect desserts I’d seen on TV.
It took me six more attempts over the next two years before I finally got it right. I burned the sugar, I undercooked the custard, I overmixed the eggs until they were rubbery. But then, one rainy Sunday in November, I pulled a ramekin out of the oven, torched the sugar just right, and heard that unmistakable crack when I tapped the spoon against the surface. That sound changed everything for me.
This ultra-creamy vanilla bean creme brulee is the recipe I finally settled on. It’s simple—only five main ingredients, really—but it requires a specific approach to get that custard so silky it melts on your tongue and a sugar crust that shatters like glass. I’ve tested this version at least fifteen times, tweaking the cream-to-egg ratio and the baking temperature, and this is the one that consistently works. It’s the kind of dessert that makes you feel sophisticated, even if you’re wearing sweatpants and making it on a Tuesday night.
There’s something deeply satisfying about the process. It’s not just about the eating; it’s about the waiting, the careful torching, the anticipation of that first break through the caramelized top. If you’ve been intimidated by custard desserts, I’m here to tell you: it’s easier than you think. You just need to know the tricks to keep it smooth and prevent the dreaded curdling.
Why You’ll Love This Vanilla Bean Creme Brulee
I know what you’re thinking. “Creme brulee? Isn’t that too much work for a weeknight?” Or maybe, “I’m afraid of breaking the top.” Here’s the truth: once you master this method, you’ll make it for everyone. Friends, family, dinner parties, or just because you want to treat yourself. Here’s why this version has taken up permanent residence in my rotation.
It’s Actually Simple — Seriously, if you can whisk eggs and pour cream, you can make this. There’s no complex technique like folding in meringue or tempering chocolate. You mix, you bake, you torch. That’s it. I’ve walked my niece through this recipe over video call, and she nailed it on her first try.
The Texture is Unbeatable — Most home recipes turn out a bit rubbery or dense. This one? It’s impossibly smooth. The custard sets just enough to hold its shape but stays soft enough to spoon through easily. It’s the kind of texture that makes people close their eyes when they take a bite.
The Vanilla Flavor is Real — I’m talking about actual vanilla bean seeds, not just extract. The flavor is aromatic, floral, and deep. It tastes like a Parisian bakery, not a grocery store. Using real beans makes all the difference, and I’ll show you how to prep them easily.
It’s Make-Ahead Friendly — This is the best part. You can bake the custards up to two days in advance. In fact, I prefer it this way. The flavors meld overnight in the fridge, and you just torch them right before serving. It takes the stress out of hosting because everything is done ahead of time.
It Feels Fancy but Costs Less — Making this at home saves you $8-$10 per serving compared to dessert menus. Plus, you control the sweetness. I like it less sweet than restaurants, letting the vanilla shine, but you can adjust the sugar to your taste.
This recipe has saved my social life. It’s my go-to when I want to impress without spending hours in the kitchen. My friends think I’m a pastry chef now, and honestly? I’m not even going to correct them.
Ingredients You’ll Need
Here’s the beauty of this recipe: the ingredient list is short. But because there are so few ingredients, each one has to do heavy lifting. I’m particular about quality here, especially with the vanilla and the cream. You don’t need anything exotic, just the good stuff.
Heavy Cream (2 cups / 480ml) — This is the base. Use full-fat heavy cream. Low-fat or half-and-half will result in a watery, less rich custard. I buy the fresh cream from the dairy section, not the shelf-stable kind. It makes a noticeable difference in flavor and texture.
Vanilla Beans (2 whole pods) — This is non-negotiable for the best flavor. Split the beans lengthwise and scrape out the tiny black seeds. Those seeds are what give you the beautiful speckled look and the intense aroma. If you absolutely must use extract, use 2 teaspoons of pure vanilla extract, but add it after cooking, not before. Real beans are worth the extra minute of prep.
Large Egg Yolks (5 yolks) — We’re using only yolks, no whites. Yolks provide the richness and the custard structure. Whites can make it rubbery. I usually save the whites for soft pink frosted sugar cookie bars or meringues. Don’t be wasteful!
Granulated Sugar (½ cup / 100g for the custard) — This sweetens the custard itself. It’s not a lot, so the dessert isn’t overly sweet. If you prefer sweeter custard, you can bump this to ⅔ cup, but I find ½ cup balances the vanilla perfectly.
Sea Salt (¼ teaspoon) — A pinch of salt amplifies the vanilla flavor and cuts the richness. It’s subtle but essential. I use fine sea salt for even distribution.
Brown Sugar or Turbinado Sugar (about 1 tablespoon per ramekin) — This is for the topping. Brown sugar gives a deeper, molasses-like flavor and caramelizes beautifully. Turbinado (raw sugar) gives a crunchier, lighter crust. I like a mix of both. Avoid white granulated sugar for the topping; it doesn’t caramelize as well and can burn easily.
Optional: 1 tablespoon Bourbon or Rum — For an adult twist, add a splash to the cream while heating. It doesn’t make it taste like alcohol; it just adds a warm, complex note. My husband loves this version.
Equipment Needed
You don’t need a fancy kitchen to make this. Here’s what I actually use, and what you can swap if you don’t have it.
6 Ramekins (4-6 oz each) — These are the little ceramic dishes. I use 6-ounce ramekins for a perfect single-serving size. They need to be oven-safe. If you don’t have ramekins, you can use a single large baking dish, but the cooking time will change, and you won’t get that individual presentation.
Saucepan — Medium-sized, heavy-bottomed is best. This is for heating the cream. A heavy bottom prevents scorching.
Fine-Mesh Strainer — This is crucial. Even with whisking, you’ll get bits of cooked egg or vanilla bean husk. Straining ensures that silky-smooth texture. I use a chinois-style strainer, but a regular fine sieve works too.
Bowl (Large) — For whisking the egg yolks and sugar.
Basting Brush or Pastry Brush — Optional, but helpful for brushing water around the inside of the ramekins if you’re using a water bath. It helps the sugar caramelize evenly.
Kitchen Torch — This is the tool that makes the crackly top. I use a butane kitchen torch. It gives you control. If you don’t have one, you can use the broiler in your oven, but it’s harder to control and can overcook the custard underneath. I tried the broiler method once and ended up with a burnt top and a cold center. The torch is worth the investment.
Baking Dish (Large) — For the water bath (bain-marie). This needs to be large enough to hold your ramekins with space around them.
Whisk — A standard wire whisk is fine. Don’t whisk too vigorously, or you’ll incorporate air bubbles, which can create holes in the custard.
How to Make It: Step-by-Step
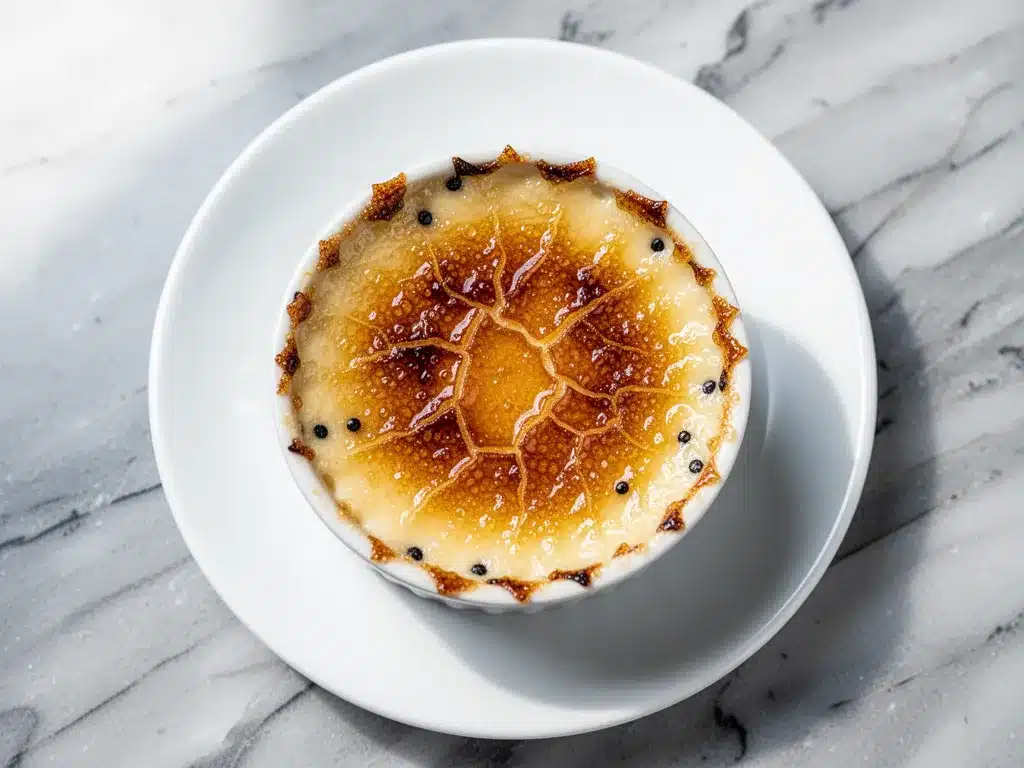
Alright, let’s make this! I’m walking you through exactly how I do it, including the little tricks I’ve picked up over the years.
Step 1: Prep the Oven and Ramekins
Preheat your oven to 325°F (160°C). This is a low, gentle heat. High heat will scramble the eggs. Place your ramekins in the large baking dish for now. If you’re using a water bath, you’ll add hot water later. For now, just get everything ready.
Step 2: Heat the Cream and Vanilla
Split your vanilla beans lengthwise with a sharp knife. Scrape out the seeds with the back of the knife. Put both the seeds and the empty pods into the saucepan along with the heavy cream. Heat over medium-low heat. You want to bring it to a bare simmer—small bubbles around the edges. Do not boil it. Boiling can scald the cream. Once it simmers, remove from heat, cover, and let it steep for 20 minutes. This infuses the cream with vanilla flavor. If you’re in a rush, you can skip the steeping, but the flavor won’t be as deep.
Step 3: Whisk Yolks and Sugar
In your large bowl, whisk the egg yolks and the ½ cup sugar together. Whisk gently but thoroughly until the mixture is pale yellow and slightly thickened. This takes about 2-3 minutes. Don’t rush this step; incorporating air helps the texture. If you’re adding bourbon or rum, add it now.
Step 4: Temper the Eggs
This is the most important step to prevent curdling. Remove the vanilla pods from the cream. Slowly pour about 1 cup of the hot cream into the egg mixture while whisking constantly. This raises the temperature of the eggs gradually. Then, pour the egg mixture back into the saucepan with the remaining cream, whisking constantly. This ensures everything is combined smoothly.
Step 5: Strain and Pour
Place your fine-mesh strainer over a large jug or bowl. Pour the custard mixture through the strainer. This catches any stray bits of cooked egg or vanilla pod. Then, carefully pour the strained custard into the ramekins. Fill them about ¾ full. Leave a little room at the top.
Step 6: The Water Bath and Bake
Place the baking dish with the ramekins in the oven. Carefully pour hot tap water into the baking dish until it comes halfway up the sides of the ramekins. This water bath provides gentle, even heat. Bake for 35-45 minutes. The custards are done when the edges are set but the centers still jiggle slightly like Jell-O. They will firm up as they cool. Do not overbake, or they will become rubbery.
Step 7: Cool and Chill
Remove the ramekins from the water bath and let them cool to room temperature on a wire rack. Once cool, cover them tightly with plastic wrap and refrigerate for at least 4 hours, preferably overnight. This chilling step is essential for the texture to set properly.
Step 8: Torch the Sugar
Right before serving, sprinkle about 1 tablespoon of brown sugar or turbinado sugar evenly over the surface of each custard. Tilt the ramekin and tap it to ensure an even layer. Use your kitchen torch to melt the sugar. Hold the flame 2-3 inches away and move it in a circular motion. The sugar will bubble, turn golden brown, and then harden into a glass-like crust. Let it sit for 1-2 minutes to harden completely before serving.
Expert Tips & Tricks
Here’s everything I’ve learned from making this dozens of times. These tips will save you from my mistakes.
Don’t Skip the Strain — I know it seems tedious, but straining is what makes it ultra-creamy. If you skip it, you might get little bits of cooked egg. Trust me on this.
The Jiggle Test — This is how you know when to pull them out. The center should wobble like gelatin, not splash like water. If it’s firm, you’ve overbaked it. If it’s liquid, give it more time.
Use a Torch, Not the Broiler — I’ve tried the broiler method, and it’s risky. The intense heat from above can cook the top layer of custard while the bottom is still cold. A torch gives you control. You can caramelize the sugar without cooking the custard further.
Chill Thoroughly — If you try to serve them warm, the sugar crust will melt into a sticky mess. They need to be cold for the contrast between the hot sugar and cold custard to work.
Prep Vanilla Beans Ahead — If you’re making this for a dinner party, scrape the beans the day before. Save time on the day of.
Variations & Substitutions
Once you’ve nailed the basic version, here’s how you can mix it up. I’ve tried all of these.
Chocolate Creme Brulee — Add 2 ounces of melted dark chocolate to the warm cream before tempering the eggs. Rich and decadent.
Lavender Creme Brulee — Add 1 tablespoon of dried culinary lavender to the cream while heating. Strain it out along with the vanilla pods. Floral and elegant.
Coconut Version — Substitute half the heavy cream with full-fat coconut milk. It adds a tropical twist that’s surprisingly good.
Gluten-Free — This recipe is naturally gluten-free, so no changes needed. Just ensure your sugar is certified gluten-free if you’re celiac.
Dairy-Free — This is trickier. You can use coconut cream, but the texture will be different. It won’t be as rich. I haven’t found a perfect dairy-free substitute that mimics the creaminess of heavy cream.
Serving & Storage
How to Serve: Serve the creme brulee immediately after torching. The contrast between the crackly top and the cold custard is best when it’s fresh. I like to serve it with a few fresh berries on the side for a pop of color and acidity.
Storage: Store leftover custards (before torching) in the fridge for up to 3 days. Once torched, eat immediately. The sugar crust will absorb moisture and soften if left sitting.
Make-Ahead Strategy: This is the best part. Bake the custards up to 2 days ahead. Chill them. Torch them right before guests arrive. It takes 5 minutes per ramekin, and you look like a genius.
Nutrition Information
I’m not a nutritionist, but here’s the breakdown if you’re tracking. This is a rich dessert, so portion control is key.
Per Serving (based on 6 servings):
- Calories: 320
- Protein: 4g
- Carbs: 22g
- Fiber: 0g
- Sugar: 20g
- Fat: 24g
- Saturated Fat: 14g
What’s Good: It’s naturally gluten-free and uses real vanilla.
What to Know: High in saturated fat and sugar, as expected for a custard dessert. Use less sugar in the topping if you’re watching sugar intake.
Final Thoughts
So that’s my ultra-creamy vanilla bean creme brulee! It’s a recipe that rewards patience and attention to detail. Yes, it takes time, but most of that time is hands-off. The result is worth every minute.
This dessert has become a staple in my home. It’s my answer to “what’s for dessert” when I want something special but don’t want to stress. My friends always ask for the recipe, and I’m always happy to share it. It’s one of those dishes that brings people together.
Make it yours! Try different flavors, use different sugars, or serve it with different toppings. The best recipes are the ones you adapt to your tastes. If you make this, drop a comment and let me know how it turned out. I love hearing how recipes work in your kitchen.
Happy cooking! And I hope your kitchen smells as amazing as mine does when I’m torching that sugar.
Frequently Asked Questions
Can I use vanilla extract instead of vanilla beans?
You can, but the flavor won’t be as intense or aromatic. If you use extract, add 2 teaspoons of pure vanilla extract to the egg mixture after tempering. Skip the steeping step with the cream. You’ll still get a good custard, but the speckled look and deep vanilla aroma come from the beans.
Why did my creme brulee curdle?
This usually happens if the heat was too high during baking or if you didn’t temper the eggs properly. Make sure your oven is accurate (use an oven thermometer) and that you slowly add the hot cream to the eggs while whisking. Also, don’t overbake. The custard should still jiggle when you take it out.
Can I make this without a torch?
You can use the broiler, but it’s risky. Place the sugar-topped ramekins under the broiler for 1-2 minutes, watching closely. Rotate them if needed. But be careful—the custard can overcook. A torch is much safer and gives better results. I’d recommend getting one if you plan to make this often.
How long do I need to chill the custards?
At least 4 hours, but overnight is best. The custard needs time to set completely. If you serve them too soon, the texture will be too soft, and the sugar crust won’t contrast well with the custard.
Can I freeze creme brulee?
No, don’t freeze it. The custard will separate and become grainy when thawed. It’s best made fresh or stored in the fridge for up to 3 days. The sugar topping should always be added right before serving.
Why is my sugar crust not crackly?
It might not have cooled long enough after torching. The sugar needs 1-2 minutes to harden into a glass-like shell. Also, make sure you’re using brown sugar or turbinado, not white sugar. White sugar tends to stay chewy rather than hard.
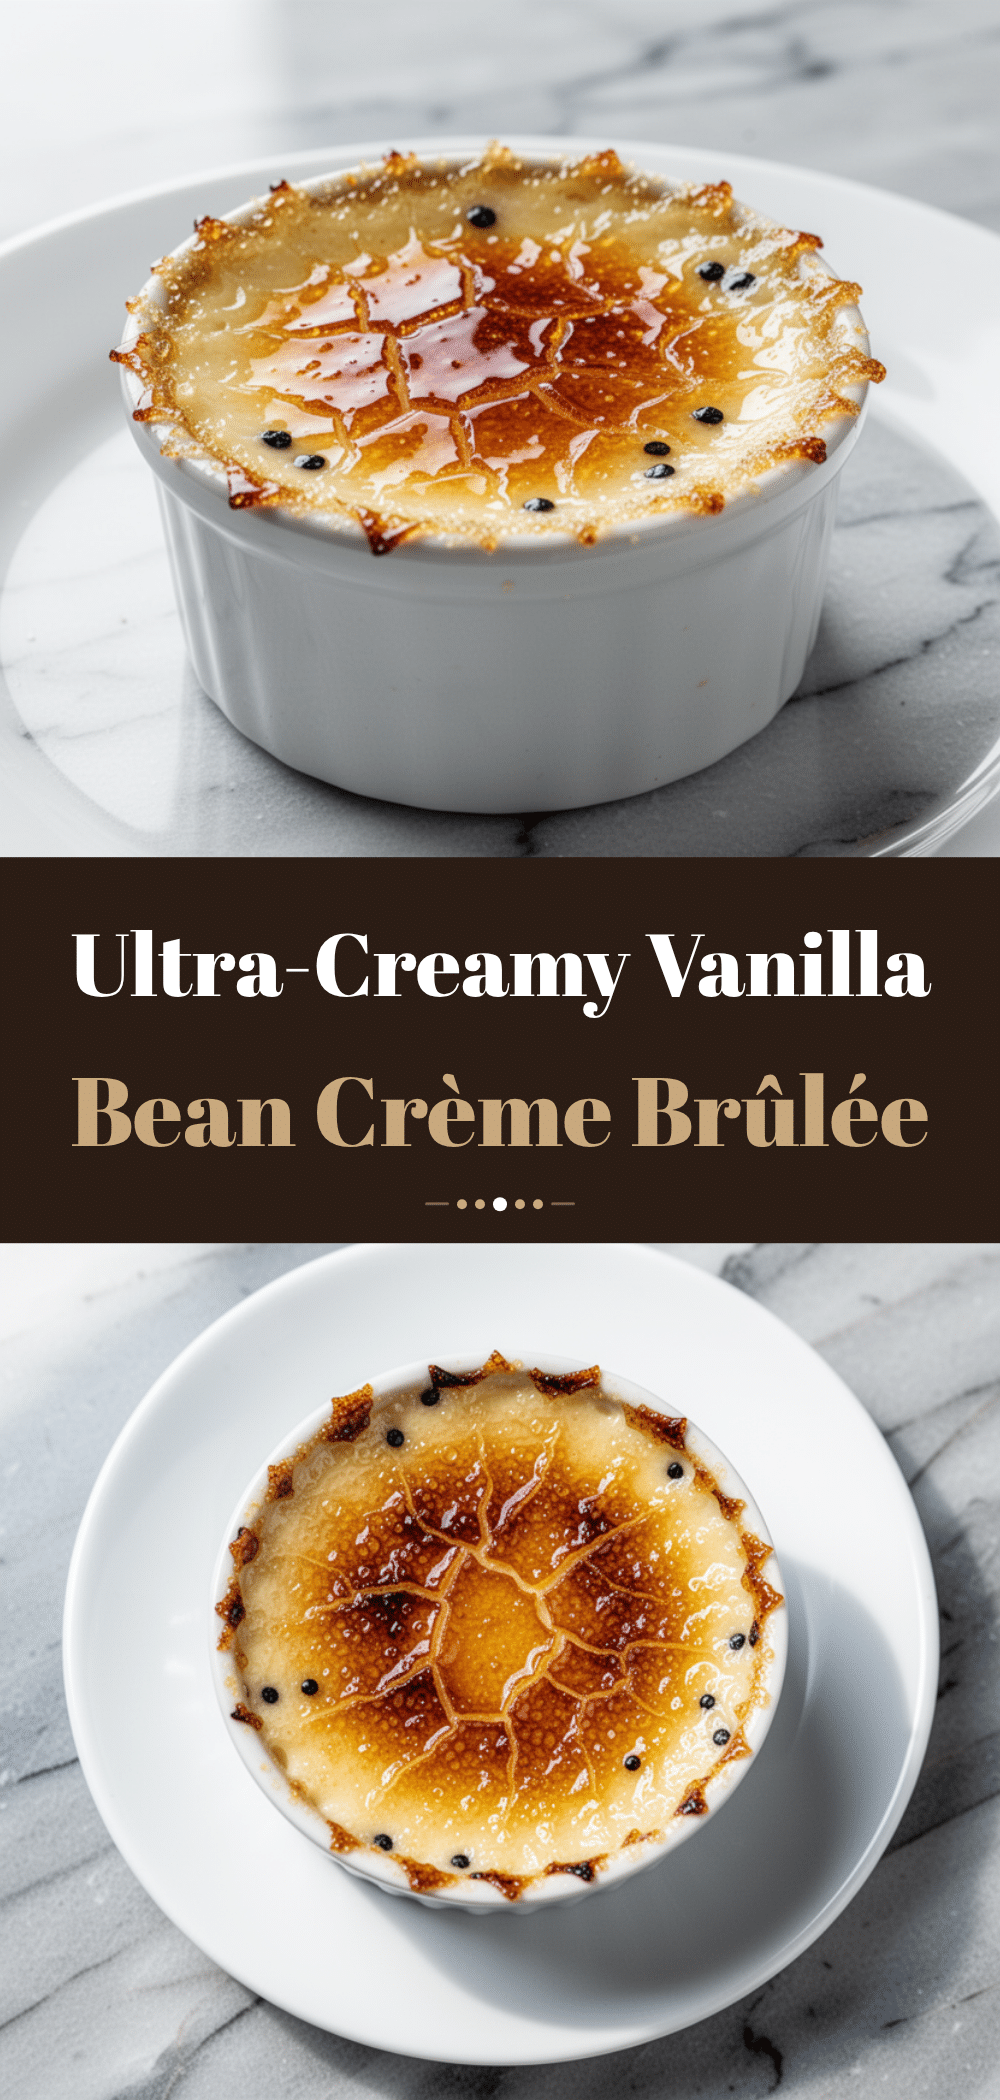
Pin This Recipe!
Ultra-Creamy Vanilla Bean Creme Brulee: Easy 5-Ingredient Recipe
- Total Time: 75 minutes
- Yield: 6 servings 1x
Description
A simple yet sophisticated dessert featuring an impossibly smooth custard infused with real vanilla bean seeds and topped with a crackly, caramelized sugar crust. This make-ahead friendly recipe ensures restaurant-quality results at home.
Ingredients
- 2 cups (480ml) heavy cream
- 2 whole vanilla beans
- 5 large egg yolks
- 1/2 cup (100g) granulated sugar
- 1/4 teaspoon fine sea salt
- 1 tablespoon brown sugar or Turbinado sugar per ramekin (for topping)
- 1 tablespoon Bourbon or Rum (optional)
Instructions
- Preheat oven to 325°F (160°C). Place ramekins in a large baking dish.
- Split vanilla beans lengthwise and scrape out seeds. Add seeds and pods to a saucepan with heavy cream.
- Heat cream over medium-low heat until it reaches a bare simmer (do not boil). Remove from heat, cover, and steep for 20 minutes.
- In a large bowl, whisk egg yolks, granulated sugar, and salt until pale yellow and slightly thickened (2-3 minutes). Add bourbon or rum if using.
- Remove vanilla pods from cream. Slowly temper the eggs by whisking about 1 cup of hot cream into the egg mixture, then pour the egg mixture back into the saucepan with remaining cream, whisking constantly.
- Strain the custard mixture through a fine-mesh strainer into a jug or bowl to remove any bits of cooked egg or vanilla husk.
- Pour the strained custard into ramekins, filling them about 3/4 full.
- Place the baking dish with ramekins in the oven. Pour hot tap water into the dish until it comes halfway up the sides of the ramekins (water bath).
- Bake for 35-45 minutes until edges are set but centers still jiggle slightly like Jell-O.
- Remove ramekins from water bath and let cool to room temperature on a wire rack.
- Cover tightly with plastic wrap and refrigerate for at least 4 hours, preferably overnight.
- Right before serving, sprinkle 1 tablespoon of brown or Turbinado sugar evenly over each custard.
- Use a kitchen torch to melt and caramelize the sugar, holding the flame 2-3 inches away and moving in a circular motion until golden brown and hard.
- Let the sugar crust harden for 1-2 minutes before serving.
Notes
The custard can be baked up to 2 days in advance. Store in the fridge until ready to torch. The sugar topping should always be added right before serving to maintain the crackly texture. Do not freeze the custard as it will become grainy. If you don’t have vanilla beans, you can use 2 teaspoons of pure vanilla extract added after tempering, but the flavor and appearance will differ.
- Prep Time: 30 minutes
- Cook Time: 45 minutes
- Category: Dessert
- Cuisine: French
Nutrition
- Serving Size: 1 ramekin
- Calories: 320
- Sugar: 20
- Fat: 24
- Saturated Fat: 14
- Carbohydrates: 22
- Protein: 4
Keywords: vanilla bean creme brulee, custard dessert, easy creme brulee, make-ahead dessert, gluten-free dessert, vanilla custard, sugar crust


