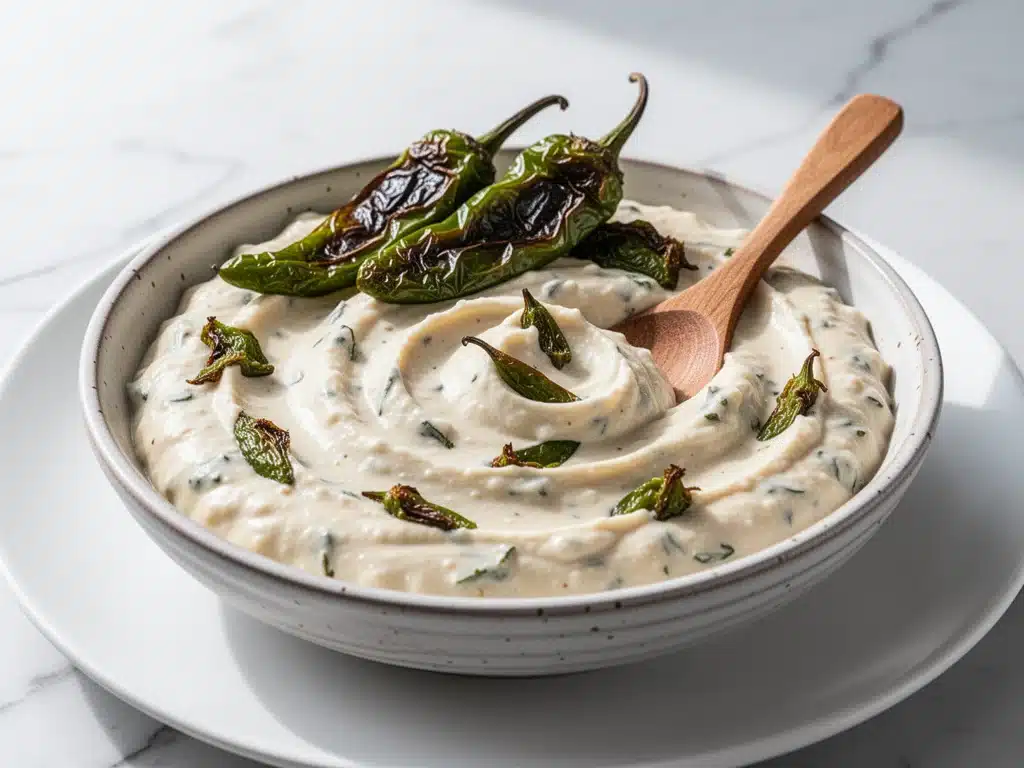
Last November, I drove an hour out of Albuquerque just to buy peppers. I know, I sound like a crazy person even typing that. But I had tasted a queso at a tiny roadside stand in Santa Fe that changed my life. It wasn’t just cheesy; it had this smoky, bright, complex heat that regular jalapeño dip just can’t touch. I wanted that flavor at home, on a Tuesday night, without spending hours at the stove. So I went on a quest. I tried five different recipes. Some were too thick and gloopy. Others were watery messes that separated the moment they cooled. And then, I finally cracked the code.
This creamy Hatch Chile queso dip is the result of that obsession. It’s smoky, it’s spicy, it’s incredibly creamy, and it comes together in about 15 minutes. Yes, fifteen. I’ve made this dip more times than I can count over the last two years, tweaking the cheese ratios and the spice levels until it was absolutely perfect. It’s become the star of our game-day spreads, the go-to snack when I have friends over for wine night, and honestly, the main event when I’m too tired to cook a real dinner.
If you’ve never cooked with Hatch chiles, you are in for a treat. They’re a specific variety of New Mexican chili peppers that have a flavor profile all their own—earthy, slightly sweet, with a kick that builds slowly rather than hitting you like a freight train. But here’s the best part: you don’t need to hunt down fresh Hatch chiles (though if you can find them in season, do it). This recipe works beautifully with canned Hatch chiles or even a good quality roasted green chili salsa. It’s accessible, it’s easy, and it tastes like you spent all day in the kitchen. Let’s get into why this is the only queso recipe you’ll ever need.
Why You’ll Love This Creamy Hatch Chile Queso Dip
There are a million queso recipes out there. So why make this one? Because this one actually tastes like real food. No weird processed cheese slices that taste like plastic. No cornstarch sludge. Just real cheese, real peppers, and real creaminess. Here’s why this dip keeps showing up on my table week after week:
- Smoky, Complex Heat — Regular jalapeño queso is fine, but Hatch chiles bring a depth of flavor that’s unmatched. They’re earthy and slightly sweet, which balances the sharp cheddar perfectly. It’s spicy, but in a sophisticated way, not a “my mouth is on fire” way.
- Ready in 15 Minutes — I’ve timed this. From opening the cans to dipping the first chip, it’s 15 minutes. If you’re using fresh roasted chiles, maybe 20 minutes. This is perfect for those nights when you need an appetizer fast but don’t want to compromise on quality.
- Actually Creamy — The secret isn’t just the cheese; it’s the technique. By using a roux (just butter and flour) and melting the cheese in off-heat, you get a sauce that’s silky smooth. No graininess. No separation. Just pure, pourable luxury.
- Customizable Heat Level — Hate spice? Use mild Hatch chiles and go easy on the cayenne. Love heat? Add a diced jalapeño or a dash of hot sauce. I like to keep it medium-spicy, but I’ve served this to mild-pepper-sensitive friends and super-spice-lovers, and both groups loved it because the flavor profile is so balanced.
- Pantry-Friendly Ingredients — You probably have most of this already. Butter, flour, milk, cheddar, and canned chiles. It’s not a shopping trip to a specialty store. It’s a “let me raid my pantry” kind of recipe.
This dip has saved me more times than I can admit. It’s my answer to “What should we bring to the party?” or “I need a snack that feels fancy but isn’t.” It pairs beautifully with everything from crispy tortilla chips to fresh veggies, and it even reheats well if you have leftovers (which is rare, but happens).
Ingredients You’ll Need
This looks like a short list, and that’s intentional. The fewer ingredients, the more each one needs to shine. I’m particular about three things here: the cheese, the chiles, and the fat. Here’s exactly what I use and why.
For the Base
Unsalted butter (3 tablespoons / 42g) — We start with a roux. Butter adds richness and helps the flour cook properly. I use unsalted so I can control the sodium, especially since the cheese and chiles can be salty. If you’re out of butter, olive oil works, but you lose that buttery depth.
All-purpose flour (3 tablespoons / 24g) — This is the thickener. It’s what turns your milk into a creamy sauce base. Don’t skip it, or you’ll end up with spicy milk. Whisk it into the butter until it’s a paste.
Whole milk (2 cups / 480ml) — Full fat is non-negotiable here. Low-fat milk will make your queso grainy and thin. I keep a gallon of whole milk just for recipes like this. If you want it extra rich, you can swap half the milk for heavy cream, but whole milk gives the best balance of creaminess without being too heavy.
Garlic powder (1 teaspoon) — Fresh garlic can sometimes burn or overpower a delicate cheese sauce. Garlic powder distributes evenly and adds a savory backbone without changing the texture. I use it exclusively in this dip.
Smoked paprika (½ teaspoon) — This is the secret weapon. Hatch chiles are smoky, but smoked paprika amplifies that flavor and adds a beautiful color. It’s not spicy, just deeply savory and woodsy. If you don’t have it, regular paprika works, but you’ll miss that smoky note.
For the Flavor
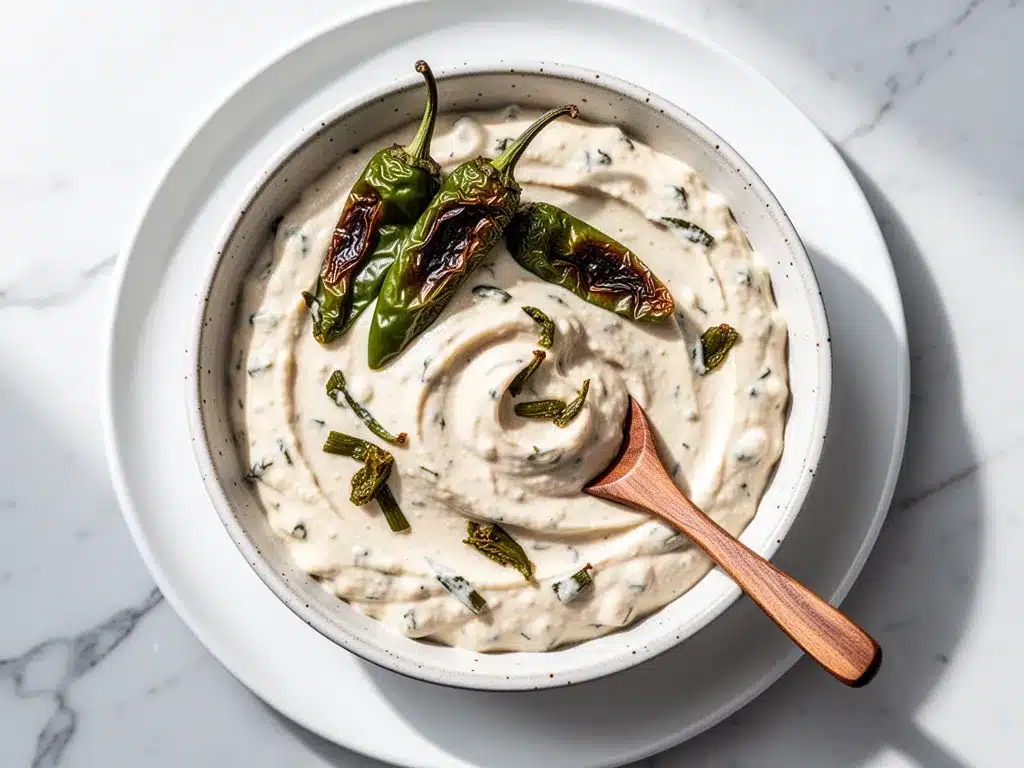
Canned Hatch chiles (1 can, 4-6 oz, diced) — Look for “Hatch Green Chiles” in the Mexican aisle. They come in mild and medium. I usually grab the medium. If you can’t find Hatch chiles, roasted green chiles (like Anaheim or Poblano) work well. Avoid green salsa if you want a smooth texture, as it adds too much liquid. You want the chiles for flavor and texture, not for water content.
Sharp cheddar cheese (2 cups / 200g, freshly shredded) — This is the most important ingredient. Do not buy pre-shredded cheese. It’s coated in potato starch or cellulose to prevent clumping, and that starch prevents smooth melting. Your queso will be gritty. Buy a block of sharp cheddar and shred it yourself. It takes 3 minutes and makes a world of difference. I prefer sharp cheddar over mild because it stands up to the spice of the chiles.
Cream cheese (4 oz / 115g, softened) — This is my little hack for extra creaminess and stability. Cream cheese helps keep the queso smooth even as it cools. It adds a tangy richness that pairs perfectly with the cheddar. Cut it into cubes before adding.
Optional Add-ins
Cumin (¼ teaspoon) — For a deeper, earthier flavor. I add this if I’m serving it with beef tacos or burgers.
Hot sauce (to taste) — If you want more kick, a few dashes of your favorite hot sauce works great. I use Cholula or Tapatio.
Green onions (2 tablespoons, chopped) — For garnish. Adds a fresh, crisp contrast to the rich dip.
Equipment Needed
You don’t need fancy gadgets for this. Here’s what I actually use:
Medium saucepan — A 3-quart saucepan is perfect. It needs to be wide enough to whisk the roux easily but deep enough to hold the milk without splattering. I use a stainless steel saucepan because it heats evenly. Non-stick works too, just be gentle with your whisk.
Whisk — Essential for the roux. You need to whisk constantly to prevent lumps. A small balloon whisk is best for getting into the corners of the pan.
Sharp knife and cutting board — For shredding the cheese and chopping the green onions. A good chef’s knife makes shredding the block of cheese much easier and safer.
Measuring cups and spoons — Standard stuff. I use glass measuring cups for the milk.
Serving bowl — A small ceramic bowl or a fondue pot works great. If you’re serving it warm, a small slow cooker or warming bowl keeps it perfect for hours.
Grater — A box grater is fine. I prefer the medium-sized holes for cheddar. If you have a food processor, you can shred the cheese quickly, but make sure it’s not too fine, or it might melt too fast.
How to Make It: Step-by-Step
Alright, let’s make this! I’m walking you through exactly how I do it, including the little tricks I’ve picked up over the years.
Step 1: Prep Your Ingredients (5 minutes)
Before you turn on the stove, shred your cheese, drain and dice your chiles, and measure out your spices. Once you start cooking, things move fast. Having everything ready means you won’t panic when the butter is melting. I keep the chiles in a bowl nearby so I can dump them in quickly.
Step 2: Make the Roux (3 minutes)
Melt the butter in your saucepan over medium heat. Once it’s foaming and bubbling, add the flour. Whisk constantly for about 1-2 minutes. You want the mixture to turn a light golden color and smell nutty. This cooks out the raw flour taste. If you don’t cook it long enough, your queso will taste like raw dough. Don’t rush this step.
Step 3: Add the Milk (3 minutes)
Gradually pour in the milk, whisking constantly. This is crucial. If you dump it all in at once, you’ll get lumps. Pour in a little, whisk until smooth, then add more. Keep whisking until the mixture thickens and starts to bubble gently. This should take about 3-4 minutes. The sauce should coat the back of a spoon. If it’s still too thin, let it simmer for another minute.
Step 4: Season and Add Chiles (2 minutes)
Stir in the garlic powder, smoked paprika, and a pinch of black pepper. Add the diced Hatch chiles. Let it simmer for 1-2 minutes to let the flavors meld. The chiles will release some of their flavor into the sauce. Taste it now. Does it need more salt? Remember, the cheese will add salt later, so go easy.
Step 5: Melt the Cheese (3 minutes)
Turn off the heat. This is the most important step. Let the pan cool for about 30 seconds. Then, add the shredded cheddar and cubed cream cheese gradually, stirring constantly. Do not add cheese to a boiling sauce; it will break and become grainy. Stir until the cheese is completely melted and the sauce is smooth. This usually takes 2-3 minutes. If it’s too thick, add a splash of milk. If it’s too thin, let it sit for a minute; it will thicken as it cools.
Step 6: Serve
Transfer to a serving bowl. Garnish with chopped green onions and a sprinkle of paprika if you want. Serve immediately with tortilla chips, pita chips, or fresh vegetables. If you’re keeping it warm, transfer to a small slow cooker on low.
Total Time: About 15 minutes (5 minutes prep, 10 minutes cooking)
Built-in Troubleshooting
Sauce too thick? Add milk, one tablespoon at a time, stirring until you reach the desired consistency.
Sauce broke and looks grainy? The heat was too high when you added the cheese. Next time, let the pan cool slightly before adding cheese. If it’s already broken, you can sometimes rescue it by whisking in a splash of cold milk or cream vigorously.
Not spicy enough? Add hot sauce, diced jalapeños, or a pinch of cayenne pepper after melting the cheese.
Expert Tips & Tricks
Here’s everything I’ve learned from making this dozens of times. These tips will save you from my mistakes.
Shred Your Own Cheese
I can’t stress this enough. Pre-shredded cheese contains anti-caking agents that prevent smooth melting. Your queso will be gritty and separated. Buy a block of sharp cheddar and shred it. It’s worth the extra two minutes.
Low and Slow for Cheese
Always remove the pan from the heat before adding cheese. High heat causes cheese proteins to clump together, resulting in a grainy sauce. Let the pan cool for a minute, then stir in the cheese gradually. It’s patient cooking, but it pays off.
Use a Roux, Not Cornstarch
Some recipes use cornstarch to thicken queso. I prefer a roux (butter and flour) because it adds richness and a smoother mouthfeel. Cornstarch can make the sauce feel a bit slimy or gelatinous. The roux gives it that classic, creamy dip texture.
Don’t Skimp on Smoked Paprika
This is what makes the queso taste like it was made with fresh roasted chiles, even if you’re using canned ones. The smoked paprika adds that essential smoky depth. Don’t skip it.
Reheating Tips
Leftovers will thicken in the fridge. To reheat, add a splash of milk and warm gently over low heat, stirring frequently. Microwave in 30-second intervals, stirring between each. Never boil reheated queso, or it will separate.
Variations & Substitutions
Once you’ve nailed the basic version, here’s how you can mix it up. I’ve tried all of these.
Jalapeño Queso
Swap the Hatch chiles for canned jalapeños or fresh diced jalapeños. It’s milder and more straightforward. Good for people who don’t like the earthy flavor of Hatch chiles.
Chicken Queso
Add 1 cup of shredded cooked chicken (rotisserie works great) when you add the chiles. It turns this dip into a meal. I serve this with my one-pan creamy garlic Tuscan salmon on the side for a full dinner spread.
Spicy Queso
Add a diced fresh jalapeño (seeds and all) or a teaspoon of cayenne pepper. For extra heat, use pepper jack cheese instead of half the cheddar.
Veggie Queso
Stir in cooked bacon bits, diced tomatoes, or black beans. I like adding black beans for a bit of texture and protein. It makes the dip heartier.
Dairy-Free Option
Use dairy-free butter, oat milk, and dairy-free cheddar shreds. It won’t be exactly the same, but it’s still tasty. I’ve used Daiya or Violife shreds with decent results. The roux still works with dairy-free butter.
Serving & Storage
How to Serve:
I usually serve this straight from the saucepan at the dinner table—it looks rustic and stays warm. But here are other ways I’ve enjoyed it:
- Tortilla Chips: Classic. I like thick, restaurant-style chips for dipping.
- Pita Chips: Great for a lighter option. The crunch contrasts well with the creamy dip.
- Vegetable Sticks: Carrots, celery, and bell peppers. It’s a great way to sneak veggies into snack time. My kids love dipping carrots in this.
- Soft Pretzels: Warm pretzel bites are amazing with this dip. It’s like a fancy pub appetizer.
- Sliders: I’ve used this as a topping for my cheesy baked chicken parmesan sliders for a spicy twist.
Storage Instructions:
Refrigerator:
Store in an airtight container for up to 4 days. The sauce will thicken significantly in the fridge—this is normal. To reheat, add a splash of milk and warm gently over low heat, stirring frequently. Microwave in 30-second intervals, stirring between each.
Freezing:
Honestly, this doesn’t freeze well. The dairy can separate when thawed, and the texture becomes grainy. It’s best made fresh. If you must freeze, freeze the roux and chile mixture without the cheese, then add fresh cheese when reheating.
Keep Warm:
If you’re serving at a party, transfer the queso to a small slow cooker or fondue pot on the “warm” setting. It will stay perfect for hours. Stir occasionally to keep it smooth.
Nutrition Information
I’m not a nutritionist, but here’s the breakdown if you’re tracking. Keep in mind that this is a rich, cheesy dip, so portions matter.
Per Serving (based on 8 servings, ¼ cup per serving):
- Calories: 280
- Protein: 12g
- Carbs: 10g
- Fiber: 1g
- Sugar: 2g
- Fat: 22g
- Saturated Fat: 12g
- Cholesterol: 55mg
- Sodium: 450mg
What’s Good:
- Good source of calcium from the cheese.
- Protein from the cheese and cream cheese.
- Can be modified to be lower carb by reducing the roux or using almond milk.
What to Know:
- Higher in calories and saturated fat due to cheese and butter.
- Contains dairy and gluten (from flour).
- Sodium can be high if using salted butter or canned chiles with added salt.
My Take:
Look, this is comfort food. It’s cheesy, salty, and spicy. It’s not a diet recipe. But it’s way better than store-bought queso, costs less, and I know exactly what’s in it. When I want to make it lighter, I use low-fat milk and less cheese, but usually? I just eat a reasonable portion and enjoy it. Life’s too short to skip the good stuff.
Final Thoughts
So that’s my go-to creamy Hatch Chile queso dip! I’ve probably talked your ear off at this point, but when you make a recipe this often, you have a lot to say about it. This has saved weeknight appetizers more times than I can count. It’s my answer to “What should we bring to the party?” when I’m tired, don’t want to buy something generic, and still want something that tastes really good. My friends are happy, my family’s happy, and I’m happy because I’m not stressed about cooking.
Make it yours! Try different add-ins, swap in your favorite vegetables, adjust the heat (though more is always better in my opinion). The best recipes are the ones you adapt to your family’s tastes. If you make this, drop a comment and let me know what you think! I love hearing how recipes turn out in your kitchen. And if something doesn’t work, tell me that too—I’m here to help troubleshoot.
Happy cooking! And I hope your kitchen smells half as good as mine does right now.
Frequently Asked Questions
Can I use fresh Hatch chiles instead of canned?
Absolutely! If you’re in New Mexico or have access to fresh Hatch chiles in season, use them. Roast them, peel them, and dice them. You’ll need about 1.5 cups of diced fresh chiles. Fresh chiles have a brighter, fresher flavor, but canned works perfectly fine for year-round convenience.
Why did my queso get grainy?
This usually happens when the cheese is added to a boiling sauce. Cheese proteins clump together at high heat. Always remove the pan from the heat before adding cheese. Let it cool for 30-60 seconds, then stir in the cheese gradually. Also, never use pre-shredded cheese, as the anti-caking agents prevent smooth melting.
Can I make this ahead of time?
Yes, but with a caveat. You can make the roux and chile mixture up to 2 days ahead and store it in the fridge. When you’re ready to serve, reheat it gently, add the cheese, and stir until melted. It’s almost as good as fresh. If you make the full queso ahead, it will thicken in the fridge and need milk to loosen up when reheating.
Is this dip spicy?
It depends on the chiles you use. Hatch chiles come in mild and medium. The medium variety gives a gentle, smoky heat that’s not overwhelming. If you’re sensitive to spice, use mild chiles and skip the cayenne. If you love heat, add a diced jalapeño or some hot sauce. The smoked paprika adds flavor, not heat.
Can I freeze this queso?
I don’t recommend freezing the finished queso. The dairy tends to separate and become grainy when thawed. It’s best made fresh. If you need to prep ahead, make the roux and chile base, freeze that, and add fresh cheese when reheating.
What’s the best cheese to use?
Sharp cheddar is my top choice because it has a strong flavor that stands up to the chiles. You can also use a mix of cheddar and Monterey Jack for a milder, stretchier dip. Avoid pre-shredded cheese at all costs. Block cheese shreds much better and melts more smoothly.
Pin This Recipe!
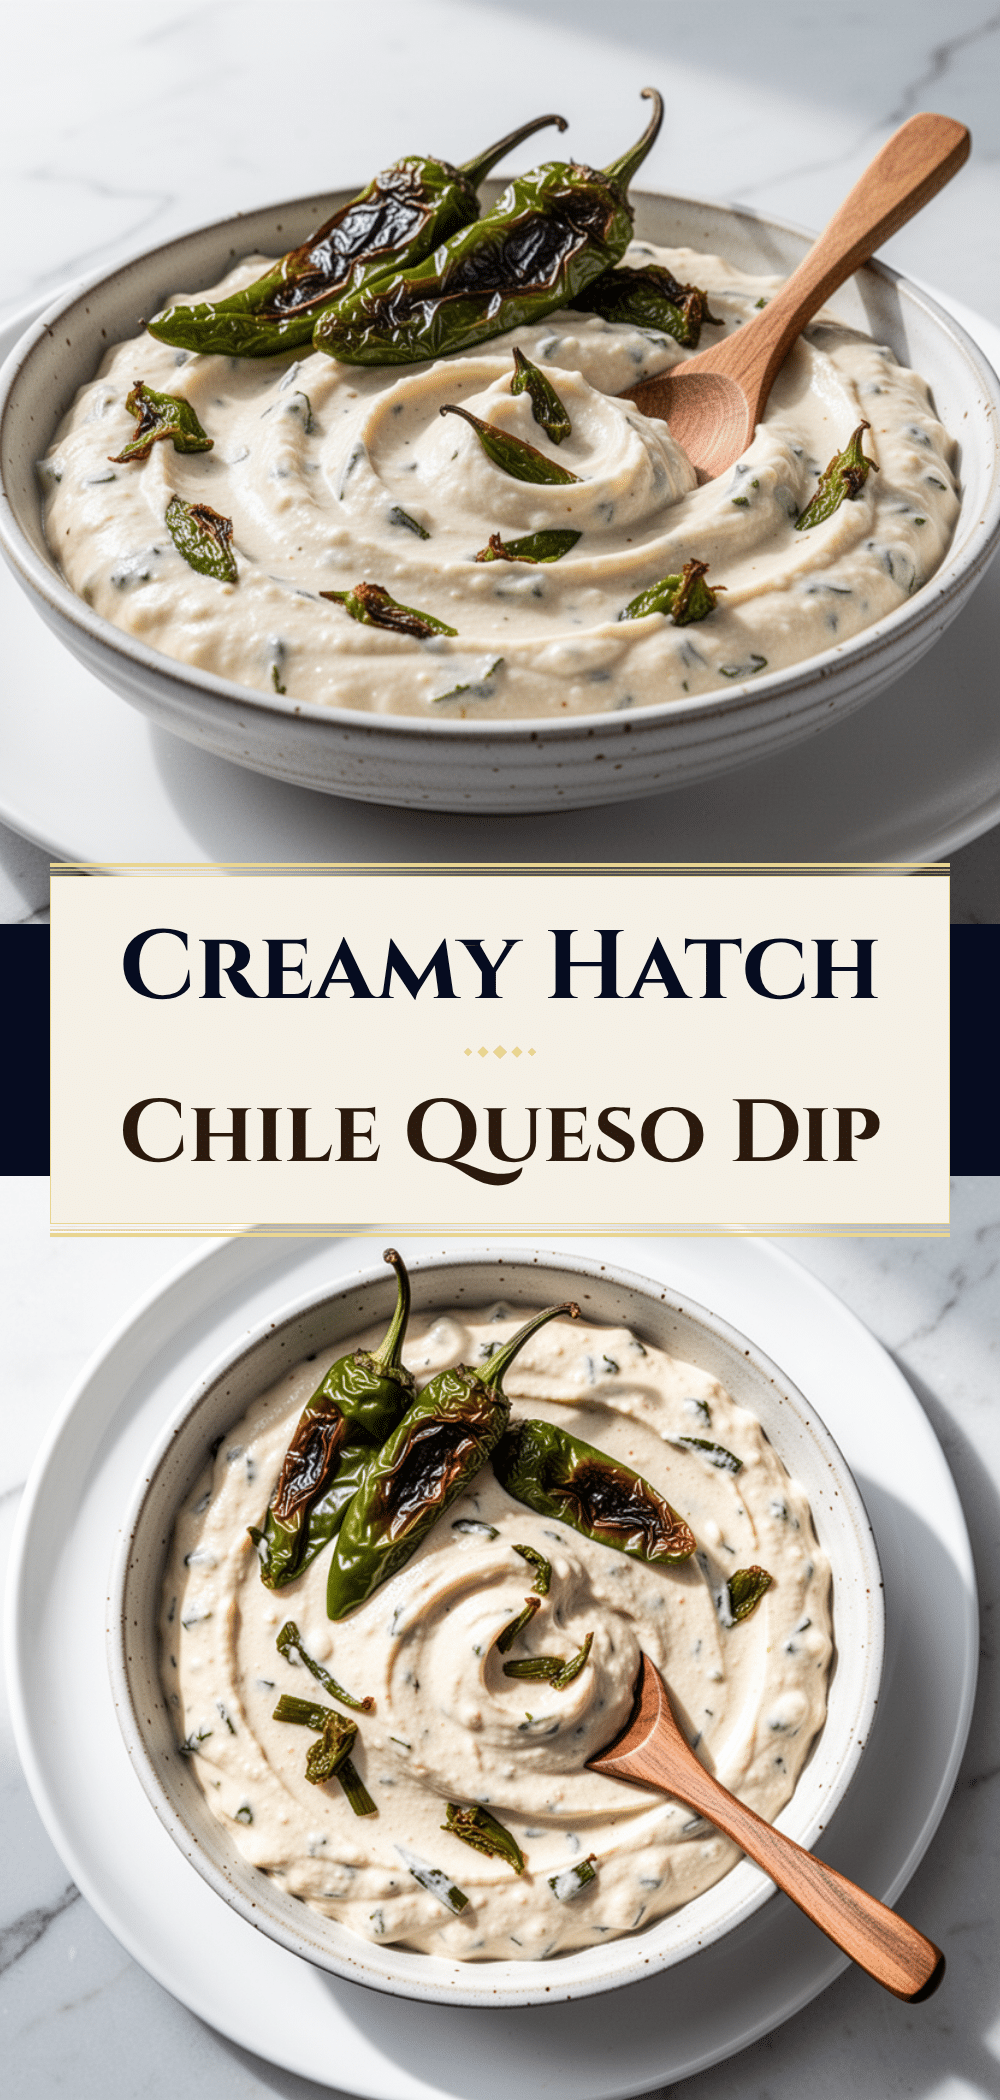

Creamy Hatch Chile Queso Dip: 15-Min Easy Weeknight Appetizer
- Total Time: 15 minutes
- Yield: 8 servings 1x
Description
A smoky, spicy, and incredibly creamy Hatch Chile queso dip that comes together in just 15 minutes using a roux-based technique for a silky smooth texture without separation.
Ingredients
- 3 tablespoons unsalted butter
- 3 tablespoons all-purpose flour
- 2 cups whole milk
- 1 teaspoon garlic powder
- ½ teaspoon smoked paprika
- 1 can (4-6 oz) canned Hatch chiles, diced
- 2 cups (200g) sharp cheddar cheese, freshly shredded
- 4 oz (115g) cream cheese, softened and cubed
- ¼ teaspoon cumin (optional)
- Hot sauce to taste (optional)
- 2 tablespoons green onions, chopped (for garnish)
- Pinch of black pepper
Instructions
- Prep ingredients: Shred the cheese, drain and dice the chiles, and measure out spices.
- Make the roux: Melt butter in a medium saucepan over medium heat. Add flour and whisk constantly for 1-2 minutes until light golden and nutty.
- Add milk: Gradually pour in milk while whisking constantly to prevent lumps. Cook until the mixture thickens and coats the back of a spoon (about 3-4 minutes).
- Season and add chiles: Stir in garlic powder, smoked paprika, and black pepper. Add diced Hatch chiles and simmer for 1-2 minutes.
- Melt cheese: Turn off the heat and let the pan cool for 30 seconds. Gradually add shredded cheddar and cubed cream cheese, stirring constantly until smooth and melted.
- Serve: Transfer to a serving bowl, garnish with green onions, and serve immediately with tortilla chips or vegetables.
Notes
Do not use pre-shredded cheese as it contains anti-caking agents that prevent smooth melting. Always remove the pan from heat before adding cheese to prevent graininess. If the sauce is too thick, add milk one tablespoon at a time. This dip does not freeze well; the dairy may separate.
- Prep Time: 5 minutes
- Cook Time: 10 minutes
- Category: Appetizer
- Cuisine: Mexican
Nutrition
- Serving Size: ¼ cup
- Calories: 280
- Sugar: 2
- Sodium: 450
- Fat: 22
- Saturated Fat: 12
- Carbohydrates: 10
- Fiber: 1
- Protein: 12
Keywords: Hatch Chile Queso, Queso Dip, 15 Minute Recipe, Appetizer, Game Day Food, Creamy Cheese Dip, New Mexican Cuisine