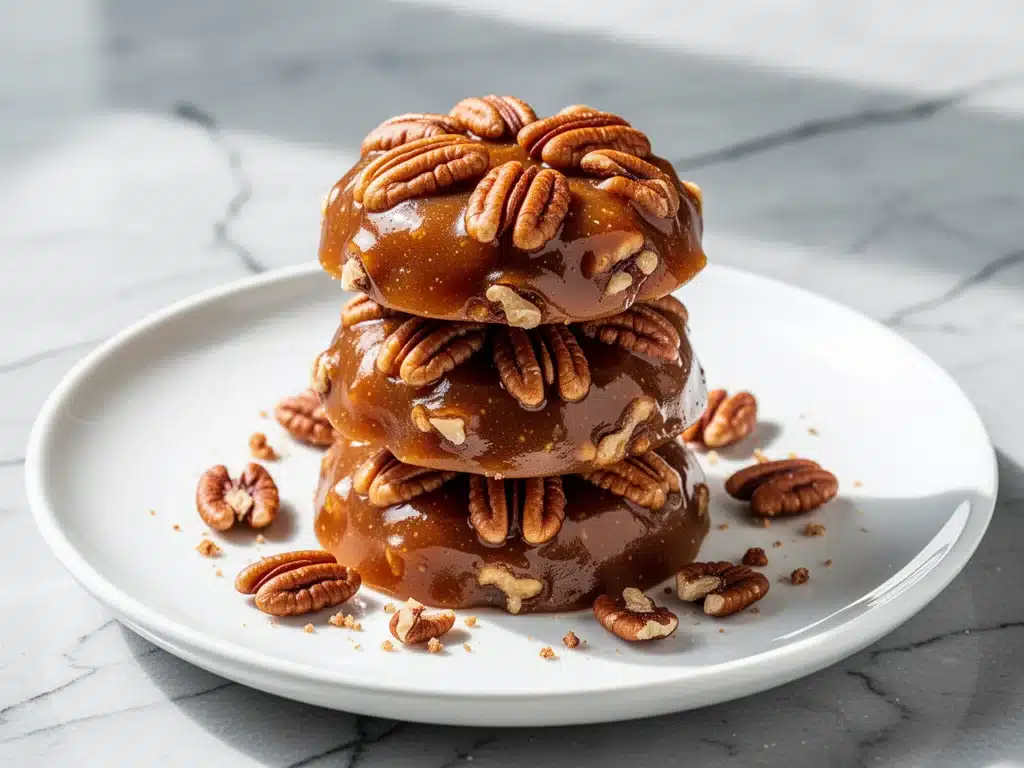
I have a confession to make: I used to buy pralines from the gas station on the highway. You know the ones—wrapped in shiny foil, sitting in a glass jar near the register, looking perfect and tasting like nothing but sugar and regret. For years, I thought that’s what pralines were supposed to be. Smooth, uniform, and utterly soulless.
Then, last Thanksgiving, my aunt brought a tin of homemade brown butter pecan pralines. They weren’t perfect. Some were slightly lopsided. Some had a few more nuts than others. But the moment I bit into one, the flavor hit me like a memory I didn’t know I had. It was nutty, caramelized, deep, and complex. It tasted like actual butter, not just sweetened fat. It tasted like care.
I spent the next week obsessed. I called my aunt. I begged for the recipe. And then, I spent the next month failing. A lot.
I’ve made this brown butter pecan pralines recipe at least twelve times. I’ve burned butter (oops). I’ve cracked candy thermometers (ouch). I’ve ended up with rock-hard candies that chipped a tooth and runny puddles that wouldn’t set. But through all those mistakes, I finally cracked the code. The secret isn’t just the sugar and cream; it’s the brown butter. That nutty, toasted depth changes everything.
Now, these are the pralines I make for every holiday, every birthday, and every random Tuesday when I need a little sweetness. They are genuinely better than store-bought. And once you learn how to make them, you’ll never look at a gas station candy jar the same way again.
Why You’ll Love This Recipe
There are about ten reasons I keep making these brown butter pecan pralines, but here are the big ones. This isn’t just a candy recipe; it’s a confidence booster.
- Restaurant-Quality Flavor — Most store-bought pralines taste like vanilla and corn syrup. These taste like toasted nuts and rich caramel. The brown butter adds a layer of complexity that you simply cannot fake.
- Stupidly Simple Ingredients — You don’t need exotic spices or rare equipment. Just butter, sugar, cream, and pecans. If you can melt butter, you can do this.
- Impressive Gift Idea — I wrap these in cellophane bags with a ribbon and give them to neighbors, teachers, and bosses. It’s the kind of gift that says, “I put time into this,” without costing a fortune.
- Make-Ahead Magic — These actually taste better after a day or two. The flavors meld, and the texture settles. I make a batch on Sunday and eat them all week.
- Customizable — Want sea salt on top? Done. Want to add a splash of bourbon? Go for it. These pralines are a blank canvas for your creativity.
Real talk? Making candy feels intimidating. It feels like chemistry class. But this recipe is forgiving. Yes, you need a thermometer, but once you know what temperature to aim for, it’s just waiting. And the reward? Pure, creamy, nutty heaven.
Ingredients You’ll Need
Here’s the best part: you probably have most of this already. I’m particular about a few things here, and I’ll tell you exactly why. Don’t skip the details.
For the Base
Unsalted Butter (1 cup / 226g) — This is the star. You need good quality butter. I use European-style butter like Kerrygold or Plugrá because it has higher fat content, which helps create that rich, nutty flavor when you brown it. Do not use margarine. Do not use salted butter (you need to control the salt level).
Granulated Sugar (2 cups / 400g) — Standard white sugar. Don’t try to substitute with brown sugar here; it will change the texture and make it too dense. You want that clean sweetness to balance the nuttiness.
Heavy Cream (1 cup / 240ml) — Full-fat only. Half-and-half will make the pralines greasy or grainy. You need the fat content to create that smooth, creamy mouthfeel. Take the cream out of the fridge 15 minutes before you start so it’s not ice-cold.
Pure Vanilla Extract (1 teaspoon) — Add this at the very end. Real vanilla makes a huge difference. I use Nielsen-Massey, but any good quality extract works.
For the Crunch
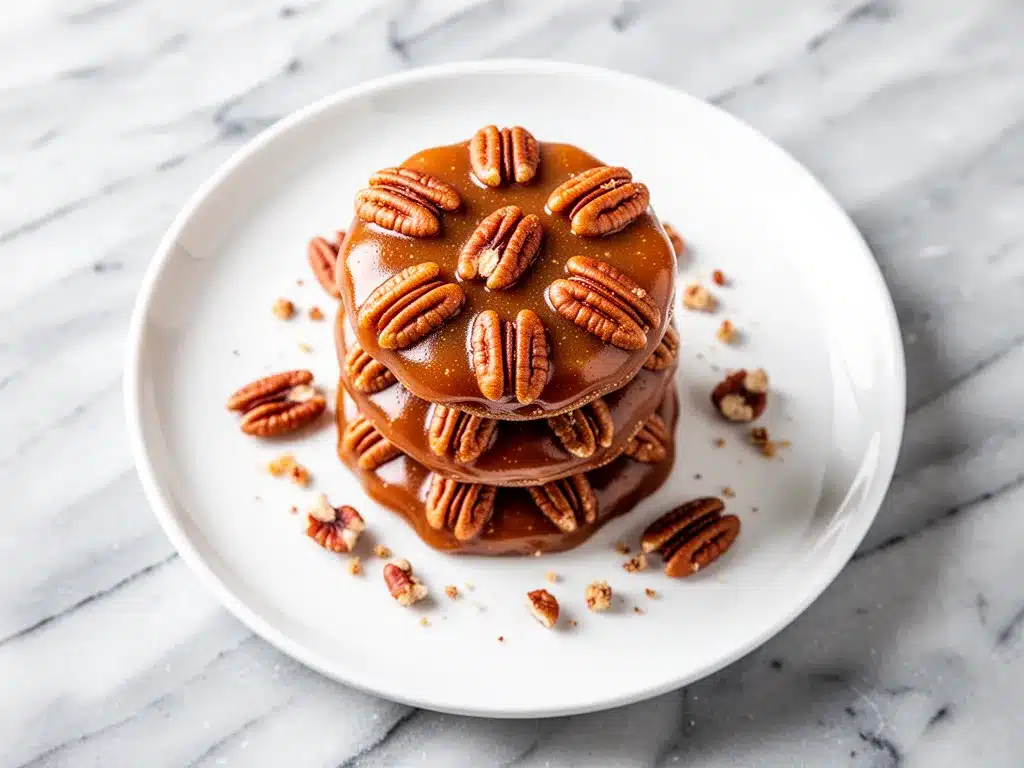
Pecan Halves (2 cups / 220g) — This is non-negotiable. I’ve tried walnuts (too bitter), almonds (too hard), and peanuts (wrong vibe). Pecans are the traditional nut for pralines for a reason. They’re buttery and sweet. Use raw pecans if you can find them—they toast better in the butter. If you only have roasted, make sure they’re unsalted.
For the Finish
Sea Salt (optional) — Flaky sea salt like Maldon, sprinkled on top right after they set. It elevates the flavor profile from “sweet” to “sophisticated.”
Equipment You’ll Need
You don’t need fancy equipment for this. Here’s what I actually use.
Candy Thermometer — This is the most important tool. I use a clip-on digital one because I hate guessing. If you don’t have one, you can use the cold water test, but it’s trickier. A thermometer takes the stress out.
Heavy-Bottomed Saucepan — A 3-quart or 4-quart pot. I prefer stainless steel or enameled cast iron because it distributes heat evenly. Thin aluminum pots will burn the sugar in spots.
Wooden Spoon or Heat-Resistant Spatula — For stirring. You need something that can handle high heat without melting.
Baking Sheet — Line it with parchment paper or a silicone mat. I use parchment because it’s cheap and easy to replace. Do not use wax paper; it will melt.
Microwave (Optional) — I sometimes use the microwave to soften the pralines before dropping them, which makes them easier to shape. It’s a pro trick.
How to Make It: Step-by-Step
Alright, let’s make this! I’m walking you through exactly how I do it, including the little tricks I’ve picked up after burning my first batch.
Step 1: Brown the Butter (5-7 minutes)
This is where the magic happens. Melt the butter in your saucepan over medium heat. Don’t walk away. Watch it closely. It will foam up, then settle. Listen for it to quiet down. Smell it. When it smells like toasted hazelnuts or browned milk, it’s done. Pour it immediately into a heat-proof bowl to stop the cooking. If you leave it in the hot pan, it will keep cooking and burn.
Why this matters: Browned butter adds a deep, nutty flavor that regular melted butter just can’t match. It’s the secret to why these are better than store-bought.
Step 2: Make the Candy Base (10-12 minutes)
Return the browned butter to the saucepan. Add the sugar and heavy cream. Stir gently to combine. Clip your candy thermometer to the side of the pot. Make sure the tip is submerged in the liquid but not touching the bottom of the pan. Heat over medium-high heat, stirring occasionally to prevent scorching.
Bring the mixture to a boil. Once it boils, stop stirring too much and let it simmer. You’re looking for the Soft Ball stage: 234°F to 240°F (112°C to 115°C). This usually takes 8-10 minutes after it starts boiling. Keep an eye on the thermometer. If it goes past 240°F, your pralines will be hard. If it’s below 234°F, they’ll be too soft and runny.
Step 3: Cool and Beat (5 minutes)
Once you hit 238°F (my sweet spot), remove the pan from the heat. Let it cool for about 5 minutes. Do not skip this. If you add the pecans immediately, they’ll burn. If you wait too long, the mixture will set in the pot.
After 5 minutes, stir in the vanilla extract. Then, start beating the mixture. Use your wooden spoon and stir vigorously. You’ll notice the mixture changing color slightly, becoming matte and thicker. This is called “beating” the pralines. It creates that creamy, fudge-like texture instead of a hard candy texture. Beat for about 3-4 minutes until it’s thick enough to hold a trail.
Step 4: Add the Pecans
Stir in the pecan halves. Fold them in gently but thoroughly. You want every nut coated in that creamy mixture.
Step 5: Drop and Set (30 minutes)
Drop spoonfuls of the mixture onto your prepared baking sheet. Use two spoons to scoop and drop, or use a small cookie scoop for uniform sizes. They will be hot, so be careful. Sprinkle with flaky sea salt if you’re using it.
Let them cool at room temperature for about 30 minutes. They will firm up as they cool. Do not put them in the fridge to speed this up; condensation can make them sticky.
Troubleshooting: If the mixture sets up too quickly in the pot before you can drop them, put the pot back on very low heat for 10-15 seconds to soften it up again. If it’s too runny and won’t thicken, you didn’t cook it to a high enough temperature. Unfortunately, you’ll have to start over. That’s the risk of candy making.
Expert Tips & Tricks
Here’s everything I’ve learned from making this dozens of times. These tips will save you from my mistakes.
- Humidity is the Enemy — Candy making is weather-dependent. If it’s a rainy, humid day, add an extra 5 degrees to your target temperature (aim for 242°F). The sugar needs to lose more water to set properly in humid air. I keep a weather app open on my phone when I make these.
- Don’t Stir While Boiling — Once the mixture reaches a boil, avoid stirring too much. Stirring can cause the sugar to crystallize, resulting in grainy pralines. Gentle swirling is okay, but let the heat do the work.
- The Beat is Key — The beating step is what makes pralines creamy. If you skip it, you get hard caramel-coated pecans. You need to agitate the mixture to create tiny sugar crystals that give it that smooth texture. It takes elbow grease.
- Use a Timer — Set a timer for 5 minutes after removing from heat. It’s easy to get distracted and let the mixture cool too much. If it cools past 160°F, it’s too hard to beat properly.
- Pecan Prep — If your pecans are large, chop them in half. If they’re small, leave them whole. Uniform pieces make for nicer-looking pralines. I toast my pecans in a dry pan for 2 minutes before adding them to the butter for extra flavor.
Variations & Substitutions
Once you’ve nailed the basic version, here’s how you can mix it up. I’ve tried all of these.
- Bourbon Pralines — Add 1-2 tablespoons of bourbon along with the vanilla. It adds a warm, spicy note that pairs beautifully with the pecans. Great for holidays.
- Maple Pralines — Replace 1/4 cup of the sugar with pure maple sugar. Or add 1 tablespoon of pure maple syrup at the end. Very autumnal.
- Chocolate Pecan Pralines — Stir in 1/2 cup of semi-sweet chocolate chips at the end, after beating. Let them melt into the mixture. Rich and decadent.
- Coconut Pecan Pralines — Add 1/2 cup of shredded coconut along with the pecans. Adds a chewy texture and tropical vibe.
- Spiced Pralines — Add 1/2 teaspoon of cinnamon and a pinch of nutmeg to the butter before browning. Warm and cozy.
Dietary Modifications:
These are naturally gluten-free, but if you need dairy-free, it’s tricky. You can use coconut cream and a high-fat coconut butter, but the texture will be different. It won’t be as creamy. I recommend sticking to the original for the best result.
Serving & Storage
How to Serve:
I usually serve these on a platter with other candies, or individually in little paper cups. They’re perfect with coffee or tea. I also love breaking one open to show the creamy interior. It’s a moment of pride.
Side Dishes:
These are standalone treats. No sides needed. But they pair well with a cup of black coffee, Earl Grey tea, or a glass of milk.
Storage Instructions:
Room Temperature: Store in an airtight container at room temperature for up to 2 weeks. Place parchment paper between layers if stacking them. They should stay soft and creamy.
Refrigerator: Not recommended. The fridge can dry them out or make them sticky. Only refrigerate if your kitchen is extremely hot (above 75°F).
Freezing: Yes! Freeze them in an airtight container for up to 3 months. Thaw at room temperature before eating. They taste just as good as fresh.
Pro Tip: If your pralines get a bit soft, you can refresh them by putting them in the oven at 200°F for 5 minutes. They’ll firm up again. Just don’t leave them in too long or they’ll melt.
Nutrition Information
I’m not a nutritionist, but here’s the breakdown if you’re tracking. This is a rich, sweet treat, so portion control is key.
Per Praline (based on 24 pralines):
- Calories: 180
- Protein: 2g
- Carbs: 22g
- Fiber: 1g
- Sugar: 20g
- Fat: 10g
- Saturated Fat: 5g
- Cholesterol: 15mg
- Sodium: 40mg
What’s Good:
Pecans provide healthy fats and some protein. They’re also a good source of manganese and copper.
What to Know:
High in sugar and saturated fat from the butter and cream. Enjoy as an occasional indulgence.
Final Thoughts
So that’s my brown butter pecan pralines! I’ve probably talked your ear off at this point, but when you make a recipe this often, you have a lot to say about it.
This has saved my holiday gifting game more times than I can count. It’s my answer to “what can I bring that’s homemade but not too hard?” The answer is always these pralines. My friends are happy, my family is happy, and I’m happy because I know exactly what’s in them.
Make it yours! Try different nuts, add spices, or play with the salt. The best recipes are the ones you adapt to your tastes. If you make this, drop a comment and let me know what you think! I love hearing how recipes turn out in your kitchen. And if something doesn’t work, tell me that too—I’m here to help troubleshoot.
Happy cooking! And I hope your kitchen smells half as good as mine does right now.
Frequently Asked Questions
Can I use light cream instead of heavy cream?
You can, but the pralines will be less creamy and more prone to graininess. The fat content in heavy cream is crucial for that smooth texture. If you must use half-and-half, add 1 tablespoon of cornstarch to thicken it, but I don’t recommend it. Stick with heavy cream for the best results.
Why did my pralines turn out hard instead of creamy?
This usually means you cooked the mixture to too high a temperature (above 240°F) or you didn’t beat it enough. If it’s hard, you overcooked the sugar. If it’s chewy but not creamy, you didn’t beat it long enough. Next time, aim for 238°F and beat until it thickens and changes color.
Can I make this ahead of time?
Yes! These pralines actually improve after a day or two. I make them 2-3 days before a party. Store them in an airtight container at room temperature. They’ll stay fresh for up to 2 weeks.
Why did my pralines become grainy?
Graininess is usually caused by sugar crystals forming. This can happen if you stir the mixture while it’s boiling, or if sugar crystals form on the sides of the pan. To prevent this, wash down the sides of the pan with a wet pastry brush during the boiling stage. Also, avoid stirring once it reaches a boil.
Can I use walnuts instead of pecans?
You can, but they will taste different. Walnuts are more bitter and have a different texture. If you use walnuts, I recommend toasting them first to bring out their oils. But for traditional pralines, pecans are the way to go.
How do I know when the butter is properly browned?
Watch for the color change. It goes from yellow to golden to amber. Listen for the sound to quiet down. Smell for a nutty, toasted aroma. It should look like melted hazelnut butter. If it smells burnt, start over. Burnt butter cannot be saved.
Can I freeze the mixture before dropping?
No. The mixture needs to be warm and pliable to drop. If it cools too much, it will harden in the pot. If you need to pause, keep the pot on very low heat or return it to low heat briefly to soften it.
Pin This Recipe!
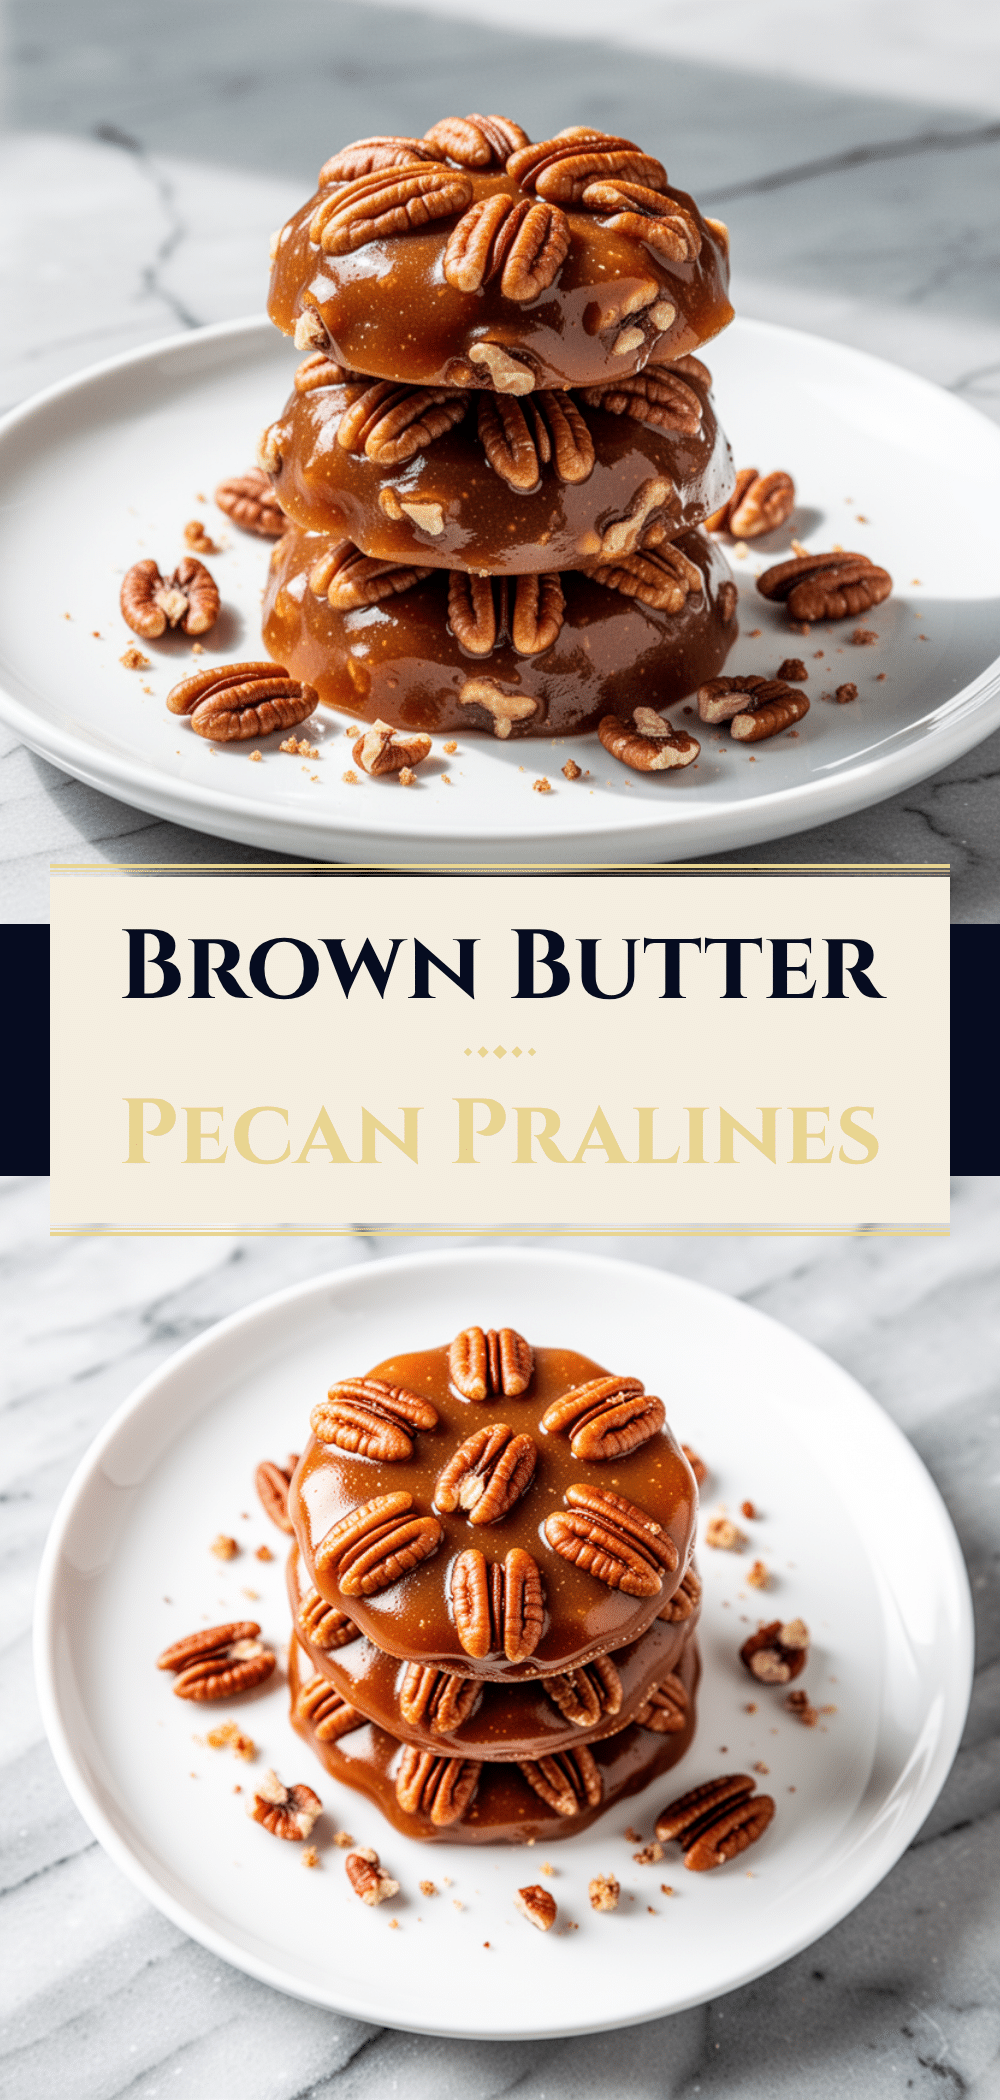
Brown Butter Pecan Pralines: Easy Homemade Recipe
- Total Time: 35 minutes
- Yield: 24 pralines 1x
Description
Rich, creamy, and nutty homemade pralines made with browned butter and pecans. This recipe offers a superior alternative to store-bought candies with a simple, forgiving method.
Ingredients
- 1 cup (226g) unsalted butter
- 2 cups (400g) granulated sugar
- 1 cup (240ml) heavy cream
- 1 teaspoon pure vanilla extract
- 2 cups (220g) pecan halves
- Flaky sea salt (optional, for topping)
Instructions
- Melt the butter in a heavy-bottomed saucepan over medium heat. Watch closely until it foams, settles, and smells like toasted hazelnuts (5-7 minutes). Pour immediately into a heat-proof bowl to stop cooking.
- Return the browned butter to the saucepan. Add sugar and heavy cream. Stir gently to combine.
- Clip a candy thermometer to the side of the pot, ensuring the tip is submerged but not touching the bottom.
- Heat over medium-high heat, stirring occasionally to prevent scorching. Bring to a boil.
- Once boiling, let it simmer without excessive stirring. Cook until the mixture reaches the soft ball stage: 234°F to 240°F (112°C to 115°C).
- Remove the pan from heat and let it cool for exactly 5 minutes. Do not skip this step.
- Stir in the vanilla extract. Vigorously beat the mixture with a wooden spoon for 3-4 minutes until it becomes matte, thicker, and holds a trail.
- Fold in the pecan halves until evenly coated.
- Drop spoonfuls of the mixture onto a parchment-lined baking sheet. Sprinkle with sea salt if desired.
- Let cool at room temperature for 30 minutes until firm. Do not refrigerate.
Notes
Humidity affects candy making; on humid days, aim for 242°F. Do not stir excessively once the mixture boils to prevent crystallization. If the mixture sets too quickly in the pot, gently reheat on low for 10-15 seconds. Store in an airtight container at room temperature for up to 2 weeks.
- Prep Time: 10 minutes
- Cook Time: 25 minutes
- Category: Dessert
- Cuisine: American
Nutrition
- Serving Size: 1 praline
- Calories: 180
- Sugar: 20
- Sodium: 40
- Fat: 10
- Saturated Fat: 5
- Carbohydrates: 22
- Fiber: 1
- Protein: 2
Keywords: brown butter pralines, homemade candy, pecan pralines, holiday treats, southern dessert, easy candy recipe


