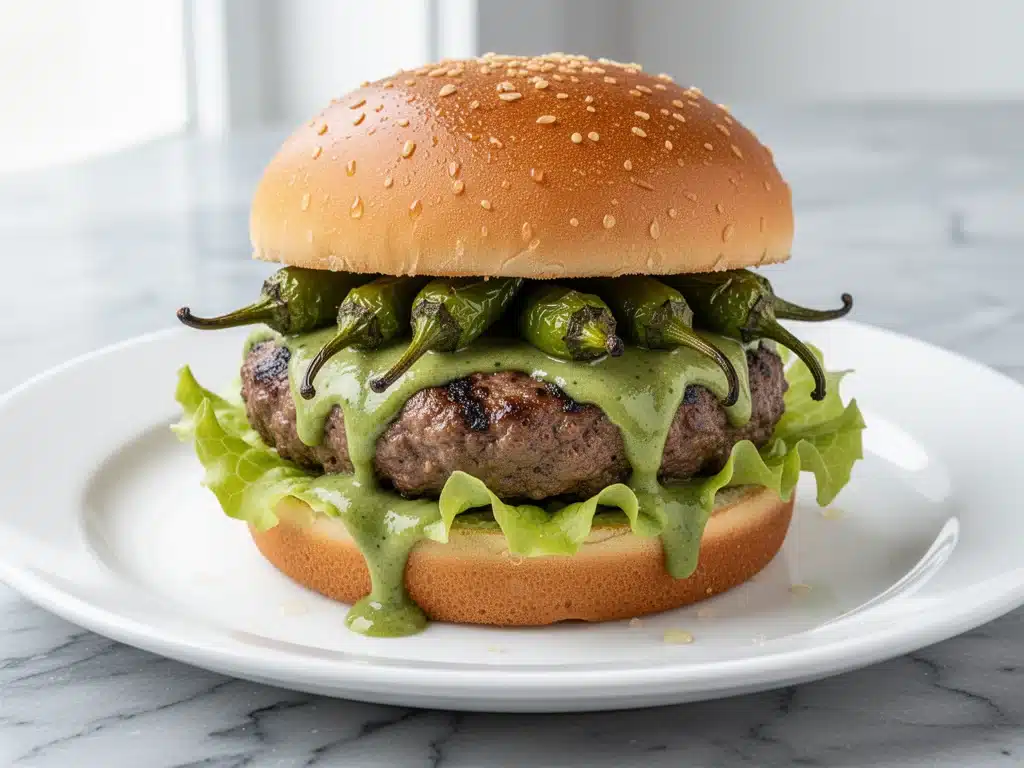
It was last July, and I was standing in my driveway with a bag of fresh Hatch chiles that cost more than my first car. I’d driven three hours to get them from a small farm in New Mexico because, honestly, I’ve never trusted frozen green chiles to deliver that specific smoky heat. I came home with 10 pounds of peppers, a headache from peeling them, and zero idea what to do with them all. My husband looked at the mountain of roasted, peeled chiles on the counter and said, “Just put them on a burger.” I laughed. Burgers are easy. Burgers are ground beef, salt, pepper, and a bun. But he was right. I was wrong.
I tossed those roasted Hatch chiles into a food processor with some cream cheese, garlic, and a pinch of cumin, expecting a mediocre dip. Instead, I got a sauce that tasted like summer itself—smoky, creamy, spicy, and deeply savory. I slathered it on a simple beef patty, added sharp cheddar, and took one bite. It was a revelation. It wasn’t just a burger; it was an experience. And the best part? It took 20 minutes. I ordered takeout that night, but I kept eating this burger. That was the moment I stopped buying green chile burgers from the local joint down the street. I realized I could make something better, faster, and cheaper right in my own kitchen.
These Hatch Chile Green Chile Cheeseburgers have become my go-to for summer cookouts, lazy weeknights, and when I just need to feel like I’m on vacation without leaving the house. They’re better than takeout because you control the quality of the meat, the heat level of the chiles, and you get that fresh, roasted flavor that no restaurant can replicate consistently. I’ve tested this recipe dozens of times—sometimes with fresh Hatch chiles, sometimes with high-quality canned roasted chiles, and even occasionally with jarred ones in a pinch. Each version has its pros and cons, but the result is always a juicy, flavorful patty that makes people stop talking and start chewing. If you’ve ever wondered why restaurant burgers taste so good, it’s usually the sauce. And this sauce? It’s the game-changer.
Why You’ll Love This Recipe
There are a lot of burger recipes out there, but this one stands out for reasons that go beyond just “it tastes good.” Here’s why I keep coming back to these Hatch Chile Green Chile Cheeseburgers:
- Restaurant-Quality Flavor at Home — Seriously, the combination of smoky roasted chiles and creamy cheese sauce mimics the fancy burgers you get at high-end gastropubs, but without the $25 price tag. I’ve served these to friends who swear they’re from a specific restaurant in Albuquerque, and they’re always shocked when I tell them I made them in my backyard.
- Lightning Fast Prep — You don’t need to marinate anything overnight. The chiles are already roasted (store-bought or homemade), so you just blend, mix, and grill. From fridge to plate in under 30 minutes. Perfect for when hunger strikes at 6 PM and you’re exhausted.
- Customizable Heat Level — Hate spice? Use mild green chiles. Love fire? Add a habanero or extra red pepper flakes. This recipe bends to your spice tolerance. I usually go for a medium kick, but my spicy-loving brother adds jalapeños to the mix. Everyone wins.
- Uses Simple Ingredients — Ground beef, cream cheese, roasted chiles, garlic, and spices. You probably have half of this in your pantry already. No weird sauces or hard-to-find condiments. Just real, honest food.
- Makes Incredible Leftovers — The leftover green chile sauce is actually better than the burgers. I spread it on sandwiches, dip veggies in it, or even put it on pizza the next day. It’s that versatile.
This recipe has saved my dinner routine more times than I can count. It’s my answer to “I don’t want to cook, but I want something special.” It’s indulgent but straightforward, spicy but creamy, and always a crowd-pleaser. Whether you’re feeding a family or just treating yourself, these burgers deliver.
Ingredients You’ll Need
Here’s the thing: you don’t need a specialty store for this. Most of this is standard burger fare, with the star being the green chiles. Here’s what you need to gather:
For the Burgers
Ground Beef (1.5 lbs / 680g) — Go for 80/20 fat ratio. Lean beef makes dry burgers. I use chuck roast ground at home if I can, but store-bought 80/20 works perfectly. The fat keeps it juicy.
Roasted Hatch Green Chiles (1 cup / 150g, chopped) — This is the star. Fresh roasted Hatch chiles are best (look for them in late summer), but canned roasted green chiles (like El Paso or Hatch brand) work great year-round. Drain them well so the patties don’t get soggy. Do not use raw green chiles—they need to be roasted for that smoky flavor.
Sharp Cheddar Cheese (4 slices or 1 cup shredded) — Sharp cheddar cuts through the richness of the beef and cream cheese. Mild cheddar is too bland for this. I use a block and shred it myself because pre-shredded has anti-caking agents that melt poorly.
Burger Buns (4-6 buns) — Brioche or potato buns are my favorites because they’re soft and slightly sweet, balancing the spicy chiles. Toast them lightly with butter before assembling.
Salt and Black Pepper — To taste. I usually use about 1 teaspoon kosher salt and half a teaspoon pepper for the whole batch of meat.
For the Green Chile Cream Sauce
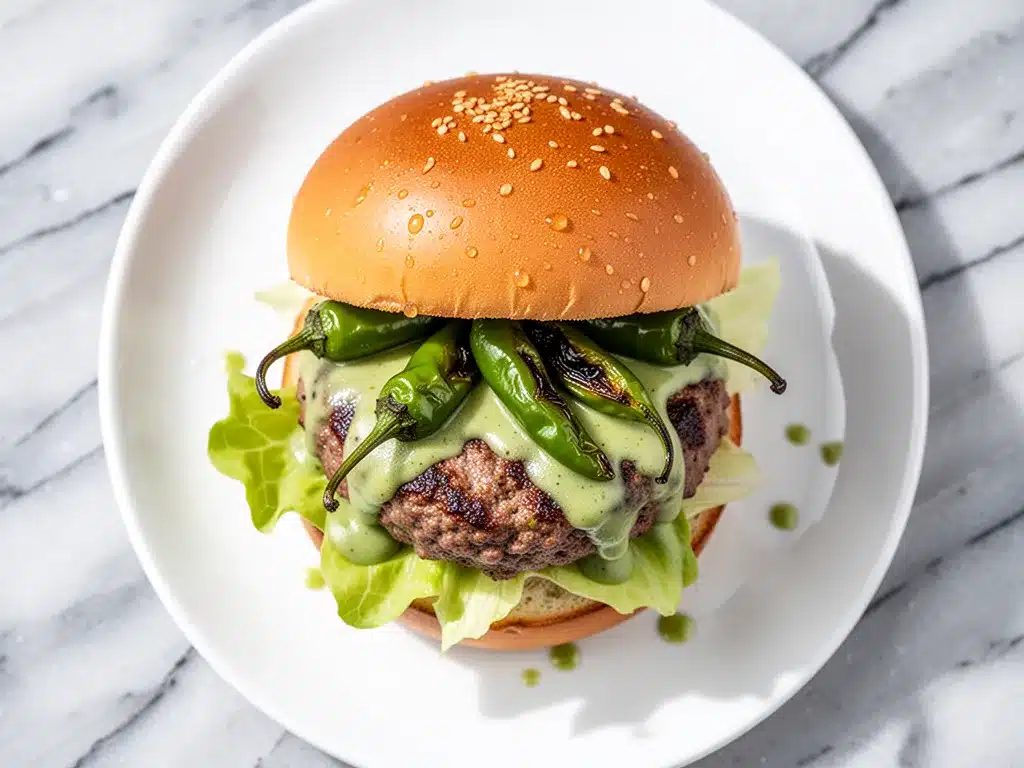
Cream Cheese (4 oz / 115g, softened) — This creates the creamy base. Softened cream cheese blends smoothly. If you forget to soften it, microwave it for 10 seconds.
Sour Cream (2 tablespoons) — Adds tang and lightens the texture. Greek yogurt works in a pinch, but it’s thicker and tangier.
Garlic (2 cloves, minced) — Fresh garlic is non-negotiable. Jarred garlic has a metallic taste that clashes with the chiles.
Cumin (½ teaspoon) — Just a little bit. It adds warmth and depth. Don’t overdo it, or it’ll taste like taco seasoning.
Lime Juice (1 teaspoon) — Brightens everything up. Acidity is key to balancing the heavy cream cheese and beef.
Optional: Red Pepper Flakes — If you want extra heat, add a pinch. Otherwise, the chiles provide enough spice.
Optional Toppings
Red Onion (thinly sliced) — Adds crunch and sharpness. Soak slices in cold water for 10 minutes to mellow the bite.
Lettuce — Iceberg or romaine for crunch. Skip it if you prefer a classic diner-style burger.
Tomato — Sliced ripe tomatoes add juiciness. I use them sparingly because the chiles already bring moisture.
Equipment Needed
You don’t need fancy gadgets for this. Here’s what I actually use:
Food Processor or Blender — For the sauce. A small food processor works best because you’re only making a cup of sauce. If you don’t have one, you can chop the chiles super finely and mix the sauce by hand, but it’ll be chunkier.
Cast Iron Skillet or Grill — Cast iron gives that perfect crust. If you’re grilling outside, a clean grate works too. Just oil it well to prevent sticking.
Spatula — A thin, flexible spatula helps flip burgers without breaking them. I use a metal one for better heat transfer.
Mixing Bowl — For combining the meat and chiles. Glass or ceramic works best so you can see the mixture.
Measuring Spoons — Standard stuff. I keep a basic set on my counter.
Grill Thermometer (Optional) — If you’re worried about doneness, a instant-read thermometer ensures your burgers hit 160°F (71°C) for safety. I usually cook mine to medium, around 155°F (68°C), then let them rest.
How to Make It: Step-by-Step
Alright, let’s make these Hatch Chile Green Chile Cheeseburgers! I’m walking you through exactly how I do it, including the little tricks I’ve picked up over the years.
Step 1: Make the Green Chile Sauce (5 minutes)
Start with the sauce because it needs a moment to meld flavors. In your food processor, combine the softened cream cheese, sour cream, drained roasted green chiles, minced garlic, cumin, lime juice, and a pinch of salt. Pulse until smooth. If it’s too thick, add a teaspoon of milk or water. Taste and adjust—add more lime for brightness or more chiles for heat. Set aside in the fridge while you prep the meat. This step is crucial; the sauce tastes better after sitting for 10 minutes.
Step 2: Prep the Meat Mixture (5 minutes)
In a large bowl, add the ground beef and chopped roasted green chiles. I usually chop the chiles roughly before adding them to the meat so you get little bursts of flavor in each bite. Add salt and black pepper. Gently mix with your hands or a spoon. Don’t overwork the meat—it’ll make the burgers tough. Just combine until the chiles are evenly distributed. Form the mixture into 4-6 patties, slightly larger than your buns because they’ll shrink as they cook. Make a small indent in the center of each patty with your thumb; this prevents them from puffing up into balls while cooking.
Step 3: Cook the Burgers (10-12 minutes)
Heat your cast iron skillet or grill over medium-high heat. If using a skillet, add a thin layer of oil. Once hot, add the patties. Cook for 4-5 minutes on the first side without moving them. You want a nice crust. Flip carefully. Cook for another 3-4 minutes for medium doneness. If you’re adding cheese, place a slice of sharp cheddar on each patty during the last minute of cooking. Cover the skillet with a lid or foil to trap heat and melt the cheese faster. Use a thermometer to check if you’re unsure—160°F (71°C) is safe for beef.
Step 4: Toast the Buns (2 minutes)
While the burgers cook, butter the cut sides of your buns. Place them cut-side down in the skillet or on the grill for the last 1-2 minutes. Toast until golden brown. This adds texture and prevents the buns from getting soggy from the sauce and juices. Remove from heat and set aside.
Step 5: Assemble the Burgers (2 minutes)
Now for the fun part. Take a toasted bun bottom. Spread a generous layer of the green chile sauce—don’t be shy, this is the best part. Add the cooked burger patty with melted cheese. Add any optional toppings like red onion, lettuce, or tomato. Top with the bun lid. Press down gently. Slice in half and serve immediately.
Pro Tip: Serve with the extra sauce on the side for dipping. It’s irresistible.
Expert Tips & Tricks
Here’s everything I’ve learned from making these burgers dozens of times. These tips will save you from my mistakes.
Drain the Chiles Thoroughly
The biggest mistake people make is using wet chiles. If you’re using canned chiles, drain them in a colander and press out excess liquid with paper towels. Wet chiles make the meat mixture soupy and the burgers fall apart. Dry chiles = firm, juicy patties.
Don’t Overmix the Meat
I know it’s tempting to mix everything thoroughly, but overworking ground beef squeezes out the fat and makes tough burgers. Mix just until combined. If the mixture feels too sticky, add a tablespoon of breadcrumbs or oat flour to help bind it.
Keep the Patties Cold
If you’re prepping ahead, form the patties and refrigerate them for 30 minutes before cooking. Cold meat hits the hot grill better and holds its shape. This is especially helpful if you’re using leaner beef.
Rest the Burgers
Let the cooked burgers rest for 3-5 minutes after flipping and before assembling. This allows the juices to redistribute. If you cut into them immediately, all the juice runs out, and you end up with a dry burger.
Use Fresh Lime Juice
Bottled lime juice has a preservative taste that doesn’t work well in fresh sauces. Squeeze a real lime. It adds a bright, clean flavor that cuts through the richness of the cream cheese and beef.
Common Mistakes (and How to Avoid Them)
Mistake: Burgers are dry. Fix: Use 80/20 beef and don’t overcook. Remove from heat at 155°F and let rest.
Mistake: Sauce is too thin. Fix: Add more cream cheese or chill it in the fridge for 15 minutes to thicken.
Mistake: Chiles are too spicy. Fix: Remove seeds and membranes from the chiles before chopping. They hold most of the heat.
Variations & Substitutions
Once you’ve nailed the basic version, here’s how you can mix it up. I’ve tried all of these.
Turkey or Chicken Version
Swap ground beef for ground turkey or chicken. Add an extra tablespoon of olive oil and a bit more cumin to compensate for the leaner meat. Turkey burgers work surprisingly well here and are lighter.
Veggie Burger Option
Replace the beef with a plant-based ground meat alternative (like Beyond or Impossible). The green chile sauce pairs perfectly with these. Just follow the package cooking instructions.
Spicy Jalapeño Kick
Add a diced jalapeño (seeds removed for less heat) to the meat mixture. Or mix a spoonful of chipotle peppers in adobo sauce into the cream cheese sauce for a smoky, fiery kick.
Avocado Cream Sauce
Swap the cream cheese sauce for a blended avocado, lime, and cilantro sauce. It’s fresher and lighter, perfect for hot summer days.
Bacon Bliss
Add crispy bacon bits to the burger or the sauce. Bacon and green chiles are a classic combo. I usually cook the bacon first, then use the bacon grease to toast the buns.
Dietary Modifications
Gluten-Free: Use gluten-free buns or serve in lettuce wraps. The rest of the recipe is naturally gluten-free.
Dairy-Free: Swap cream cheese for dairy-free cream cheese and sour cream for coconut cream or dairy-free sour cream. It’s not quite the same texture, but it works.
Lower-Carb: Skip the buns entirely. Serve the burgers in large lettuce cups or on top of a salad. The sauce is great as a dip for veggies too.
Serving & Storage
How to Serve:
I usually serve these straight from the grill with a side of sweet potato fries or a simple arugula salad. But here are other ways I’ve enjoyed them:
- Side Dishes: Sweet potato fries, coleslaw, corn on the cob, or a simple green salad with vinaigrette.
- Toppings Bar: When I have guests, I put out: extra green chile sauce, crispy bacon, sliced avocado, pickled jalapeños, and shredded cheese. Everyone customizes their burger.
- Wine Pairing: Not a wine expert, but my wine-snob friend says a crisp Sauvignon Blanc or a light Pinot Noir works great. For beer, a lager or IPA complements the spice well.
Storage Instructions:
Refrigerator: Store leftover burgers in an airtight container for up to 3 days. The sauce can be stored separately for up to 5 days. The flavors actually get better after a day or two.
Reheating: Best method: Reheat burgers in a skillet over low heat with a splash of water to steam them. Or microwave at 50% power in 30-second intervals. Avoid high heat, which dries out the meat. The sauce can be reheated gently in a saucepan or microwave.
Freezing: You can freeze the uncooked patties. Place them on a baking sheet, freeze solid, then transfer to a freezer bag. Cook from frozen, adding 2-3 minutes to the cooking time. Do not freeze cooked burgers with cheese—the texture suffers.
Pro Tip: If leftovers are drying out, stir a teaspoon of butter into the reheated patty. Brings back that juicy texture.
Nutrition Information
I’m not a nutritionist, but here’s the breakdown if you’re tracking. Please note that these are estimates and can vary based on specific brands and cuts of meat used.
Per Serving (based on 4 burgers with bun and sauce):
- Calories: 650
- Protein: 35g
- Carbs: 40g
- Fiber: 2g
- Sugar: 4g
- Fat: 38g
- Saturated Fat: 15g
- Cholesterol: 120mg
- Sodium: 800mg
What’s Good:
Decent protein from the beef and cheese. The chiles add vitamins A and C. It’s more filling than it looks.
What to Know:
Higher in calories and saturated fat from the beef and cream cheese. Moderate sodium. If you’re watching sodium, use low-sodium beef and reduce added salt.
My Take:
Look, this is a indulgent burger with cream cheese and cheddar. It’s not a diet recipe. But it’s way better than takeout, costs less, and I know exactly what’s in it. When I want to make it lighter, I use turkey and skip the bun. But usually? I just enjoy a reasonable portion and savor the flavor.
Final Thoughts
So that’s my Hatch Chile Green Chile Cheeseburger! I’ve probably talked your ear off at this point, but when you make a recipe this often, you have a lot to say about it. These burgers have saved my summer dinners more times than I can count. They’re my answer to “I want something fancy, but I don’t want to deal with it.” My family is happy, my friends are impressed, and I’m happy because I’m not stressed about cooking.
Make it yours! Try different chiles, swap in your favorite cheese, adjust the spice level. The best recipes are the ones you adapt to your family’s tastes. If you make this, drop a comment and let me know what you think! I love hearing how recipes turn out in your kitchen. And if something doesn’t work, tell me that too—I’m here to help troubleshoot.
Happy cooking! And I hope your kitchen smells half as good as mine does right now.
Frequently Asked Questions
Q: Can I use canned green chiles instead of fresh Hatch chiles?
A: Absolutely. Canned roasted green chiles (like El Paso or Hatch brand) are actually easier and available year-round. Just make sure to drain them well and pat them dry with paper towels. Fresh Hatch chiles are best in late summer (August/September) and have a unique smoky flavor, but canned works great for convenience.
Q: Why did my burgers fall apart?
A: This usually happens if the meat mixture is too wet or if you handled it too much. Make sure to drain the chiles thoroughly. Also, don’t overmix the beef—just combine until the chiles are distributed. If it’s still too loose, add a tablespoon of breadcrumbs or an egg yolk to help bind it.
Q: How spicy are these burgers?
A: It depends on the chiles you use. Mild green chiles will give a gentle warmth. Medium Hatch chiles will have a noticeable kick. If you want it fiery, add a jalapeño or some red pepper flakes to the sauce. You can always adjust the heat level to your preference.
Q: Can I make the sauce ahead of time?
A: Yes! The sauce actually tastes better after sitting in the fridge for a few hours. Make it up to 3 days ahead and store it in an airtight container. Bring it to room temperature before serving for the best flavor.
Q: What kind of cheese is best?
A: Sharp cheddar is my top choice because the tang cuts through the richness. Pepper jack adds extra spice. American cheese melts the best but is less flavorful. I recommend a mix of sharp cheddar and pepper jack for the best of both worlds.
Q: Can I grill these instead of pan-frying?
A: Yes, grilling works great. Just make sure your grill grates are clean and well-oiled to prevent sticking. Grill over medium-high heat for about 4-5 minutes per side. The smoky flavor from the grill pairs nicely with the chiles.
Q: How do I reheat leftovers without drying them out?
A: Reheat gently. Use a skillet over low heat with a splash of water or broth to steam the burger. Or microwave at 50% power in short intervals. Avoid high heat, which cooks the beef further and dries it out. The sauce can be reheated in the microwave or on the stove.
Pin This Recipe!
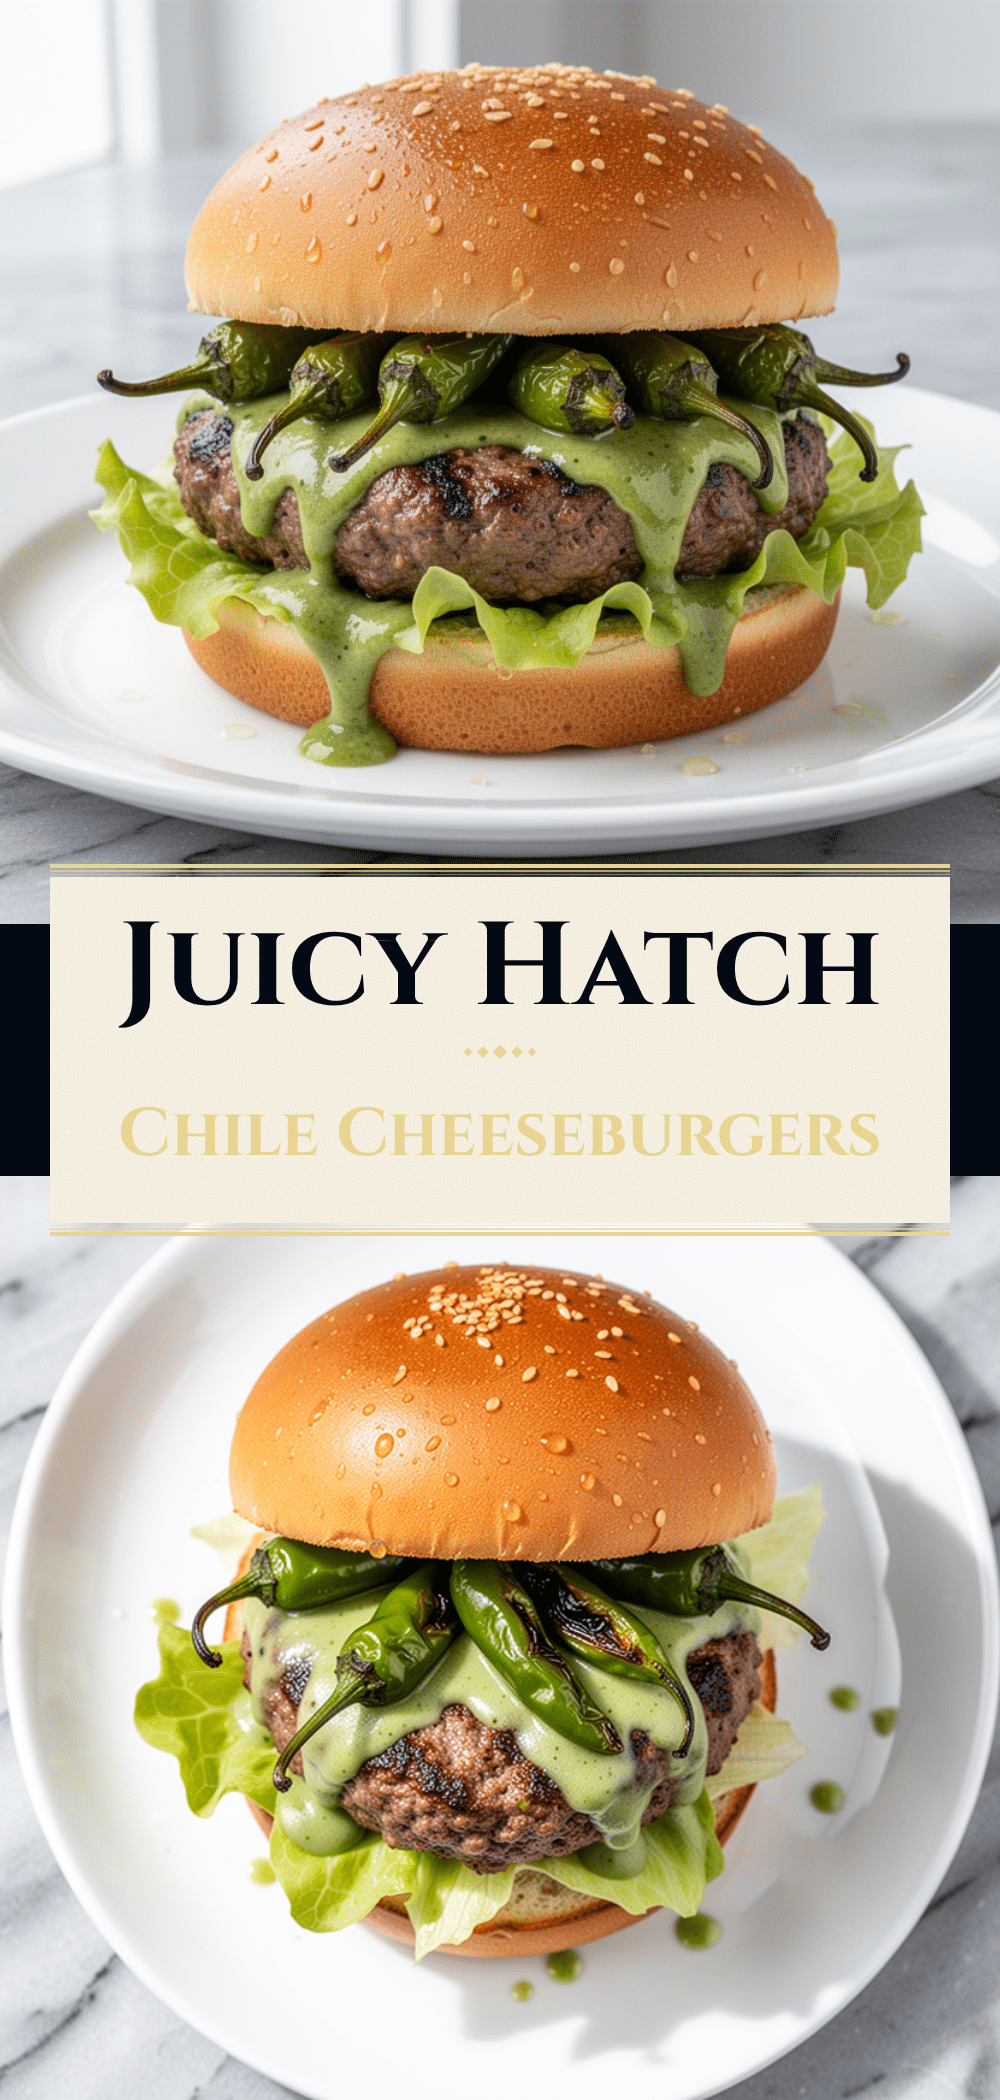
Hatch Chile Green Chile Cheeseburgers
- Total Time: 22 minutes
- Yield: 4 servings 1x
Description
Juicy, flavorful burgers featuring roasted Hatch green chiles mixed into the beef patty and topped with a creamy, smoky green chile sauce. Better than takeout and ready in under 30 minutes.
Ingredients
- 1.5 lbs ground beef (80/20 fat ratio)
- 1 cup roasted Hatch green chiles, chopped and drained (approx. 150g)
- 4 slices sharp cheddar cheese or 1 cup shredded
- 4–6 burger buns (brioche or potato)
- 1 teaspoon kosher salt
- 0.5 teaspoon black pepper
- 4 oz cream cheese, softened
- 2 tablespoons sour cream
- 2 cloves garlic, minced
- 0.5 teaspoon cumin
- 1 teaspoon lime juice
- Optional: Red pepper flakes
- Optional toppings: Red onion, lettuce, tomato
Instructions
- In a food processor, combine softened cream cheese, sour cream, drained roasted green chiles, minced garlic, cumin, lime juice, and a pinch of salt. Pulse until smooth. Taste and adjust seasoning. Refrigerate for at least 10 minutes to let flavors meld.
- In a large mixing bowl, combine ground beef, chopped roasted green chiles, salt, and black pepper. Gently mix with hands or a spoon until just combined; do not overwork the meat.
- Form the mixture into 4-6 patties, slightly larger than your buns. Make a small indent in the center of each patty with your thumb to prevent puffing.
- Heat a cast iron skillet or grill over medium-high heat. Add a thin layer of oil if using a skillet.
- Cook patties for 4-5 minutes on the first side without moving to develop a crust. Flip carefully.
- Cook for another 3-4 minutes for medium doneness. During the last minute, place a slice of sharp cheddar on each patty. Cover with a lid or foil to melt the cheese.
- While burgers cook, butter the cut sides of the buns and toast them cut-side down in the skillet or on the grill for 1-2 minutes until golden brown.
- Remove burgers from heat and let rest for 3-5 minutes to redistribute juices.
- Assemble burgers by spreading a generous layer of green chile sauce on the toasted bun bottom, adding the patty with melted cheese, and adding optional toppings. Top with the bun lid and serve immediately.
Notes
Drain canned chiles thoroughly and pat dry with paper towels to prevent soggy patties. Do not overmix the meat to keep burgers tender. For extra heat, add jalapeños or red pepper flakes. The sauce can be made up to 3 days ahead. Serve with sweet potato fries or a green salad.
- Prep Time: 10 minutes
- Cook Time: 12 minutes
- Category: Main Course
- Cuisine: American
Nutrition
- Serving Size: 1 burger with bun an
- Calories: 650
- Sugar: 4
- Sodium: 800
- Fat: 38
- Saturated Fat: 15
- Carbohydrates: 40
- Fiber: 2
- Protein: 35
Keywords: Hatch chiles, green chile burgers, cheeseburgers, summer recipes, easy dinner, spicy burgers, ground beef recipes, homemade sauce


