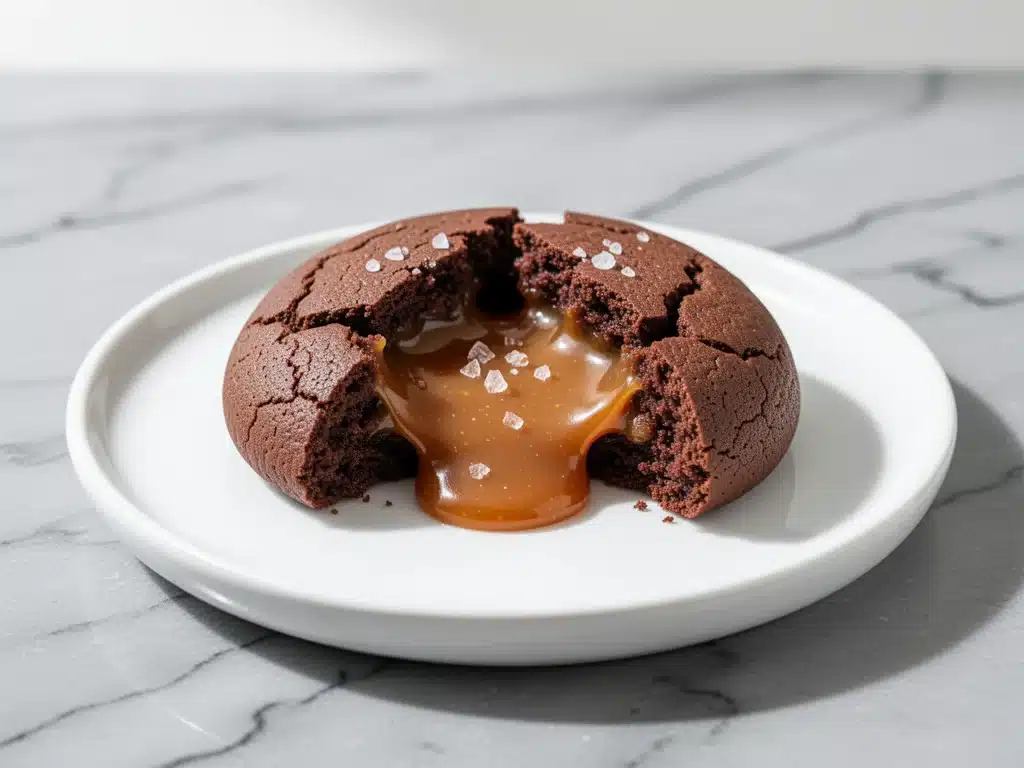
Last Tuesday, I made a batch of these gooey salted caramel chocolate cookies. I baked them, let them cool for exactly ten minutes (I have no self-control, I know), and took one. It was good. Really good. But then life happened. A work call ran late. The dog got into the trash. By the time I remembered to put the rest of the batch in the container, it was nearly midnight.
I was too tired to eat another one, so I left the tray on the counter. Big mistake. Or, actually, the best mistake I’ve ever made.
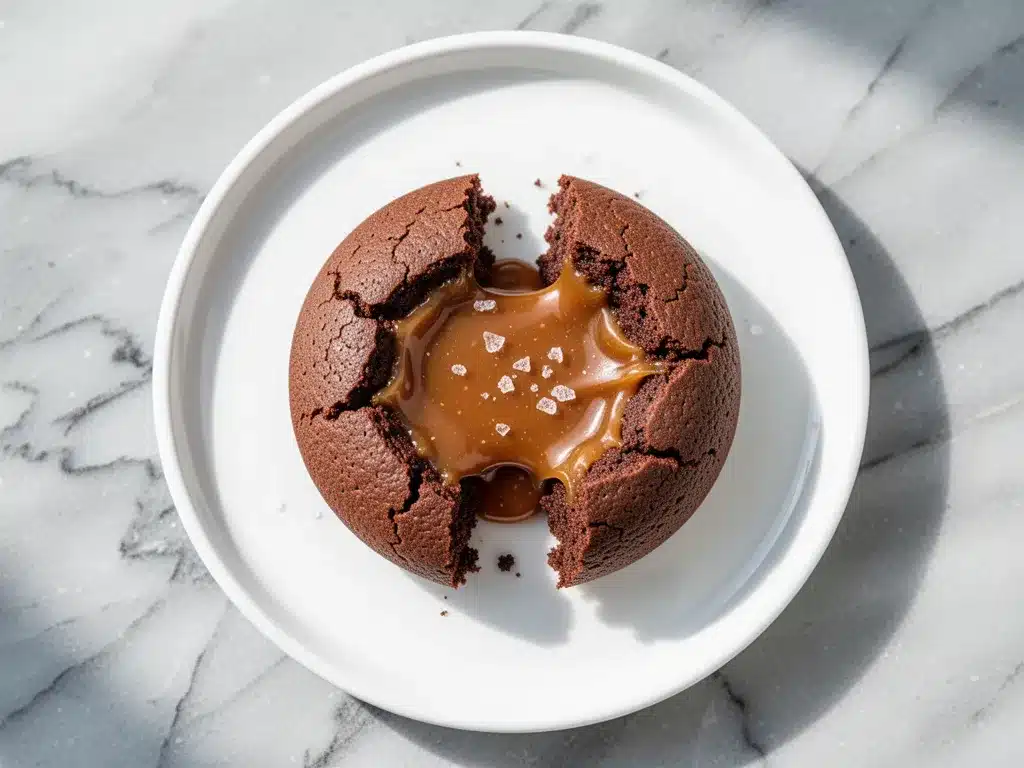
When I came back to the kitchen the next morning, those cookies had undergone a transformation. The chocolate had settled deeper into the dough. The caramel centers had softened into these incredible, warm pockets of liquid gold. They weren’t just cookies anymore; they were essentially edible dessert cups filled with rich, salty-sweet goodness. I took a bite, and I nearly cried. They were better than anything I’d ever ordered from a bakery. Better than takeout dessert, honestly.
That’s when I knew I had something special. These aren’t just your average chocolate chip cookies with a gimmick. These are gooey salted caramel chocolate cookies that have completely dethroned my favorite local bakery’s offerings. And the craziest part? You only need six ingredients to make them. Yes, six. Not twenty. Six.
I’ve tested this recipe at least eight times in the last month alone. I’ve tried different brands of chocolate chips. I’ve tried making my own caramel sauce from scratch (which took forever and was way too messy). I’ve tried using brown sugar instead of white. Through all the trial and error, one thing has remained constant: this specific combination of ingredients creates the perfect chewy, gooey, salty-sweet cookie that everyone will fight over.
If you’re looking for a dessert that feels fancy but is actually stupid simple, this is it. These cookies are my new answer to “what should I bring to the potluck?” or “I need to comfort my kids after a bad day.” They’re rich, they’re indulgent, and they’re surprisingly easy to make. Let me walk you through exactly how to get that perfect gooey center every single time.
Why You’ll Love This Recipe
There are a lot of cookie recipes out there. I have a whole folder of them on my phone, most of which I’ve tried and failed. But these gooey salted caramel chocolate cookies are different. They’ve earned their spot in my regular rotation for reasons that go beyond just “they taste good.”
Stupid Simple — Seriously, if you can melt chocolate and mix batter, you can make these. There’s no fancy technique here. No tempering chocolate. No complex laminating. Just mix, scoop, bake. I’ve made these while holding my baby, and they still turned out perfect. That’s how easy they are.
The Gooey Factor — This is the big one. Most chocolate cookies are dry or crumbly. These are dense, fudgy, and packed with liquid caramel centers. The contrast between the crisp edge and the soft, molten center is what keeps people coming back. I’ve served these to my pickiest eaters, and they always ask for “the ones with the goo inside.”
Only Six Ingredients — I’m not exaggerating. You don’t need a dozen types of flour or exotic spices. You need butter, sugar, eggs, chocolate, caramel, and salt. That’s it. This simplicity means you probably have everything in your pantry right now. No special trip to the store needed.
Better Than Takeout — I know I said this earlier, but it bears repeating. When you order dessert at a restaurant, you’re paying $8-$12 for a tiny plate of mediocre food. Making these at home costs about $3 in ingredients for a batch that feeds a family of four. The quality is miles ahead, too. Freshly baked chocolate cookies smell amazing and taste infinitely better than anything sitting under a heat lamp.
Make-Ahead Friendly — These cookies freeze beautifully. I often double the batch, freeze the unbaked dough balls, and bake them fresh when I need a last-minute dessert. They thaw and bake just like fresh dough. This has saved me more times than I can count when unexpected guests show up.
This recipe has completely changed how I think about dessert. It’s not about complicated techniques or expensive ingredients. It’s about using simple things well. These cookies are my go-to when I want to feel like a baking genius without actually having to try hard.
Ingredients You’ll Need
Here’s the best part: you probably have most of these ingredients already. I’m not asking you to buy anything fancy or obscure. This is about quality basics, not complexity. Let’s break down exactly what you need and why each part matters.
For the Cookie Base
Unsalted butter (1 cup / 226g, softened) — This is the foundation. You want it softened to room temperature, not melted. If you melt it, your cookies will spread too much and lose their chew. I leave my butter out on the counter for about an hour before I start. If you’re in a rush, you can cube it and microwave it for 10-second bursts, but don’t let it turn to liquid.
Granulated sugar (½ cup / 100g) — This gives the cookies their structure and helps create those crisp edges. Don’t skip this for all brown sugar. The white sugar adds that slight crunch that contrasts with the gooey center.
Light brown sugar (1 cup / 200g, packed) — This is where the chewiness comes from. The molasses in the brown sugar keeps the cookies soft and moist. Make sure you pack it tightly into your measuring cup for the right amount. Light brown sugar works fine; dark brown sugar is too strong for this flavor profile.
Eggs (2 large, room temperature) — Room temperature eggs incorporate into the batter better than cold ones. If you forget, just put them in a bowl of warm water for 5 minutes. They act as the binder that holds everything together.
Vanilla extract (2 teaspoons) — Use real vanilla, not imitation. The difference is noticeable, especially in a recipe with so few ingredients. I like to use a good-quality pure vanilla extract because it adds warmth that balances the saltiness.
All-purpose flour (2 cups / 250g) — Don’t go overboard here. Too much flour makes the cookies cakey. Spoon the flour into your measuring cup and level it off. Don’t scoop directly from the bag, or you’ll pack in too much. I use Gold Medal flour, but any standard brand works.
Baking soda (1 teaspoon) — This helps the cookies spread and brown. Make sure it’s not expired. If your baking soda is old, it won’t work, and your cookies will be dense bricks. Test it by dropping a little in vinegar—it should fizz violently.
Salt (½ teaspoon) — Even though we’re adding salted caramel, you still need salt in the dough. It enhances the chocolate flavor and balances the sweetness. Use fine sea salt or table salt.
For the Gooey Centers
Semi-sweet chocolate chips (2 cups / 340g) — I use Ghirardelli semi-sweet chips because they melt evenly and have a rich chocolate flavor. Dark chocolate chips work too if you prefer less sweet cookies. Avoid chocolate chunks; they don’t distribute as evenly.
Salted caramel sauce (1 cup / 240ml) — This is the star of the show. You can buy good-quality jarred caramel sauce (I like Smucker’s or store-brand gourmet brands) or make your own. If you make your own, let it cool completely before using. Warm caramel will melt the butter in the dough and make a mess.
Equipment Needed
You don’t need fancy equipment for this. Here’s what I actually use in my kitchen.
Large mixing bowl — I use a 5-quart stainless steel bowl. It needs to be big enough to mix the dough without making a mess. Glass works too, but stainless steel is easier to clean.
Electric mixer — A hand mixer or stand mixer makes this much easier. You can do it by hand, but it takes some elbow grease. I use my KitchenAid, but a simple hand mixer from the dollar store works fine.
Baking sheets — I use two standard half-sheet pans. Dark metal pans work better than light ones because they promote browning. If you only have one pan, you’ll need to bake in batches.
Parchment paper — Line your baking sheets with parchment. This prevents sticking and makes cleanup a breeze. I never bake directly on the pan anymore; it’s just too much scrubbing.
Muffin tin or ice cube tray — This is the secret weapon. You’ll use this to freeze the caramel balls before adding them to the dough. A standard 12-cup muffin tin works perfectly. Silicone ice cube trays work too if you want smaller centers.
Cooling rack — Essential for cooling the cookies properly. If you leave them on the hot pan, they’ll continue to cook and might break apart.
Spatula — A silicone spatula is great for scraping the bowl and folding in the chocolate chips. I have a few from IKEA that are cheap and work wonderfully.
How to Make It: Step-by-Step
Alright, let’s make these cookies! I’m walking you through exactly how I do it, including the little tricks I’ve picked up over time. This process takes about 30 minutes of active work, plus freezing time.
Step 1: Prep the Caramel Centers (10 minutes)
This is the step most people skip, but it’s crucial for getting those perfect gooey centers. Pour your caramel sauce into a muffin tin or ice cube tray. Fill each cup about ¾ full. You want enough to create a solid ball, but not so much that it overflows. Place the tray in the freezer for at least 1 hour, or until the caramel is completely solid. If you try to use soft caramel, it will just mix into the dough and you’ll lose the gooey surprise. I usually do this step the night before, but if you’re in a rush, 1 hour is enough.
Step 2: Cream the Butter and Sugars (3 minutes)
In your large mixing bowl, combine the softened butter, granulated sugar, and brown sugar. Using your electric mixer on medium speed, beat this mixture for about 2-3 minutes. You’re looking for a light, fluffy texture. The mixture should pale in color and look creamy. This step incorporates air into the dough, which helps the cookies rise slightly and stay chewy. Don’t rush this. If you skip it, your cookies will be dense.
Step 3: Add Wet Ingredients (1 minute)
Beat in the eggs one at a time, mixing well after each addition. Add the vanilla extract and mix until just combined. The mixture might look slightly curdled at first—that’s normal. It will come together once you add the dry ingredients.
Step 4: Mix Dry Ingredients (1 minute)
In a separate small bowl, whisk together the flour, baking soda, and salt. Then, gradually add this dry mixture to the wet ingredients. Mix on low speed until just combined. Be careful not to overmix. Once the flour disappears, stop mixing. Overmixing develops gluten, which makes cookies tough. You want tender, chewy cookies, not bread.
Step 5: Fold in Chocolate Chips (2 minutes)
Use a spatula to gently fold in the semi-sweet chocolate chips. Make sure they’re distributed evenly throughout the dough. Some people like to reserve a few chips for topping later—I do this sometimes for a pretty finish, but it’s optional.
Step 6: Assemble the Cookies (15 minutes)
Preheat your oven to 350°F (175°C). Line your baking sheets with parchment paper. Remove the frozen caramel balls from the freezer. Scoop about 2 tablespoons of dough into your palm. Flatten it slightly in your hand. Place one frozen caramel ball in the center. Wrap the dough around the caramel, sealing it completely. Roll it into a smooth ball. Make sure there are no cracks or holes—if the caramel leaks out during baking, you’ll lose the gooey center. Place the dough ball on the prepared baking sheet, leaving about 2 inches between each cookie because they will spread.
Step 7: Bake (10-12 minutes)
Bake the cookies for 10-12 minutes. They should be set on the edges but still soft and slightly underdone in the center. They will look puffy and golden. Do not overbake them. They continue to cook on the hot pan after you take them out of the oven. If you bake them until they look fully done, they’ll be dry and crumbly once they cool.
Step 8: Cool (5 minutes)
Let the cookies cool on the baking sheet for 5 minutes. This allows them to set up enough to handle without breaking. Then, transfer them to a cooling rack to cool completely. This is the hardest part, I know. But if you eat them too hot, the caramel inside might be too liquid to handle properly. Wait at least 5 minutes.
Total Time: About 30-40 minutes active, plus 1 hour freezing time.
Expert Tips & Tricks
Here’s everything I’ve learned from making these dozens of times. These tips will save you from my mistakes.
Freeze the Caramel Solid
This cannot be stressed enough. If the caramel is even slightly soft, it will leak out of the dough during baking. I’ve made this mistake twice, and the result was a flat, messy cookie with caramel pooling at the bottom. If you’re unsure, freeze them for 90 minutes just to be safe. Use a muffin tin so you get uniform sizes.
Don’t Overbake
I know it’s tempting to wait until they look perfectly brown. But these cookies are meant to be soft and chewy. Take them out when the edges are just starting to turn golden and the centers still look soft. They will firm up as they cool. Overbaking is the #1 reason people get dry cookies.
Use Room Temperature Ingredients
Butter and eggs should be at room temperature. Cold butter doesn’t cream properly with sugar, and cold eggs can cause the mixture to separate. Plan ahead and leave your butter out in the morning.
Measure Flour Correctly
Too much flour is another common mistake. Spoon the flour into your measuring cup and level it off with a knife. Don’t scoop directly from the bag. If you do, you’ll add 20% more flour than the recipe calls for, and your cookies will be dry.
Check Your Baking Soda
If your baking soda is old, it won’t work. Test it by dropping a teaspoon into vinegar. If it doesn’t fizz immediately, throw it out and buy fresh. Old baking soda leads to dense, flat cookies.
Pro Trick: The Salt Sprinkle
Right after you take the cookies out of the oven, sprinkle a tiny pinch of flaky sea salt on top. It looks beautiful and enhances the caramel flavor. I use Maldon sea salt for this. It’s a small touch that makes the cookies feel gourmet.
Variations & Substitutions
Once you’ve nailed the basic version, here’s how you can mix it up. I’ve tried all of these variations.
Dark Chocolate Version
Swap semi-sweet chips for dark chocolate chips (70% cocoa or higher). This makes the cookies less sweet and more intense. My husband prefers this version because it’s not too sugary for him.
White Chocolate Caramel
If you want a sweeter treat, use white chocolate chips and salted caramel. The contrast between the white chocolate and the caramel is stunning. It’s like a blondie in cookie form.
Butterscotch Center
Replace the caramel with butterscotch chips or butterscotch sauce. It gives a different flavor profile that’s still rich and gooey. This is a nice change if you’re tired of caramel.
Gluten-Free
Use a 1-to-1 gluten-free flour blend. Everything else is naturally gluten-free. I’ve used Bob’s Red Mill 1-to-1 blend, and it works great. The texture is slightly different but still delicious.
Dairy-Free
Use dairy-free butter and dairy-free chocolate chips. For the caramel, check the label—some caramel sauces contain dairy. If you can find a dairy-free caramel, this works. Otherwise, you might need to make your own with coconut milk.
Vegan
This is harder because of the butter and eggs. Use vegan butter and flax eggs (1 tablespoon ground flaxseed mixed with 3 tablespoons water per egg). Use vegan chocolate chips and vegan caramel. The texture will be different, but it’s still tasty.
Serving & Storage
How to Serve:
I usually serve these warm, right out of the oven or reheated in the microwave for 10 seconds. The warm caramel is the best part. They’re great with a glass of cold milk or a cup of coffee. I also bring them to parties and potlucks, where they always disappear first.
Side Dishes:
These cookies are rich enough on their own, so they don’t need much else. But if you want to serve them as part of a dessert spread, they pair well with fresh berries or a scoop of vanilla ice cream. The contrast of cold ice cream and warm cookie is amazing.
Storage Instructions:
Room Temperature: Store cookies in an airtight container for up to 4 days. They stay soft and chewy if kept sealed. If they start to harden, add a slice of bread to the container—the cookies will absorb the moisture and soften up again.
Refrigerator: I don’t recommend refrigerating these. The cold will make the butter hard and the texture weird. They’re best at room temperature.
Freezing: These freeze beautifully. You can freeze the baked cookies in an airtight container for up to 3 months. Thaw them at room temperature before eating. Or, freeze the unbaked dough balls on a baking sheet, then transfer to a freezer bag. Bake straight from frozen, adding 1-2 minutes to the bake time.
Reheating: To get that gooey center back, microwave the cookie for 10-15 seconds. The heat melts the caramel inside. If you don’t have a microwave, you can warm them in a 300°F oven for 5 minutes.
Nutrition Information
I’m not a nutritionist, but here’s the breakdown if you’re tracking. Keep in mind that these are rich cookies, so portion control is key.
Per Cookie (based on 24 cookies):
- Calories: 280
- Protein: 4g
- Carbs: 38g
- Fiber: 1g
- Sugar: 28g
- Fat: 14g
- Saturated Fat: 8g
- Cholesterol: 35mg
- Sodium: 180mg
What’s Good: They provide a quick energy boost from the sugar and carbs. The chocolate offers some antioxidants. The caramel adds calcium from the dairy.
What to Know: These are high in sugar and saturated fat. They’re a treat, not a health food. If you’re watching your sugar intake, stick to one or two cookies. They’re also not suitable for vegans or those with dairy allergies unless modified.
Final Thoughts
So that’s my recipe for gooey salted caramel chocolate cookies! I’ve probably talked your ear off at this point, but when you make a recipe this often, you have a lot to say about it.
These cookies have saved my dessert game more times than I can count. They’re my answer to “I need something sweet” when I don’t want to order takeout. They’re rich, they’re indulgent, and they’re surprisingly easy to make. My kids love them, my husband begs for them, and my friends always ask for the recipe.
Make it yours! Try different types of chocolate, play with the amount of caramel, or add a pinch of espresso powder to intensify the chocolate flavor. The best recipes are the ones you adapt to your tastes.
If you make these, drop a comment and let me know what you think! I love hearing how recipes turn out in your kitchen. And if something doesn’t work, tell me that too—I’m here to help troubleshoot. Happy baking!
Frequently Asked Questions
Can I use homemade caramel sauce?
Absolutely. In fact, homemade caramel tastes even better. Just make sure it’s completely cooled and thickened before you freeze it. If it’s too thin, it won’t hold its shape in the freezer. I like to make a simple caramel with butter, brown sugar, cream, and salt. Let it cool until it’s spoonable but not runny.
Why did my caramel leak out of the cookies?
This usually happens for two reasons. First, the caramel wasn’t frozen solid enough. Make sure it’s rock hard before wrapping the dough around it. Second, the dough wasn’t sealed properly. If there are any cracks or thin spots, the caramel will escape. Press the dough firmly around the caramel ball to ensure a tight seal.
Can I make these ahead of time?
Yes! You can prepare the caramel balls and freeze them for up to a month. Then, when you’re ready to bake, just assemble and bake the cookies. Or, you can bake the cookies and freeze them. Both methods work well. Just reheat baked cookies for 10 seconds in the microwave to restore the gooey texture.
What if I don’t have a muffin tin?
You can use a silicone ice cube tray instead. It’s actually easier to pop the caramel balls out. Just make sure the cups are small enough that one ball fits inside a 2-tablespoon dough ball. If you don’t have either, you can try freezing dollops of caramel on a parchment-lined baking sheet, but it’s harder to get uniform sizes.
Can I reduce the sugar?
You can reduce the sugar slightly, but it will affect the texture. Sugar provides structure and moisture. If you reduce it too much, the cookies will be dry and crumbly. I suggest reducing the granulated sugar by 2 tablespoons, but keep the brown sugar the same. The brown sugar is essential for chewiness.
Do these cookies travel well?
They do, but be careful. The caramel centers can shift if the cookies are jostled too much. Store them in a single layer in an airtight container. If you need to stack them, place parchment paper between the layers. They’re best eaten within 2 days of baking for optimal texture.
Can I add nuts to the dough?
Yes! Chopped pecans or walnuts pair beautifully with caramel and chocolate. Add 1 cup of chopped nuts when you fold in the chocolate chips. This adds crunch and breaks up the soft texture. It’s a great variation if you like texture contrast.
Pin This Recipe!
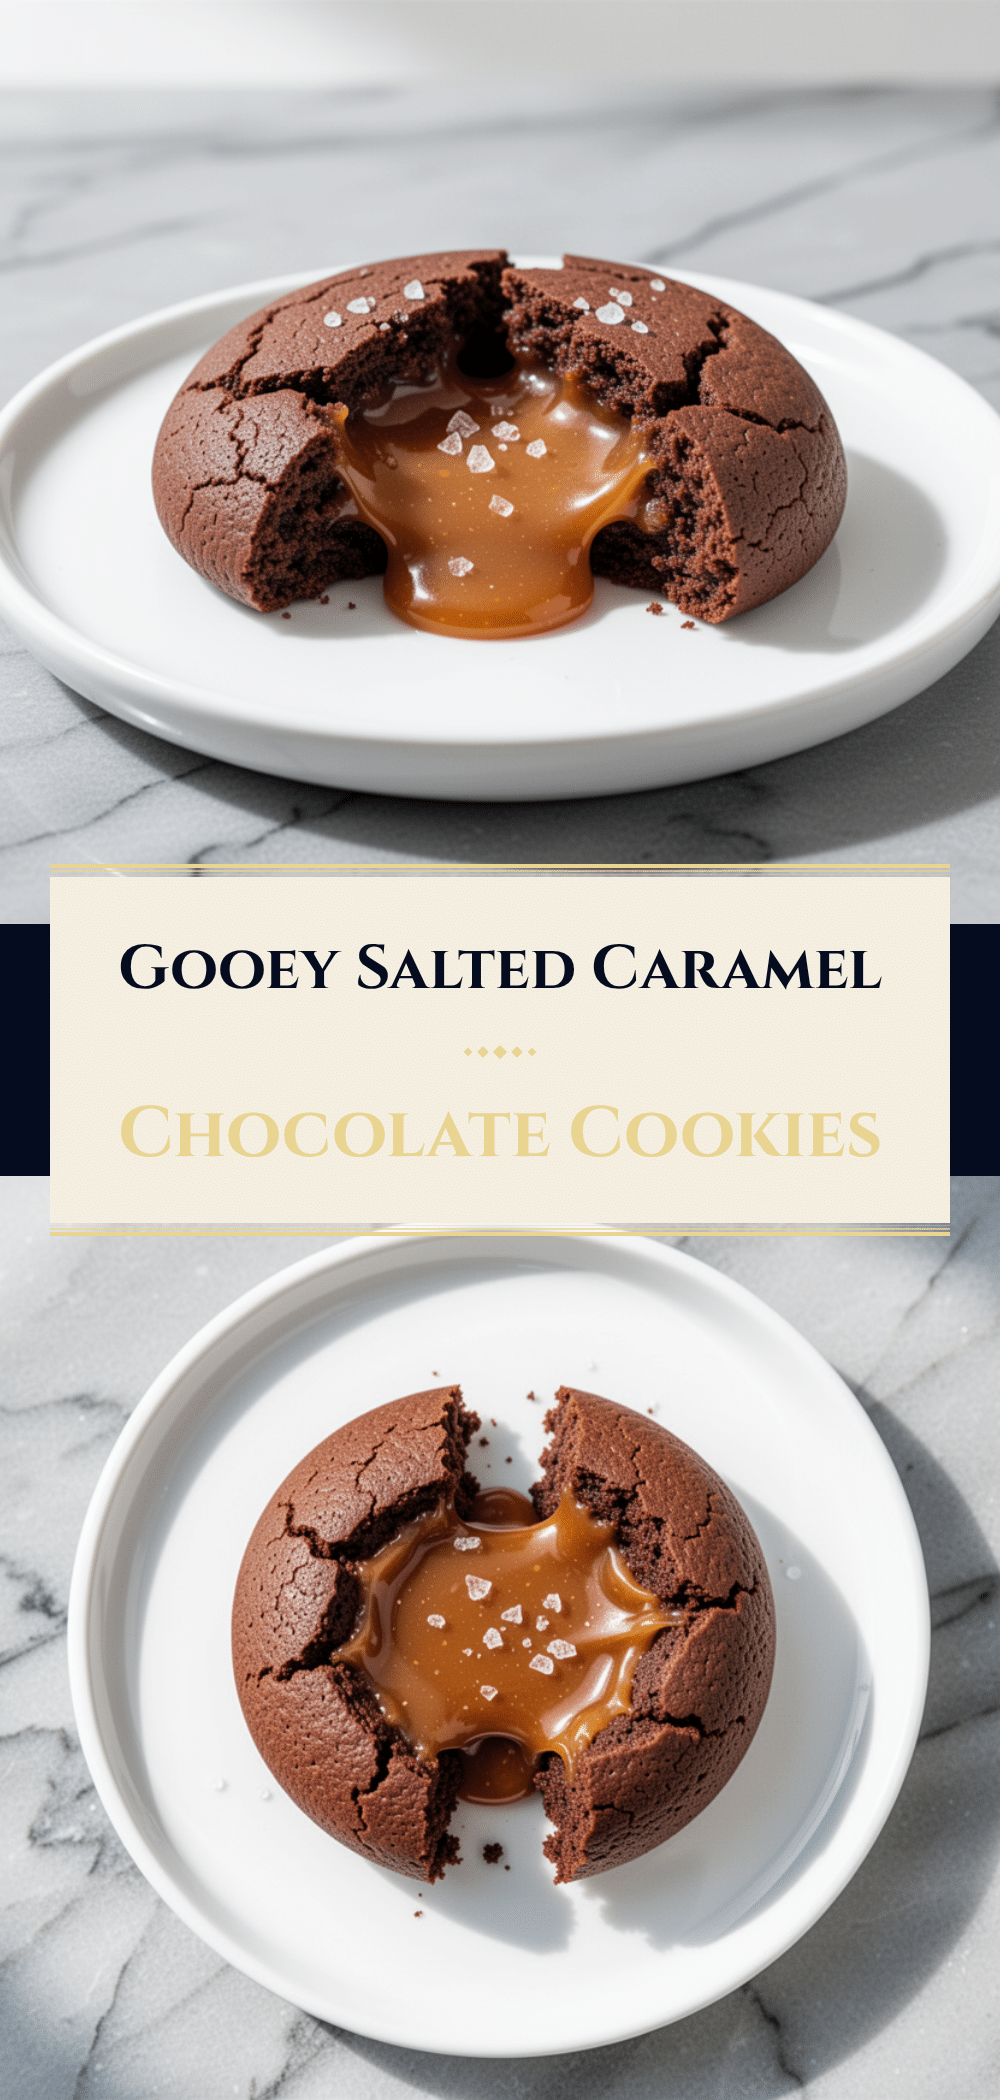
Gooey Salted Caramel Chocolate Cookies
- Total Time: 1 hour 40 minutes
- Yield: 24 cookies 1x
Description
Rich, chewy chocolate cookies filled with warm, liquid salted caramel centers. This simple 6-ingredient dessert is easier to make than takeout and freezes beautifully for make-ahead convenience.
Ingredients
- 1 cup (226g) unsalted butter, softened to room temperature
- ½ cup (100g) granulated sugar
- 1 cup (200g) light brown sugar, packed
- 2 large eggs, room temperature
- 2 teaspoons pure vanilla extract
- 2 cups (250g) all-purpose flour
- 1 teaspoon baking soda
- ½ teaspoon salt
- 2 cups (340g) semi-sweet chocolate chips
- 1 cup (240ml) salted caramel sauce
Instructions
- Pour salted caramel sauce into a muffin tin or ice cube tray, filling each cup about ¾ full. Freeze for at least 1 hour until completely solid.
- In a large mixing bowl, cream together the softened butter, granulated sugar, and brown sugar using an electric mixer on medium speed for 2-3 minutes until light and fluffy.
- Beat in the eggs one at a time, followed by the vanilla extract, mixing until just combined.
- In a separate bowl, whisk together the flour, baking soda, and salt. Gradually add the dry ingredients to the wet mixture, mixing on low speed until just combined. Do not overmix.
- Gently fold in the semi-sweet chocolate chips using a spatula.
- Preheat oven to 350°F (175°C) and line baking sheets with parchment paper.
- Remove frozen caramel balls from the freezer. Scoop about 2 tablespoons of dough, flatten slightly, place a caramel ball in the center, and wrap the dough around it to seal completely. Roll into a smooth ball.
- Place dough balls on prepared baking sheets, leaving 2 inches between each for spreading.
- Bake for 10-12 minutes until edges are set and golden but centers still look soft.
- Let cookies cool on the baking sheet for 5 minutes to set, then transfer to a cooling rack to cool completely.
Notes
Ensure caramel is frozen solid before wrapping to prevent leaking. Do not overbake; cookies continue to cook on the hot pan. For best texture, serve warm or reheat in microwave for 10 seconds. Can substitute gluten-free flour blend or use dairy-free/vegan alternatives for modifications.
- Prep Time: 30 minutes
- Cook Time: 10-12 minutes
- Category: Dessert
- Cuisine: American
Nutrition
- Serving Size: 1 cookie
- Calories: 280
- Sugar: 28
- Sodium: 180
- Fat: 14
- Saturated Fat: 8
- Carbohydrates: 38
- Fiber: 1
- Protein: 4
Keywords: salted caramel cookies, chocolate chip cookies, gooey cookies, dessert recipe, easy baking, 6 ingredient dessert, make ahead dessert


