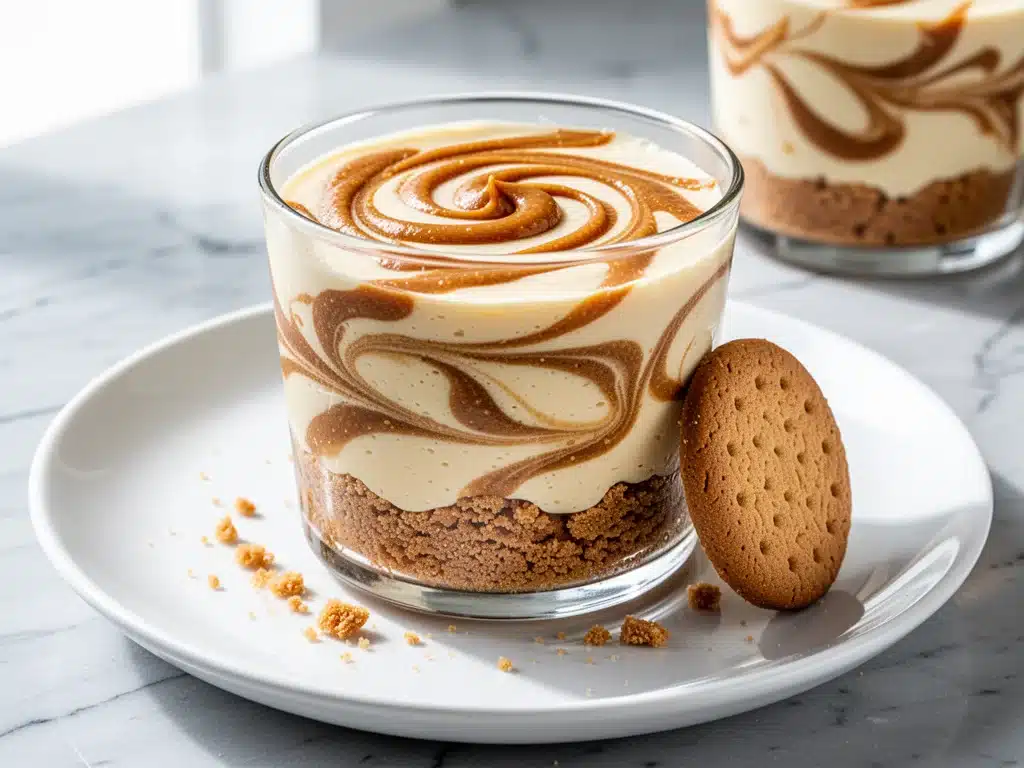
I have a confession to make. About six months ago, I hit a wall with dessert. Not a “I don’t like sweets” wall, but a “I am too exhausted to bake a whole cake, but I still want something that feels fancy” wall. You know that feeling. You come home from work, you’ve handled emails, you’ve dealt with the kids, you’ve cooked a mediocre dinner, and now you’re staring at the clock. It’s 8:30 PM. The idea of preheating an oven, waiting an hour for a cheesecake to cool, and then dealing with the inevitable sticky mess in the kitchen felt impossible.
But I also didn’t want to eat cereal for dinner again. (Don’t judge me, I’ve been there.)
That’s when I stumbled upon the concept of individual cheesecake cups. Specifically, these creamy cookie butter cheesecake cups. At first, I thought it was too good to be true. No baking? No water bath? Just three ingredients and a fridge? I was skeptical. I’ve made enough failed no-bake cheesecakes to know that texture is tricky. If you get the ratio wrong, you end up with a block of sweetened cream cheese that tastes like plastic. If you get it right, though? It’s magic.
I made my first batch on a Tuesday. I threw together the crust, whipped the filling, popped them in the fridge, and went to bed. The next morning, I grabbed one out of the fridge for breakfast (don’t ask) and it was perfect. Silky, rich, with that deep, caramelized spice of Biscoff cookie butter that just hits different. Now, these cups are my go-to. They’re perfect for meal prep, for when unexpected guests show up, or just when I need a win in the kitchen without the effort. They’re like having soft pink frosted sugar cookie bars but in a form that actually fits into a busy adult’s life. Less drama, same deliciousness.
So, if you’re tired of complicated desserts that leave you with a sink full of dishes and a headache, let’s talk about why this recipe is about to become your new best friend.
Why You’ll Love This Recipe
I’ve tested this recipe at least a dozen times, tweaking the ratios until I got that perfect spoon-dip consistency. It’s not just easy; it’s reliably delicious. Here’s why these cookie butter cheesecake cups have earned a permanent spot in my weekly routine:
- Zero Baking Required — Seriously. No oven, no stove, no melting chocolate over a double boiler. If you can open a jar and mix ingredients, you can make this. I’ve made these while my toddler was napping, and I barely made a sound.
- 3 Ingredients Only — I’m not exaggerating. You need cookie butter, cream cheese, and heavy whipping cream. That’s it. No gelatin, no stabilizers, no weird pantry items you’ll only use once. It’s clean, simple, and tastes incredible.
- Ready in Under 15 Minutes — The active time is basically just mixing. The rest is passive chilling time in the fridge. You can prep these the night before a dinner party and forget about them until it’s time to serve.
- Perfectly Portioned — Who else hates having half a cheesecake left over? These cups give you exactly one serving. No guilt, no leftovers fighting for space in the fridge, no “I’ll just have one bite” turning into “I ate the whole thing.”
- Make-Ahead Friendly — They actually taste better after sitting in the fridge for 24 hours. The flavors meld, the texture firms up, and they become this dense, fudgy delight. I love making a batch on Sunday to have for the week.
- Versatile Toppings — While they are amazing on their own, they’re a blank canvas. Add some crushed cookies, a drizzle of caramel, or fresh berries. It’s like having a mini dessert station in the fridge.
Real talk: this recipe has saved me more times than I can count. It’s the answer to “what’s for dessert?” when I’m tired, broke, or just don’t feel like cooking. It feels indulgent, but it’s actually pretty straightforward. And honestly, it’s way better than anything I’d buy at the grocery store.
Ingredients You’ll Need
Here’s the best part: you probably already have most of these items in your kitchen. This isn’t a recipe that requires a special trip to a specialty store. It’s pantry-friendly and simple. I’m particular about quality here, though, so I’ll tell you exactly what to look for.
For the Crust
Biscoff Cookies (or similar speculoos cookies) (1 cup / 110g, crushed) — This is the star of the show. I use Lotus Biscoff cookies because they have that perfect balance of cinnamon and caramel. You can use ginger snaps if you’re in a pinch, but the flavor will be different. Crush them into fine crumbs. I just put them in a ziplock bag and smash them with a rolling pin. No food processor needed.
Unsalted Butter (2 tablespoons / 28g, melted) — This binds the crumbs together. Use real butter, not margarine. It adds that rich, savory note that balances the sweet cookies. Melt it in the microwave for 20 seconds.
Granulated Sugar (1 teaspoon / 5g) — Optional, but I add a tiny bit to enhance the caramel notes. If your cookies are already very sweet, you can skip this. I usually leave it in.
For the Filling
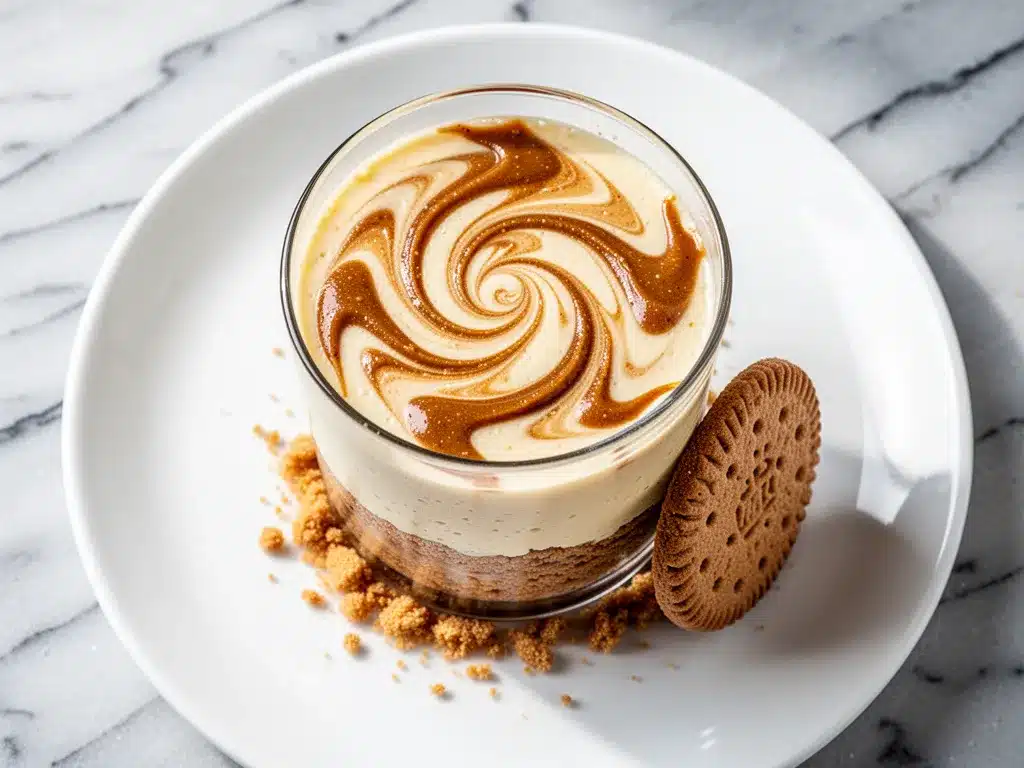
Full-Fat Cream Cheese (8 ounces / 225g, softened) — This is crucial. Do not use light cream cheese. It won’t set properly and will be too runny. Let it sit on the counter for 30 minutes before you start. Softened cream cheese mixes smoothly; cold cream cheese creates lumps that you’ll never fully get out.
Cookie Butter Spread (½ cup / 120g) — This is the cookie butter jar from the same brand as the cookies (Lotus Biscoff). It’s thicker than nut butter, almost like a thick caramel. Make sure you stir the jar well before measuring, as the oil separates. This gives the filling its signature flavor and color.
Heavy Whipping Cream (1 cup / 240ml, cold) — This is what makes it light and airy. Use heavy cream, not half-and-half or milk. It needs to whip up to hold its structure. Keep it cold until the very last second.
Vanilla Extract (1 teaspoon) — Just a splash to round out the flavors. Use real vanilla extract, not imitation. It makes a subtle but noticeable difference.
Salt (a pinch) — Always add a pinch of salt to sweet desserts. It makes the cookie butter flavor pop. I use flaky sea salt if I have it, but table salt works fine.
Equipment Needed
You don’t need fancy gadgets for this. Here’s what I actually use, and what you can swap if you don’t have it.
Mixing Bowls (2) — One medium bowl for the crust, one large bowl for the filling. I use glass bowls because they’re easy to clean and I can see what’s happening.
Electric Hand Mixer or Stand Mixer — You *can* do this by hand, but it takes effort. A hand mixer makes the whipping process take 2 minutes instead of 10. If you’re strong, a whisk works, but your arms will thank you if you use a mixer.
Measuring Cups and Spoons — Standard stuff. I use the scoop-and-level method for dry ingredients.
Small Spatula — For scraping down the sides of the bowl and folding the cream into the cheese mixture. A silicone spatula is best because it gets into the corners.
Serving Cups — I use 4-6 oz ramekins, small mason jars, or even disposable plastic cups if I’m making a big batch. Glass looks nicer for serving, but plastic is great for portion control. Just make sure they’re clean and dry.
Ziplock Bags and Rolling Pin — For crushing the cookies. It’s fun, therapeutic, and requires zero cleanup compared to a food processor.
Microplane or Grater — Optional, but nice for garnishing with fresh cookie butter shavings or chocolate curls.
How to Make It: Step-by-Step
Alright, let’s make this! It’s genuinely this simple. I’m walking you through exactly how I do it, including the little tricks that keep the texture perfect.
Step 1: Prep Your Crust (5 minutes)
Take your Biscoff cookies and put them in a sturdy ziplock bag. Squeeze out as much air as possible and seal it tight. Now, get creative. Use a rolling pin, a meat mallet, or even a heavy can to crush them into fine crumbs. You want them to look like wet sand, not chunky gravel. If you have big chunks, your crust will fall apart. Transfer the crumbs to a medium bowl.
Melt your butter in the microwave. Pour it over the crumbs and stir until it’s evenly coated. It should look like damp sand. If you squeeze a handful and it holds together, you’re good. If it’s dry, add a tiny bit more butter. Press this mixture firmly into the bottom of your serving cups. Use the bottom of a glass to pack it down tight. You want a solid base, not a loose crumble.
Step 2: Whip the Cream (3 minutes)
In a large, clean bowl, pour your cold heavy whipping cream. Whip it with your electric mixer on medium-high speed until you get stiff peaks. This means when you lift the beaters, the cream stands up straight and doesn’t droop. Don’t over-whip it into butter, just stop when it’s thick and fluffy. Set this aside. This step is crucial for the light texture.
Step 3: Make the Base Filling (3 minutes)
In your now-empty medium bowl (or a clean one), add the softened cream cheese. Beat it on medium speed until it’s smooth and creamy. This might take 2-3 minutes. Scrape down the sides. Then, add the cookie butter spread and the vanilla extract. Beat until fully combined and smooth. The mixture should be a beautiful, uniform orange-brown color. If you see streaks of white cream cheese, keep mixing.
Step 4: Fold It Together (2 minutes)
This is the most important step. Add about one-third of the whipped cream to the cream cheese mixture. Stir it in gently to lighten the dense cheese. Then, add the rest of the whipped cream. Using your spatula, gently fold the cream into the cheese. Use a cutting motion—go down the side, across the bottom, and up the other side. Do not stir vigorously, or you’ll deflate the air you just whipped in. You want it to look marbled at first, then uniform. Stop when it’s just combined. It should be thick but airy.
Step 5: Assemble and Chill (4+ hours)
Spoon or pipe the filling into your prepared crust-lined cups. Fill them to the top. Tap the cups gently on the counter to release any air bubbles. Smooth the tops with a spatula. Cover them tightly with plastic wrap or lids. Pop them in the fridge for at least 4 hours, but ideally overnight. The longer they chill, the firmer they get. If you’re impatient, you can freeze them for 30 minutes, but the texture will be softer.
Total Time: About 15 minutes active, plus chilling time.
Expert Tips & Tricks
Here’s everything I’ve learned from making these dozens of times. These tips will save you from my early mistakes.
Softened Cream Cheese is Non-Negotiable
I can’t stress this enough. If your cream cheese is cold, you will get lumps. And once lumps form in a no-bake cheesecake, they rarely go away. Take your block out of the fridge the morning you plan to make this. If you forgot, cube it and microwave it in 5-second bursts, checking frequently. Don’t let it melt, just soften.
Don’t Over-Mix the Cookie Butter
Cookie butter can be oily. If you whip it too hard with the cream cheese, it can separate. Mix it until just combined. The goal is a smooth, homogenous mixture, not a whipped cream texture yet.
Fold, Don’t Stir
When adding the whipped cream, be gentle. You’re incorporating air. If you stir it like you’re making pancake batter, you’ll push the air out and end up with a dense, heavy cup. Think of it as folding a letter. Gentle motions.
Use Cold Cream for Better Whipping
Your heavy cream should be ice cold. If your kitchen is hot, chill your mixing bowl in the fridge for 10 minutes before whipping. Cold cream whips faster and holds its shape better.
Crush Cookies Finely
I know it’s tempting to leave some chunks for texture, but for a smooth cheesecake cup, fine crumbs are better. They create a crust that holds together and doesn’t crumble when you eat it. Save the chunks for garnish on top.
Storage Hack
If you’re making these for a party, make them the day before. They taste significantly better after 24 hours. The flavors meld, and the texture becomes more like a professional bakery cheesecake. I’ve made these for potlucks, and people always ask for the recipe because they can’t believe it’s no-bake.
Variations & Substitutions
Once you’ve nailed the basic version, here’s how you can mix it up. I’ve tried all of these, and they all work.
Chocolate Cookie Butter
Swap the regular cookie butter for chocolate Biscoff spread (if you can find it) or mix 2 tablespoons of cocoa powder into the cream cheese mixture. It’s rich and indulgent.
Strawberry Swirl
Mix ¼ cup of strawberry jam into the cream cheese mixture before folding in the whipped cream. Swirl it gently for a marbled effect. It’s bright and fruity.
Gluten-Free Version
Use gluten-free speculoos cookies (like Madeleines or specific GF brands) for the crust. The rest of the ingredients are naturally gluten-free, so just check your labels. It tastes exactly the same.
Dairy-Free Option
This is trickier because cream cheese is the base. Use a high-quality vegan cream cheese (like Kite Hill or Miyoko’s) and coconut cream instead of heavy cream. Whip the coconut cream like you would dairy cream. The flavor will be slightly different, but still delicious.
Lower Sugar
Skip the added sugar in the crust. Use unsweetened almond milk cookies if you can find speculoos-style ones without sugar. For the filling, use a sugar-free cookie butter alternative if available. It won’t be as sweet, which balances the richness well.
Extra Crunch
Add 2 tablespoons of chopped pecans or walnuts to the crust mixture. It adds a nice nutty contrast to the smooth filling. Or, sprinkle crushed nuts on top before serving.
Seasonal Twist
For fall, add a pinch of pumpkin pie spice to the filling. For winter, add a dash of peppermint extract. It’s a great way to keep the recipe fresh throughout the year.
Serving & Storage
These cups are best served chilled. They’re perfect for a light dessert after dinner, or even as a sweet breakfast treat (don’t knock it till you try it).
How to Serve
I usually serve them straight out of the ramekin. If you want to make them fancy, top them with a dollop of whipped cream, a drizzle of warm caramel sauce, or a few fresh berries. I also like to sprinkle crushed Biscoff cookies on top for extra crunch. It’s like a mini dessert bar in a cup.
Side Dishes
These are rich, so they pair well with light sides. A simple arugula salad with lemon vinaigrette cuts through the richness. Or serve with fresh fruit. They’re also great alongside coffee or tea. I often have one with my morning coffee—it’s like a dessert coffee break.
Storage Instructions
Store the cups in an airtight container in the fridge for up to 5 days. They actually get firmer as they sit. If you’re making them ahead for a party, they’ll last perfectly fine for a few days. Just keep them covered to prevent them from absorbing fridge smells.
Freezing
You *can* freeze these, but the texture changes. The whipped cream can become slightly grainy when thawed. If you must freeze, wrap each cup tightly in plastic wrap and foil. Freeze for up to 1 month. Thaw in the fridge overnight. It’s not as good as fresh, but it’s still edible. I usually only freeze extras if I have too many to eat.
Reheating
Do not reheat these. They are a cold dessert. Eating them warm will melt the structure and turn it into a soup. Enjoy them cold for the best experience.
Nutrition Information
I’m not a nutritionist, but here’s the breakdown if you’re tracking. Keep in mind that this is a rich dessert, so portion control is key.
Per Serving (1 cup, based on 6 servings):
- Calories: 380
- Protein: 6g
- Carbs: 32g
- Fiber: 1g
- Sugar: 24g
- Fat: 26g
- Saturated Fat: 16g
- Cholesterol: 75mg
- Sodium: 180mg
What’s Good:
It’s relatively low in carbs compared to a traditional cheesecake because there’s no sugar in the crust (unless you add it). The protein from the cream cheese helps keep you full.
What to Know:
It’s high in fat and sugar due to the cookie butter and cream cheese. It’s not a diet food. But it’s homemade, so you know exactly what’s in it. No hidden preservatives or weird additives. When I make this, I enjoy it as a special treat, not a daily snack.
Dietary Notes:
Contains: gluten, dairy. Can be made: gluten-free, vegetarian. Not suitable for: vegan (without modifications), dairy-free (without modifications).
Final Thoughts
So, that’s my go-to creamy cookie butter cheesecake cups! I’ve probably talked your ear off at this point, but when you make a recipe this often, you have a lot to say about it. This has saved me more weeknights than I can count. It’s my answer to “what’s for dessert?” when I’m tired, don’t want takeout, and still want something that tastes really good. My kids are happy, my husband’s happy, and I’m happy because I’m not stressed about cooking.
Make it yours! Try different toppings, swap in your favorite cookies, or adjust the sweetness. The best recipes are the ones you adapt to your family’s tastes. And if you’re looking for more easy, no-fuss desserts, check out my soft pink frosted sugar cookie bars—they’re another crowd-pleaser that requires zero baking.
If you make this, drop a comment and let me know what you think! I love hearing how recipes turn out in your kitchen. And if something doesn’t work, tell me that too—I’m here to help troubleshoot. Happy cooking! And I hope your kitchen smells half as good as mine does right now.
Frequently Asked Questions
Can I use peanut butter instead of cookie butter?
You can, but the flavor will be completely different. Peanut butter is saltier and nuttier. If you use peanut butter, reduce any added salt and consider adding a little honey or maple syrup to balance the saltiness. It will still be delicious, but it won’t taste like Biscoff.
Why is my cheesecake filling runny?
This usually happens for two reasons. First, your cream cheese wasn’t softened enough, leading to lumps that didn’t incorporate. Second, you over-whipped the heavy cream or deflated it too much when folding. Make sure your cream cheese is smooth and your whipped cream is stiff. Also, ensure you chilled them long enough—at least 4 hours.
Can I make these ahead of time?
Yes! In fact, they taste better made ahead. You can make them up to 3 days in advance. Just keep them covered in the fridge. If you’re making them for a party, make them the night before. It takes the stress out of the day.
Do I need a food processor to crush the cookies?
No. I prefer using a ziplock bag and a rolling pin. It’s faster, easier to clean, and gives you more control over the texture. Just be sure to crush them into fine crumbs for the best crust.
Can I use light cream cheese?
I don’t recommend it. Light cream cheese has more water and fewer fats, which means it won’t set properly. The texture will be runny and watery. Use full-fat cream cheese for the best results.
How do I store leftovers?
Keep them in an airtight container in the fridge for up to 5 days. They will firm up as they sit. If you want to serve them, let them sit at room temperature for 10 minutes to soften slightly.
Can I freeze these cups?
You can, but the texture may change slightly. The whipped cream can become a bit grainy when thawed. If you freeze them, wrap each cup tightly in plastic wrap and foil. Thaw in the fridge overnight. They’re still good, just not as perfect as fresh.
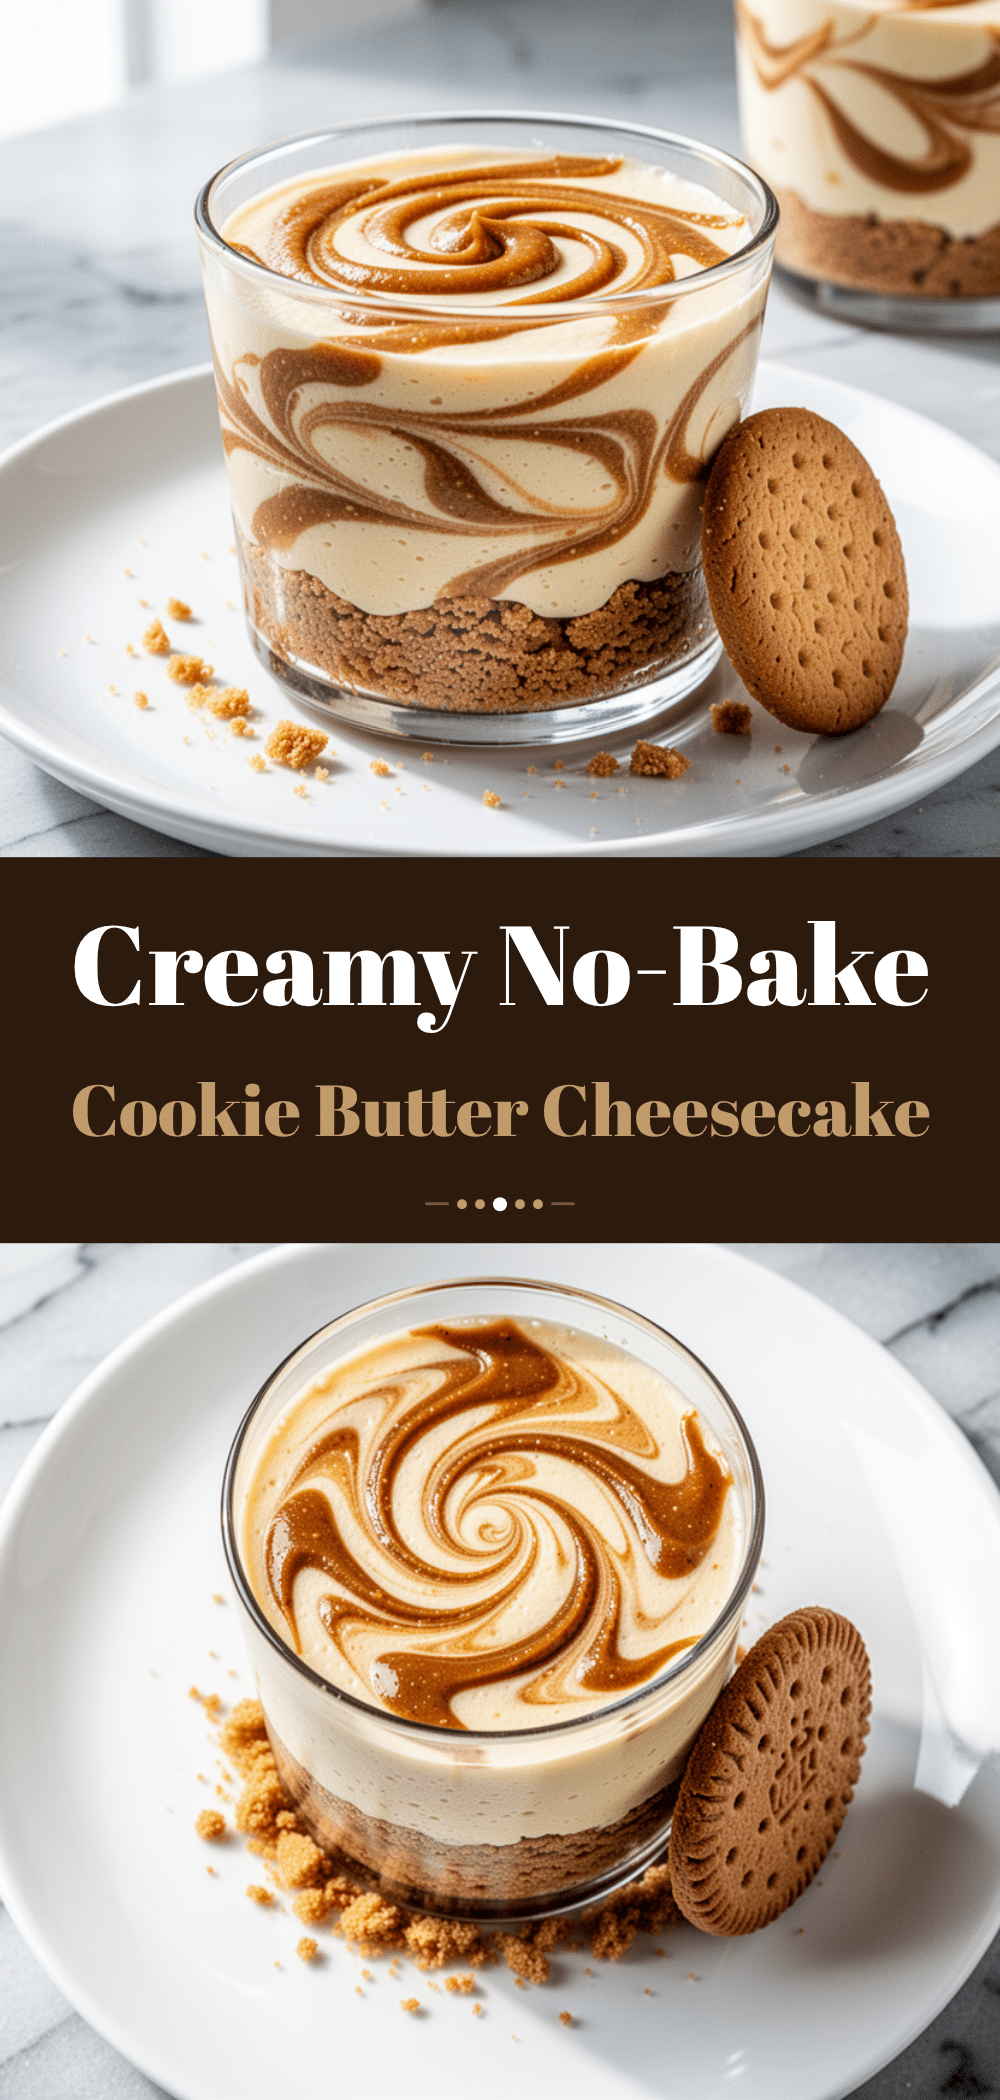
Pin This Recipe!
Creamy Cookie Butter Cheesecake Cups
- Total Time: 4 hours 15 minutes
- Yield: 6 servings 1x
Description
A no-bake, 3-ingredient dessert featuring a Biscoff cookie crust and a silky, rich cookie butter cheesecake filling. Ready in under 15 minutes of active time.
Ingredients
- 1 cup (110g) Biscoff cookies or similar speculoos cookies, crushed
- 2 tablespoons (28g) unsalted butter, melted
- 1 teaspoon granulated sugar (optional)
- 8 ounces (225g) full-fat cream cheese, softened
- 1/2 cup (120g) cookie butter spread (e.g., Lotus Biscoff)
- 1 cup (240ml) heavy whipping cream, cold
- 1 teaspoon vanilla extract
- 1 pinch salt
Instructions
- Crush the Biscoff cookies into fine crumbs using a ziplock bag and rolling pin. Transfer to a medium bowl.
- Melt the butter and stir it into the cookie crumbs until the mixture resembles damp sand. Press firmly into the bottom of serving cups (ramekins, mason jars, etc.).
- In a large bowl, whip the cold heavy cream on medium-high speed until stiff peaks form. Set aside.
- In a separate bowl, beat the softened cream cheese until smooth. Add the cookie butter spread and vanilla extract, beating until fully combined and uniform.
- Add one-third of the whipped cream to the cream cheese mixture and stir gently to lighten. Fold in the remaining whipped cream using a spatula with gentle cutting motions until just combined.
- Spoon the filling into the prepared crust-lined cups, smoothing the tops.
- Cover and refrigerate for at least 4 hours, or ideally overnight, until set.
Notes
Ensure cream cheese is fully softened to avoid lumps. Use cold heavy cream for best whipping results. Do not over-mix when folding in the whipped cream to maintain airiness. These taste better after chilling for 24 hours.
- Prep Time: 15 minutes
- Cook Time: 0 minutes
- Category: Dessert
- Cuisine: American
Nutrition
- Serving Size: 1 cup
- Calories: 380
- Sugar: 24
- Sodium: 180
- Fat: 26
- Saturated Fat: 16
- Carbohydrates: 32
- Fiber: 1
- Protein: 6
Keywords: no-bake cheesecake, cookie butter, Biscoff, easy dessert, 3 ingredient dessert, make ahead dessert, creamy cheesecake cups


