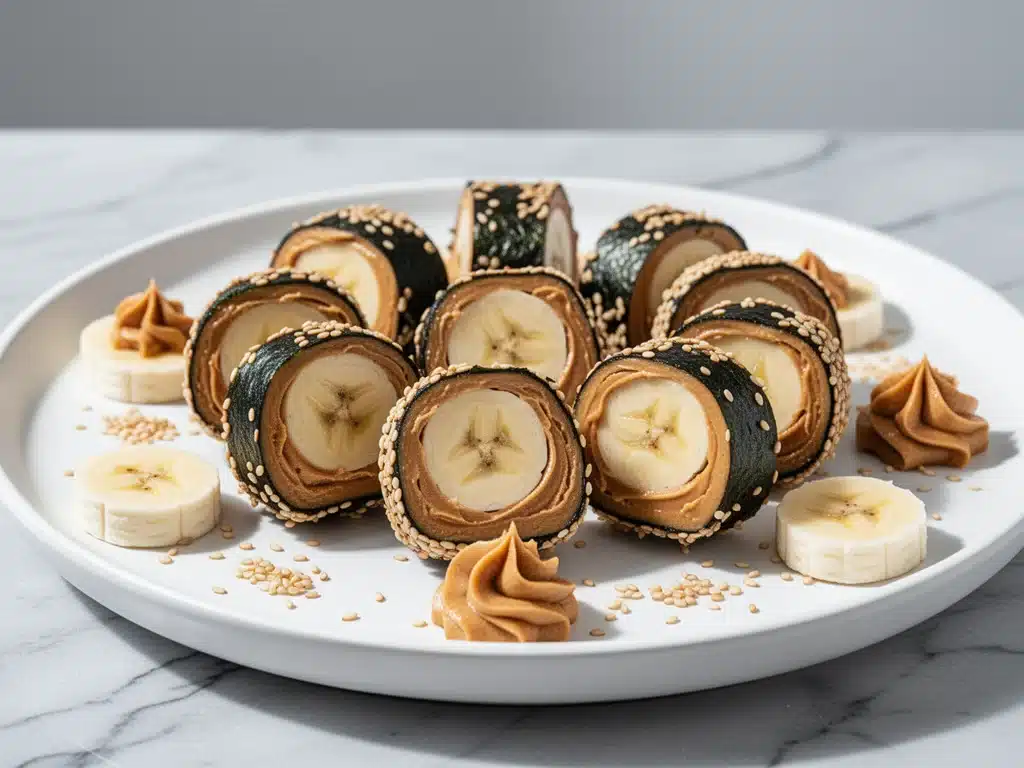
Last Tuesday, I was standing in my kitchen at 6:45 PM, staring into the open fridge with that specific kind of desperation only a tired parent can understand. My husband was running late. My kids were already arguing over who got the bigger plate. And I had exactly zero energy left to cook a “real” dinner. The thought of chopping vegetables or managing a simmering sauce felt like climbing a mountain in flip-flops.
Then I saw it. Half a banana. A jar of peanut butter I’d bought three weeks ago and forgotten about. And a package of whole wheat tortillas that were about to expire. It wasn’t fancy. It wasn’t even close to a traditional meal. But it was fast. And it was sweet.
I rolled them up. I sliced them into little bite-sized rounds. I called them “sushi” because my seven-year-old loves anything that sounds like he’s eating at a restaurant, even if it’s just peanut butter and bananas. He devoured three plates. My daughter, who usually only eats white bread and chicken nuggets, asked for four. My husband walked in, saw the empty plates, and asked what the secret was.
I didn’t have time to explain the joy of five-minute snacks. I just smiled and said, “Peanut butter banana sushi bites.”
That was three months ago. Now, this is my go-to weeknight savior. It’s not just a snack; it’s a lifeline. It’s the difference between a chaotic, takeout-heavy evening and a calm, happy dinner table. And the best part? It’s healthy enough that I don’t feel guilty, but sweet enough that it satisfies the sugar cravings that always hit around 7 PM.
I’ve made these hundreds of times. I’ve tweaked the ratios. I’ve tried different nut butters. I’ve even experimented with honey versus maple syrup. Through all the testing, one thing remains constant: these bites are stupidly simple, incredibly delicious, and perfect for busy weeknights when you need something that works immediately.
Why You’ll Love This Recipe
There are about a million reasons I keep making these peanut butter banana sushi bites, but let’s be real—you don’t need another complicated recipe. You need something that gets on the table fast and keeps everyone happy. Here’s why this is the winner:
Stupid Simple — Seriously, if you can spread peanut butter and roll a tortilla, you can make this. I’ve walked my teenage son through it over FaceTime while he was at his friend’s house. He sent me a photo of his “masterpiece” (it was slightly lopsided, but he was proud).
Lightning Fast — Five minutes from start to finish. Not ten. Not eight. Five. I make this on weeknights when I get home at 7 PM, drop my bag, and realize I haven’t started dinner yet. It’s the ultimate panic button.
Pantry-Friendly — You probably have 90% of these ingredients already. Tortillas, peanut butter, bananas. Most households have these. I keep the key items stocked just so I can make this on a whim when the snack monster strikes.
Crowd-Pleaser — I’ve served this to my vegetarian sister, my gluten-free neighbor (with gluten-free tortillas), and my I-only-eat-chicken dad (who surprisingly loved it). Everyone loved it. It’s one of those rare foods that bridges the gap between picky eaters and adventurous ones.
Makes Amazing Leftovers — Actually, they taste better the next day. The flavors meld together, and the tortilla gets slightly softer, which my kids prefer. I deliberately make extra for lunch throughout the week. They pack well in a container and don’t get messy.
Budget-Smart — Feeds 4-6 people for under $5. That’s less than one meal at a fast-food place. It’s cheap, it’s filling, and it uses ingredients you’re already buying.
This is my go-to when I need dinner to just work. No complicated techniques, no weird ingredients, just reliable, delicious food that makes everyone happy. And honestly? It feels like a treat, not a compromise.
Ingredients You’ll Need
Here’s the best part: you probably have most of this already. This isn’t a recipe that requires a trip to three different specialty stores. It’s basic, wholesome, and delicious. I’m particular about two ingredients here—the peanut butter and the tortillas—and I’ll tell you exactly why.
Whole Wheat Tortillas (6-inch / 15cm) — 4 large tortillas. I use whole wheat because it adds fiber and keeps the kids full longer. But honestly? Flour tortillas work too if that’s what you have. Just know that whole wheat has a nuttier flavor that pairs nicely with the peanut butter. I always use La Tortilla Factory or any store brand that stays soft. If your tortillas are stiff, microwave them for 10 seconds to soften them up. They’ll roll much easier.
Peanut Butter (½ cup / 120g) — Use natural or regular creamy peanut butter. I prefer creamy because it spreads easier and doesn’t get stuck in the rolls. Chunky works, but you might get weird texture pockets. Avoid the “no-stir” stuff if you can help it—it often has more sugar and hydrogenated oils. I like Skippy or natural crunchy if I’m feeling fancy. Just avoid anything with added sugar if you can, but let’s be real—sometimes you just need the sweet stuff. It’s fine.
Bananas (2 medium) — Ripe is key. If your bananas are green, they’re not sweet enough. If they’re black, they’re mushy. Aim for yellow with a few brown spots. That’s the sweet spot. Peel them, but leave them whole for now. You’ll be rolling them inside the tortilla, so you need them to hold their shape.
Honey or Maple Syrup (2 tablespoons / 30ml) — This is optional, but I highly recommend it. It adds a little extra sweetness and helps the topping stick. Honey gives it a floral note; maple syrup makes it taste more like breakfast. I use honey 80% of the time. If you’re avoiding sugar, skip it. The banana’s natural sweetness is usually enough.
Chocolate Chips (¼ cup / 40g) — Semi-sweet or milk chocolate chips. This is what makes it feel like “sushi” to the kids. It’s the fun part. I use regular Hershey’s chips. Dark chocolate works too if you want it less sweet. Just sprinkle them on top before rolling.
Chia Seeds or Hemp Seeds (1 tablespoon / 10g) — This is my secret weapon. It adds a little crunch and some omega-3s without changing the taste. I sprinkle it on top. You can skip it if you want, but I think it elevates the texture. It makes it feel like you’re being healthy, which helps me sleep at night.
Optional Toppings: Granola (for extra crunch), Coconut Flakes (for tropical vibes), or Drizzle of Nutella (if you’re going all out). I’ve tried all of these. Granola is great for breakfast-style bites. Coconut flakes are nice for summer. Nutella? Well, that’s just dessert.
Personal Tips: I always buy pre-sliced bananas if I’m being lazy, but fresh bananas taste way better and hold their shape. If you’re meal prepping, slice the bananas right before assembling to prevent browning. They turn brown quickly when exposed to air. A little lemon juice can help, but it’s not necessary for this recipe since you’re eating it soon.
Equipment Needed
You don’t need fancy equipment for this. Here’s what I actually use. If you don’t have it, don’t worry. You can substitute.
Cutting Board — Any size works. I use a medium plastic one. It’s easy to clean and doesn’t slip. A small one works too if you’re working with small tortillas.
Knife — A serrated bread knife is best for slicing the bananas without crushing them. But a regular chef’s knife works fine too. Just go slow. I learned this the hard way with a squished banana that leaked everywhere. Not pretty.
Measuring Spoons — Pretty standard stuff. Dollar store versions work fine. You don’t need to be exact with the honey or chocolate chips, so eyeballing is okay too.
Spatula or Butter Knife — For spreading the peanut butter. A butter knife is easier for spreading in a thin layer. A spatula works if you’re used to it. Just make sure you can get the peanut butter into the corners of the tortilla.
Rolling Pin (Optional) — I don’t use one. I just use my hands to roll the tortilla. If you’re worried about it not rolling tight, you can use a rolling pin to flatten the tortilla slightly before adding ingredients. But it’s not necessary.
Small Bowl — For holding the honey or syrup if you’re drizzling it. Or you can just drizzle it directly from the jar. I’m not judging.
Plate — For serving. I usually put them on a big platter so everyone can grab one. It looks like a party platter, even though it’s just five minutes of work.
Tool Tips: Don’t have a serrated knife? Just use a regular knife and be gentle. I’m obsessed with my microplane for grating chocolate, but chips are easier. If you’re making these for a party, have a few different toppings ready so people can customize. It’s fun and interactive.
How to Make It: Step-by-Step
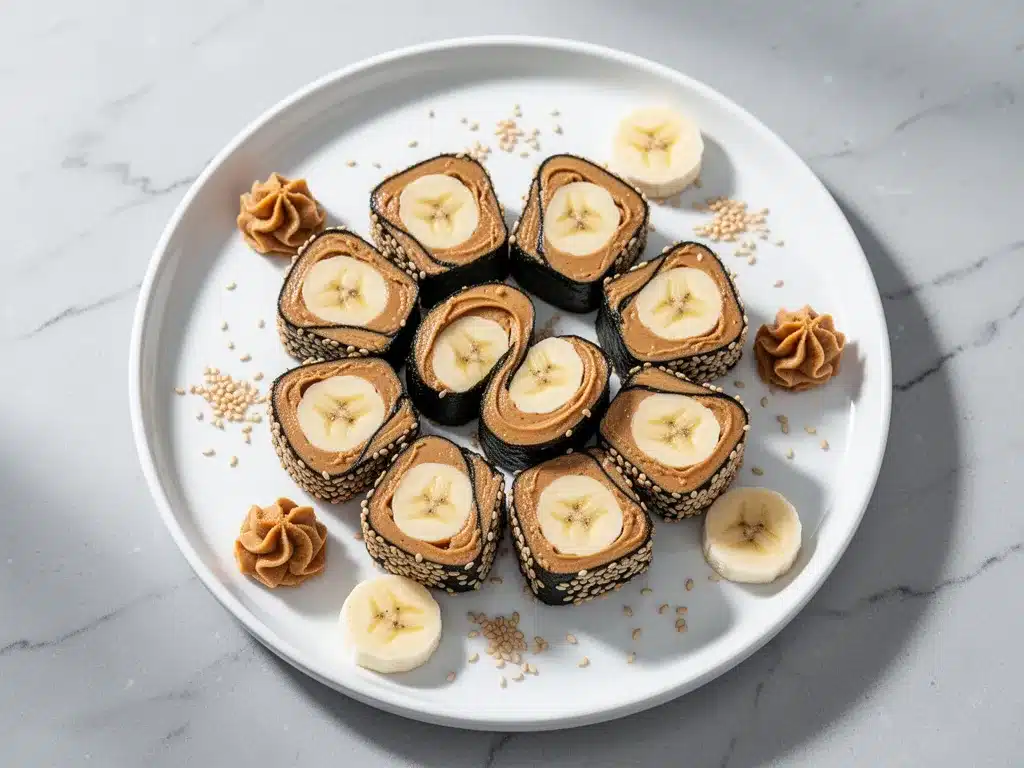
Alright, let’s make this! I’m walking you through exactly how I do it, including the little tricks I’ve picked up. It’s so simple that you might feel like you’re cheating, but that’s the beauty of it.
Step 1: Prep Your Ingredients (2 minutes)
Before you start rolling, get everything out. Peel the bananas. Open the peanut butter. Get the tortillas out of the package. I know it seems fussy, but it makes the actual rolling way less stressful. Once you start, things move fast. Grate the chocolate chips if you’re using bars instead of chips. Set everything within arm’s reach.
Step 2: Lay Out the Tortillas (1 minute)
Take your tortillas and lay them flat on your cutting board. If they’re stiff, microwave them for 10 seconds. They’ll be pliable and easy to roll. If you skip this, they might crack when you roll them. Don’t skip it. Trust me. I’ve had cracked tortillas in my sushi bites. It’s not a good look.
Step 3: Spread the Peanut Butter (2 minutes)
Spread a thin, even layer of peanut butter over each tortilla. Leave a half-inch border on the edges so it doesn’t squish out when you roll. I use about 2 tablespoons per tortilla. Don’t go overboard, or it’ll get messy. You want a creamy coating, not a swamp. Use a butter knife or spatula to get it smooth.
Step 4: Add the Bananas and Toppings (2 minutes)
Place the whole peeled bananas in the center of the tortilla, running lengthwise. If your bananas are huge, you can cut them in half lengthwise first. Sprinkle the chocolate chips over the banana. If you’re using honey or maple syrup, drizzle it over the top now. Add chia seeds or granola if you’re using them. The toppings should be distributed evenly so every bite has a bit of everything.
Step 5: Roll It Up (2 minutes)
This is the fun part. Start rolling from the bottom edge, tucking the banana in tightly as you go. Roll it up like a burrito, but tighter. Use your fingers to press the seam shut. If it’s sticking, add a tiny drop of water to the edge to help it seal. The roll should be tight and compact. If it’s loose, the bites will fall apart. Take your time here. I’ve had loose rolls. It’s annoying.
Step 6: Slice Into Bites (3 minutes)
Once the roll is tight, take your serrated knife and slice it into 1-inch rounds. Cut straight down, not sawing back and forth. This keeps the layers intact. Wipe the knife between cuts if the peanut butter gets sticky. You should get about 6-8 bites per tortilla. Arrange them on a plate, seam-side down, so they look pretty.
Step 7: Serve or Store
Serve immediately. They’re best fresh. But if you’re prepping for later, cover them tightly with plastic wrap or put them in an airtight container. They’ll keep in the fridge for up to 2 days. Just know that the tortilla will get softer over time. That’s normal. I actually prefer them the next day because the flavors meld.
Total Time: About 10 minutes (5 minutes active, 5 minutes prep). You can make it faster if you’re experienced, but 10 minutes is realistic for beginners.
Expert Tips & Tricks
Here’s everything I’ve learned from making this dozens of times. These tips will save you from my mistakes. I’ve had my share of cracked tortillas and messy rolls, and I don’t want you to go through the same pain.
Use Soft Tortillas
This is the #1 tip. If your tortillas are stiff, they will crack. Microwave them for 10 seconds. It’s a game-changer. I forgot this once and ended up with a mess of tortilla shards. Now I always heat them first. It takes 10 seconds. Do it.
Don’t Skimp on the Roll
Tight rolls are crucial. If they’re loose, the bites will fall apart when you slice them. Roll them as tight as you can. Use your fingers to press the seam. If it’s not sticking, add a drop of water. I’ve had loose rolls. It’s frustrating. Tight is better.
Choose Ripe Bananas
Ripe bananas are sweeter and softer. Green bananas are hard and bland. Black bananas are mushy and messy. Aim for yellow with brown spots. That’s the sweet spot. I’ve used green bananas. It’s not good. Trust me.
Spread Thinly
A thin layer of peanut butter is easier to roll. If you go thick, it’ll squish out and make a mess. Use about 2 tablespoons per tortilla. You can always add more later, but it’s better to start thin. I’ve had peanut butter explosions. It’s sticky and hard to clean.
Use a Serrated Knife
A serrated knife slices through the tortilla and banana without crushing them. A regular knife can squish the banana. I learned this the hard way. Now I always use a serrated knife. If you don’t have one, just be very gentle with a regular knife.
Common Mistakes (and how to avoid them):
- Mistake: Tortilla cracks — Fix: Heat the tortilla in the microwave for 10 seconds. Or wrap it in a damp paper towel and heat for 5 seconds.
- Mistake: Roll is loose — Fix: Roll tighter. Use your fingers to press the seam. Add a drop of water if it’s not sticking.
- Mistake: Bites fall apart — Fix: Slice with a serrated knife. Cut straight down, not sawing. Wipe the knife between cuts.
Pro Tricks I’ve Learned:
- For Extra Flavor — Add a sprinkle of cinnamon on top of the peanut butter before rolling. It adds a nice warmth.
- For Better Texture — Use crunchy peanut butter if you like texture. Creamy is smoother, but crunchy adds a nice bite.
- For Presentation — Arrange the bites on a plate in a circle. It looks like a sushi platter. Kids love it. Adults love it too.
Variations & Substitutions
Once you’ve nailed the basic version, here’s how you can mix it up. I’ve tried all of these. Some work better than others, but all are delicious.
Almond Butter Version
Swap peanut butter for almond butter. It’s nuttier and slightly sweeter. My husband prefers this version. It’s more expensive, but worth it if you have the budget.
Sunflower Butter Version
For nut-free schools or friends, use sunflower butter. It’s similar to peanut butter but with a milder flavor. I use it when I’m making these for school lunches. It works great.
Chocolate Peanut Butter
Mix 1 tablespoon of cocoa powder into the peanut butter before spreading. It makes it taste like a Reese’s Cup. My kids go crazy for this version. It’s a dessert treat.
Banana Nutella Roll
Skip the peanut butter and use Nutella instead. It’s sweeter and richer. I make this for special occasions. It’s basically a dessert wrap. Very popular.
Granola Crunch
Sprinkle granola inside the roll before adding the banana. It adds crunch and makes it feel like a breakfast bar. I use this version for morning snacks. It’s filling and sweet.
Coconut Lime
Add shredded coconut and a squeeze of lime juice to the peanut butter. It’s tropical and refreshing. I make this in the summer. It’s light and not too heavy.
Dietary Modifications:
- Vegan — Use vegan chocolate chips and maple syrup instead of honey. The rest is naturally vegan.
- Gluten-Free — Use gluten-free tortillas. Everything else is naturally gluten-free. I use Siete brand tortillas. They work great.
- Nut-Free — Use sunflower butter or soy butter. Make sure the chocolate chips are nut-free too.
- Lower Sugar — Skip the honey and chocolate chips. Use ripe bananas for natural sweetness. Add cinnamon for flavor.
Serving & Storage
How to Serve:
I usually serve these straight from the plate at the dinner table. They look like a fun appetizer. But here are other ways I’ve enjoyed them:
Side Dishes:
– Apple slices (for a fresh contrast)
– Greek yogurt (for protein)
– A glass of milk (classic combo)
– A small salad (if you want something savory)
Toppings Bar:
When I have guests, I put out: extra chocolate chips, granola, coconut flakes, and a drizzle of honey. Everyone customizes their bites. It’s interactive and fun.
Storage Instructions:
Refrigerator:
Store in an airtight container for up to 2 days. The tortilla will get softer. This is normal. I actually prefer them the next day. Just make sure they’re covered well so they don’t dry out.
Freezing:
Honestly, these don’t freeze well. The tortilla gets soggy when thawed. The banana can turn mushy. Make them fresh or store in the fridge for up to 2 days. Don’t freeze them. I’ve tried. It’s not good.
Meal Prep:
Make the rolls on Sunday, store in the fridge. Slice them right before serving. They’ll keep well for 2 days. I do this for school lunches. They pack well and don’t get messy. Just make sure to use airtight containers.
Pro tip: If the tortillas are getting stiff, microwave them for 5 seconds before serving. They’ll be soft and pliable again. It’s a quick fix.
Nutrition Information
I’m not a nutritionist, but here’s the breakdown if you’re tracking. These are estimates based on standard ingredients.
Per Serving (based on 6 servings, 2 bites each):
- Calories: 180
- Protein: 5g
- Carbs: 28g
- Fiber: 3g
- Sugar: 12g
- Fat: 7g
- Sodium: 150mg
What’s Good:
– Good source of fiber from whole wheat tortillas
– Healthy fats from peanut butter
– Potassium from bananas
– Quick energy boost
What to Know:
– Moderate sugar from bananas and honey
– Contains nuts (unless using sunflower butter)
– Contains gluten (unless using GF tortillas)
My Take:
Look, this is a snack with peanut butter and bananas. It’s not a diet food. But it’s way better than candy or chips. It has protein, fiber, and healthy fats. It’s filling and satisfying. When I want to make it lighter, I use less peanut butter and skip the honey. But usually? I just enjoy it as a treat. It’s balanced enough for a snack.
Final Thoughts
So that’s my go-to peanut butter banana sushi bites! I’ve probably talked your ear off at this point, but when you make a recipe this often, you have a lot to say about it.
This has saved weeknight dinners more times than I can count. It’s my answer to “what’s for snack” when I’m tired, don’t want to cook, and still want something that tastes really good. My kids are happy, my husband’s happy, and I’m happy because I’m not stressed about making something fancy.
Make it yours! Try different nut butters, swap in your favorite toppings, adjust the sweetness. The best recipes are the ones you adapt to your family’s tastes. I love seeing how people customize this. It’s a blank canvas for snacks.
If you make this, drop a comment and let me know what you think! I love hearing how recipes turn out in your kitchen. And if something doesn’t work, tell me that too—I’m here to help troubleshoot.
Happy cooking! And I hope your kitchen smells half as good as mine does right now.
Frequently Asked Questions
Can I use almond butter instead of peanut butter?
Absolutely. Almond butter works great and has a slightly sweeter, nuttier flavor. It’s more expensive, but if you have it on hand, use it. Just note that almond butter can be thicker, so you might need to warm it slightly to spread it easily.
Why did my tortilla crack when I rolled it?
This usually happens if the tortillas are too dry or cold. Microwave them for 10 seconds before rolling. This softens them and makes them pliable. If they’re still cracking, try using a different brand of tortillas. Some are drier than others.
Can I make these ahead of time?
Yes, but only for 1-2 days. Store them in an airtight container in the fridge. The tortilla will get softer over time, which some people prefer. Don’t make them more than 2 days in advance, or the tortilla will get too soggy and the banana might brown.
Can I freeze these?
I don’t recommend freezing them. The tortilla doesn’t freeze well—it gets mushy when thawed. The banana can also turn watery. It’s best to make them fresh or store them in the fridge for up to 2 days.
Can I make these nut-free?
Yes! Use sunflower butter or soy butter instead of peanut butter. Make sure to check your chocolate chips to ensure they’re made in a nut-free facility. Sunflower butter has a milder flavor but works just as well.
How do I keep the banana from browning?
Bananas brown quickly when exposed to air. To prevent this, assemble the rolls right before serving. If you’re prepping ahead, you can brush the banana with a little lemon juice, but it’s not necessary if you’re eating them within a few hours. The peanut butter also helps protect the banana from air exposure.
Can I use whole grain tortillas instead of whole wheat?
Yes, any type of tortilla works. Whole grain, multigrain, or even spinach tortillas can add extra flavor and nutrients. Just make sure they’re soft enough to roll. If they’re stiff, microwave them first.
Pin This Recipe!
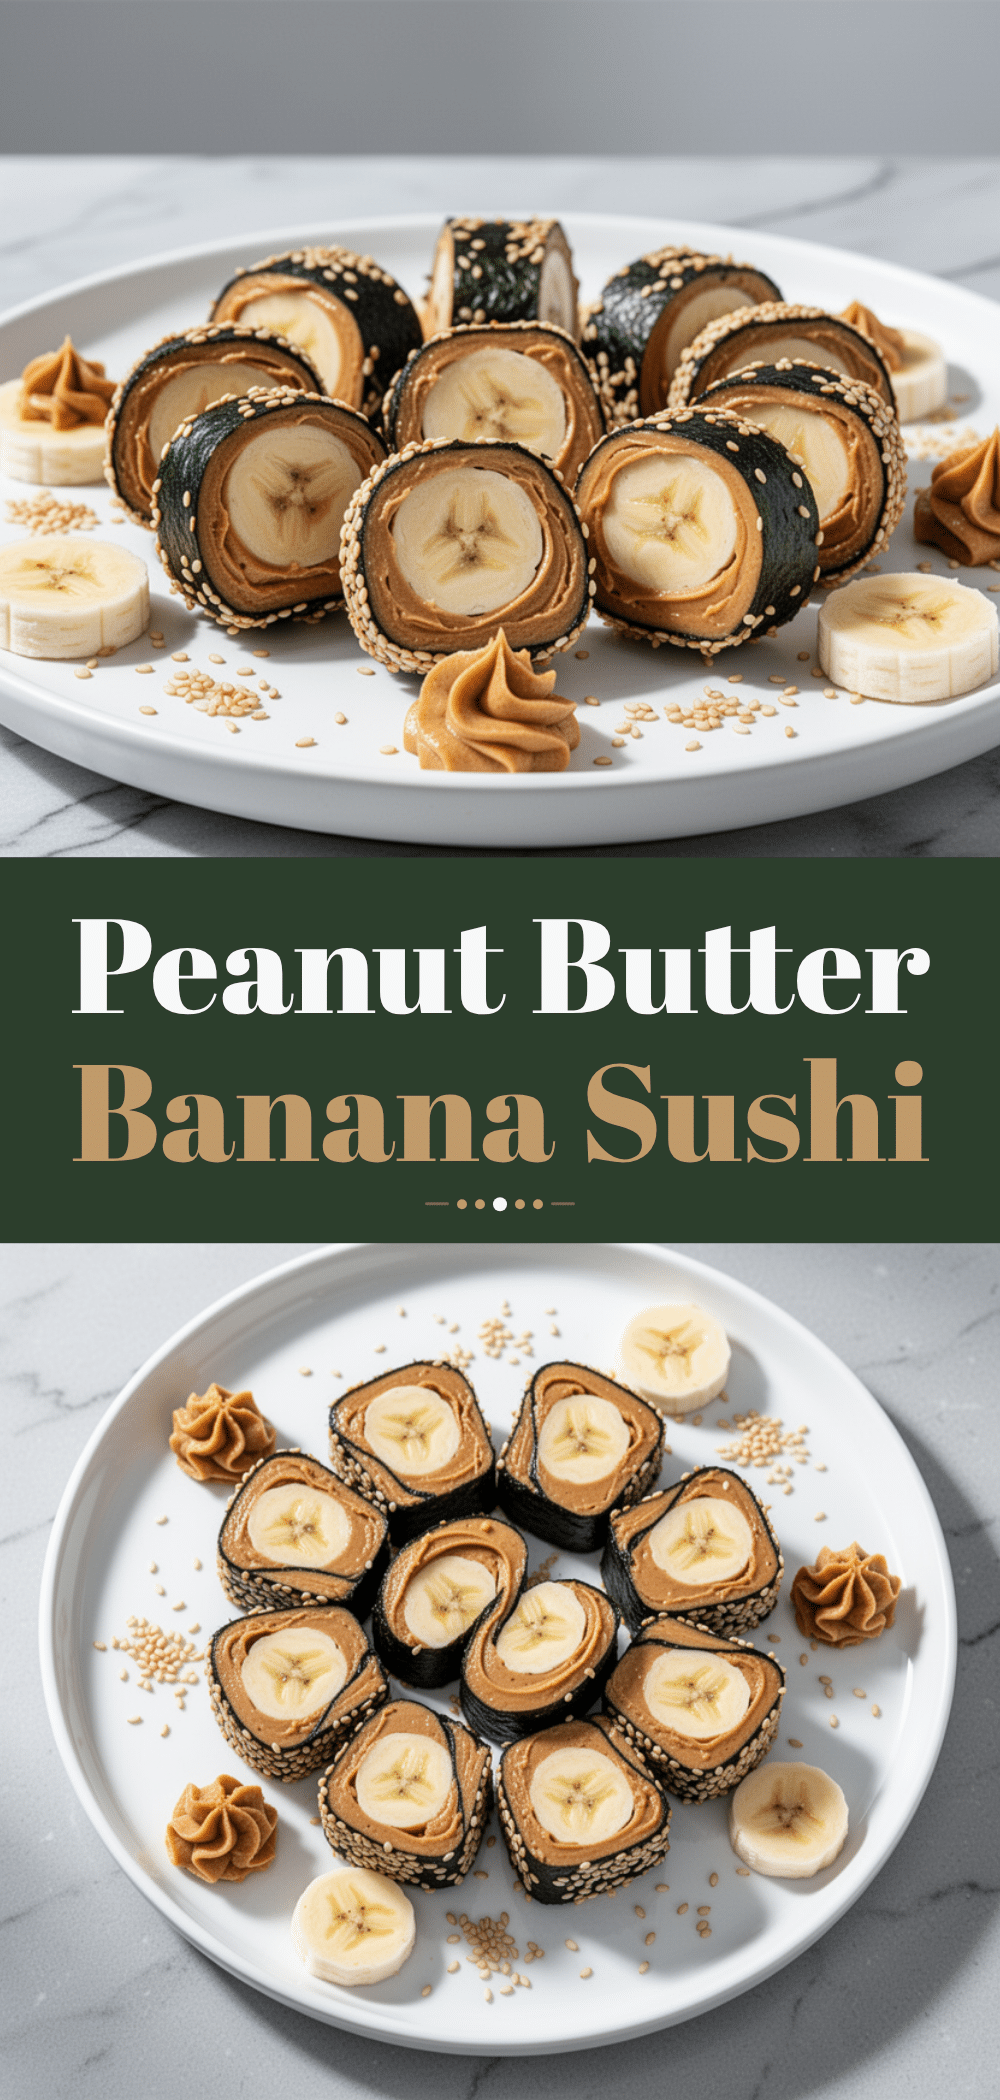
Peanut Butter Banana Sushi Bites
- Total Time: 10 minutes
- Yield: 6 servings 1x
Description
A quick, 5-minute weeknight snack made by rolling bananas and peanut butter in whole wheat tortillas, topped with chocolate chips and honey. Perfect for busy families and picky eaters.
Ingredients
- 4 large whole wheat tortillas (6-inch)
- 1/2 cup creamy peanut butter
- 2 medium ripe bananas
- 2 tablespoons honey or maple syrup
- 1/4 cup semi-sweet chocolate chips
- 1 tablespoon chia seeds or hemp seeds
- Optional toppings: granola, coconut flakes, or Nutella
Instructions
- Prep ingredients: Peel bananas, open peanut butter, and ensure tortillas are soft (microwave for 10 seconds if stiff).
- Lay tortillas flat on a cutting board.
- Spread a thin, even layer of peanut butter over each tortilla, leaving a half-inch border on the edges.
- Place whole peeled bananas lengthwise in the center of each tortilla.
- Sprinkle chocolate chips, drizzle with honey or maple syrup, and add chia seeds or other toppings evenly.
- Roll the tortillas tightly like a burrito, pressing the seam to seal. Add a drop of water if needed to help it stick.
- Using a serrated knife, slice each roll into 1-inch rounds.
- Arrange bites seam-side down on a plate and serve immediately, or store in an airtight container in the fridge for up to 2 days.
Notes
Use ripe bananas with brown spots for best sweetness. If tortillas are stiff, microwave them for 10 seconds to prevent cracking. Roll tightly to ensure bites hold together. These do not freeze well; store in the fridge for up to 2 days. For nut-free versions, use sunflower butter and nut-free chocolate chips.
- Prep Time: 5 minutes
- Cook Time: 0 minutes
- Category: Snack
- Cuisine: American
Nutrition
- Serving Size: 2 bites per serving
- Calories: 180
- Sugar: 12
- Sodium: 150
- Fat: 7
- Saturated Fat: 2
- Carbohydrates: 28
- Fiber: 3
- Protein: 5
Keywords: peanut butter, banana, sushi bites, quick snack, weeknight dinner, kid-friendly, 5-minute recipe, healthy snack, vegetarian


