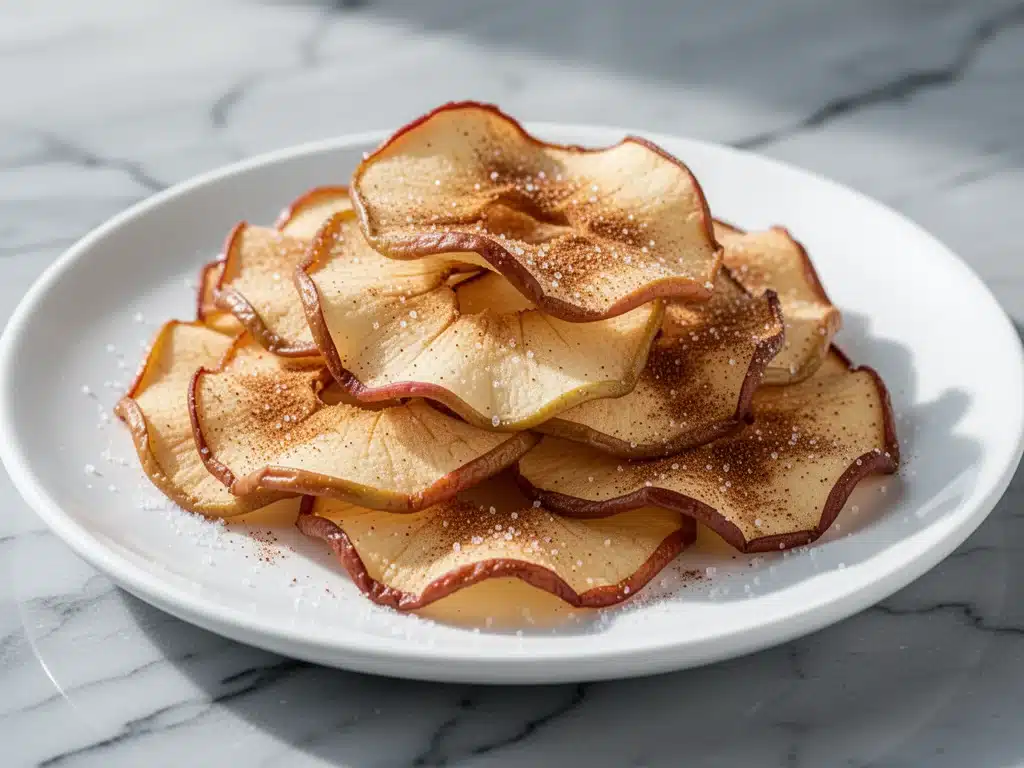
Last October, I was standing in my kitchen at 10 PM, staring into the open fridge, hoping a snack would materialize. My pantry was mostly empty—just some stale crackers and a jar of pickles. I was craving something sweet, but I also felt guilty about eating a bag of chips. I opened the crisper drawer and found three bruised apples that were past their prime for eating raw. They were soft, slightly wrinkled, and screaming to be used.
I didn’t have time to bake a pie. I didn’t want to deal with a mess. So, I sliced them up, tossed them with some cinnamon sugar I had lying around, and threw them in the dehydrator. I went to bed. When I woke up the next morning, the kitchen smelled like a fall bakery, and those apples had transformed into thin, crisp, addictive chips.
I ate one. Then two. Then the whole batch before my husband even got out of bed.
That was three months ago. Since then, I’ve made Cinnamon Sugar Baked Apple Chips probably 20 times. They’ve replaced my evening snack habit entirely. They’re the only thing I keep stocked for when I need a quick, healthy fix that doesn’t leave me feeling sluggish or guilty. And the best part? You don’t need a fancy dehydrator. You can make these in your regular oven, and they turn out perfectly crisp every single time.
I’ve tested this recipe with different apple varieties, different oven temperatures, and even different sugars. I’ve learned what works and what doesn’t so you don’t have to waste your good fruit. This is the only method I trust. It’s simple, it’s cheap, and it tastes like autumn in a bag.
Why You’ll Love This Recipe
There are a million snack options out there, but most of them are either too sugary, too expensive, or just plain boring. These baked apple chips hit that sweet spot—literally and figuratively. Here’s why they’ve earned a permanent spot in my weekly rotation:
- Actually Crisp — I know what you’re thinking. “Baked apple slices are usually chewy or tough.” Not these. If you follow the low-and-slow method, they get shatteringly crisp. I’ve had them last up to a week in an airtight container, and they stay crunchy. No sogginess.
- Five Ingredients Max — Apples, sugar, cinnamon, maybe a pinch of salt. That’s it. No weird gums, no preservatives, no high-fructose corn syrup. If you can peel an apple, you can make this. My kids can help without making a huge mess.
- Pantry-Friendly — You don’t need to go to the store for this. If you have apples and cinnamon, you’re good to go. I keep a bag of these in my car for road trips and in my desk drawer for afternoon slumps.
- Kid-Approved — This is huge. My picky eater, who usually refuses anything that isn’t breaded or fried, asks for these daily. It’s like getting them candy, but you’re not stressing about their sugar intake. It’s a win-win.
- Zero Waste — Have apples that are getting too soft to eat raw? Slice them, season them, bake them. Nothing goes in the trash. It’s satisfying to turn “sad” fruit into a gourmet snack.
I make these when I’m meal prepping, when I’m trying to cut back on processed snacks, or just when I want to fill my house with a cozy smell. They’re versatile enough to be a snack, a dessert topping, or even a crunchy garnish for yogurt. Once you try them, you’ll wonder why you ever bought those expensive store-bought fruit snacks.
Ingredients You’ll Need
This recipe is famously simple, but the quality of your ingredients matters more here than in most dishes. Since there are so few components, each one has to do heavy lifting. Here’s what you need to get it right.
The Apples
Large Apples (3 medium, about 1.5 lbs / 680g) — This is the star. I recommend Granny Smith for a tart, crisp chip that holds its shape well. Honeycrisp is my personal favorite because it’s sweet and crunchy, but it can get a bit chewy if you’re not careful. Fuji and Gala work too, but they’re sweeter and softer, so watch them closely in the oven. Avoid Red Delicious—they’re mealy and don’t crisp up nicely.
The Sweetness
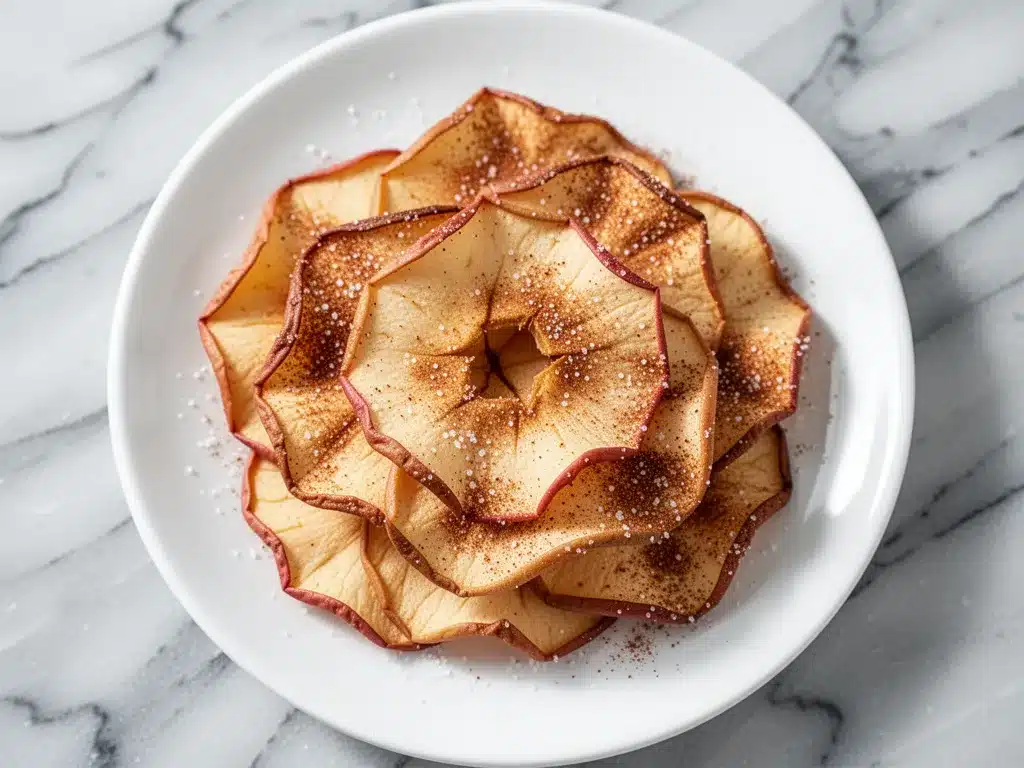
Granulated Sugar (2 tablespoons) — Regular white sugar gives that classic candy-shop flavor. I like to mix it with brown sugar sometimes for a deeper, caramel-like taste, but plain white is the gold standard for crispness.
Substitution: You can use coconut sugar for a lower-glycemic option, though it will make the chips darker and chewier.
The Flavor
Ground Cinnamon (1 teaspoon) — Don’t use that old jar from 2019. Fresh cinnamon makes a massive difference. If your cinnamon smells faint or dusty, buy a new jar. It’s worth the $3.
Pro Tip: For an extra flavor kick, add a tiny pinch of nutmeg or allspice. But don’t overdo it—you want the apple to shine.
Sea Salt (a pinch) — I know it sounds weird in a sweet snack, but a pinch of salt balances the sugar and enhances the apple flavor. It’s the secret ingredient that makes it taste “restaurant quality.”
Optional Add-Ins
Vanilla Extract (1/2 teaspoon) — A few drops added to the sugar mix gives a nice depth.
Chopped Pecans or Walnuts — Sprinkle these on top before baking for added crunch. It turns the chips into a more substantial snack.
Where to Find Ingredients: Everything here is standard grocery store fare. I buy my cinnamon at Trader Joe’s because it’s cheap and fresh. For apples, I always check the “bruised” section of the produce aisle for deals—they taste the same, just look a bit rougher.
Equipment Needed
You don’t need anything fancy to make these. In fact, using specialized equipment isn’t even necessary. Here’s what I actually use in my kitchen:
Sharp Chef’s Knife — A dull knife will crush the apple slices. You want clean, even cuts. I use my Wüsthof, but any sharp kitchen knife works.
Large Cutting Board — A stable surface is key. I use a plastic one for easy cleanup.
Baking Sheets (2 large) — You need enough space to fit all the slices in a single layer. If your oven is small, you might need two sheets.
Parchment Paper — This is non-negotiable for easy cleanup. Sugar burns onto bare metal and is a pain to scrub. Parchment saves you time.
Small Bowl — For mixing the sugar and cinnamon.
Pastry Brush or Spray Bottle — (Optional) If you want extra crispness, you can brush the slices lightly with apple cider vinegar or water, but it’s not strictly necessary.
Dehydrator — (Optional) If you have one, you can use it instead of an oven at 135°F (57°C) for 6-8 hours. But honestly? The oven method is faster and just as good for most people.
Airtight Container — Glass jars or Tupperware with a good seal. This keeps them crisp for days.
How to Make It: Step-by-Step
Alright, let’s get baking. I’m going to walk you through exactly how I do it, including the little tricks that prevent chewy, sad apples.
Step 1: Prep Your Oven and Pan (5 minutes)
Preheat your oven to 225°F (107°C). This low temperature is crucial. It slowly draws out the moisture without burning the sugar. Line two large baking sheets with parchment paper. Make sure the parchment covers the entire surface to catch any drips.
Step 2: Slice the Apples (5-8 minutes)
Wash the apples thoroughly. You don’t need to peel them—the skin adds color and nutrients, and it crisps up nicely. Core the apples. I use an apple corer, but a knife works fine. Slice the apples into uniform rounds, about 1/8-inch thick.
Why uniformity matters: If some slices are thick and some are thin, the thin ones will burn before the thick ones are done. Aim for consistency. If you’re not sure, use a mandoline slicer—it’s worth the investment if you make this often.
Step 3: Mix the Sugar and Spice (1 minute)
In a small bowl, whisk together the granulated sugar, cinnamon, and pinch of salt. If you’re adding vanilla or nuts, mix them in now. You want the sugar to be evenly coated with the spices so every bite tastes the same.
Step 4: Coat the Slices (5 minutes)
Place the apple slices in a large bowl. Sprinkle about half of the sugar mixture over them. Toss gently with your hands or a spatula until every slice is lightly coated. Don’t pile on the sugar—it should be a light dusting, not a thick crust. Too much sugar will melt and burn. Repeat with the remaining slices and sugar.
Step 5: Arrange on Baking Sheets (2 minutes)
Lay the coated apple slices in a single layer on the prepared baking sheets. They should not touch or overlap. If they overlap, they’ll steam instead of bake. You might need to do two batches if you have a small oven. Give each slice enough breathing room.
Step 6: Bake Low and Slow (2-3 hours)
Place the sheets in the oven. Bake for 2 hours. After 2 hours, check the edges. They should be turning golden brown. If they’re not, flip the slices over. This ensures even drying. Bake for another 30-60 minutes, or until the edges are crisp and the centers are dry to the touch.
Visual Cue: The chips should look translucent and feel firm. If they bend, they need more time. If they snap, they’re done.
Step 7: Cool Completely (30 minutes)
This is the hardest part. You have to let them cool. When they come out of the oven, they might still feel slightly chewy. That’s normal. As they cool, they will crisp up. Do not store them until they are completely cool, or they will get soggy from trapped steam.
Expert Tips & Tricks
I’ve made enough of these to know what goes wrong. Here’s how to avoid my mistakes:
Don’t Skip the Parchment — Sugar melts and sticks. If you don’t use parchment, you’ll be scraping burnt sugar off your pan for days. It’s not worth the hassle.
Watch the Oven Temp — Every oven runs differently. If your chips are browning too fast, lower the temperature to 200°F (93°C). If they’re not drying out after 3 hours, you might need to crank it up slightly, but be careful. Low and slow is the golden rule.
The “Snap” Test — To test for doneness, take a chip out and let it cool for a minute. Try to snap it in half. If it bends, it’s not done. If it snaps cleanly, it’s ready. This is the only reliable way to know.
Store Properly — Moisture is the enemy. Once cooled, store in an airtight container with a silica packet (the little “do not eat” packets that come with jerky) to absorb humidity. They’ll stay crisp for up to 2 weeks.
Double Batch — These go fast. I always make two batches. One for snacking now, one for gifts or office treats.
Variations & Substitutions
Once you’ve mastered the basic version, here are some fun twists I’ve tried:
Maple Cinnamon — Replace the sugar with pure maple syrup. Toss the slices in the syrup, then sprinkle with cinnamon. They’ll be chewier but incredibly flavorful. Great for a rustic snack.
Chocolate Dipped — Once cooled, dip half of each chip in melted dark chocolate. Let it set on parchment. Instant dessert upgrade.
Spiced Apple — Add a pinch of cardamom, ginger, and cloves to the sugar mix. It tastes like apple pie filling but in chip form.
Gluten-Free — This recipe is naturally gluten-free, so no changes needed.
Vegan — Naturally vegan. Just ensure your sugar is bone-char free if that’s a concern (some brands use organic sugar which is always vegan).
Different Fruits — You can use pears, bananas (slice thin), or even zucchini (with extra cinnamon). Apples are best for crispness, but pears work surprisingly well.
Serving & Storage
How to Serve: I eat these straight out of the container, but they’re also amazing crumbled over Greek yogurt, oatmeal, or ice cream. They add a nice crunch to salads too—like a candied walnut substitute.
Side Dishes: These pair well with cheese boards (especially sharp cheddar or gouda), nut butter, or a cup of hot tea.
Storage: Keep in an airtight container at room temperature for up to 2 weeks. If your kitchen is humid, add a silica packet. They can also be frozen for up to 3 months, but they might lose a bit of crunch upon thawing.
Reheating: If they go soft, spread them on a baking sheet and bake at 200°F (93°C) for 10 minutes to crisp them back up. Let cool completely before storing again.
Nutrition Information
I’m not a nutritionist, but here’s the breakdown if you’re tracking. Per serving (about 10 chips, based on 4 servings):
| Nutrient | Amount |
|---|---|
| Calories | 85 |
| Carbs | 22g |
| Fiber | 2g |
| Sugar | 18g |
| Protein | 0g |
| Fat | 0g |
What’s Good: They’re naturally fat-free and provide some fiber from the apples. Much better than processed chips.
What to Know: They do contain sugar, so portion control is key if you’re watching your intake. But compared to a bag of potato chips, these are a much better choice.
Final Thoughts
So that’s my go-to Cinnamon Sugar Baked Apple Chips! I’ve probably talked your ear off at this point, but when you make a recipe this often, you have a lot to say about it. These chips have saved my evening snacking habit. They’re my answer to “what’s for a snack” when I want something sweet but healthy. My kids are happy, my husband is happy, and I’m happy because I’m not stressing about what to eat.
Make them yours! Try different apples, different spices, different sugars. The best recipes are the ones you adapt to your family’s tastes. If you make this, drop a comment and let me know what you think! I love hearing how recipes turn out in your kitchen. And if something doesn’t work, tell me that too—I’m here to help troubleshoot.
Happy cooking! And I hope your kitchen smells half as good as mine does right now.
Frequently Asked Questions
Q: Can I use a dehydrator instead of an oven?
A: Absolutely! Set your dehydrator to 135°F (57°C) and bake for 6-8 hours. Check them periodically. They’re done when they snap. The dehydrator method is more hands-off, but the oven is faster for most people.
Q: Why are my apple chips chewy instead of crisp?
A: They probably didn’t dry out enough. Oven temps vary. Try baking for another 30-60 minutes. Also, make sure they’re not overlapping on the pan. If they’re touching, they steam. And remember, they crisp up as they cool, so don’t judge them while they’re hot.
Q: Can I peel the apples?
A: Yes, you can. The skin adds color and nutrients, but some people prefer the texture of peeled chips. If you peel them, the chips will be a paler color but still taste great.
Q: How long do they last?
A: In an airtight container at room temperature, they’ll stay crisp for up to 2 weeks. If your kitchen is humid, they might soften after a few days. You can revive them in the oven at 200°F for 10 minutes.
Q: Can I use brown sugar instead of white?
A: You can, but brown sugar has more moisture and molasses. The chips will be darker, chewier, and have a deeper flavor. White sugar gives the classic crisp, candy-like finish. I usually do a mix of both.
Q: Are these kid-friendly?
A: Yes! My kids love them. They’re a great way to get kids to eat fruit. You can let them help mix the sugar and cinnamon—it’s fun for them. Just make sure they don’t eat too many before dinner!
Q: Can I make these sugar-free?
A: Yes, you can use a sugar substitute like erythritol or stevia. Keep in mind that sugar substitutes don’t caramelize the same way, so the chips won’t be as glossy or crisp. They’ll still be tasty, just different.
Pin This Recipe!
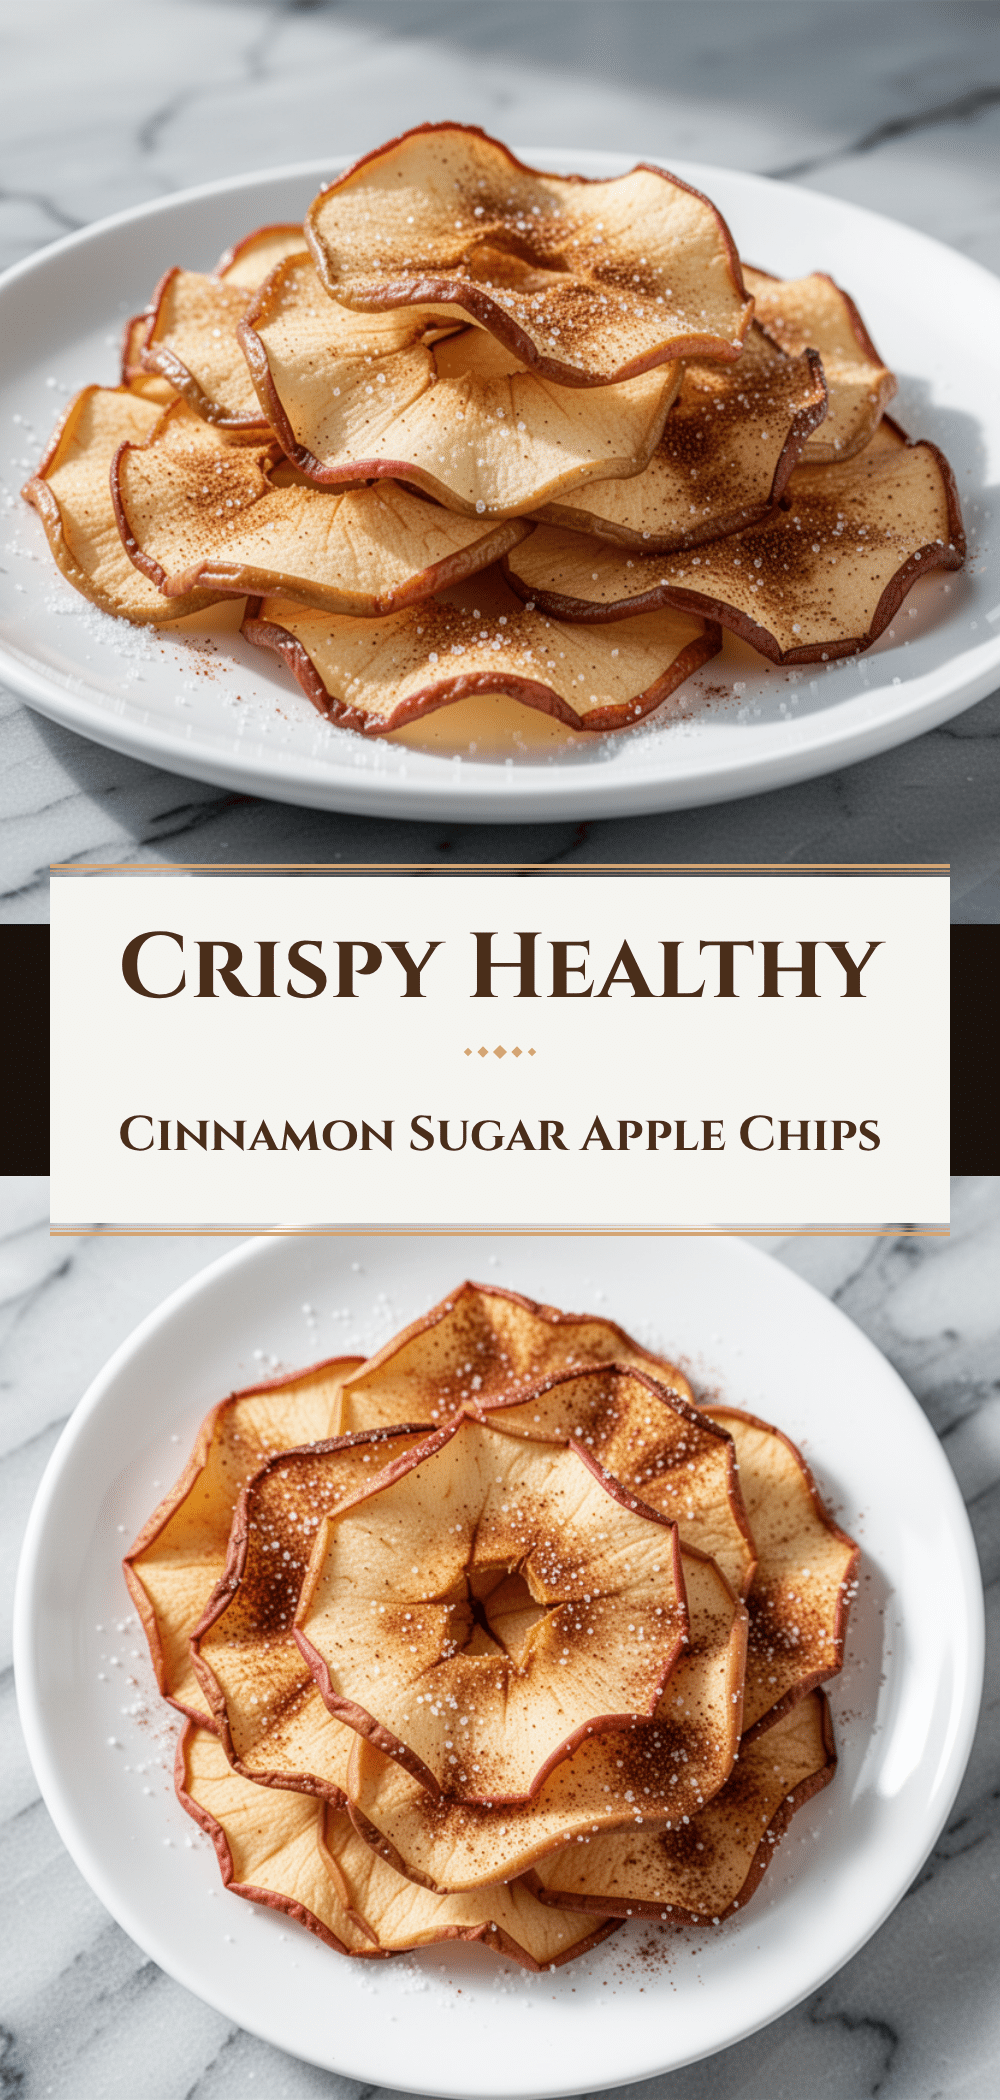
Cinnamon Sugar Baked Apple Chips: Easy Healthy Snack
- Total Time: 2 hours 45 minutes
- Yield: 4 servings 1x
Description
A simple, healthy snack made by baking thin apple slices with cinnamon and sugar until crisp. These chips are kid-approved, zero-waste, and require only five ingredients.
Ingredients
- 3 medium large apples (about 1.5 lbs / 680g), cored and sliced into 1/8-inch rounds
- 2 tablespoons granulated sugar
- 1 teaspoon ground cinnamon
- 1 pinch sea salt
- 1/2 teaspoon vanilla extract (optional)
- Chopped pecans or walnuts (optional)
Instructions
- Preheat oven to 225°F (107°C). Line two large baking sheets with parchment paper.
- Wash apples and slice them into uniform 1/8-inch rounds. Do not peel.
- In a small bowl, whisk together sugar, cinnamon, salt, and vanilla (if using).
- Place apple slices in a large bowl and sprinkle with half the sugar mixture. Toss gently to coat lightly.
- Repeat with remaining slices and sugar.
- Arrange slices in a single layer on baking sheets, ensuring they do not touch or overlap.
- Bake for 2 hours. Check edges; if not golden, flip slices and bake for another 30-60 minutes until crisp and dry.
- Remove from oven and let cool completely on the sheets. Chips will crisp up as they cool.
- Store in an airtight container at room temperature.
Notes
Use Granny Smith for tart/crisp chips or Honeycrisp for sweet/crunchy. Avoid Red Delicious. Ensure slices are uniform thickness for even baking. Do not store until completely cool to prevent sogginess. For extra crispness, add a silica packet to storage.
- Prep Time: 15 minutes
- Cook Time: 2 hours 30 minutes
- Category: Snack
- Cuisine: American
Nutrition
- Serving Size: 10 chips
- Calories: 85
- Sugar: 18
- Carbohydrates: 22
- Fiber: 2
Keywords: apple chips, baked apple snacks, healthy snack, cinnamon sugar, gluten-free, vegan, zero waste, kid-friendly snack


