There is a specific kind of panic that sets in every August. You know the one. It’s 11:58 PM on a Sunday night, the school year starts tomorrow, and your kitchen looks like a war zone because you’ve been meal-prepping like a maniac. I was standing in front of an open fridge, holding a container of plain chicken breasts, wondering how on earth I was going to get my kids to eat something that wasn’t a granola bar or a piece of bread by 1 PM.
My youngest, Leo, had just started fifth grade, which meant his lunchbox needed to be more substantial than just fruit snacks. But he was also going through a phase where he refused to eat anything that looked “healthy.” It had to be fun. It had to be messy. And ideally, it had to taste like a party.
That’s when I decided to stop trying to force vegetables into his lunch and instead lean into what he actually loved: buffalo wings. But regular wings are a nightmare for school lunches. They’re greasy, they leak all over the lunchbox, and they’re impossible to eat with one hand while walking to the bus stop. So, I did what any sleep-deprived parent would do—I turned them into poppers.
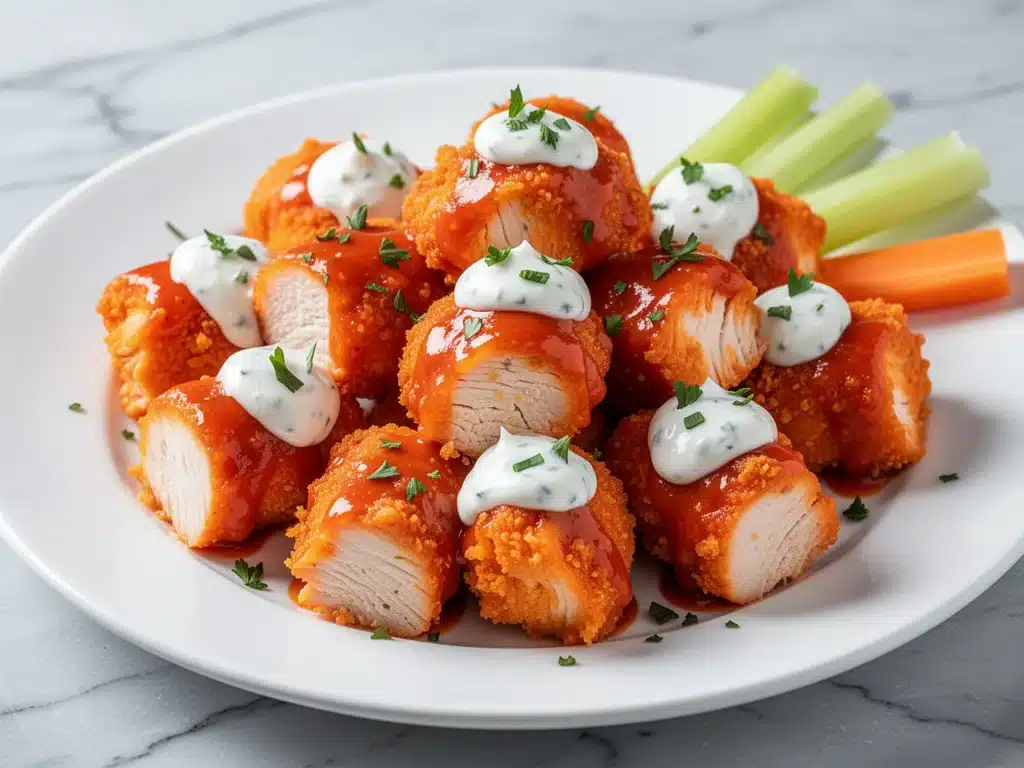
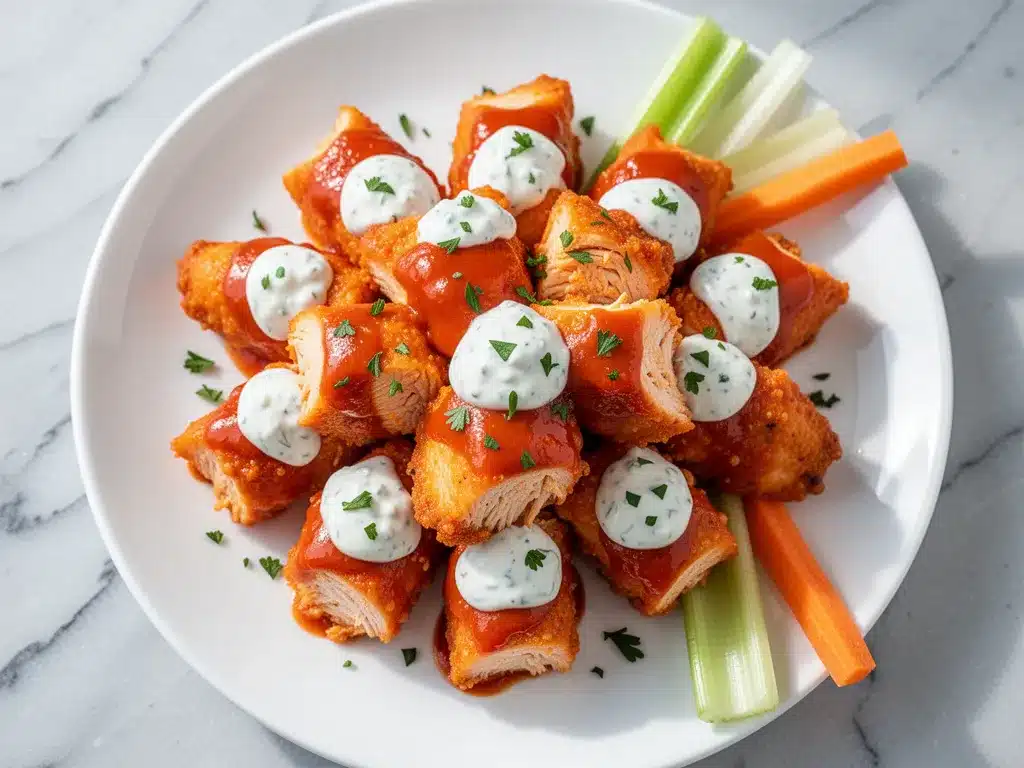
These baked buffalo ranch chicken poppers are my secret weapon for back-to-school survival. They’re crispy on the outside, juicy on the inside, and hold their shape perfectly in a bento box. Best of all? They’re baked, not fried, so I don’t feel guilty packing them for a Tuesday afternoon. I’ve made these at least a dozen times since school started, and they are the only thing that consistently gets eaten. Even Leo, who usually leaves half his lunch in the trash, cleans his plate. If you’re looking for a way to make lunchboxes exciting again, this is it.
Why You’ll Love This Recipe
Let’s be real. Packing lunches is one of the hardest parts of the school day. You want them to be nutritious, but you also want them to be fun. These chicken poppers hit that sweet spot between “comfort food” and “actually decent protein.” Here’s why they’ve become a staple in our house:
- Zero Grease, Zero Mess — This is the biggest selling point for me. Fried wings leave grease stains on lunchboxes and napkins. These poppers are baked, so they stay dry and tidy. No more wiping down the lunchbox with disinfectant wipes every single day.
- Kid-Approved Flavor Profile — Buffalo and ranch is a classic combo for a reason. It’s tangy, creamy, and savory. My kids think they’re getting a treat, not realizing they’re getting a solid serving of protein. It’s the perfect Trojan horse for a healthy lunch.
- Meal Prep Friendly — I make a double batch on Sunday. They store beautifully in the fridge for up to four days and reheat perfectly in the microwave (or they’re great cold, which my older daughter prefers). This saves me from the daily “what’s for lunch?” stress.
- Easy to Customize — Some kids like it spicy, some like it mild. I can adjust the buffalo sauce ratio easily. Plus, they’re naturally gluten-free if you use cornstarch instead of flour, which helps with my son’s mild sensitivity.
- Fast to Assemble — Once you’ve chopped the chicken and mixed the coating, these go into the oven in minutes. You’re looking at about 15 minutes of active prep time. The rest is just waiting.
These poppers have saved our mornings. They’re reliable, delicious, and honestly, just fun to eat. If you’re tired of boring turkey sandwiches, this recipe is your new best friend.
Ingredients You’ll Need
One of the best things about this recipe is how simple the ingredient list is. You probably have most of this in your pantry already. I’m not asking for anything exotic or hard to find. Here’s what you need to make the perfect batch of baked buffalo ranch chicken poppers:
For the Chicken Base
Chicken breasts (2 large / about 600g) — I use boneless, skinless chicken breasts. They’re lean, cook evenly, and are easy to cube. Don’t buy the super thin cutlets; you want slightly thicker pieces so they don’t dry out. If you’re short on time, you can use rotisserie chicken, but fresh chicken gives a better texture.
Buttermilk (1 cup / 240ml) — This is the secret to tender chicken. The acidity breaks down the proteins slightly, keeping the meat juicy. If you don’t have buttermilk, make a substitute: add 1 tablespoon of white vinegar or lemon juice to a cup of milk and let it sit for 10 minutes. It works just as well.
Garlic powder (1 teaspoon) — Essential for that savory depth. Don’t skip this. Fresh garlic can burn in the oven, so powder is the way to go here.
Onion powder (1 teaspoon) — Adds a subtle sweetness that balances the heat of the buffalo sauce.
For the Coating
All-purpose flour (1 cup / 120g) — This creates the crispy exterior. I use standard flour, but cornstarch works too if you want a lighter, crunchier coating. If you’re doing gluten-free, use a 1:1 gluten-free flour blend.
Cornstarch (2 tablespoons) — This is the game-changer for crispiness. It prevents the coating from getting soggy and helps it brown nicely. I always keep this in my pantry specifically for recipes like this.
Baking powder (1 teaspoon) — Not baking soda! Baking powder helps the coating puff up slightly, creating more surface area for crunch. It’s a small detail, but it makes a big difference.
Salt and black pepper (to taste) — Season the flour mixture well. If the coating is bland, the chicken will taste bland.
For the Buffalo Ranch Sauce
Buffalo wing sauce (½ cup / 120ml) — I use Frank’s RedHot. It’s the gold standard for buffalo flavor. You can use a hotter sauce like Texas Pete if your kids can handle the spice, but Frank’s has that classic tang.
Ranch dressing (¼ cup / 60ml) — I use a standard bottled ranch. Avoid the “light” versions if you can; they don’t have enough fat to coat the chicken properly. You want that creamy richness.
Butter (2 tablespoons, melted) — Adding butter to the sauce gives it a silky texture and helps it cling to the chicken. It also mellows out the sharpness of the vinegar in the buffalo sauce.
Blue cheese dressing (optional, 2 tablespoons) — If you’re a blue cheese fan, add this to the sauce. It adds a funky, savory note. My kids aren’t fans, so I leave it out, but it’s great for adults.
Equipment Needed
You don’t need fancy gadgets for this. Just basic kitchen tools. Here’s what I use:
Large bowl — For the buttermilk marinade. Any bowl that’s big enough to hold the chicken and buttermilk works.
Medium bowl — For the dry flour mixture. Make sure it’s wide enough to toss the chicken in.
Baking sheet — A standard 13×18 inch sheet. I line it with parchment paper for easy cleanup. Silicone mats work too, but parchment is easier to replace.
Wire rack (optional) — If you have a wire rack that fits your baking sheet, use it. It allows air to circulate under the chicken, making the bottom crispier. If you don’t have one, just place the chicken directly on the parchment. It still works great.
Small saucepan or microwave-safe bowl — For melting the butter and mixing the sauce.
Whisk — To emulsify the buffalo and ranch sauce. A fork works in a pinch.
How to Make It: Step-by-Step
Alright, let’s get cooking! This process is straightforward, but there are a few tricks to ensure your poppers come out crispy and not soggy.
Step 1: Prep the Chicken
Start by trimming any excess fat or tenders from the chicken breasts. Cut the breasts into 1-inch cubes. Try to keep them roughly the same size so they cook evenly. You’ll get about 6-8 cups of chicken chunks. Place them in a large bowl and pour the buttermilk over them. Add the garlic powder and onion powder. Toss to coat, cover, and let it marinate in the fridge for at least 30 minutes. If you have time, let it sit for up to 4 hours. The longer it marinates, the more tender the chicken gets.
Step 2: Make the Coating
Preheat your oven to 400°F (200°C). Line a baking sheet with parchment paper. In a medium bowl, whisk together the flour, cornstarch, baking powder, salt, and pepper. You want these dry ingredients fully combined before you add the chicken. If the baking powder isn’t mixed in, you’ll get uneven browning.
Step 3: Coat the Chicken
Take the chicken out of the buttermilk. Let the excess drip off for a second, then drop it into the flour mixture. Toss it around. I like to use my hands here—it’s faster and ensures every nook and cranny gets coated. Press the flour into the chicken gently. You want a thick, shaggy coating. If it looks too dry, add a splash more buttermilk. If it’s too wet, add a sprinkle more flour. You’re aiming for a texture like wet sand.
Step 4: Arrange and Bake
Place the coated chicken pieces on the baking sheet. Make sure they aren’t touching. Crowding them will steam the chicken instead of baking it, and you’ll lose that crispiness. Bake for 20 minutes. After 20 minutes, flip the pieces over. This ensures even browning on both sides.
Step 5: Make the Sauce
While the chicken is baking, mix the sauce. In a small bowl, whisk together the buffalo sauce, ranch dressing, melted butter, and blue cheese (if using). It should be smooth and creamy. Taste it. If it’s too spicy, add a bit more ranch. If it’s too tangy, add a teaspoon of honey.
Step 6: Toss and Finish
Remove the chicken from the oven. Immediately pour the sauce over the hot chicken. Toss gently to coat. The heat from the chicken will help the sauce cling. Return the baking sheet to the oven for another 5-10 minutes. This sets the sauce and makes the coating extra crispy. Watch them closely in the last few minutes—buffalo sauce has sugar in it and can burn if you leave it too long.
Step 7: Cool and Serve
Take them out and let them cool for 5 minutes. This is crucial. If you pack them hot, steam will build up in the lunchbox and make the coating soggy. Letting them cool slightly ensures they stay crispy until lunchtime.
Expert Tips & Tricks
I’ve made these enough times to know what works and what doesn’t. Here’s how to avoid common pitfalls:
- Don’t Skip the Cornstarch — I know it feels like extra work, but cornstarch is what makes them crispy. Flour alone makes a soft coating. Cornstarch creates that shatteringly crisp exterior.
- Use Parchment Paper — Don’t use foil. Foil sticks to the coating when it’s hot. Parchment is non-stick and makes cleanup a breeze. Plus, it helps with even heat distribution.
- Don’t Overcrowd the Pan — I know it’s tempting to fit as many as possible, but leave space. Air circulation is key to crispiness. If you have too much chicken, do two batches.
- Let Them Cool — This is the hardest part. Resist the urge to pack them while they’re hot. Cool them completely on a wire rack if you can. This prevents sogginess.
- Sauce Ratio — Start with less sauce. You can always add more, but you can’t take it away. Too much sauce makes the coating wet. Aim for a light, even coating.
Variations & Substitutions
Once you’ve got the basics down, feel free to mix it up. Here are some variations I’ve tried:
Spicy Version — Add a teaspoon of cayenne pepper to the flour mixture. Or use a hotter buffalo sauce like Texas Pete or Crystal. My older son likes it with a dash of hot sauce in the ranch.
Mild Version — Use half buffalo sauce and half tomato sauce for a milder kick. Or just use less buffalo sauce. Great for younger kids.
Gluten-Free — Swap the all-purpose flour for cornstarch or a gluten-free flour blend. The coating will be slightly different, but still crispy.
Dairy-Free — Use olive oil instead of butter in the sauce. Use a dairy-free ranch alternative or just skip the ranch and use a dairy-free mayo-based dressing. For the buttermilk, use coconut milk or almond milk with vinegar.
Veggie Option — You can use cauliflower florets instead of chicken. The coating and baking process are the same. They absorb the sauce beautifully.
Serving & Storage
How to Serve: These are perfect on their own, but they’re also great with celery sticks and carrot sticks on the side. I usually pack them with a small container of extra ranch for dipping. My kids love dipping them.
Storage: Store leftovers in an airtight container in the fridge for up to 4 days. They stay crispy for about 2 days, then start to soften. That’s why I usually only make enough for 2-3 days of lunches.
Reheating: Reheat in the microwave for 30-60 seconds. Or, for best results, reheat in the oven at 350°F for 10 minutes to restore crispiness. They’re also great cold.
Freezing: You can freeze these, but the texture changes. Freeze them after baking, then reheat in the oven. They won’t be as crispy as fresh, but still tasty.
Nutrition Information
I’m not a nutritionist, but here’s the breakdown per serving (based on 4 servings):
| Nutrient | Amount |
|---|---|
| Calories | 320 |
| Protein | 28g |
| Carbs | 18g |
| Fat | 14g |
| Sodium | 650mg |
This is a high-protein lunch, which is great for keeping kids full. The sodium is moderate, but you can reduce it by using low-sodium buffalo sauce and skipping the added salt in the flour.
Final Thoughts
These baked buffalo ranch chicken poppers have been a lifesaver for our back-to-school routine. They’re easy to make, kid-approved, and pack well. If you’re struggling with lunchbox ideas, give this a try. Your kids will love them, and you’ll love the lack of stress.
Happy cooking! And I hope your kitchen smells half as good as mine does right now.
Frequently Asked Questions
Can I use chicken thighs instead of breasts?
Yes! Chicken thighs are juicier and have more flavor. Just be aware they have more fat, so the cooking time might be slightly longer. They’re great if you don’t mind the extra calories.
Why did my poppers come out soggy?
Usually, this happens because the chicken was crowded on the pan, or they weren’t cooled before packing. Make sure to leave space between pieces and let them cool completely.
Can I make these ahead of time?
Yes, you can marinate the chicken overnight. But it’s best to coat and bake them the night before or morning of. They’re best fresh.
How spicy are these?
With Frank’s RedHot, they’re medium spicy. If you want them milder, use less sauce. If you want them hotter, add cayenne or use a hotter sauce.
Can I freeze these?
Yes, freeze them after baking. Reheat in the oven for best results. They won’t be as crispy as fresh, but still good.
Pin This Recipe!
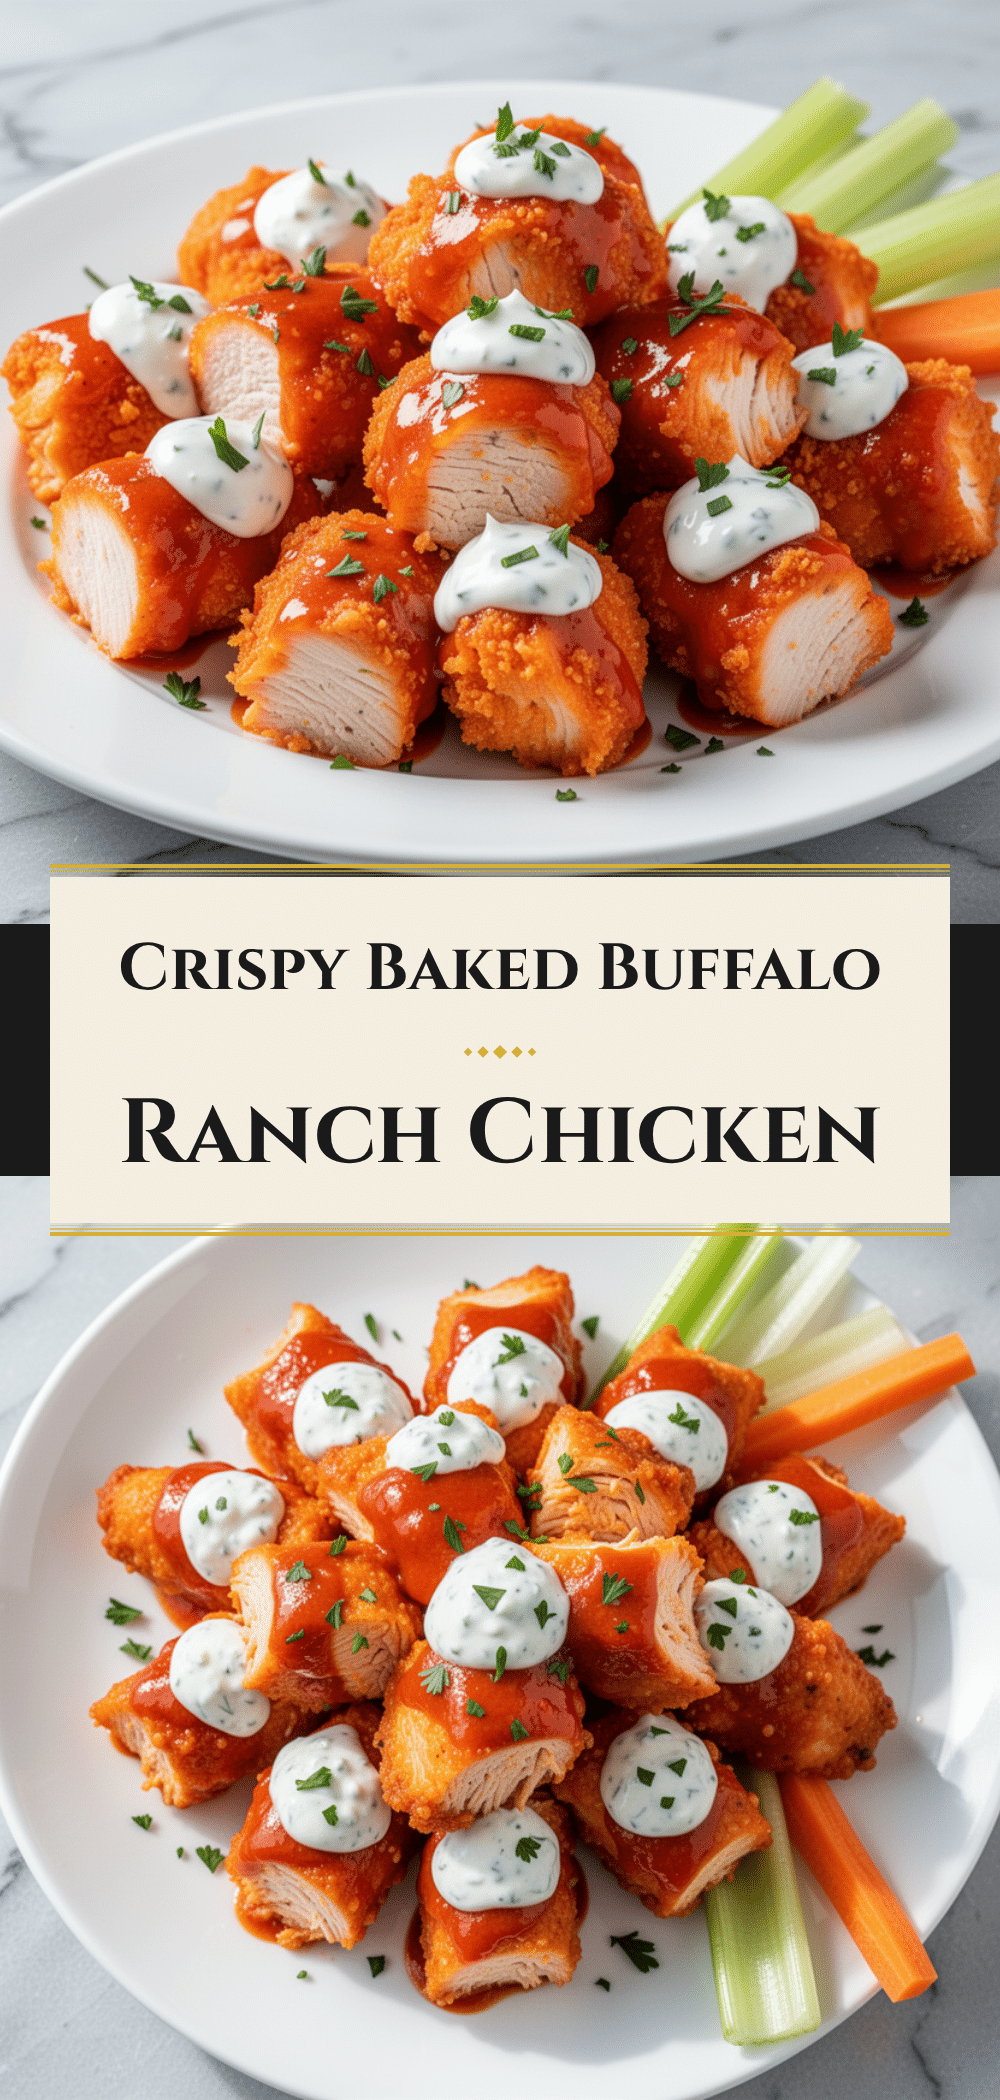

Baked Buffalo Ranch Chicken Poppers
- Total Time: 45 minutes
- Yield: 4 servings 1x
Description
Crispy, baked chicken poppers coated in a tangy buffalo ranch sauce, designed as a mess-free, kid-approved lunch option that is easy to meal prep.
Ingredients
- 2 large boneless, skinless chicken breasts (about 600g)
- 1 cup buttermilk
- 1 teaspoon garlic powder
- 1 teaspoon onion powder
- 1 cup all-purpose flour
- 2 tablespoons cornstarch
- 1 teaspoon baking powder
- Salt and black pepper to taste
- 1/2 cup buffalo wing sauce (e.g., Frank’s RedHot)
- 1/4 cup ranch dressing
- 2 tablespoons butter, melted
- 2 tablespoons blue cheese dressing (optional)
Instructions
- Trim excess fat from chicken breasts and cut into 1-inch cubes.
- Place chicken in a large bowl, pour buttermilk over it, and add garlic powder and onion powder. Toss to coat, cover, and marinate in the fridge for at least 30 minutes (up to 4 hours).
- Preheat oven to 400°F (200°C). Line a baking sheet with parchment paper.
- In a medium bowl, whisk together flour, cornstarch, baking powder, salt, and pepper.
- Remove chicken from buttermilk, letting excess drip off, then drop into the flour mixture. Toss to coat, pressing flour into chicken to create a thick, shaggy coating.
- Arrange coated chicken pieces on the baking sheet, ensuring they are not touching.
- Bake for 20 minutes, then flip the pieces over.
- While chicken bakes, whisk together buffalo sauce, ranch dressing, melted butter, and blue cheese (if using) in a small bowl.
- Remove chicken from oven, pour sauce over hot chicken, and toss gently to coat.
- Return to oven and bake for another 5-10 minutes to set the sauce and crisp the coating.
- Remove from oven and let cool for 5 minutes before packing or serving.
Notes
Do not overcrowd the pan to ensure crispiness. Let the poppers cool completely before packing to prevent sogginess from steam. For a gluten-free version, swap all-purpose flour for cornstarch or a 1:1 gluten-free flour blend. For dairy-free, use olive oil instead of butter and dairy-free ranch/buttermilk alternatives.
- Prep Time: 15 minutes
- Cook Time: 25-30 minutes
- Category: Main Course
- Cuisine: American
Nutrition
- Serving Size: Approximately 1.5 to
- Calories: 320
- Sugar: 2
- Sodium: 650
- Fat: 14
- Saturated Fat: 5
- Carbohydrates: 18
- Fiber: 1
- Protein: 28
Keywords: chicken poppers, buffalo chicken, ranch chicken, back to school lunch, meal prep, baked chicken, kid-friendly lunch, gluten-free option


