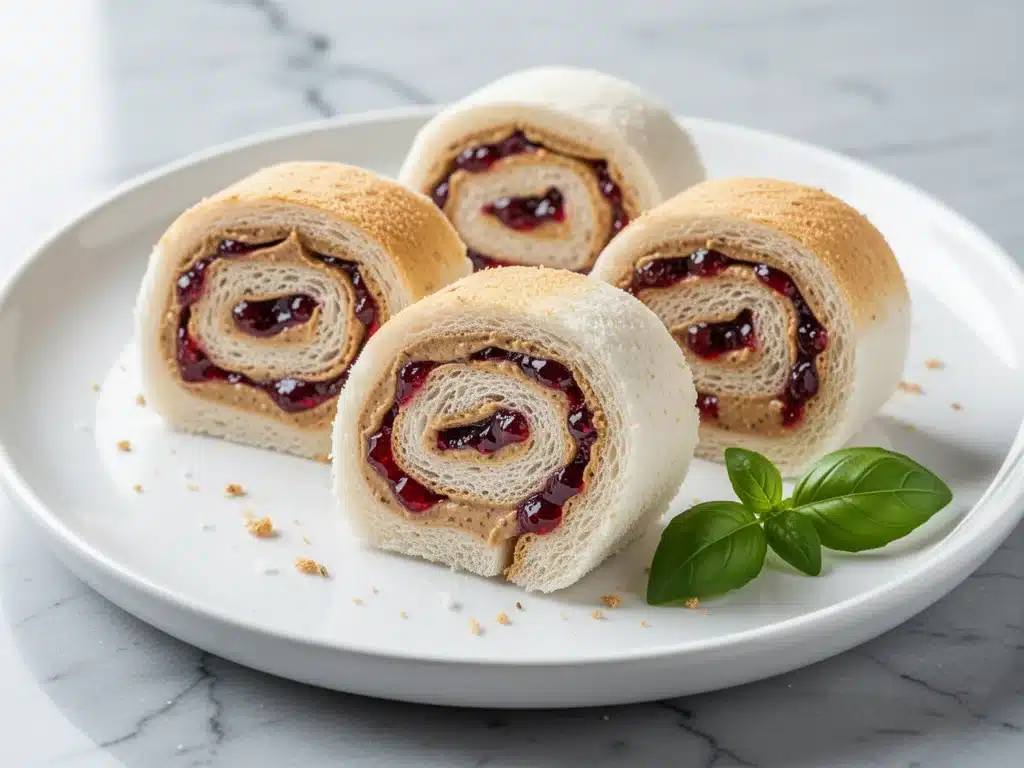
Last Tuesday, I was standing in my kitchen at 6:45 AM, staring at a half-eaten jar of sunflower butter and a package of flour tortillas. My 8-year-old, Leo, had just announced—between bites of toast—that his best friend’s class was having a “Nut-Free Celebration Day” next week. Because apparently, that means every single lunchbox needs to be completely nut-free, including the school-wide bake sale, the birthday party snacks, and apparently, my ability to grab a quick sandwich without checking the label three times.
Here’s the thing about school lunches. You think you’re prepared. You think you’ve got the routine down. Then comes the notification: “No nuts, no seeds, no peanuts, no tree nuts.” It’s a logistical nightmare if you’re like me and usually just throw whatever is in the pantry into a Tupperware container.
I’ve been making these nut-free sunflower butter pinwheels for school lunches for about two years now, but they really found their purpose last semester. I needed something that was safe, kid-approved, easy to assemble in the dark morning haze, and interesting enough that my picky eater wouldn’t just trade it for a bag of chips by 10 AM. These pinwheels are it. They’re sweet but not too sweet, creamy but sturdy, and they don’t leak all over the lunchbox like somePB&J disasters I’ve experienced.
If you’re searching for nut-free school lunch ideas, you’re probably tired of dry turkey slices and boring crackers. I get it. I’ve been there. These sunflower butter pinwheels are my answer to the “what’s for lunch” panic. They’re colorful, they’re fun to eat (rolling them up is half the battle for little hands), and they’re safe for almost every classroom policy. Plus, they freeze beautifully, which means I can make a batch on Sunday and have three days of lunchbox joy ready to go.
Why You’ll Love These Nut-Free Pinwheels
I’ve made a lot of lunchbox recipes over the years. Some were too complicated, some fell apart, and some my kids just ignored. These sunflower butter pinwheels for school lunches hit the sweet spot. Here’s why they’ve become a staple in our rotation:
Safety First — Most schools have strict nut-free policies. Peanuts and tree nuts are common allergens, and while sunflower seeds are technically seeds, they’re usually allowed in nut-free zones. (Check your specific school policy, as some are seed-free too, but for most, this is a winner.) I love knowing my kids are eating something safe without me having to stress about cross-contamination.
Zero Meltdowns — No, not emotional ones. I mean the pinwheels don’t fall apart. Tortillas can be tricky. If you use too much filling, it leaks. If you roll too tight, it bursts. I’ve tested the ratio dozens of times, and this balance is perfect. The pinwheels hold their shape all the way through recess and lunch.
Make-Ahead Friendly — Mornings are chaos. I don’t have time to assemble individual sandwiches while drinking coffee that’s already cold. These can be assembled, wrapped, and frozen on Sunday. In the morning, I just grab two or three and toss them in the lunchbox. By lunchtime, they’re thawed to perfection.
Kid-Approved Flavor — Sunflower butter can be gritty or bitter if you use the wrong kind. I’ve found that creamy, roasted sunflower butter tastes almost identical to peanut butter but with a slightly milder, nuttier flavor. Add a little honey or maple syrup, and it’s sweet enough for kids but not candy-level. My kids actually ask for these by name now. That’s a win.
Customizable — Love cinnamon? Add it. Want fruit? Add slices of banana or strawberry. Hate sweetness? Skip the honey and add a pinch of sea salt. These pinwheels are a blank canvas. I make them differently for each of my three kids based on their preferences. It’s like a DIY lunch station that takes five minutes.
This recipe is my go-to when I need a lunchbox item that is reliable, safe, and actually delicious. It’s not just “good for school lunch.” It’s good period. And that’s rare.
Ingredients You’ll Need
Here’s the best part: you probably have most of this already. This is a pantry-friendly recipe that doesn’t require a trip to the specialty store. I’m particular about the sunflower butter, though. Not all brands are created equal, and I’ll tell you exactly what to look for.
For the Pinwheels
Flour tortillas (6-inch or 8-inch, about 4-6 tortillas) — I use soft, pliable flour tortillas. The smaller 6-inch ones are easier for younger kids to roll, but 8-inch works for older kids. Look for ones that are fresh and not dried out. If they crack when you roll, they’ll crack when you eat. I like the store brand or Ezekiel if you want a whole-grain option, though whole wheat can be a bit harder to roll tightly.
Sunflower butter (½ cup / 120g) — This is the star. Use creamy, roasted sunflower butter. Avoid the natural kinds that separate unless you’re willing to stir them for five minutes. I prefer brands like SunButter or store-brand creamy sunflower seed butter. Make sure it’s labeled nut-free if you’re in a strict environment. The texture should be smooth like peanut butter.
Honey or maple syrup (2 tablespoons) — This adds sweetness and helps the filling stick. Honey gives a richer flavor, while maple syrup keeps it vegan. I use honey most of the time because my kids prefer it. If you’re avoiding sugar, you can skip it, but the pinwheels will be less sweet. I recommend starting with 1 tablespoon and tasting the mixture.
Cinnamon (½ teaspoon) — Optional, but highly recommended. It adds warmth and makes it taste like a dessert. If you’re doing a savory version, skip this and add a pinch of salt and garlic powder instead.
Optional Add-ins — I like to add a layer of banana slices (thinly sliced) or strawberry jam (1 tablespoon) for extra flavor. Banana adds moisture, so use sparingly. Jam adds a nice fruity kick. You can also add a sprinkle of mini chocolate chips if your school allows them. I usually skip chocolate to keep it “healthy-ish,” but it’s a kid favorite.
For the Dipping Sauce (Optional)
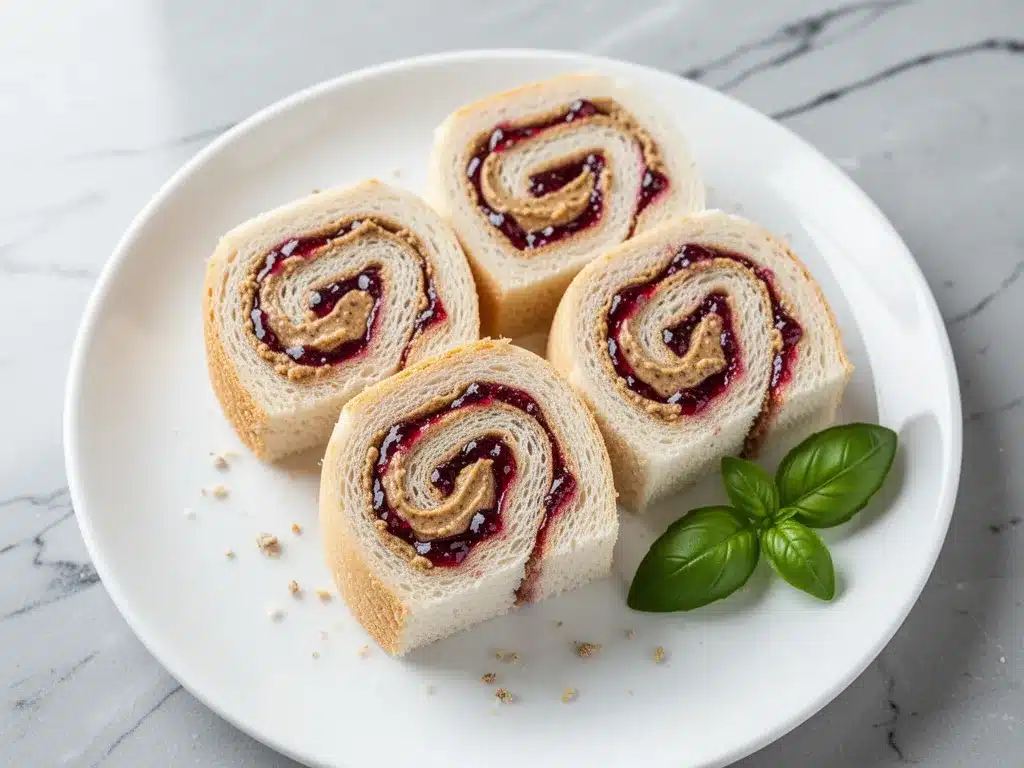
Yogurt (½ cup plain or vanilla) — Greek yogurt works well. It adds protein and tang.
Honey (1 teaspoon) — To sweeten the yogurt.
Lemon juice (½ teaspoon) — Brightens the flavor.
I usually pack the yogurt in a small container and let my kids dip the pinwheels. It’s like a fruit salad meets dessert vibe. If you’re skipping the yogurt, just stick to the pinwheels alone—they’re great on their own.
Shopping Tip: Buy your sunflower butter in the natural foods aisle or the peanut butter section. If it’s not labeled “nut-free,” check the manufacturing facility. Some facilities process nuts, which can be a risk for severe allergies. Look for the “made in a nut-free facility” label if you’re strict.
Equipment Needed
You don’t need fancy equipment for this. Here’s what I actually use:
Small mixing bowl — Any bowl works. I use a 1-quart ceramic bowl because it’s sturdy and easy to clean.
Spatula — For mixing the sunflower butter and honey. Silicone works best.
Rolling pin (optional) — I don’t usually use one, but if your tortillas are stiff, a quick roll can soften them. I prefer to just warm them in the microwave for 10 seconds.
Cling wrap or parchment paper — Essential for rolling and wrapping. I use parchment paper for wrapping the pinwheels because it’s easier to peel off.
Sharp knife — For slicing the pinwheels. A serrated knife works well for clean cuts without squishing the tortilla.
Lunchboxes — Obviously. I use bento-style boxes with compartments for the pinwheels and any dips or snacks.
Freezer-safe bags or containers — For storing the pinwheels. I use quart-sized ziplock bags. I lay them flat so they don’t break.
Tip: If you’re making these for multiple kids, I recommend setting up an assembly line. Tortillas on one side, filling in the middle, rolling station, wrapping station. It speeds things up.
How to Make It: Step-by-Step
Alright, let’s make these! I’m walking you through exactly how I do it, including the little tricks I’ve picked up over two years of lunchbox prep.
Step 1: Prep Your Tortillas (2 minutes)
If your tortillas are stiff or cold, warm them up. Place them on a microwave-safe plate and microwave for 10-15 seconds. This makes them pliable and less likely to crack. If they’re already soft, skip this. Lay out your tortillas on a clean surface. If you’re using 6-inch tortillas, you’ll need about 6-8 for a batch. For 8-inch, you’ll need 4-5.
Step 2: Mix the Filling (2 minutes)
In a small bowl, mix the sunflower butter and honey until smooth. If you’re adding cinnamon, stir it in now. The mixture should be smooth and spreadable. If it’s too thick, add a teaspoon of milk or more honey. If it’s too runny, add a bit more sunflower butter. You want it to spread easily but not drip.
Step 3: Spread the Filling (3 minutes)
Take one tortilla and spread a thin, even layer of the sunflower butter mixture over the entire surface, leaving a ½-inch border around the edges. This border is crucial—it’s what seals the pinwheel. If you spread too close to the edge, the filling will leak out when you roll. Use a spatula for even coverage. If you’re adding banana slices, lay them in a single layer now. Don’t overcrowd.
Step 4: Roll It Up (2 minutes)
Starting from the long edge, roll the tortilla tightly but gently. Don’t squash it. Just roll it like a jelly roll. Once you’ve rolled it, press the edge with your finger to seal it. The sunflower butter acts as glue, so it should stick. If it’s not sticking, add a tiny bit more filling to the edge.
Step 5: Slice the Pinwheels (3 minutes)
Using a sharp knife, slice the roll into 1-inch rounds. For 6-inch tortillas, you’ll get about 6-8 pinwheels. For 8-inch, you’ll get 8-10. If you’re using a serrated knife, use a gentle sawing motion. Don’t press down hard, or you’ll squish the pinwheels. Wipe the knife between cuts if the filling gets sticky.
Step 6: Wrap and Freeze (5 minutes)
Place the pinwheels on a sheet of parchment paper. Wrap them tightly in the parchment, then place them in a freezer-safe bag or container. Label the bag with the date. They’ll keep in the freezer for up to 2 weeks. To serve, take them out of the freezer and let them thaw in the lunchbox for 2-3 hours. If you’re making them fresh, wrap them in cling wrap and eat within 4 hours.
Step 7: Pack the Lunchbox
Place the pinwheels in the lunchbox. If you’re adding yogurt dip, pack it in a small container. Add any other snacks like fruit or veggies. Close the lid and you’re done. Simple, right?
Total Time: About 15 minutes for a batch of 24 pinwheels. That’s less than 1 minute per pinwheel.
Troubleshooting
Pinwheels falling apart? Your tortillas were too dry, or you didn’t leave a border. Next time, warm the tortillas and leave a ½-inch edge.
Filling leaking? You spread too much filling. Use a thin layer. If it leaks, wipe the tortilla edge before rolling.
Pinwheels too sweet? Reduce the honey to 1 tablespoon or skip it entirely. Add a pinch of salt to balance the flavor.
Expert Tips & Tricks
Here’s everything I’ve learned from making these dozens of times. These tips will save you from my mistakes.
Use Creamy Sunflower Butter
Natural sunflower butter separates and can be gritty. Use a creamy, processed version for the best texture. If you must use natural, stir it until it’s smooth and add a teaspoon of oil to help it spread.
Don’t Skip the Border
That ½-inch edge is your friend. It’s the seal that keeps the filling inside. If you ignore it, you’ll have a mess in your lunchbox. Trust me on this.
Freeze in Single Layers
If you’re freezing a batch, place the pinwheels in a single layer in the container. If you stack them, they’ll stick together. You can separate them with parchment paper if you need to stack.
Warm Tortillas Before Rolling
Cold tortillas crack. Warm tortillas roll. This is the #1 tip for successful pinwheels. Microwave for 10 seconds, or wrap in a damp paper towel and microwave for 15 seconds.
Make Ahead Strategy
I make a big batch on Sunday, freeze them, and grab what I need each morning. This saves so much time. You can also make them fresh the night before and store in the fridge.
Savory Variation
Skip the honey and cinnamon. Add a pinch of salt, garlic powder, and dried herbs. Spread with cream cheese or hummus instead of sunflower butter. These are great for kids who prefer savory lunches.
Variations & Substitutions
Once you’ve nailed the basic version, here’s how you can mix it up. I’ve tried all of these.
Banana Sunflower Butter
Add thinly sliced banana to the filling. This is my kid’s favorite. The banana adds moisture and sweetness. Use ripe bananas for best flavor.
Strawberry Sunflower Butter
Spread a thin layer of strawberry jam before adding the sunflower butter. This adds a fruity kick and makes it look pretty. Use seedless jam to avoid grit.
Cinnamon Sugar
Sprinkle cinnamon sugar on top of the sunflower butter before rolling. This adds extra sweetness and a nice crunch. Use this for a dessert-like treat.
Chocolate Chip
Add mini chocolate chips to the filling. This is a kid favorite, but check your school’s policy on chocolate. Some schools allow it, some don’t.
Savory Herb
Use sunflower butter mixed with garlic powder and dried basil. Add roasted red peppers for extra flavor. This is great for older kids who prefer savory.
Gluten-Free
Use gluten-free tortillas. They can be harder to roll, so warm them well. Look for brands that are soft and pliable. Food for Life gluten-free tortillas work well.
Vegan
Use maple syrup instead of honey. The rest of the recipe is already vegan. Just check your sunflower butter label to ensure no dairy or honey was added.
Serving & Storage
How to Serve:
I usually serve these straight from the lunchbox. They’re great at room temperature. If you’re serving them fresh, wrap them in cling wrap and eat within 4 hours. If you’re serving them frozen, let them thaw in the lunchbox for 2-3 hours.
Side Dishes:
I usually pack these with fresh fruit (grapes, apple slices, berries), veggies (carrot sticks, cucumber slices), and a yogurt dip. This makes a balanced lunch. You can also add a small bag of crackers or pretzels for crunch.
Storage Instructions:
Refrigerator: Store in an airtight container for up to 3 days. The tortillas may soften, but they’re still good.
Freezer: Store in a freezer-safe bag for up to 2 weeks. Thaw in the lunchbox or at room temperature for 30 minutes.
Do Not Freeze: If you’re adding fresh fruit like banana, freeze separately. Banana can get mushy when frozen and thawed.
Pro Tip: If the pinwheels are drying out, wrap them in a damp paper towel and microwave for 10 seconds before packing. This revives the tortilla.
Nutrition Information
I’m not a nutritionist, but here’s the breakdown if you’re tracking. This is per pinwheel (based on 6-inch tortillas, making 8 pinwheels per tortilla).
Per Pinwheel:
– Calories: 80
– Protein: 2g
– Carbs: 10g
– Fiber: 1g
– Sugar: 4g
– Fat: 4g
– Saturated Fat: 0g
– Cholesterol: 0mg
– Sodium: 70mg
What’s Good:
– Low in sugar compared to other school snacks
– No nuts or dairy
– Good source of healthy fats from sunflower seeds
– Easy to customize for dietary needs
What to Know:
– Higher in carbs from the tortilla
– Contains gluten (unless using GF tortillas)
– Moderate sodium (check tortilla label)
My Take:
Look, this is a treat, not a salad. But it’s a better treat than a candy bar or chips. It’s filling, safe, and kid-approved. When I want to make it lighter, I use whole wheat tortillas and reduce the honey. But usually? I just enjoy it as a fun, easy lunchbox item.
Final Thoughts
So that’s my go-to nut-free sunflower butter pinwheels for school lunches! I’ve probably talked your ear off at this point, but when you make a recipe this often, you have a lot to say about it.
This has saved weeknight prep and morning chaos more times than I can count. It’s my answer to “what’s for lunch” when I’m tired, don’t want to overthink it, and still want something that tastes really good. My kids are happy, the school is happy (nut-free!), and I’m happy because I’m not stressed about cooking.
Make it yours! Try different add-ins, swap in your favorite fruits, adjust the sweetness. The best recipes are the ones you adapt to your family’s tastes. If you make this, drop a comment and let me know what you think! I love hearing how recipes turn out in your kitchen. And if something doesn’t work, tell me that too—I’m here to help troubleshoot.
Happy packing! And I hope your lunchbox smells half as good as my kitchen does right now.
Frequently Asked Questions
Can I use peanut butter instead of sunflower butter?
You can, but these are specifically for nut-free environments. If your school allows peanut butter, go for it! But if you’re in a strict nut-free zone, stick with sunflower butter. It’s safe and tastes similar. Just check your school’s policy first.
Why did my pinwheels fall apart?
Usually, this means the tortillas were too dry or you didn’t leave a border. Warm the tortillas before rolling, and leave a ½-inch edge around the filling. This helps seal the pinwheel. If they’re still falling apart, use a softer tortilla brand.
Can I make these ahead for the week?
Absolutely! I make a big batch on Sunday and freeze them. They’ll keep in the freezer for up to 2 weeks. Grab what you need each morning, and let them thaw in the lunchbox. This is the best strategy for busy mornings.
Are sunflower seeds allowed in all nut-free schools?
Most nut-free schools allow sunflower seeds, but some are seed-free. Check your school’s policy. If seeds are not allowed, you can try using tahini (sesame seed paste) or sunflower seed butter that is certified seed-free. Some brands make seed-free alternatives.
How do I reheat these if I want them warm?
I usually serve them cold or at room temperature. If you want them warm, microwave for 10-15 seconds. Don’t overheat, or the tortilla will get tough. Warm them just enough to soften the filling.
Can I use whole wheat tortillas?
Yes, but they can be harder to roll. Warm them well before rolling, and use a thinner layer of filling. Whole wheat tortillas add fiber and nutrients, so they’re a good option if your kids will eat them.
What if my kids don’t like sunflower butter?
Try mixing it with a little honey or maple syrup to sweeten it. You can also mix it with a little peanut butter if your school allows it. If they still don’t like it, try a different nut-free butter like soy butter or pea butter.
Pin This Recipe!
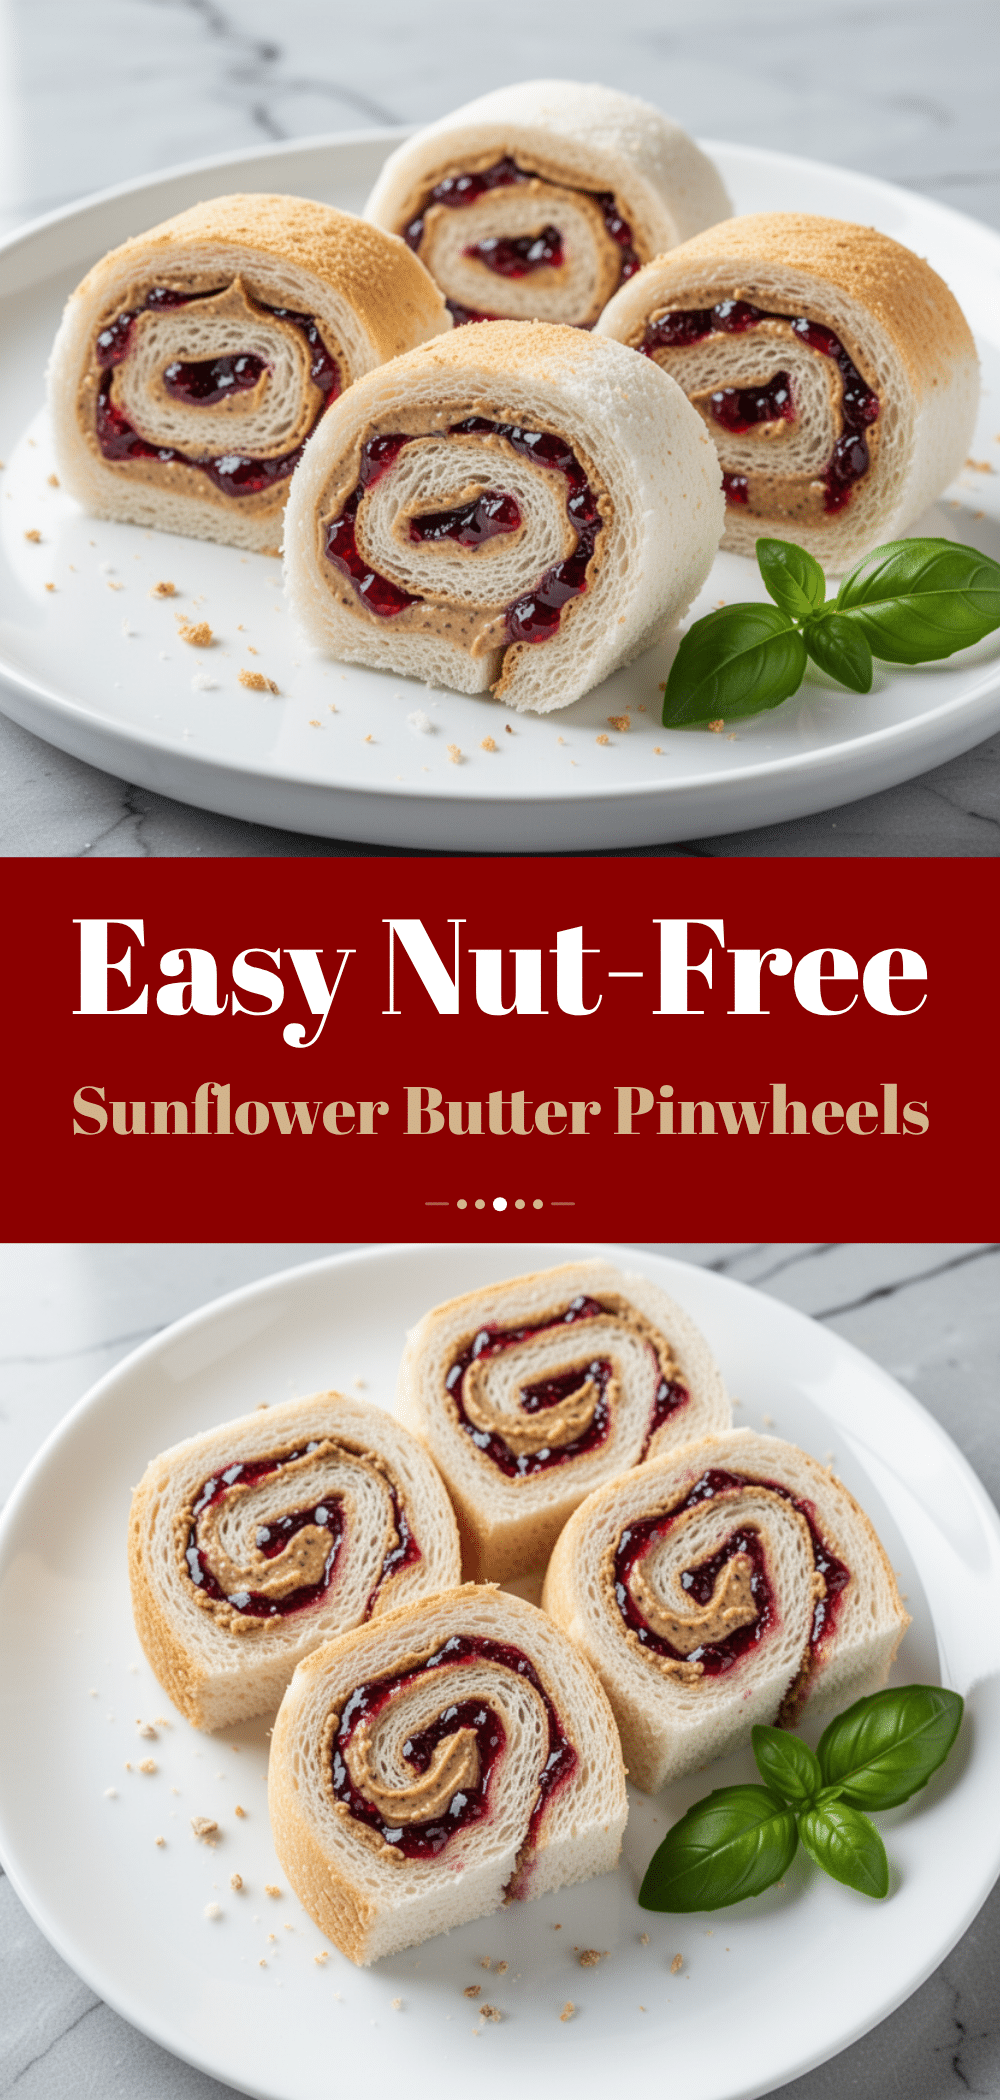

Nut-Free Sunflower Butter Pinwheels for School Lunches
- Total Time: 15 minutes
- Yield: 24 pinwheels (based on 6-inch tortillas) 1x
Description
Kid-approved, nut-free sunflower butter pinwheels that are safe for school lunches, easy to make ahead, and customizable with fruits or cinnamon.
Ingredients
- 4–6 flour tortillas (6-inch or 8-inch)
- 1/2 cup (120g) creamy roasted sunflower butter
- 2 tablespoons honey or maple syrup
- 1/2 teaspoon cinnamon (optional)
- Pinch of sea salt (optional, for savory version)
- Thinly sliced banana or 1 tablespoon strawberry jam (optional add-ins)
- Mini chocolate chips (optional, if school allows)
Instructions
- Warm tortillas in the microwave for 10-15 seconds to make them pliable and prevent cracking.
- In a small bowl, mix sunflower butter and honey (or maple syrup) until smooth. Stir in cinnamon if using.
- Lay a tortilla flat and spread a thin, even layer of the sunflower butter mixture over the surface, leaving a 1/2-inch border around the edges.
- Add optional fillings like banana slices or jam, ensuring not to overcrowd.
- Starting from the long edge, roll the tortilla tightly but gently, pressing the edge to seal.
- Using a sharp or serrated knife, slice the roll into 1-inch rounds.
- Wrap pinwheels in parchment paper or cling wrap. For make-ahead, freeze in a single layer in a freezer-safe bag for up to 2 weeks.
- Pack in lunchbox and let thaw for 2-3 hours before eating, or serve fresh within 4 hours.
Notes
Ensure tortillas are warm to prevent cracking. Leave a 1/2-inch border to seal the filling. Check school policies regarding seeds and chocolate. Natural sunflower butter may separate; use creamy processed versions for best texture.
- Prep Time: 15 minutes
- Cook Time: 0 minutes
- Category: Lunch
- Cuisine: American
Nutrition
- Serving Size: 1 pinwheel
- Calories: 80
- Sugar: 4
- Sodium: 70
- Fat: 4
- Carbohydrates: 10
- Fiber: 1
- Protein: 2
Keywords: nut-free, school lunch, sunflower butter, pinwheels, kid-friendly, make-ahead, gluten-free option, vegan option


