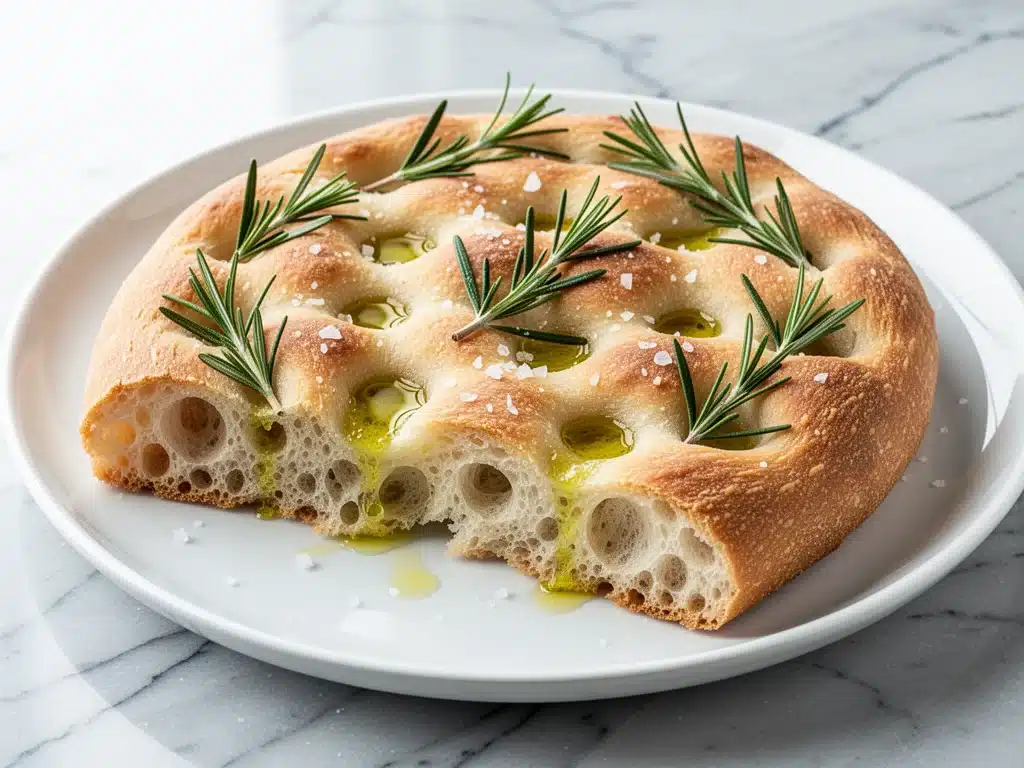
I still remember the first time I pulled a sheet pan out of the oven that actually looked like focaccia. It wasn’t flat. It wasn’t dense like a brick. It was pillowy, golden, and dimpled with those perfect little pockets that trap olive oil like a dream. I stood in my kitchen, staring at it, convinced I’d accidentally ordered it from a fancy bakery. But no. I’d made it. With sourdough. And rosemary. And just enough sea salt to make my tastebuds sing.
Before that moment, I was terrified of sourdough. I thought it required a degree in microbiology, a crystal ball, and at least three days of my life I’d never get back. But here’s the thing about sourdough focaccia: it’s the gateway drug. It’s forgiving. It’s fast (relatively speaking). And it tastes like heaven. This beginner-friendly sourdough focaccia with rosemary and sea salt is the recipe I make on repeat. Like, every week. My family thinks I’ve lost my mind, but they also think it’s the best bread they’ve ever eaten, so I’ll take it.
I’ve tested this recipe more times than I care to admit. There was the batch that was too dense because I didn’t let it rise enough. The one where I burned the rosemary because I got distracted by a text message. The batch where I forgot the salt entirely (don’t judge me). But through all the mistakes, I’ve nailed it. This recipe is simple, uses just seven ingredients, and requires no fancy equipment. Just a bowl, a pan, and a little patience. If you can follow instructions, you can make this. And once you do, you’ll never go back to store-bought bread again.
Why You’ll Love This Recipe
There are a million bread recipes out there, but this one? It’s special. It’s the one I reach for when I want to feel like a culinary genius without the stress. Here’s why this sourdough focaccia has earned a permanent spot in my kitchen rotation:
- It’s Actually Beginner-Friendly — Seriously. I’ve walked my sister, who has never baked in her life, through this recipe over the phone. She made it. It was beautiful. If you can measure flour and water, you can do this. No sourdough starter maturity required (more on that in a bit).
- Seven Ingredients, Max — Flour, water, salt, olive oil, sourdough starter, rosemary, and sea salt. That’s it. No weird additives, no hours of kneading, no complicated techniques. Just simple, honest food.
- Uses Your Active Starter — If you’ve been nurturing that jar of bubbly goop in your fridge, this is the perfect way to use it up. No waste. No guilt. Just delicious bread.
- Perfect for Any Meal — Breakfast? Yes. Lunch? Absolutely. Dinner? Obviously. Snack? Why not? I’ve eaten this with soup, alongside roasted chicken, and straight out of the pan with nothing but a glass of wine. It’s versatile as hell.
- Makes Your House Smell Like a Bakery — There’s nothing quite like the smell of baking bread filling your home. It’s cozy. It’s comforting. It makes everyone (including your pets) stop what they’re doing and come investigate.
This isn’t just bread. It’s a mood. It’s a victory. It’s the kind of thing that makes you feel capable and creative, even on your worst days. And the best part? It’s ready in about 8 hours, but most of that time is just waiting. You’re not standing over the stove. You’re not sweating. You’re living your life, and the bread is doing its thing. That’s the beauty of focaccia.
Ingredients You’ll Need
Here’s the best part: you probably already have most of these ingredients. This isn’t a recipe that requires a trip to three different specialty stores. It’s pantry-friendly, fridge-staple friendly, and sourdough-starter friendly. Let’s break it down.
For the Dough
Bread Flour (3 ½ cups / 450g) — I use King Arthur Bread Flour because it has a higher protein content, which gives the bread that chewy, airy texture. All-purpose flour works, but the bread will be a bit denser. Don’t go cheap here. Good flour makes good bread.
Water (1 ½ cups / 360ml, warm) — Warm, not hot. Think bathwater temperature. If it’s too hot, you’ll kill your starter. If it’s too cold, the yeast won’t wake up. I test it with my wrist—it should feel slightly warm, not hot.
Active Sourdough Starter (1 cup / 240g) — This needs to be bubbly and active. Feed it 4-6 hours before you plan to make the bread. If it’s not risen and bubbly, wait. Patience is key. I’ve made this mistake more than once, and the results were… underwhelming.
Salt (1 ½ teaspoons / 9g) — Fine sea salt or table salt works. I prefer fine sea salt because it dissolves easier in the dough. Don’t skimp on the salt. It’s not just for flavor; it strengthens the gluten structure.
For the Topping
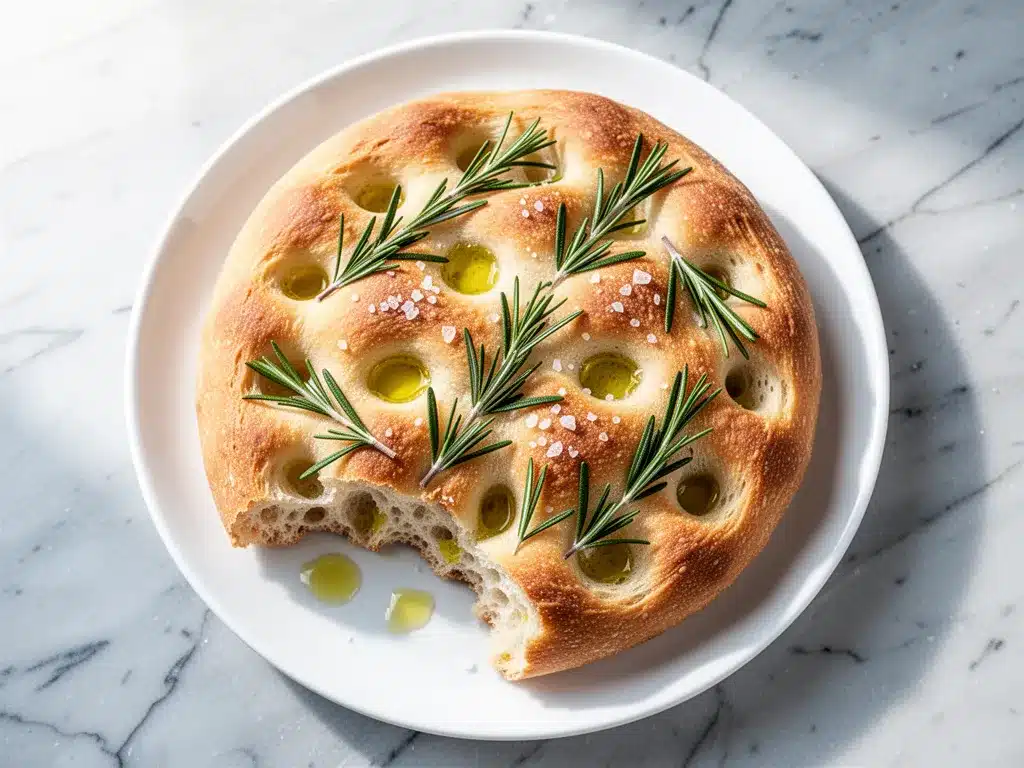
Olive Oil (½ cup / 120ml, plus more for brushing) — Use a good quality extra virgin olive oil. This is where you don’t need to spend a fortune, but don’t use the cheap stuff from the gas station. It makes a difference. I drizzle a lot of this over the top—it’s what gives focaccia its signature richness.
Fresh Rosemary (2 tablespoons, chopped) — Fresh is non-negotiable here. Dried rosemary is too woody and lacks that piney freshness. I buy a fresh sprig from the grocery store and chop it up. If you don’t like rosemary, try thyme or even just coarse sea salt. But rosemary is classic for a reason.
Coarse Sea Salt (1 teaspoon / 5g) — This is for the topping. Flake salt or Maldon salt works best. It adds those crunchy, salty bites that contrast with the soft bread. Regular table salt will dissolve too much and won’t give you that texture.
Optional Add-Ins
Garlic — Minced garlic cloves add a nice kick. I sometimes press them into the dough before baking.
Cherry Tomatoes — Halved cherry tomatoes pressed into the dough add sweetness and acidity. Great for summer.
Olives — Kalamata or green olives, sliced. Adds a Mediterranean vibe.
Onions — Thinly sliced red onions caramelize beautifully in the oven. Sweet and savory perfection.
Equipment Needed
You don’t need fancy equipment for this. Here’s what I actually use:
- 13×9 inch Baking Pan — I use a metal pan because it conducts heat well. Glass or ceramic pans work too, but they might take a few minutes longer to bake. Don’t use a dark pan unless you’re careful—it can burn the bottom.
- Large Mixing Bowl — Something big enough to hold the dough as it rises. I use a 6-quart bowl.
- Dough Scraper — Not strictly necessary, but it makes handling the sticky dough so much easier. I use mine to scrape the bowl and transfer the dough to the pan.
- Plastic Wrap or Damp Towel — For covering the bowl during the first rise. I prefer plastic wrap because it creates a better seal.
- Pastry Brush — For brushing olive oil over the dough. A silicone brush works great.
- Sharp Knife or Kitchen Shears — For chopping the rosemary.
- Cooling Rack — To cool the bread after baking. Don’t skip this step—letting it cool prevents a gummy texture.
Pro Tip: If you don’t have a 13×9 pan, you can use two 9-inch round pans or a 9×13 glass dish. Just adjust the baking time slightly—it might take a few minutes longer.
How to Make It: Step-by-Step
Alright, let’s make this! I’m walking you through exactly how I do it, including the little tricks I’ve picked up. This isn’t complicated, but there are a few key moments where attention matters.
Step 1: Feed Your Starter (4-6 hours before)
Start by feeding your sourdough starter. Use equal parts flour and water by weight (1:1:1 ratio is standard, but I use 100g starter, 100g flour, 100g water). Let it sit at room temperature until it’s doubled in size and bubbly. This is your active starter. If you skip this step, the bread won’t rise properly. I’ve made this mistake, and the result was a flat, dense pancake. Not what we want.
Step 2: Mix the Dough (10 minutes)
In a large bowl, combine the warm water and active sourdough starter. Whisk until the starter is dissolved. Add the flour and salt. Mix with a wooden spoon or your hands until a shaggy dough forms. It will be sticky. That’s normal. Don’t add more flour. I know it’s tempting, but resist. The stickiness is what creates those air pockets.
Let the dough rest for 30 minutes. This is called autolyse, and it helps the gluten develop without kneading. Just walk away. Go make yourself a coffee. Or a fall cinnamon maple latte if you’re feeling festive.
Step 3: Fold the Dough (5 minutes, repeat 3 times)
After 30 minutes, it’s time to fold. Wet your hands to prevent sticking. Grab one side of the dough, stretch it up, and fold it over the center. Rotate the bowl and repeat on all four sides. This strengthens the gluten. Do this every 30 minutes for 2 hours. So, four folds total. It’s quick, and it makes a huge difference in the final texture.
Step 4: First Rise (2-4 hours)
After the final fold, cover the bowl with plastic wrap or a damp towel. Let it rise at room temperature until it’s puffy and has increased in size by about 50%. This usually takes 2-4 hours, depending on your kitchen temperature. If your kitchen is cold, it might take longer. If it’s warm, it might be faster. Look for bubbles on the surface. That’s a good sign.
Step 5: Prepare the Pan (5 minutes)
Generously oil your 13×9 baking pan. I use about 2 tablespoons of olive oil. Swirl it around to coat the bottom and sides. This prevents sticking and adds flavor. If you’re worried about sticking, you can also line the pan with parchment paper, but I find the oil is enough.
Step 6: Transfer and Second Rise (1-2 hours)
Transfer the dough to the prepared pan. It will be sticky and won’t spread easily. Don’t panic. Wet your hands again and gently press the dough into the corners. Use your fingers to dimple the surface—this is where the olive oil and toppings will go. Don’t be gentle here. Press down firmly. This creates those iconic focaccia dimples.
Drizzle the remaining olive oil over the top. Sprinkle with chopped rosemary and coarse sea salt. Cover loosely with plastic wrap or a towel. Let it rise again for 1-2 hours until it’s puffy and the dimples hold their shape. If you press a finger into it and it springs back slowly, it’s ready.
Step 7: Bake (25-30 minutes)
Preheat your oven to 425°F (220°C). Place the pan in the oven and bake for 25-30 minutes. The bread should be golden brown on top and deep golden on the bottom. If it’s browning too quickly, tent it with foil. Rotate the pan halfway through for even baking.
Step 8: Cool and Serve (15 minutes)
Remove the bread from the oven and let it cool in the pan for 5 minutes. Then transfer it to a cooling rack. Let it cool for at least 10 minutes before slicing. I know it’s tempting to dig in immediately, but slicing hot bread can make it gummy. Patience pays off.
Once cooled, slice and enjoy. It’s best served warm, but it’s delicious at room temperature too. Store leftovers in an airtight container for up to 3 days, or freeze for longer storage.
Expert Tips & Tricks
Here’s everything I’ve learned from making this dozens of times. These tips will save you from my mistakes.
- Know Your Starter — The starter is the heart of this bread. If it’s not active, the bread won’t rise. Always feed it 4-6 hours before baking. If it’s not bubbly, wait. I’ve learned this the hard way with a dense, flat loaf that tasted like disappointment.
- Don’t Overmix — Once you add the flour, mix just until combined. Overmixing develops too much gluten, making the bread tough. We want tender, airy focaccia, not chewy bagels.
- Humidify Your Oven — For a crispier crust, place a pan of water on the bottom rack of your oven while it preheats. The steam helps the bread expand and creates a better crust. It’s a small step that makes a big difference.
- Check the Bottom — When the bread is done, lift it out of the pan. The bottom should be golden brown, not pale. If it’s pale, bake for 2-3 more minutes. A pale bottom means underbaking.
- Don’t Skip the Folds — The folds are what give the bread structure. Without them, the dough will be flat and dense. Don’t skip this step. It’s only 5 minutes, but it’s crucial.
- Use a Thermometer — If you’re unsure if the bread is done, use an instant-read thermometer. The internal temperature should be around 190°F (88°C). If it’s lower, it needs more time.
Common Mistakes:
- Dough is too sticky to handle: Wet your hands! Don’t add more flour. The stickiness is normal.
- Bread is flat: Starter wasn’t active enough, or it didn’t rise long enough. Check your starter and give it more time.
- Bread is dense: Overmixed dough, or not enough folds. Be gentle and fold properly.
- Burnt bottom: Oven too hot, or pan too dark. Lower the temperature by 25°F or use a lighter pan.
Variations & Substitutions
Once you’ve nailed the basic version, here’s how you can mix it up. I’ve tried all of these, and they’re all delicious.
- Garlic Rosemary Focaccia — Press 4-5 cloves of minced garlic into the dough before baking. Adds a savory depth that’s irresistible.
- Tomato & Basil Focaccia — Top with halved cherry tomatoes and fresh basil leaves after baking. The residual heat wilts the basil perfectly.
- Onion & Olive Focaccia — Sauté thinly sliced red onions until caramelized, then spread over the dough before the second rise. Add sliced Kalamata olives on top.
- Cheesy Focaccia — Sprinkle shredded mozzarella or grated Parmesan over the dough before baking. Great for kids or cheese lovers.
- Spicy Focaccia — Add red pepper flakes or sliced jalapeños to the topping. Adds a nice kick.
Dietary Modifications:
- Gluten-Free — Use a gluten-free flour blend with xanthan gum. The texture will be different, but it’s still delicious. I’ve used Bob’s Red Mill 1-to-1 blend with success.
- Dairy-Free — This recipe is naturally dairy-free, so no changes needed. Just ensure your starter is dairy-free (some people feed it with milk, which is rare but possible).
- Vegan — This recipe is naturally vegan. No animal products involved.
Serving & Storage
How to Serve: I usually serve this straight from the pan, torn into pieces. It’s rustic and casual. But here are other ways I’ve enjoyed it:
- With Soup — This is my go-to comfort combo. Pair it with butternut squash soup for a cozy fall meal.
- With Roasted Chicken — Serve alongside roasted chicken for a hearty dinner.
- With Charcuterie — Part of a fall charcuterie board with cheeses, meats, and pickled vegetables.
Storage:
- Room Temperature: Store in an airtight container for up to 3 days. It stays soft and fresh.
- Refrigerator: Not recommended. The cold dries out bread. If you must refrigerate, wrap it tightly in plastic.
- Freezer: Wrap tightly in plastic wrap and foil. Freeze for up to 3 months. Thaw at room temperature or warm in the oven.
Reheating: Warm in a 350°F oven for 5-10 minutes. This restores the crispiness. Don’t microwave—it makes the bread chewy and dense.
Nutrition Information
I’m not a nutritionist, but here’s the breakdown if you’re tracking. Per slice (based on 12 slices):
- Calories: 220
- Protein: 6g
- Carbs: 32g
- Fiber: 2g
- Fat: 8g
- Sodium: 350mg
Look, this is comfort food with olive oil and flour. It’s not a diet recipe. But it’s made from simple, whole ingredients. When I want to make it lighter, I use less oil and add more vegetables. But usually? I just enjoy a reasonable portion and savor the moment.
Final Thoughts
So that’s my beginner-friendly sourdough focaccia with rosemary and sea salt! I’ve probably talked your ear off at this point, but when you make a recipe this often, you have a lot to say about it. This bread has saved weeknight dinners more times than I can count. It’s my answer to “what’s for dinner” when I’m tired, don’t want takeout, and still want something that tastes really good. My family is happy, and I’m happy because I’m not stressed about cooking.
Make it yours! Try different add-ins, swap in your favorite herbs, adjust the salt to your liking. The best recipes are the ones you adapt to your family’s tastes. If you make this, drop a comment and let me know what you think! I love hearing how recipes turn out in your kitchen. And if something doesn’t work, tell me that too—I’m here to help troubleshoot.
Happy cooking! And I hope your kitchen smells half as good as mine does right now.
Frequently Asked Questions
Can I use all-purpose flour instead of bread flour?
Yes, but the texture will be slightly denser. Bread flour has more protein, which creates more gluten and a chewier, airier crumb. If you only have all-purpose, it’s still delicious, just not quite as fluffy.
My starter isn’t bubbly. Can I still make this?
If your starter isn’t bubbly and active, wait. Feed it and wait another 4-6 hours. Using an inactive starter will result in flat, dense bread. It’s better to wait than to rush it.
Can I make this ahead of time?
Yes! After the first rise, you can refrigerate the dough for up to 24 hours. Let it come to room temperature before shaping and baking. This is great for meal prep.
Why is my focaccia flat?
This usually happens if the starter wasn’t active enough, or if the dough didn’t rise long enough. Make sure your starter is doubled and bubbly, and give the dough plenty of time to rise.
Can I freeze the dough?
Yes, after the first rise, you can freeze the dough in the bowl. Thaw it in the fridge overnight, then let it come to room temperature before shaping and baking.
What if I don’t have rosemary?
No problem! Try thyme, oregano, or even just coarse sea salt and olive oil. The classic combination is rosemary and salt, but you can get creative.
How do I store leftovers?
Store in an airtight container at room temperature for up to 3 days. For longer storage, freeze in plastic wrap and foil. Reheat in the oven to restore crispiness.
Pin This Recipe!
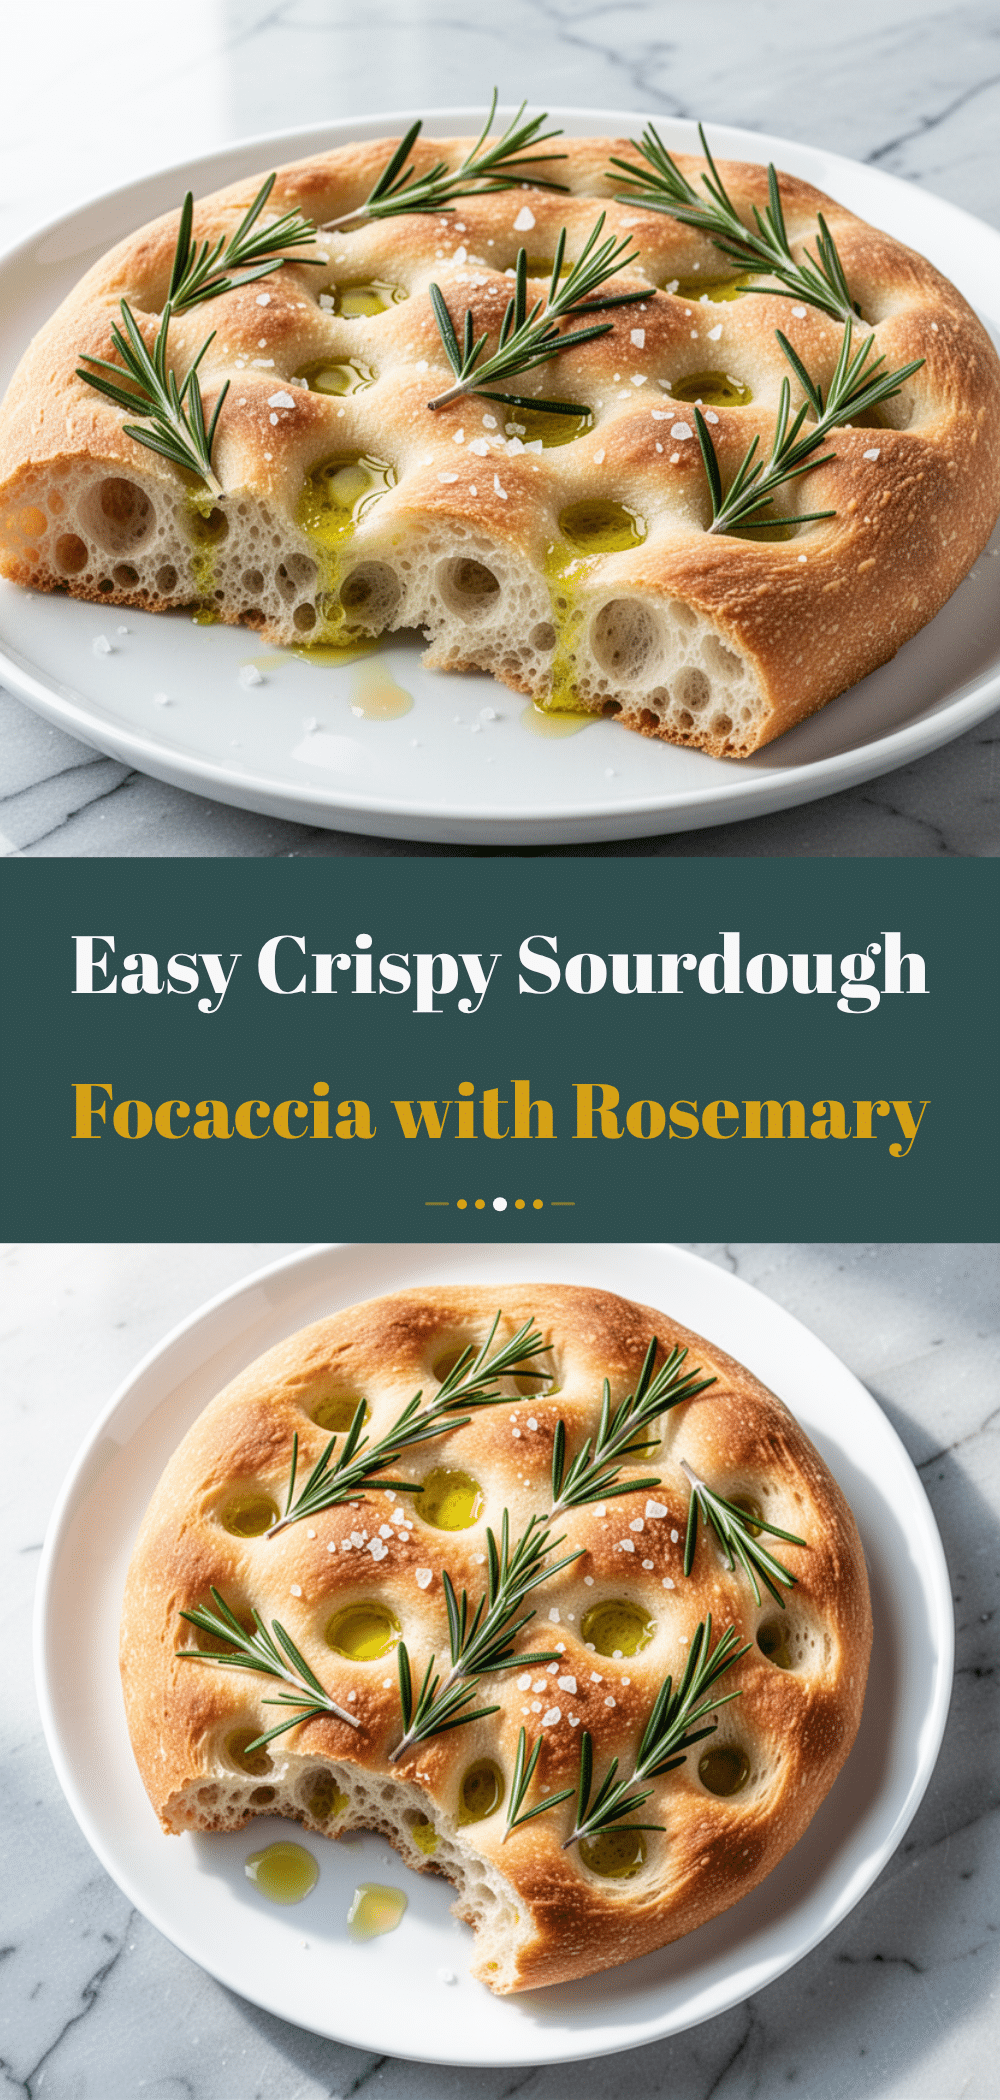

Beginner-Friendly Sourdough Focaccia: Easy 7-Ingredient Recipe
- Total Time: 8 hours
- Yield: 12 servings 1x
Description
A forgiving, beginner-friendly sourdough focaccia recipe that uses just seven ingredients. This pillowy, golden bread is dimpled with rosemary and sea salt, requiring no fancy equipment and minimal active effort.
Ingredients
- 3 ½ cups (450g) Bread Flour
- 1 ½ cups (360ml) Warm Water
- 1 cup (240g) Active Sourdough Starter
- 1 ½ teaspoons (9g) Fine Sea Salt
- ½ cup (120ml) Extra Virgin Olive Oil (plus more for brushing)
- 2 tablespoons Fresh Rosemary, chopped
- 1 teaspoon (5g) Coarse Sea Salt (for topping)
Instructions
- Feed your sourdough starter 4-6 hours before baking until it is doubled in size and bubbly.
- In a large bowl, whisk warm water and active sourdough starter until dissolved. Add flour and salt, mixing until a shaggy, sticky dough forms.
- Let the dough rest for 30 minutes (autolyse).
- Wet your hands and perform a series of folds: stretch one side of the dough over the center, rotate, and repeat for all four sides. Repeat this process every 30 minutes for 2 hours (4 folds total).
- Cover the bowl and let the dough rise at room temperature for 2-4 hours until puffy and increased by 50%.
- Generously oil a 13×9 inch baking pan with olive oil. Transfer the dough to the pan, gently pressing it into the corners.
- Dimple the surface of the dough firmly with your fingers. Drizzle with remaining olive oil and sprinkle with chopped rosemary and coarse sea salt.
- Cover loosely and let the dough rise again for 1-2 hours until puffy and dimples hold their shape.
- Preheat oven to 425°F (220°C). Bake for 25-30 minutes until golden brown on top and bottom.
- Cool in the pan for 5 minutes, then transfer to a cooling rack to cool for at least 10 minutes before slicing.
Notes
Ensure your sourdough starter is active and bubbly before using. Do not add extra flour if the dough is sticky; this stickiness creates air pockets. For a crispier crust, place a pan of water on the bottom rack of the oven while preheating. The internal temperature of the bread should reach 190°F (88°C) when done.
- Prep Time: 30 minutes
- Cook Time: 30 minutes
- Category: Bread
- Cuisine: Italian
Nutrition
- Serving Size: 1 slice
- Calories: 220
- Sugar: 1
- Sodium: 350
- Fat: 8
- Saturated Fat: 1
- Carbohydrates: 32
- Fiber: 2
- Protein: 6
Keywords: sourdough focaccia, beginner bread recipe, rosemary focaccia, easy sourdough, homemade bread, vegan bread, gluten-free option


